

Classy night out
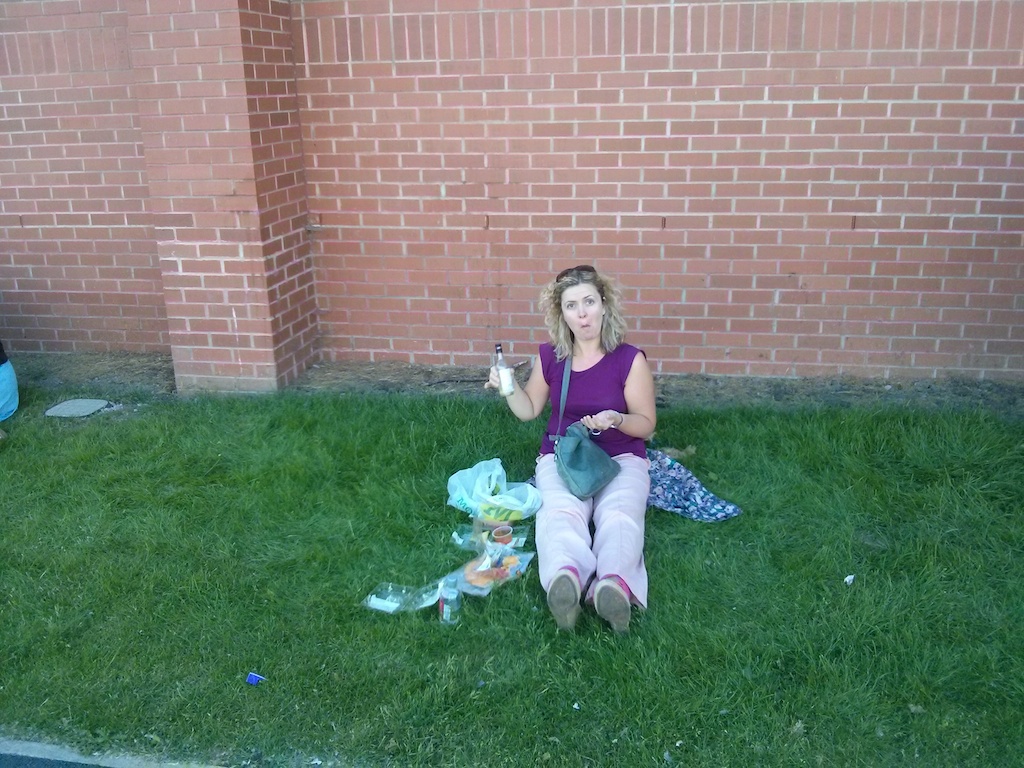
Emma and I went to watch Elton John at Leigh Sports Village. Prior to the concert we ate at Morrisons. Classy
Saggy bottom
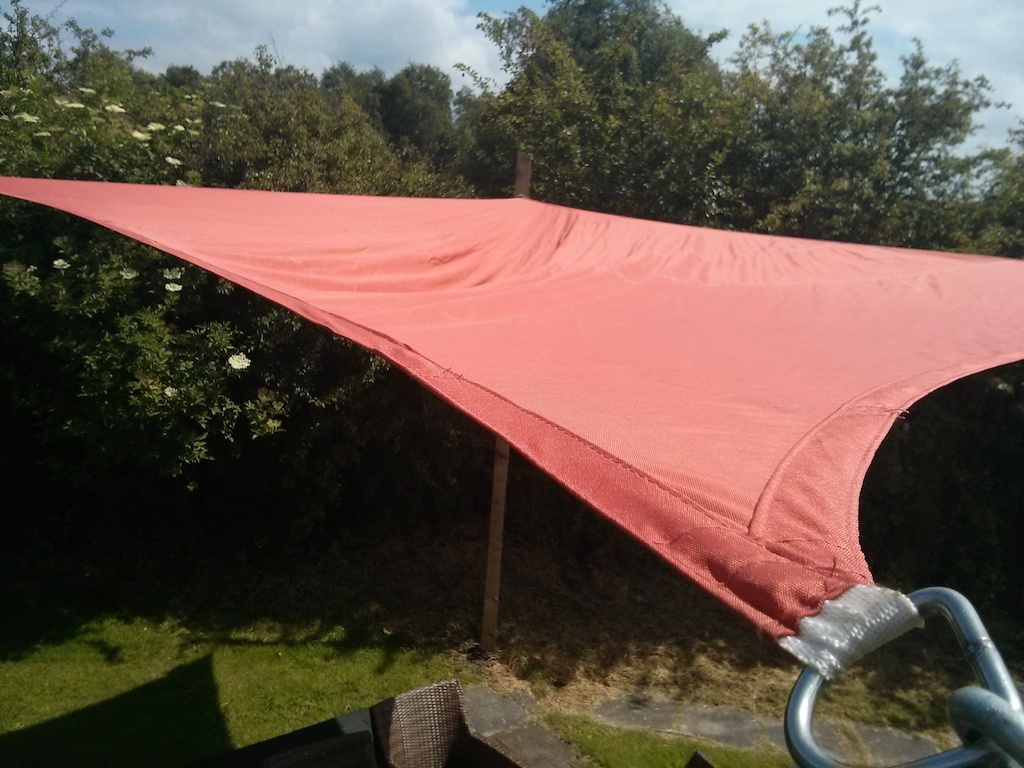
I might have accidentally left the sail shade up when it started to rain and I might also have made a minor engineering faux pas by forgetting to put a 1 metre drop on the fabric to allow rain to run off. Fear not, I have a cunning plan
Mountfield ho
After 8 years of butchering my lawn with a second hand e-bay beast – I finally got around to stumping up for a new mower. Sweeeeet

Finally managed facial hair

This is as good as it’s ever going to get!
Car repairs
Know your limits!
My Uncle Barry donated some radio controlled cars that his boys [ now in their 20’s ] used to play with. They didn’t work. Even after charging the Ni-Cd battery there was nothing. So I ripped the battery apart, hooked it up to my bench power supply and cranked up the max current….bingo!
A new battery has just been ordered!
Sail Shade Saga
It all started when I was chatting with one of the Mums at Amelia’s school and she happened to mention she’d bought a sail shade but it was too big for her garden. Smelling a bargain I got stuck in.
My initial thought was to just fasten it to trees and bushes with ropes. That…just…wasn’t going to work…at all. We needed posts. Massive, strong posts. We needed to bury the posts 80cm into the ground which meant we ended up needing 4.2m posts at a 10degree angle which lead to some pretty tricky [ for me ] maths.

Then I cleared the area in preparation for getting going


I put the rather expensive eye things into the posts whilst they were on the ground hoping that I wouldn’t be a complete moron and concrete them in facing the wrong way. Thankfully I didn’t.

Next I had to dig 40cm x 40cm x 80cm holes. 80cm deep is flipping deep when it’s just you and a spade. Anyway, holes dug, posts dropped in and braces made…


Finally, on a really rather warm day in September I had to mix 300kg of concrete by hand. I initially started off with one bag of aggregate and two bags of ready mix concrete. I thought this might be all I needed, but it seems I was a touch mistaken. I needed an additional 3 bags of bedding aggregate, 8 bags of 10mm limestone chippings, 4 bags of sand and 2 bags of cement.


Here’s Oliver helping remove the braces
Finally, the concrete had set and my calculations proved to be pretty accurate!


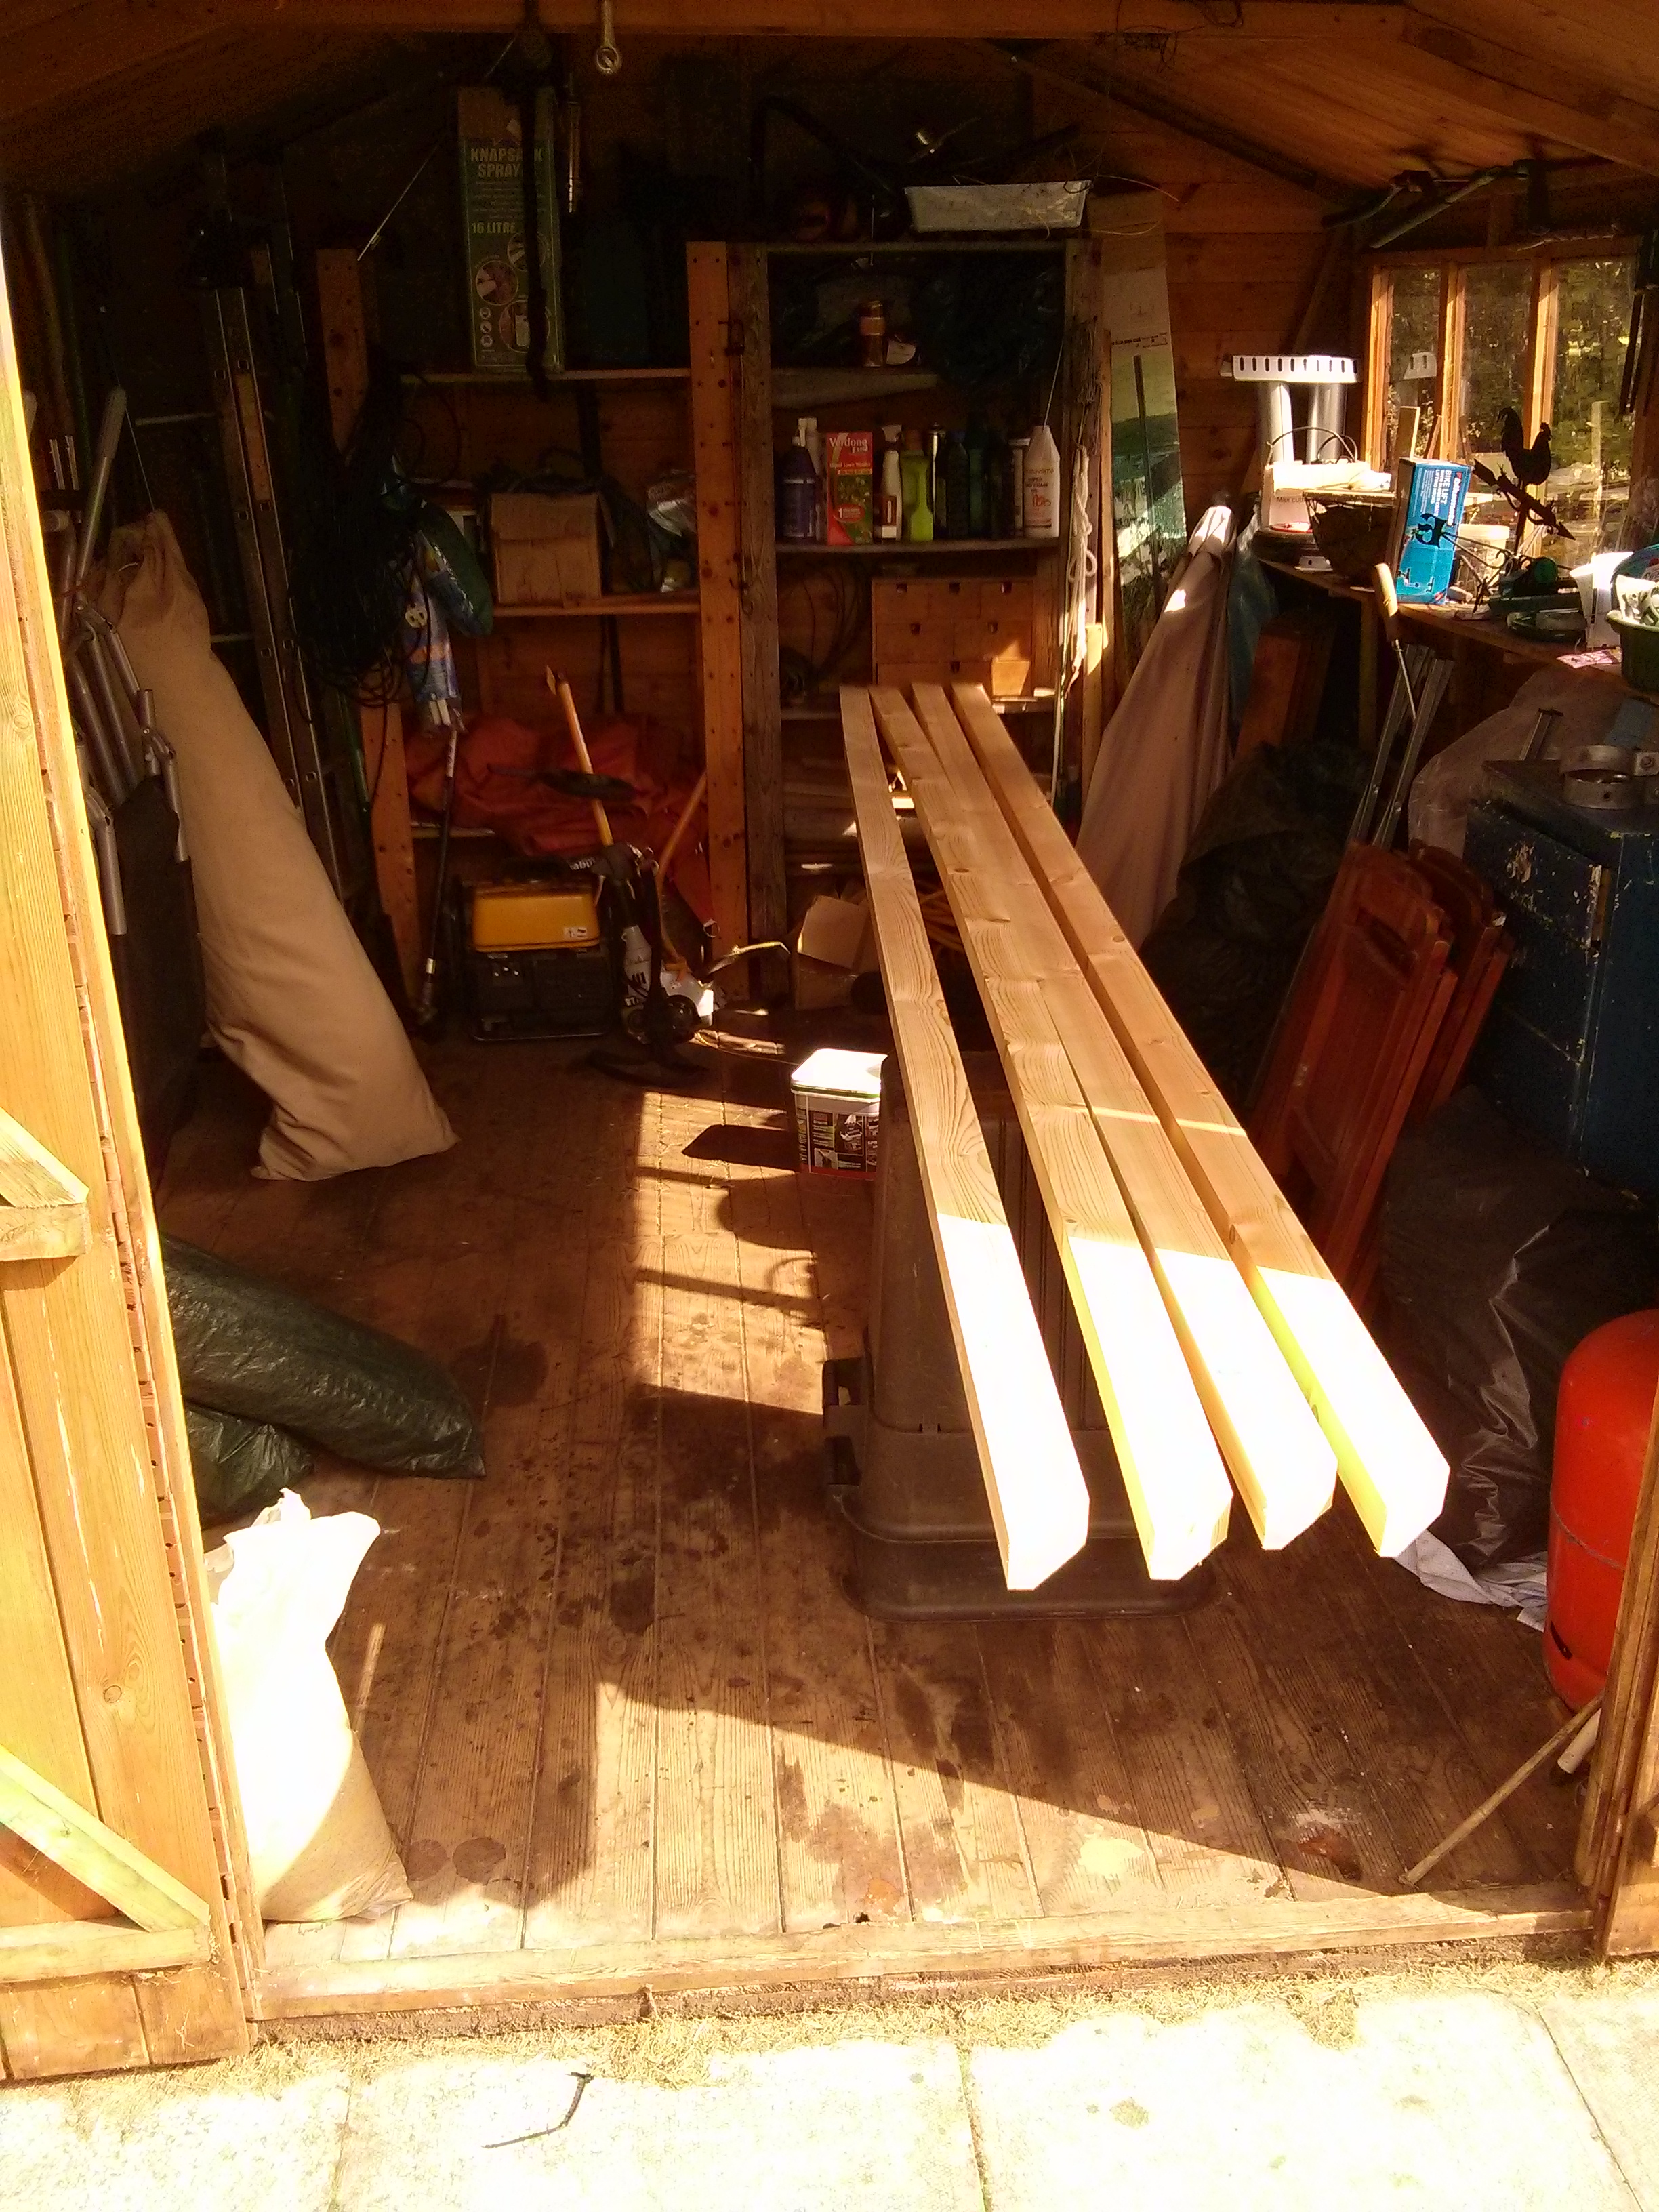
Re-roofing the arbour
Emma pointed out that one of the beams [ or trusses or whatever ] in the arbour had cracked due to the weight of the climbers growing across the top. “You’ll have to replace that beam” she said. “I’ll have to replace them all and get rid of that climber” replies I. I had good reason to want to tidy the whole arbour up since we eat out there in the Summer. Last time we had friends over for dinner we put some braziers in the arbour to get some heat going and we had a succession of snails dropping onto our heads from the climbers above. It was definitely not cool.
In my usual style I totally forgot to get pictures of it “before”, so here are the “midway” and “after” pictures…

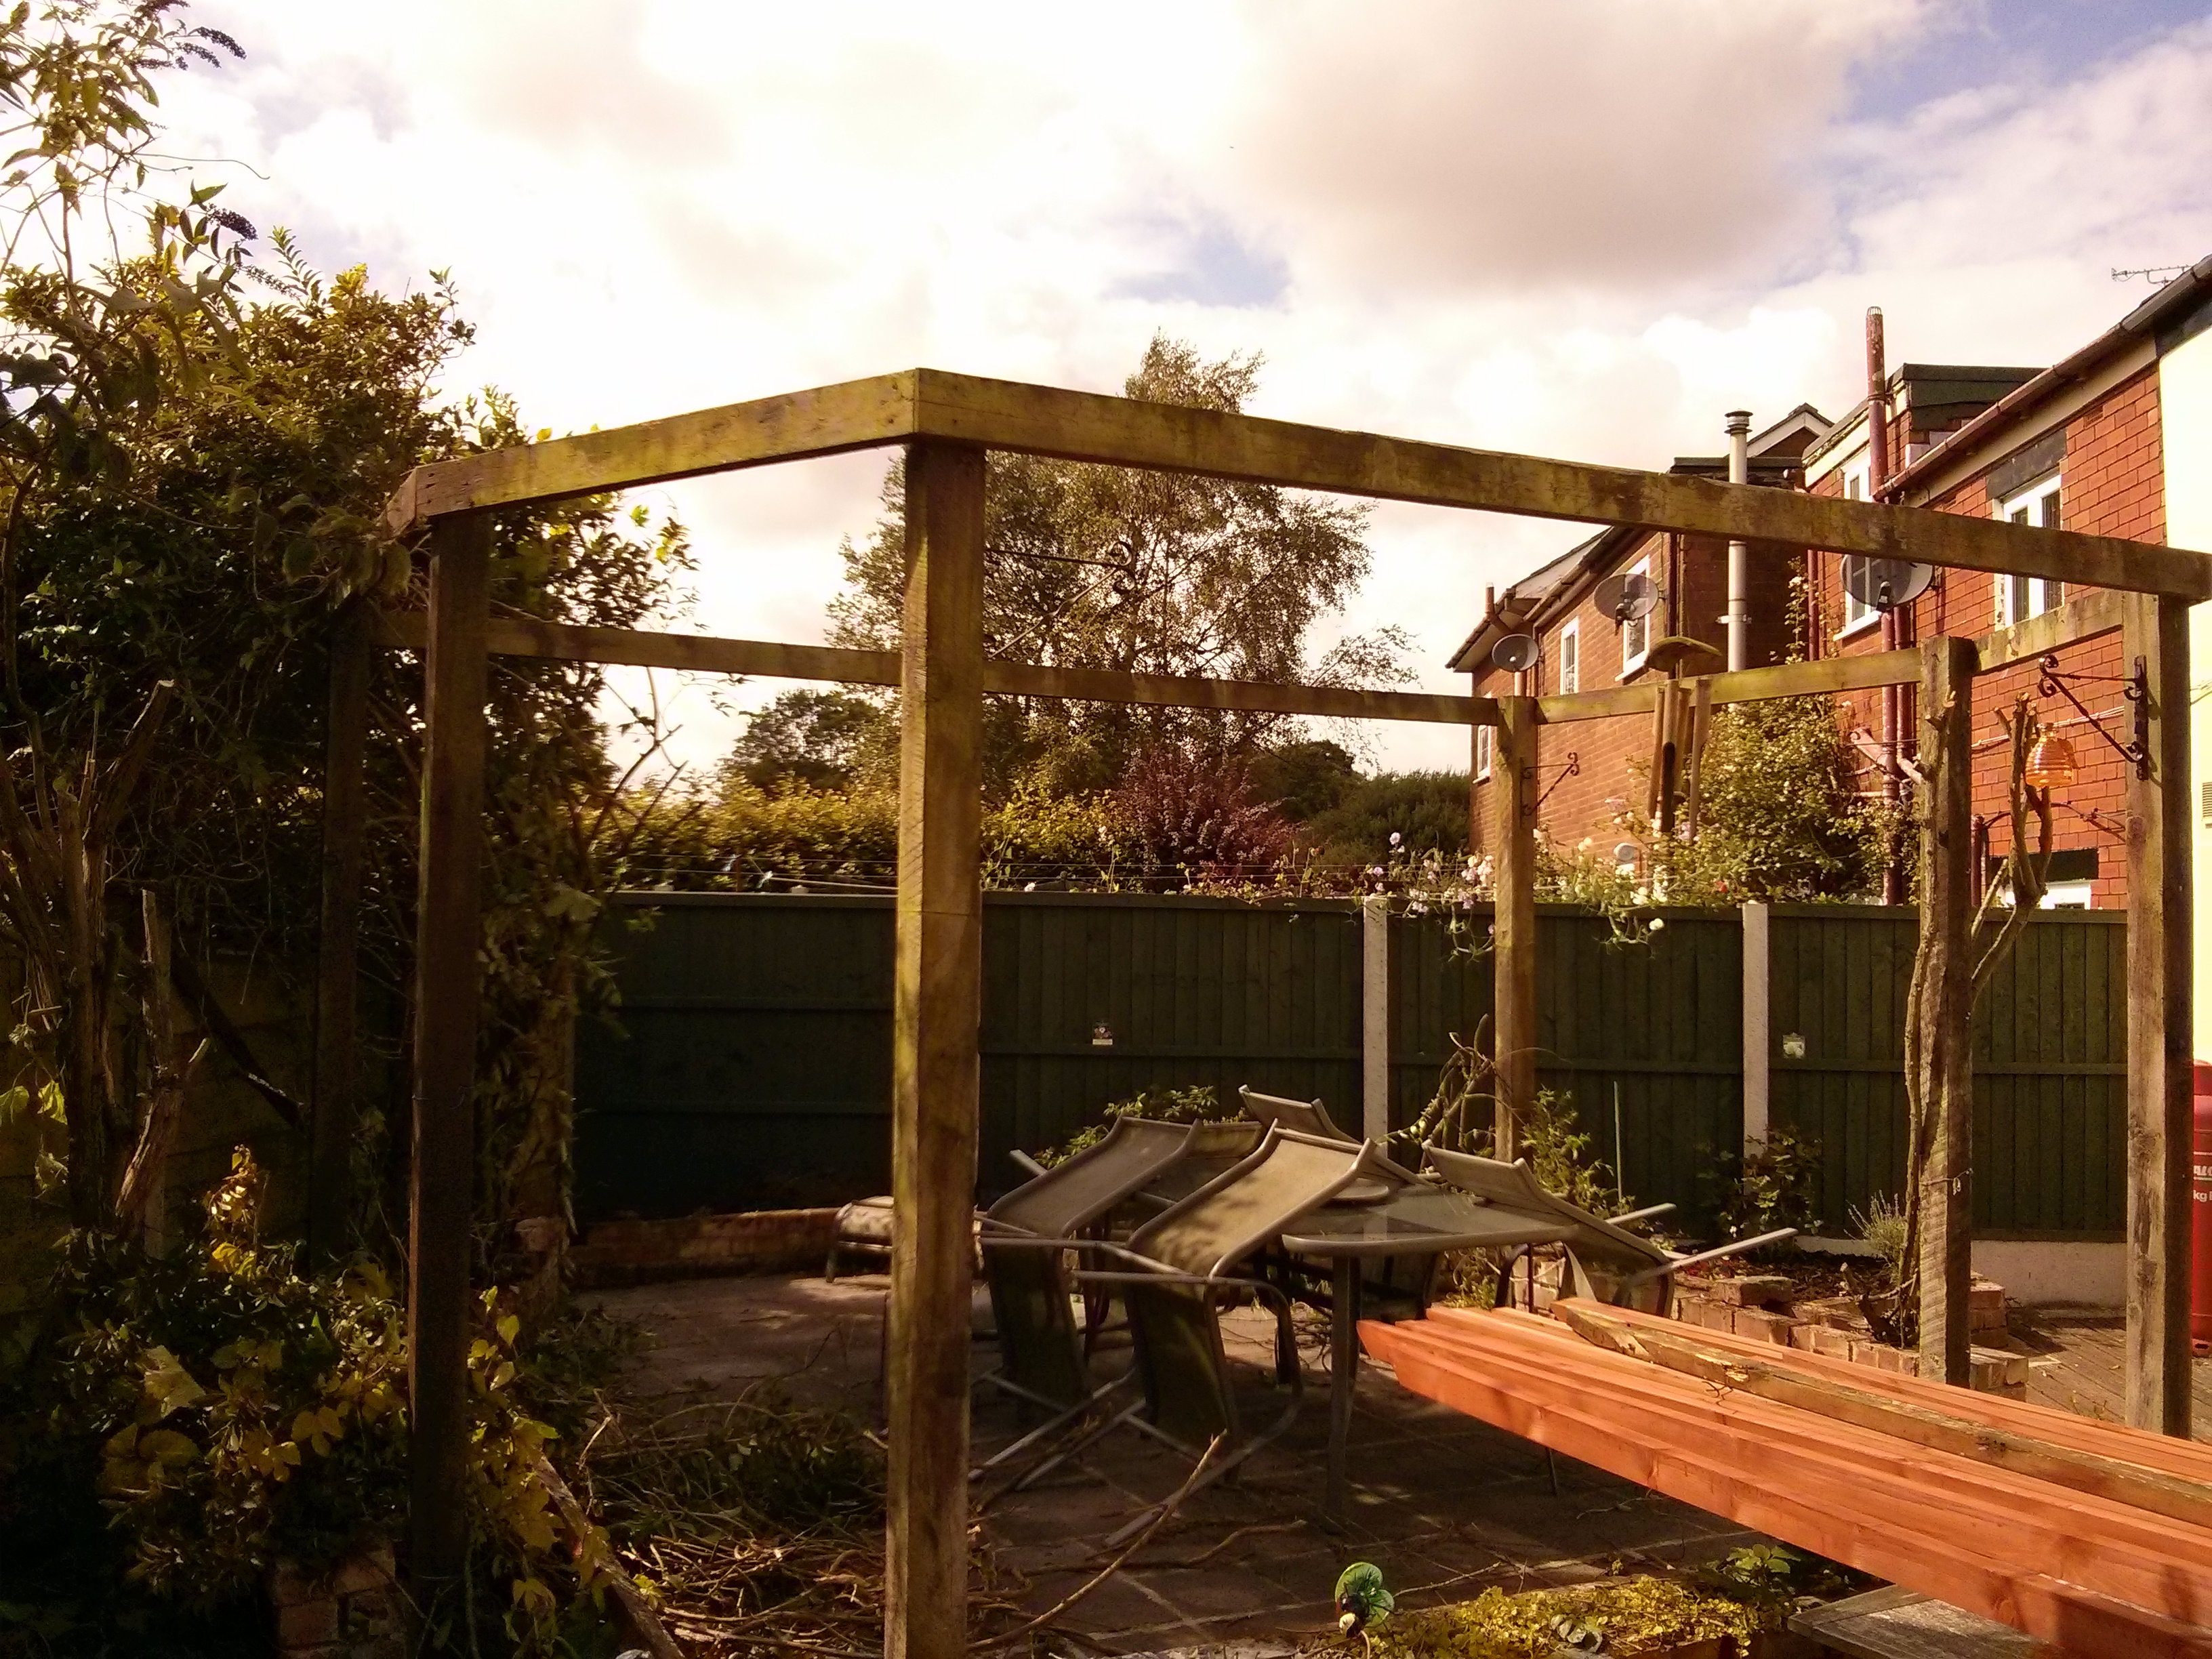
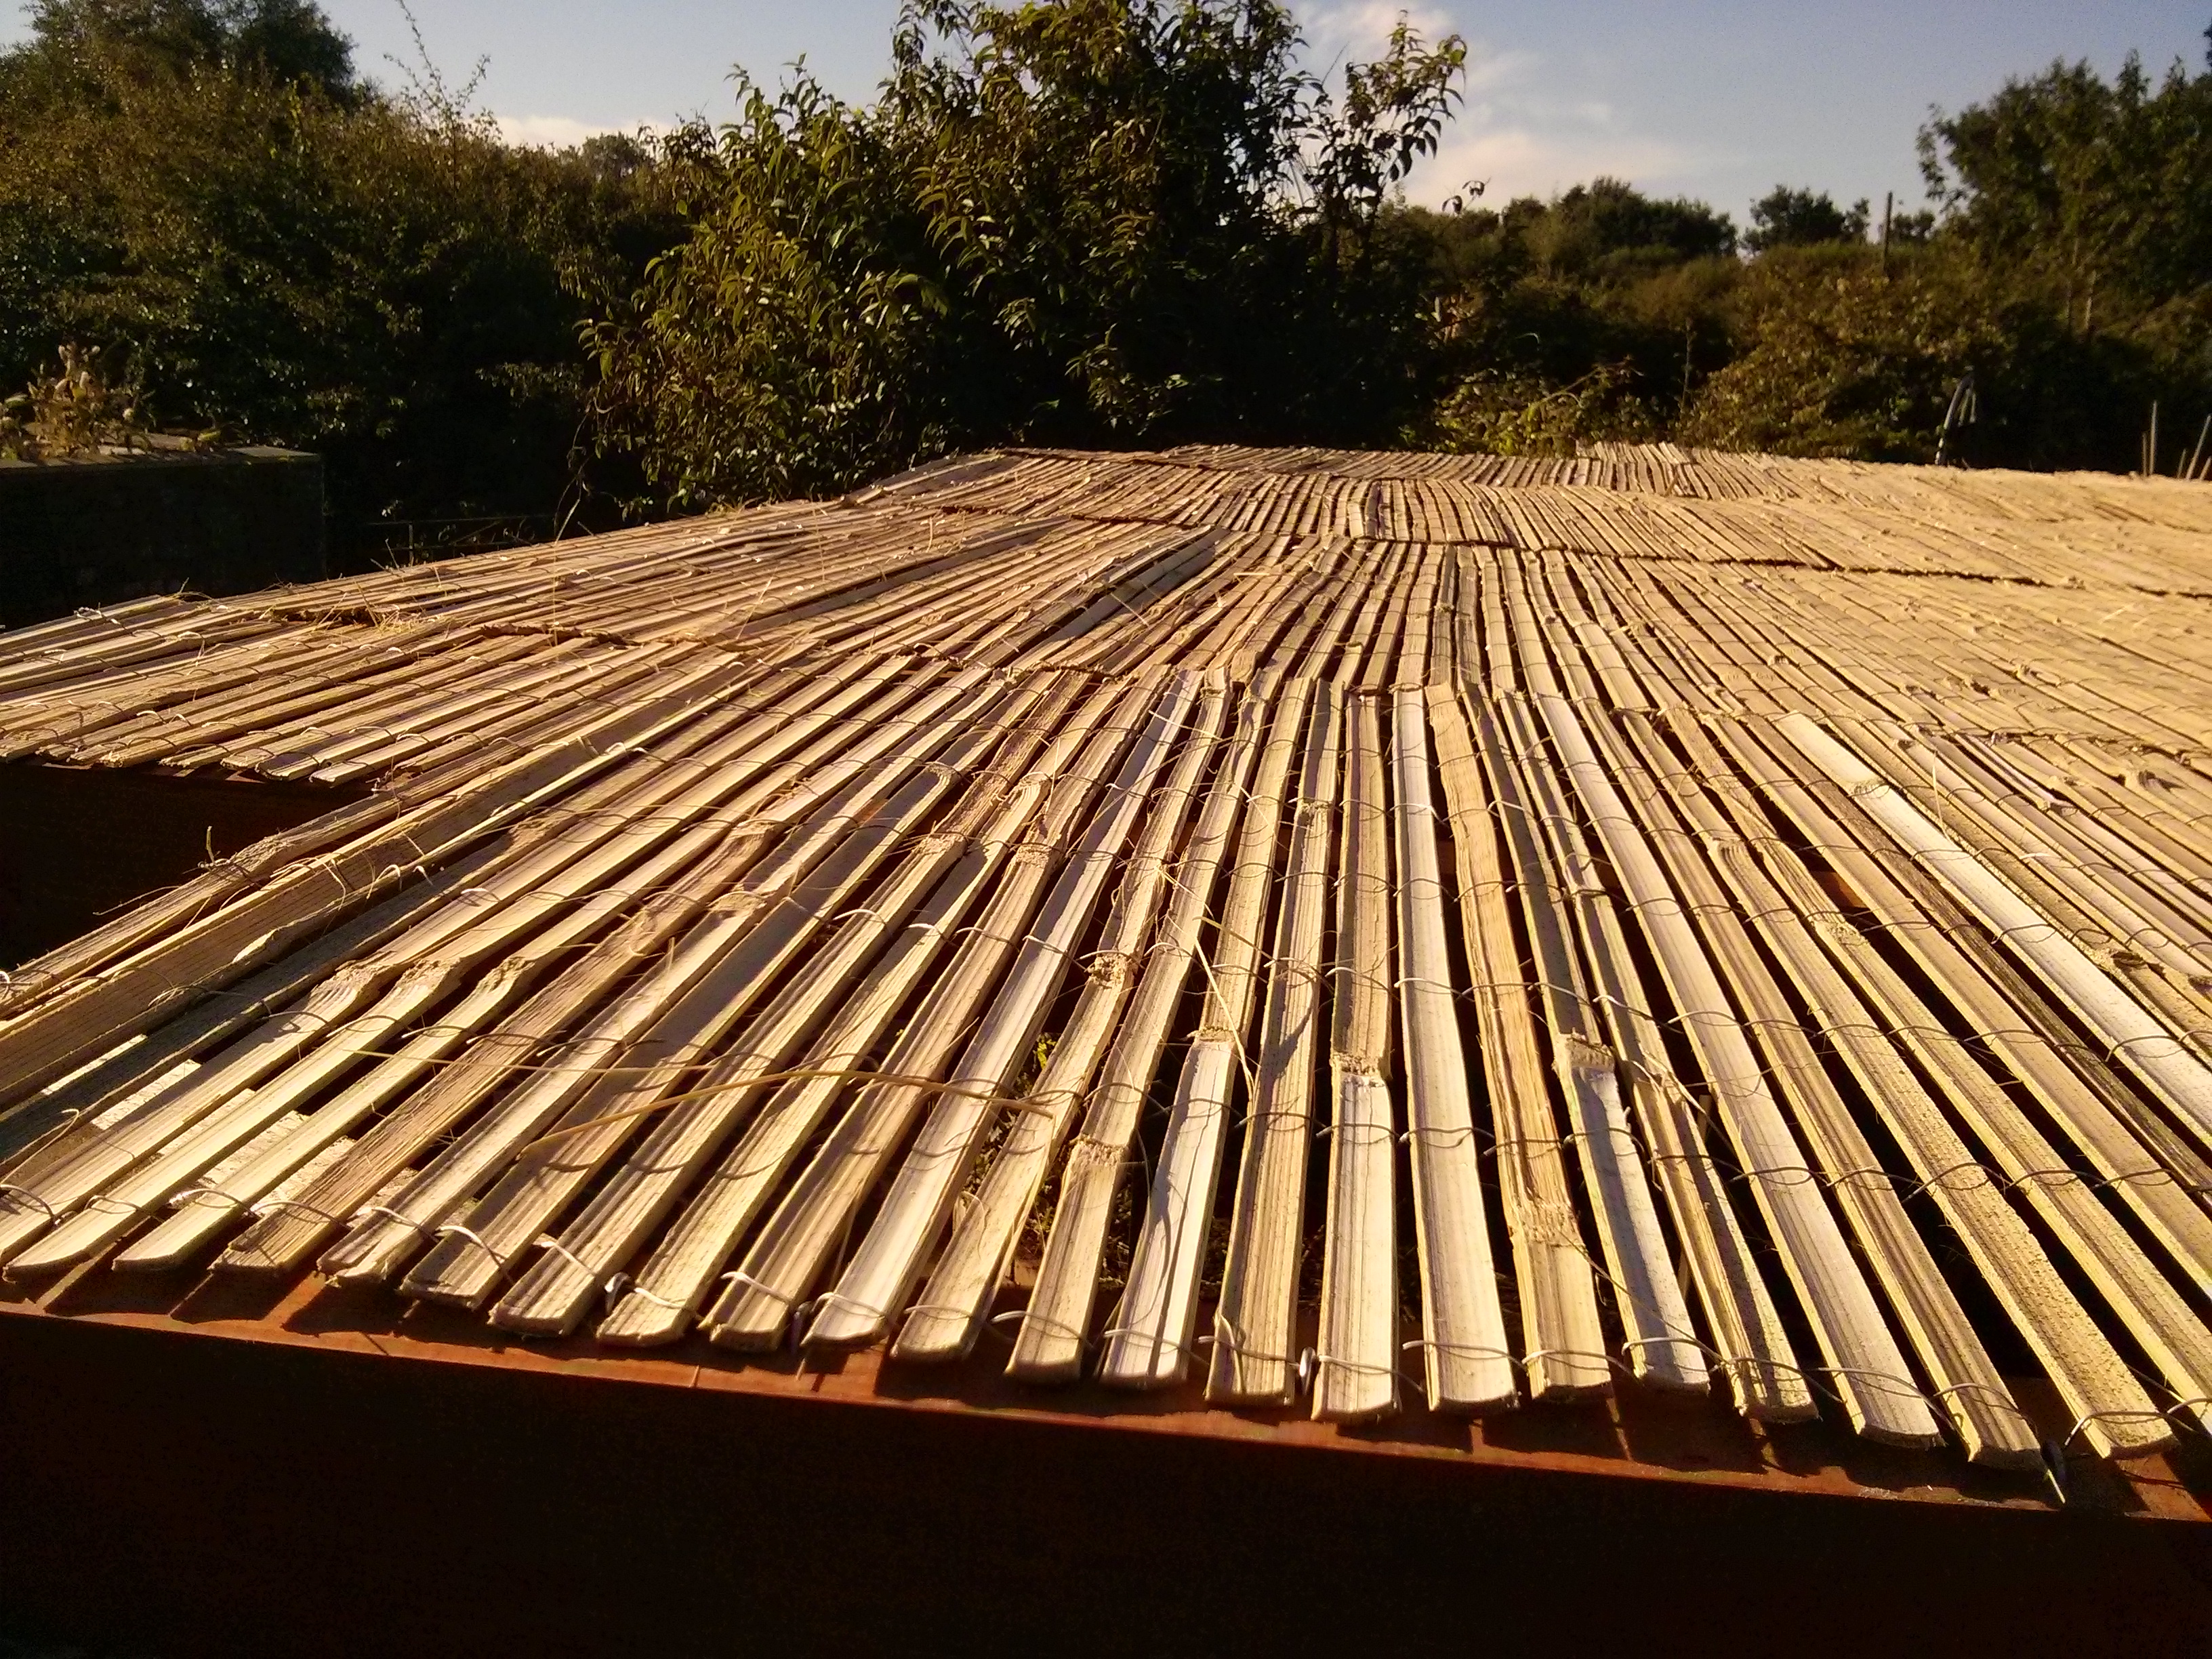
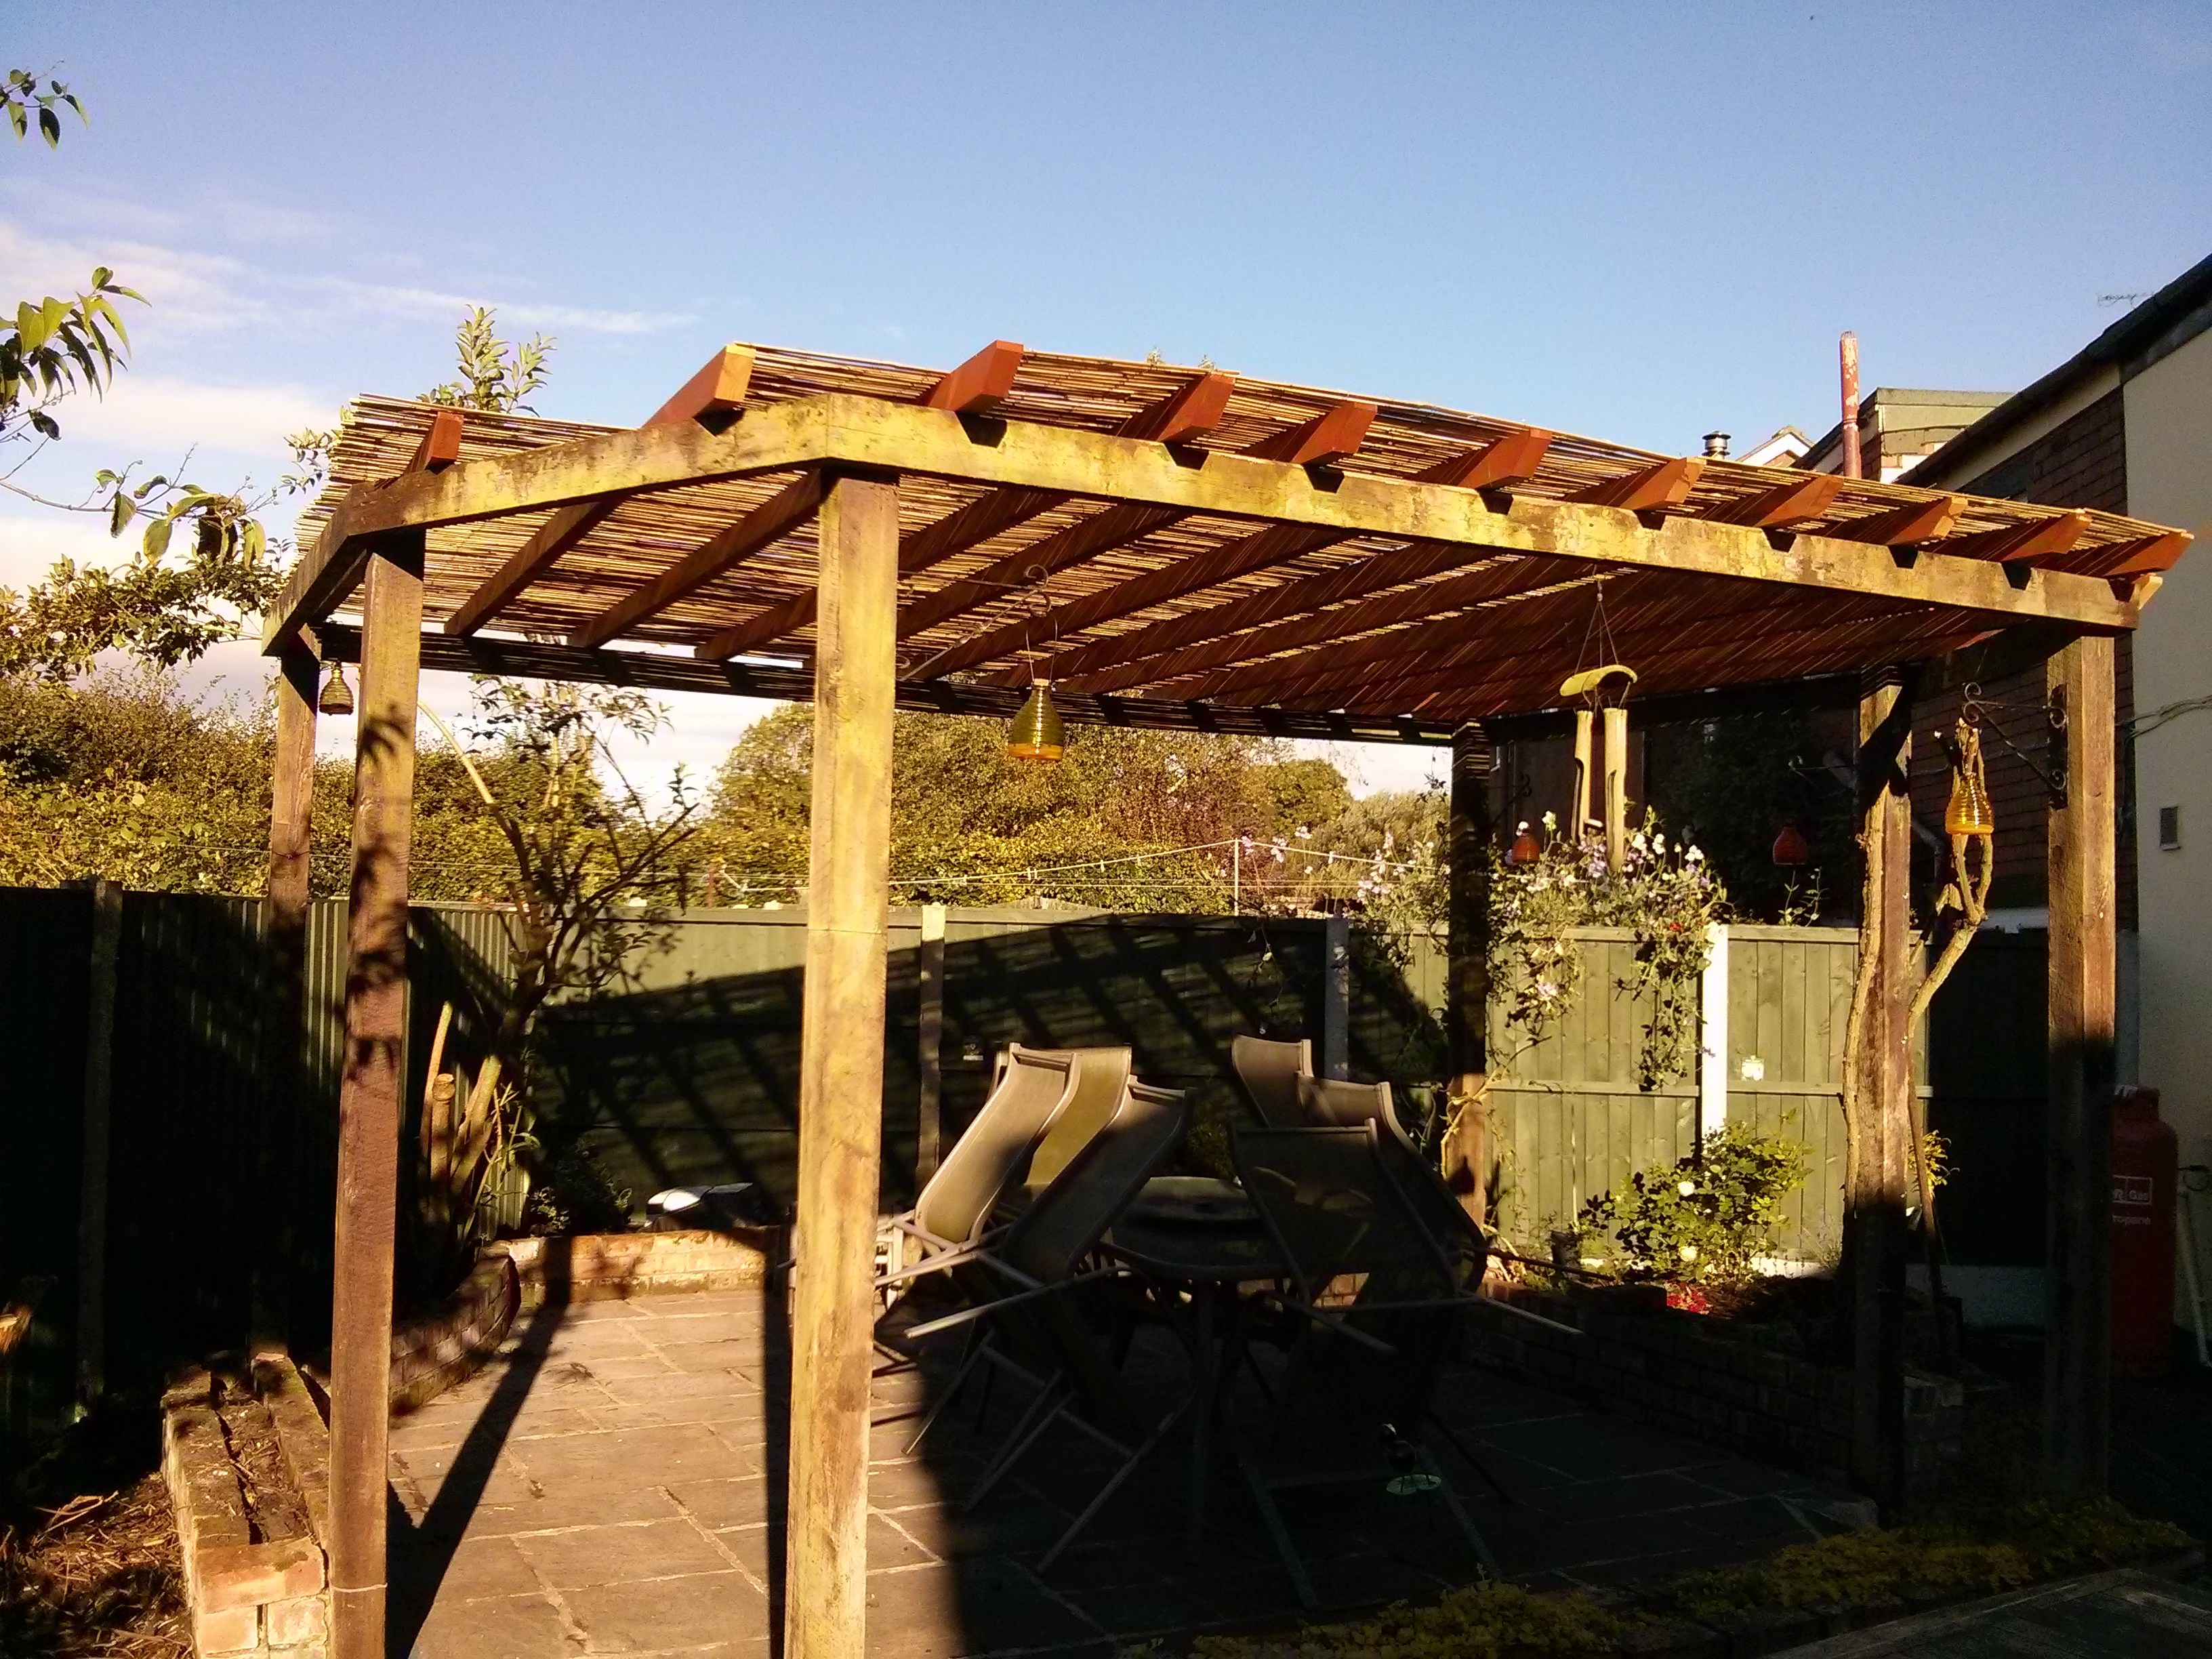
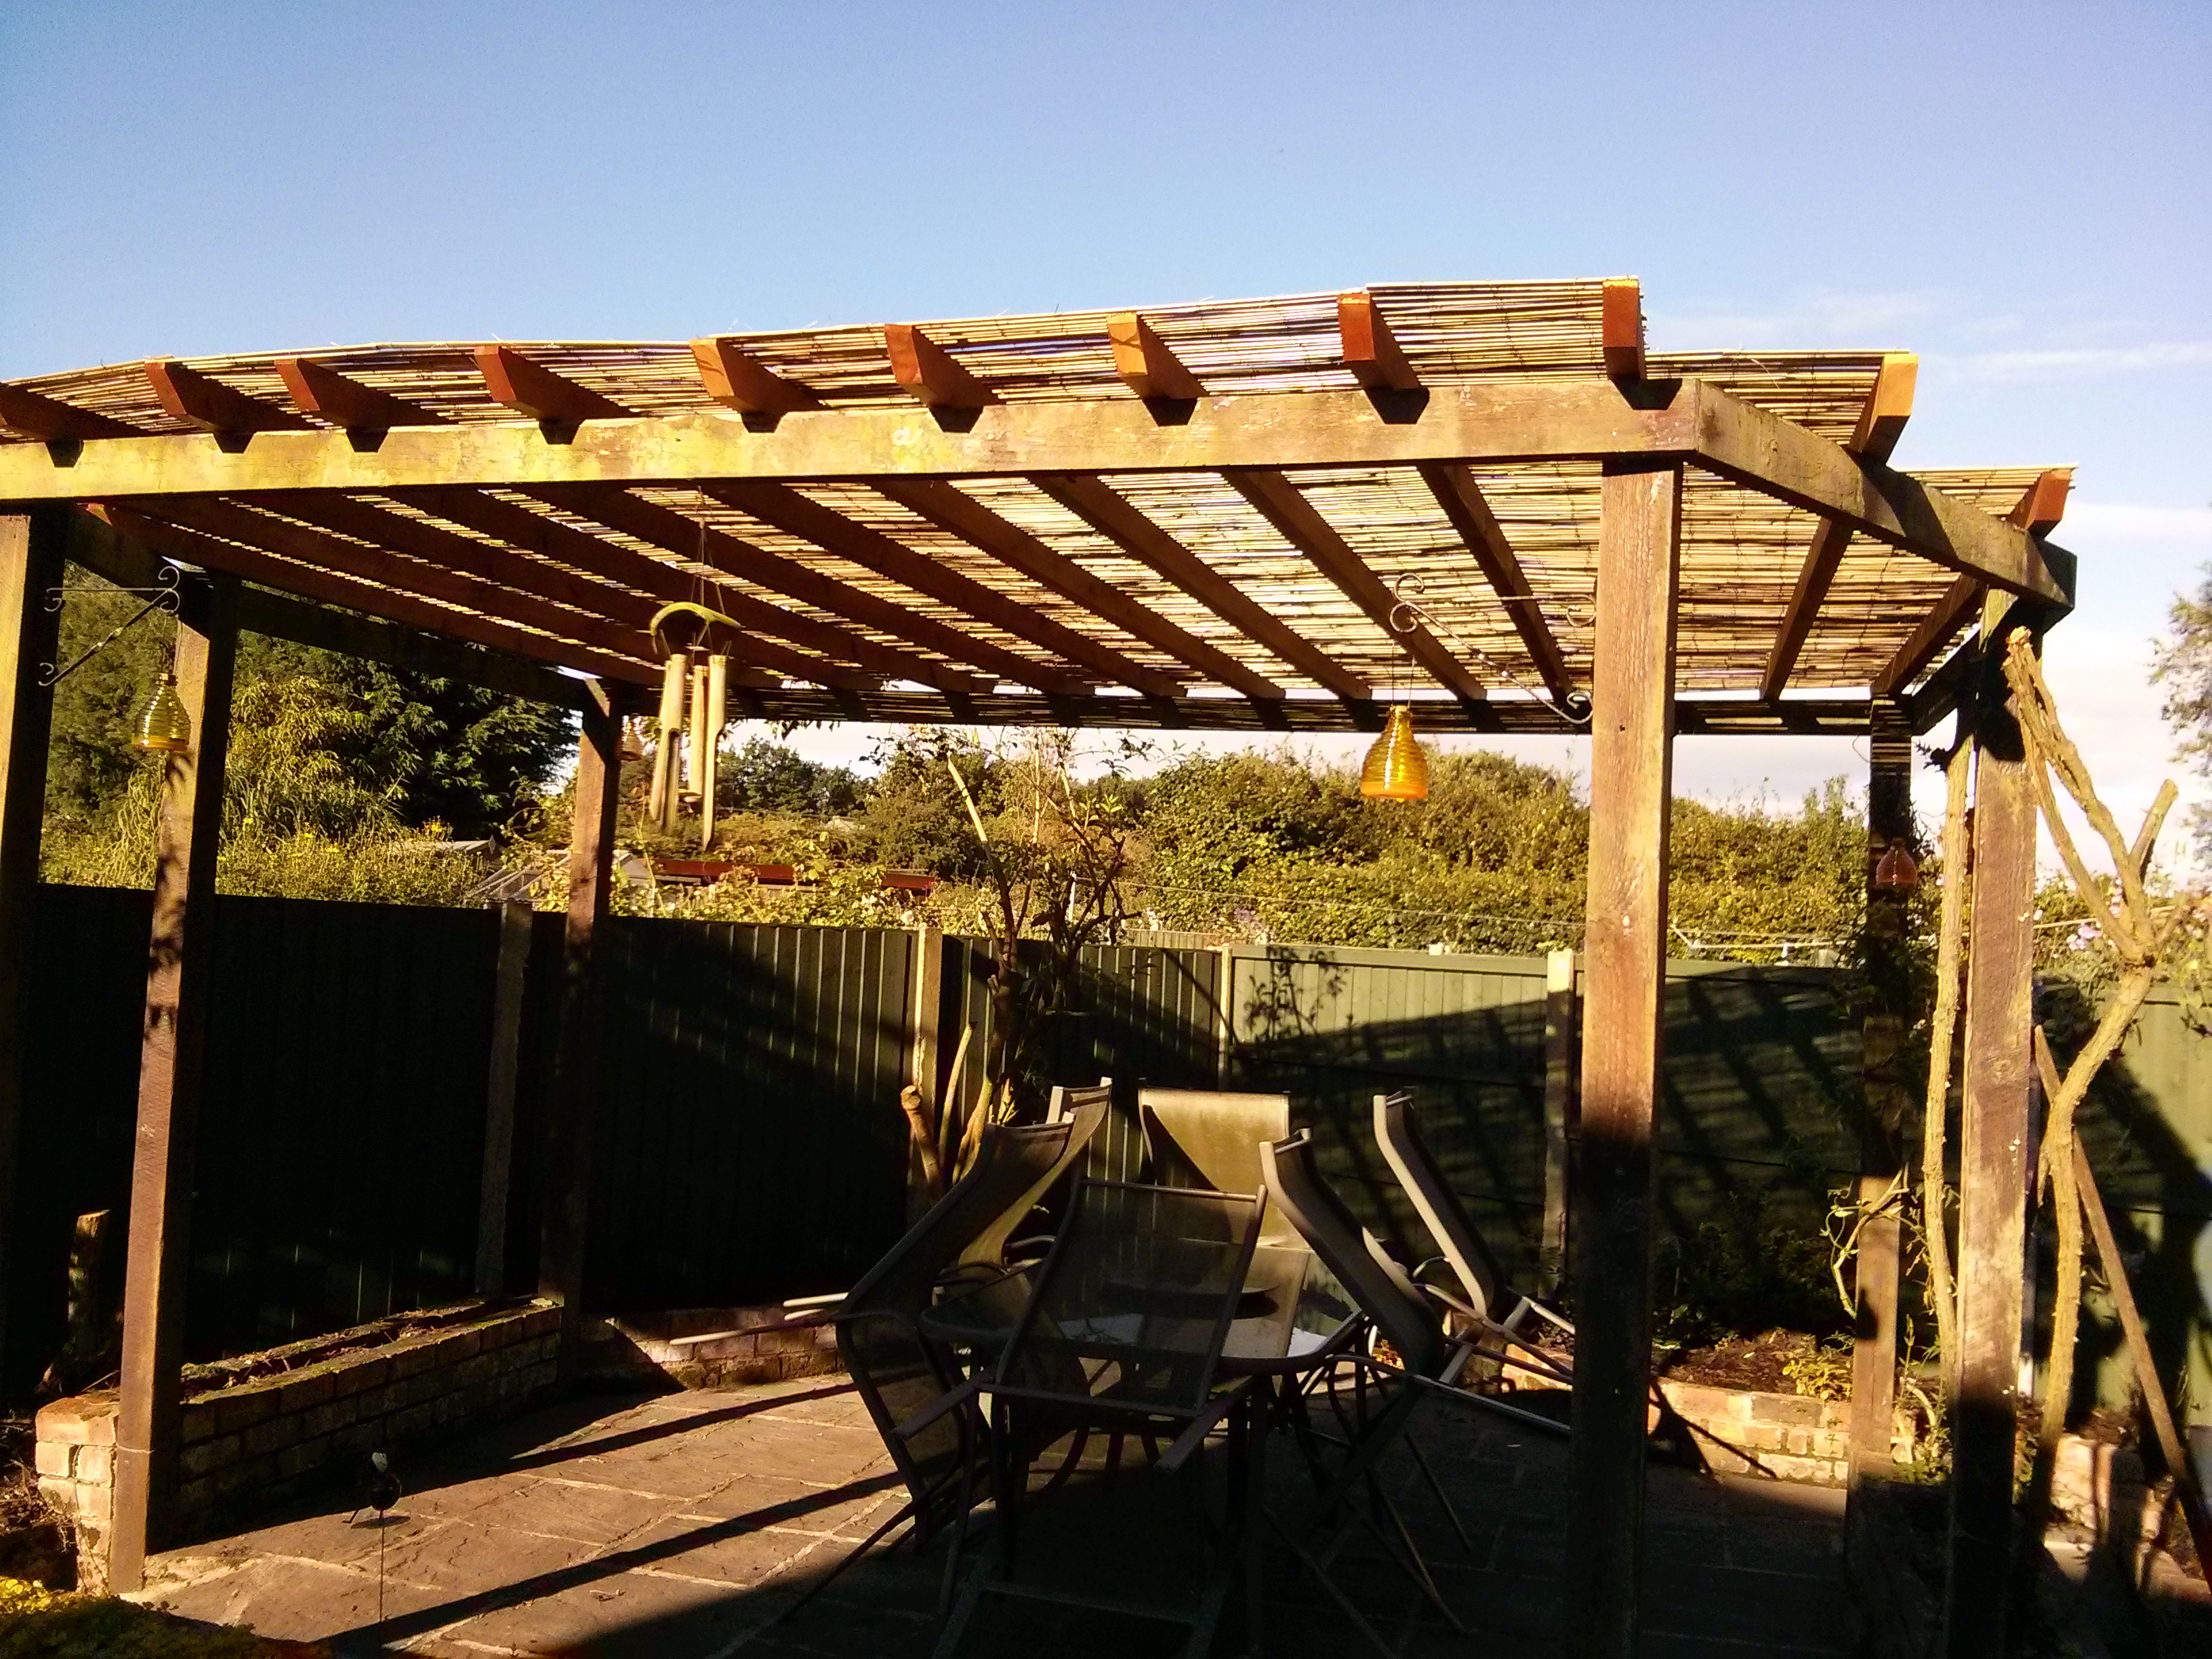
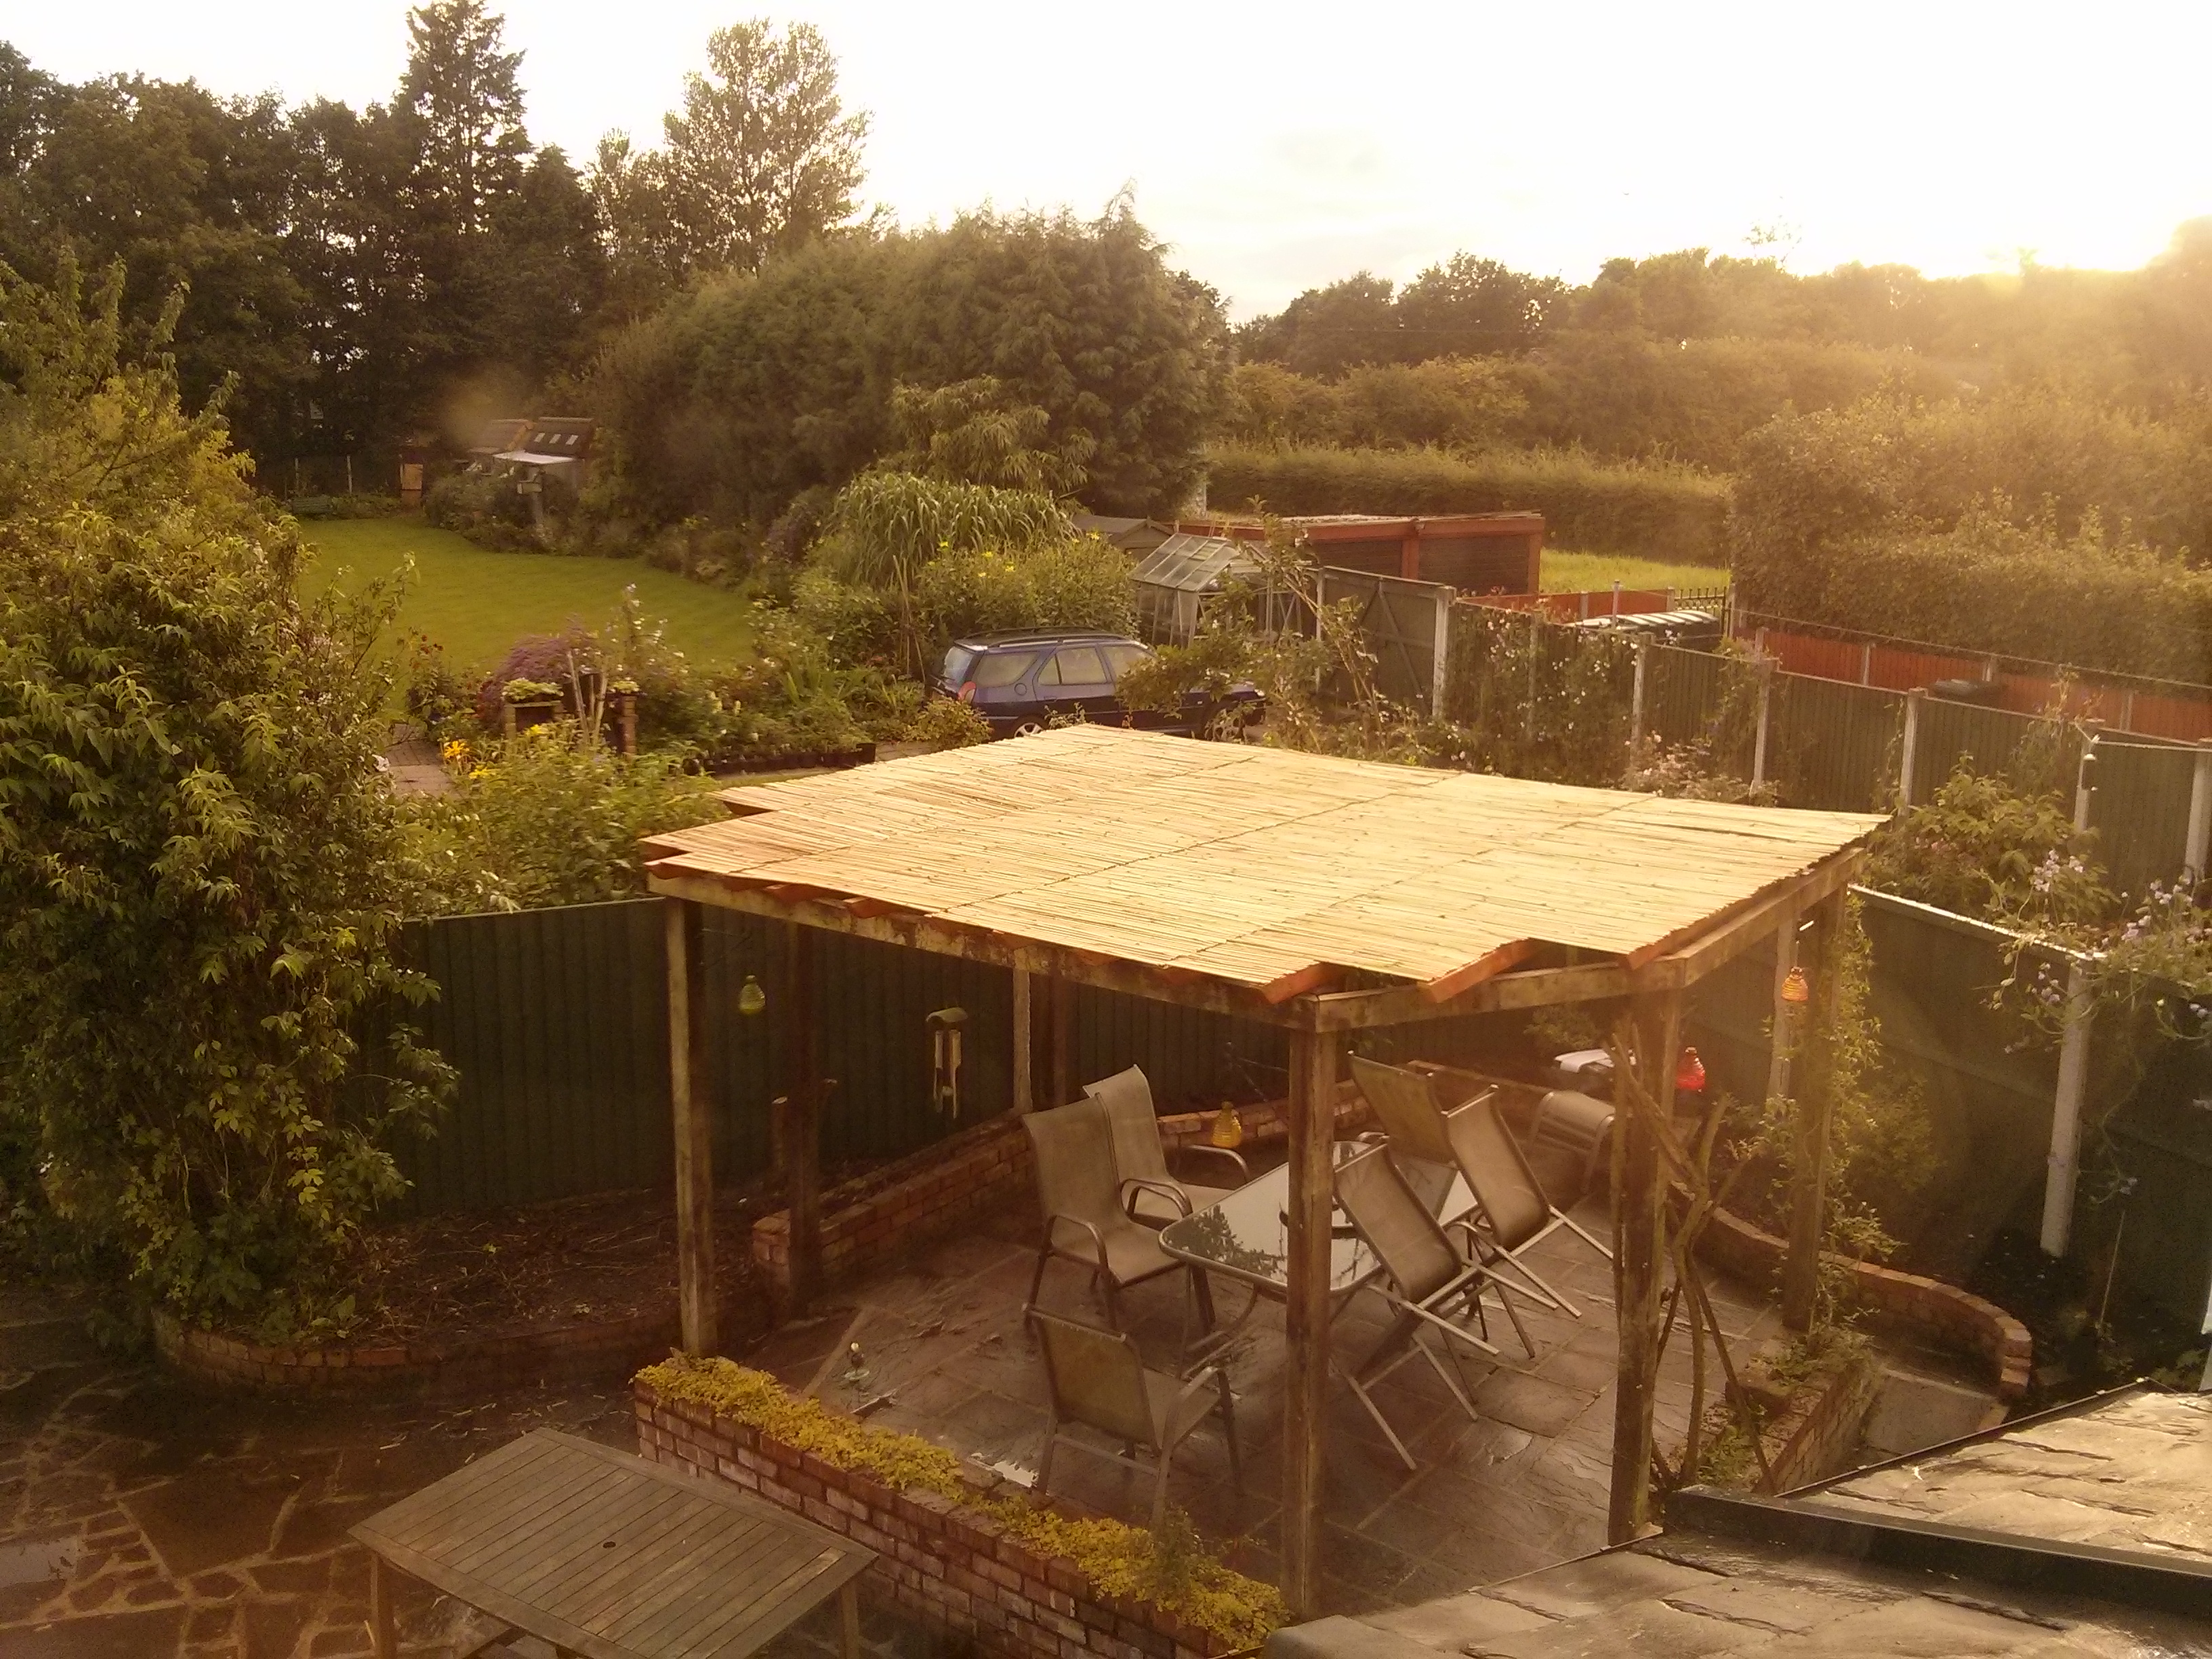
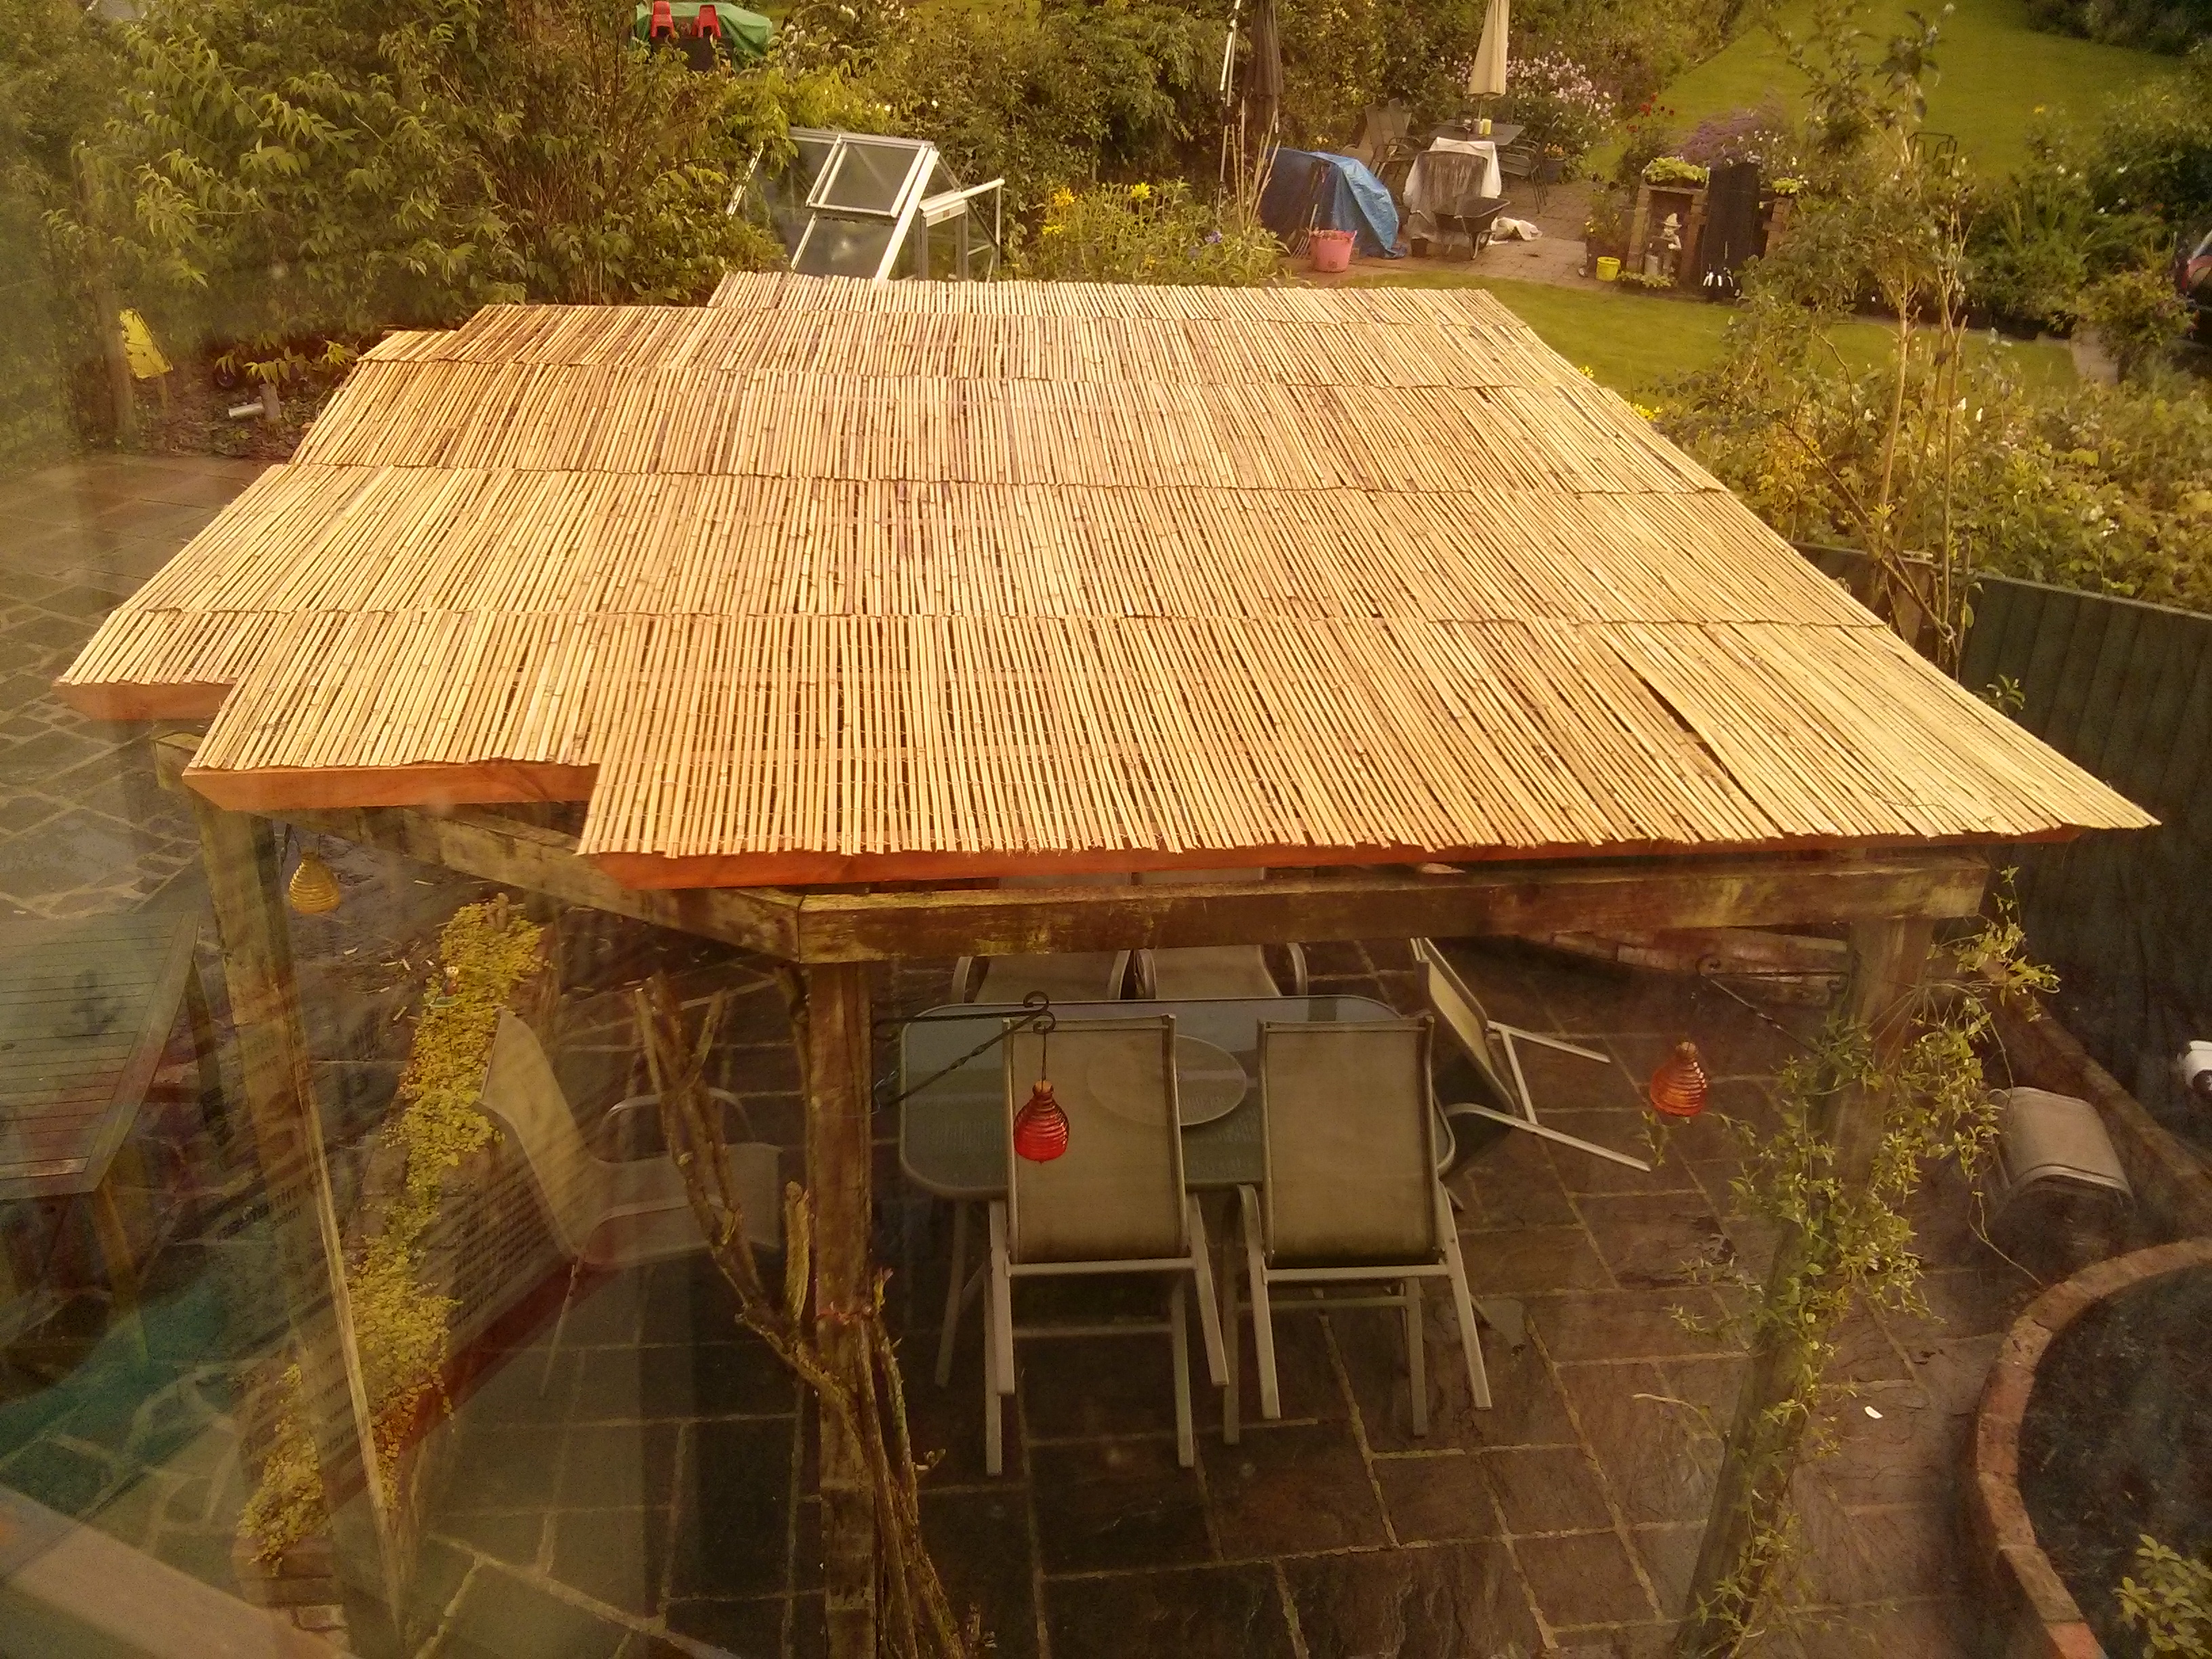
What you can’t see in these is that I also had to rebuild all the walls around the arbour too since they’d all crumbled away…and we now have bark chippings and new plants all around the edges. It’s all lovely!
Strawberry and raspberry meringues

Unbelievable.

You was a learner once too… Jesus…. Just…. Jesus!