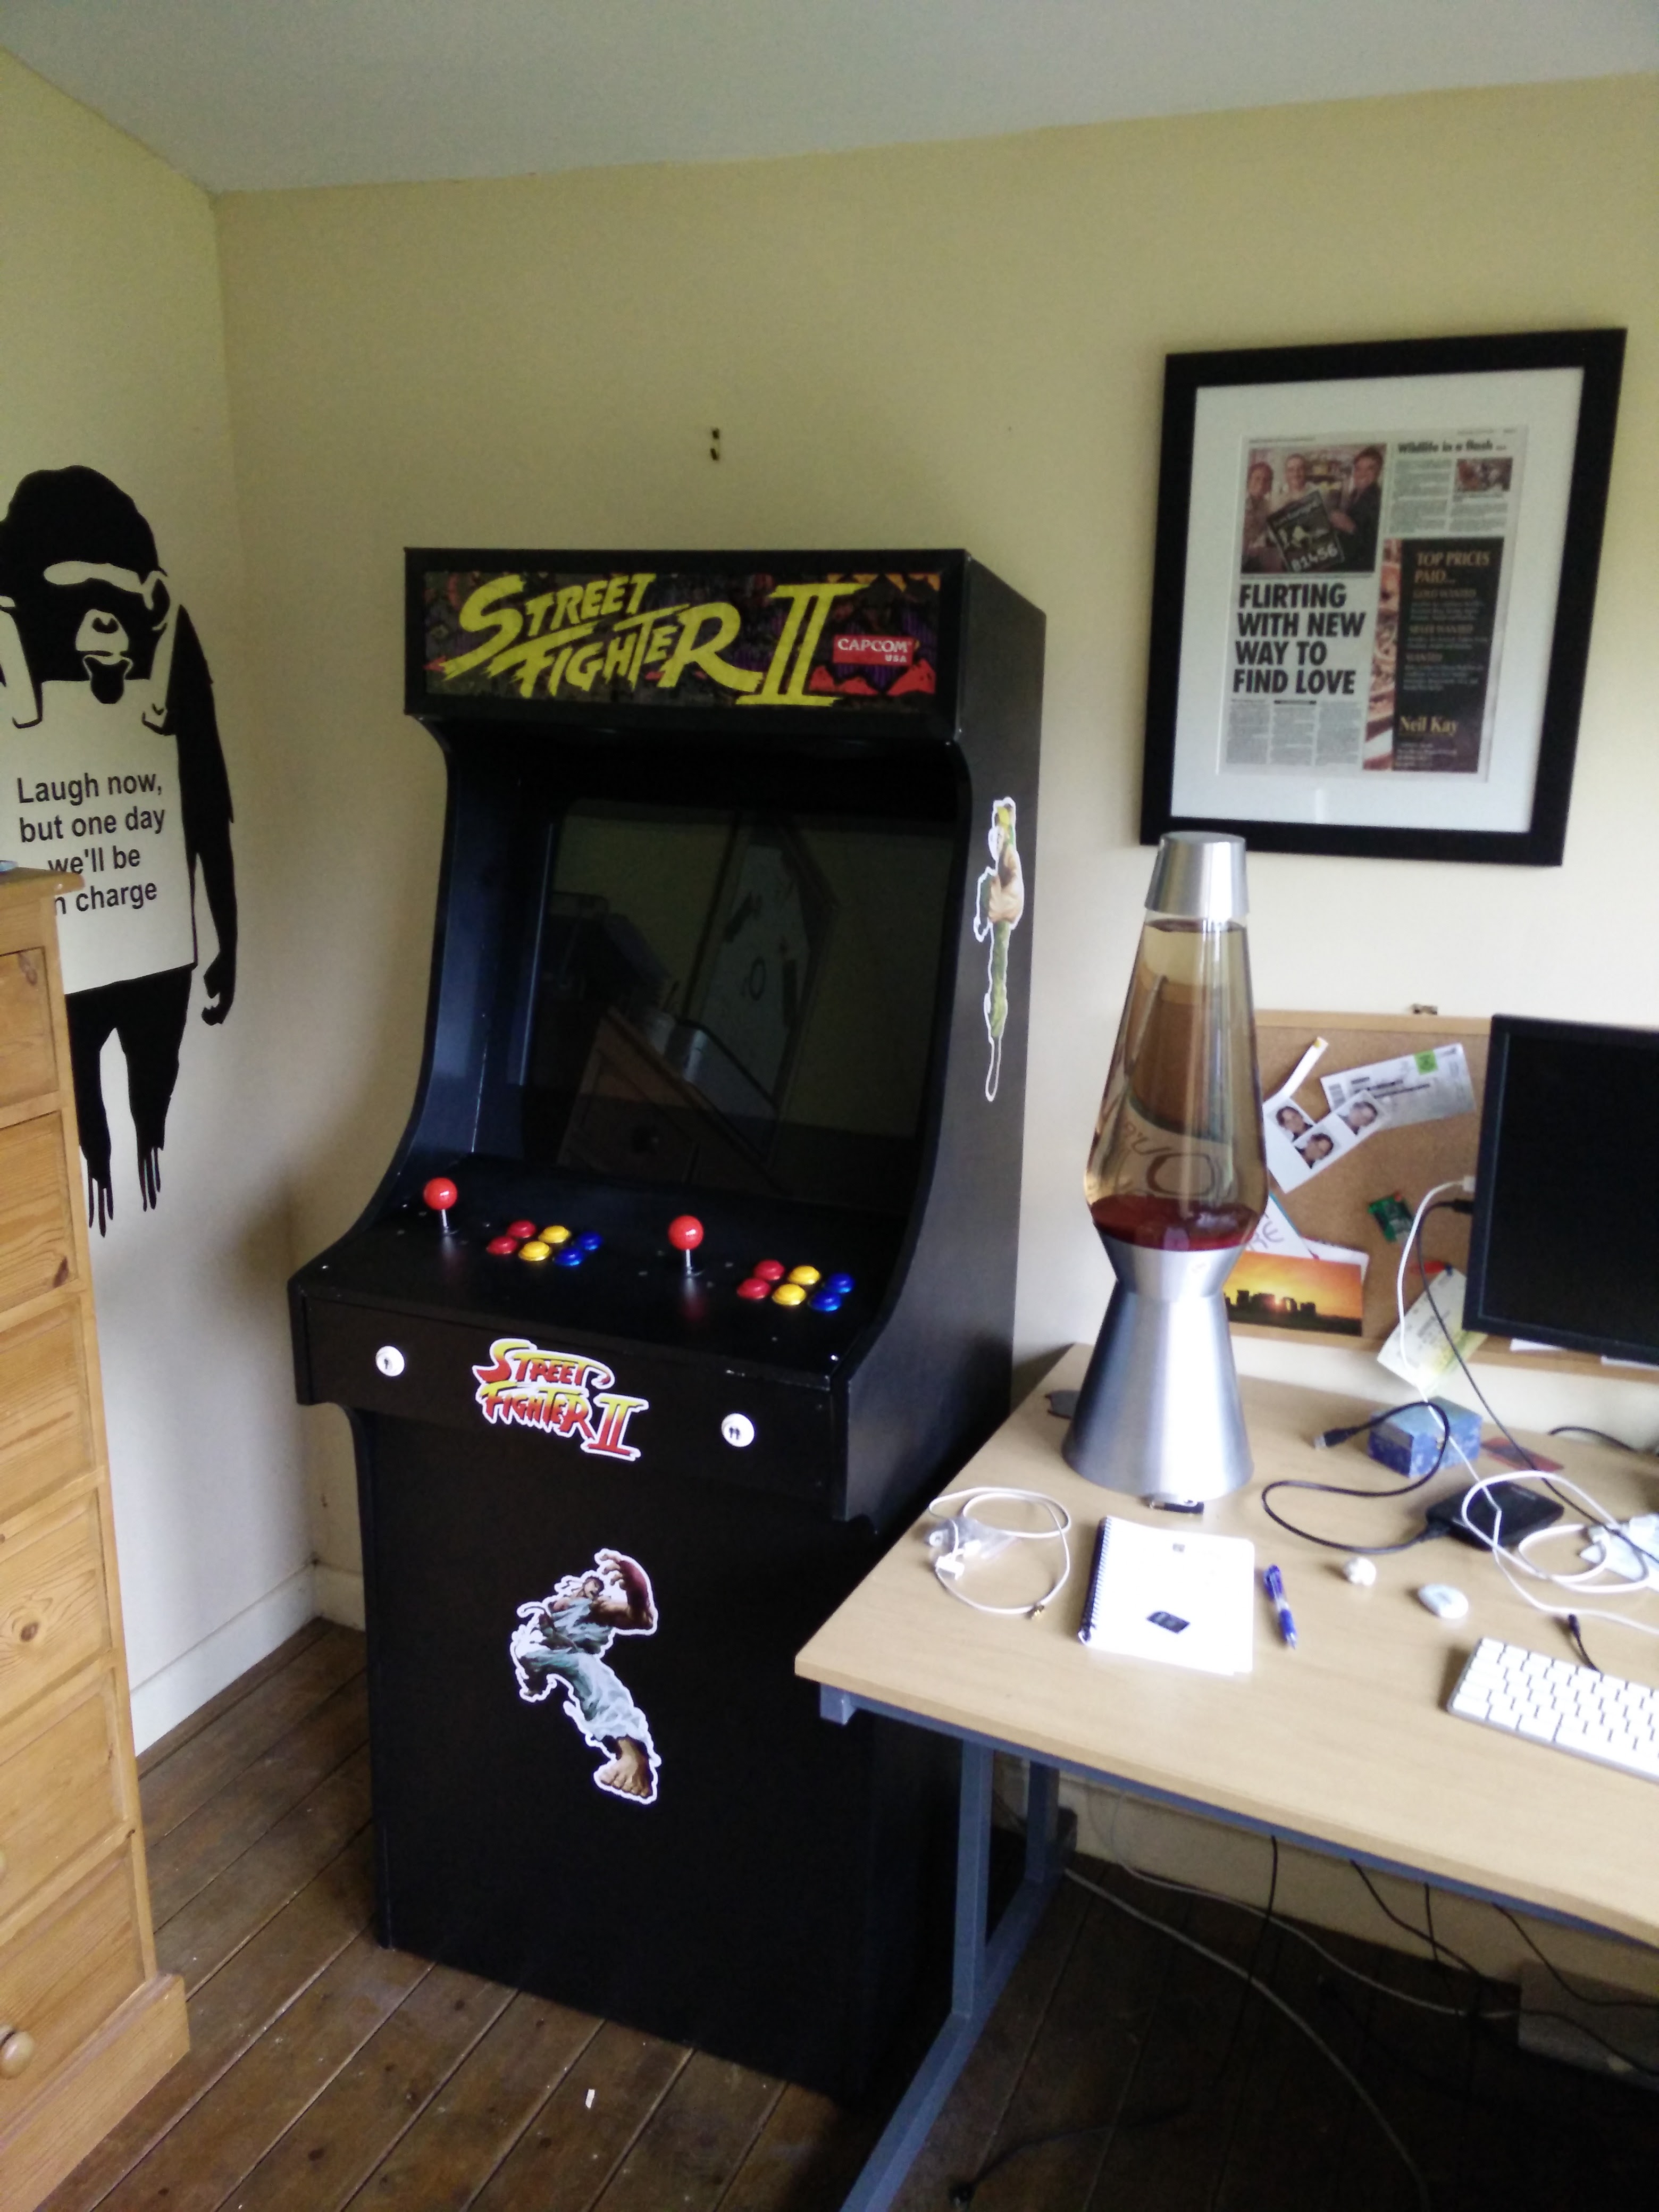
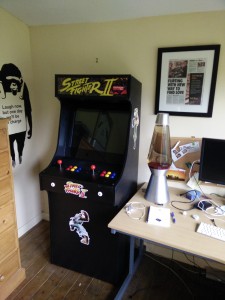
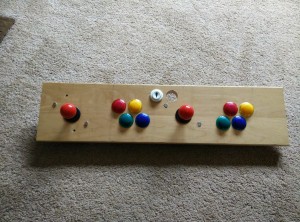
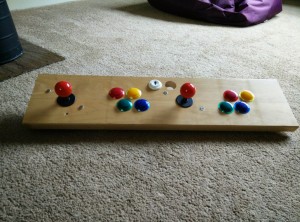
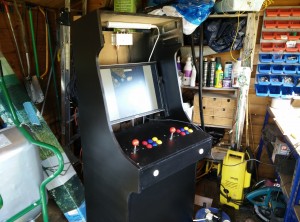
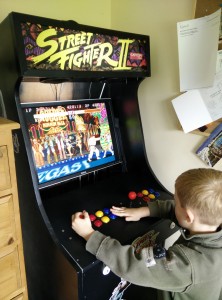
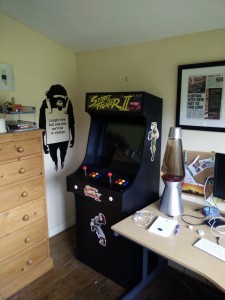
For those that can’t be bothered reading the whole post, here’s the finished product…
For those brave souls that want to spend half an hour reading about how fantastic I think I am…carry on,
It all began about 25 years ago as a poor student living in the YMCA in Cambridge where there was the best vertical shoot em up [ vshmup ] ever. Image Fight. I used to pour all of my student grant into this game and would play for hours. Then I found the mame ROM and decided I just had to recreate my lost youth.
I found some plans for an arcade cabinet on the interbobs, http://www.koenigs.dk/mame/eng/draw.htm
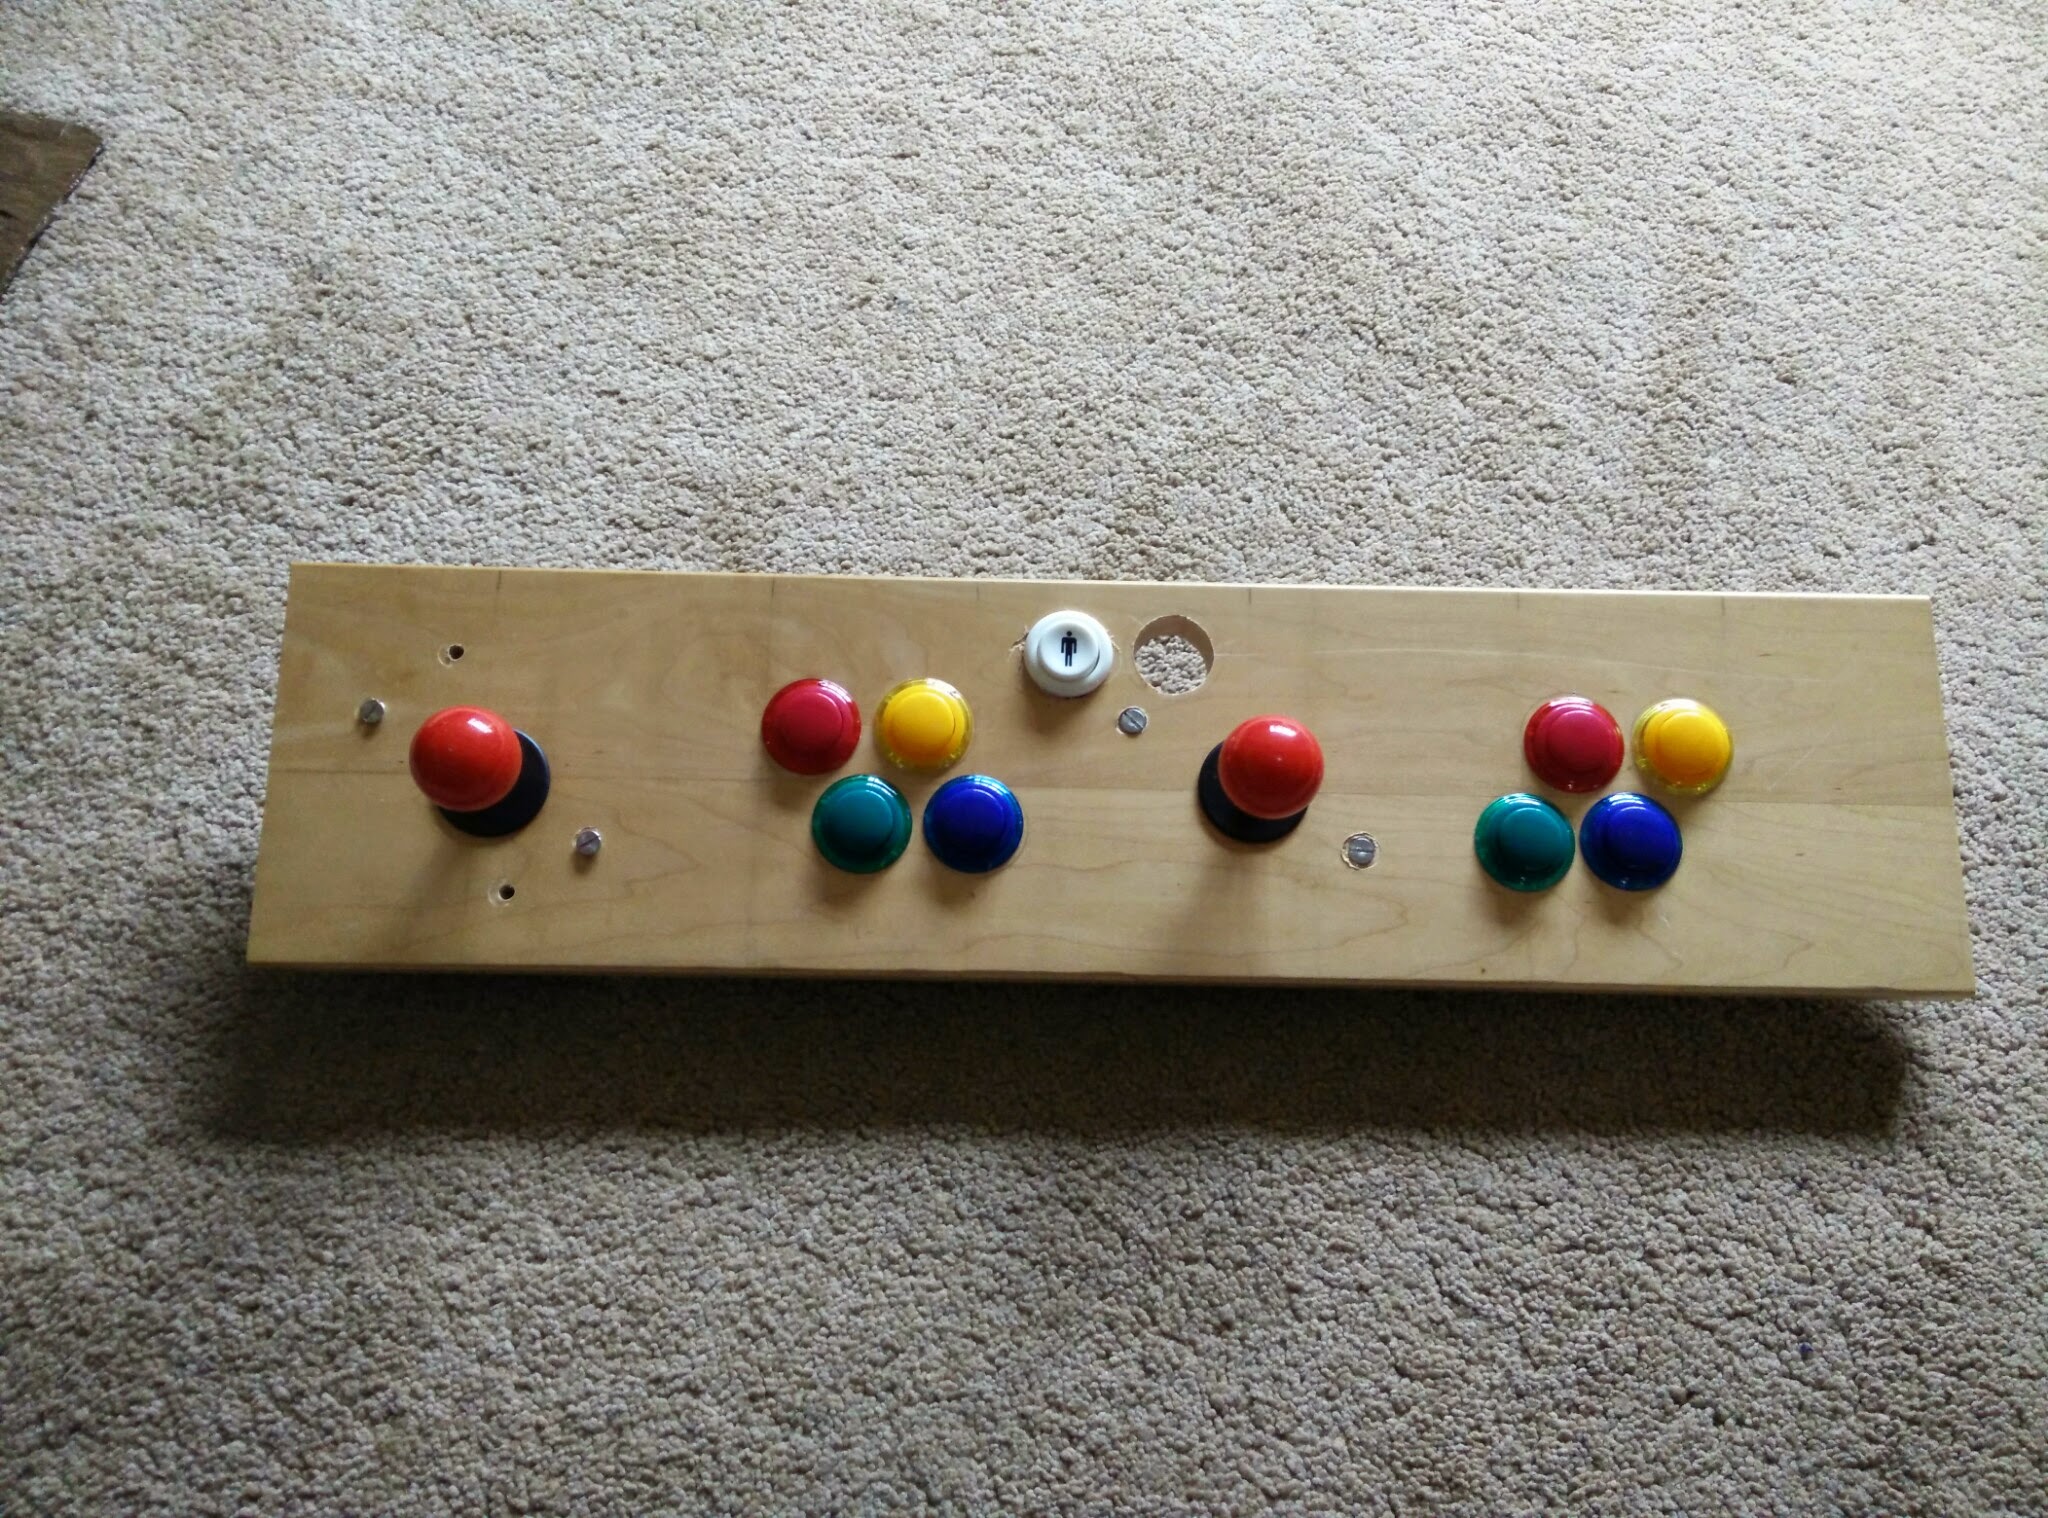
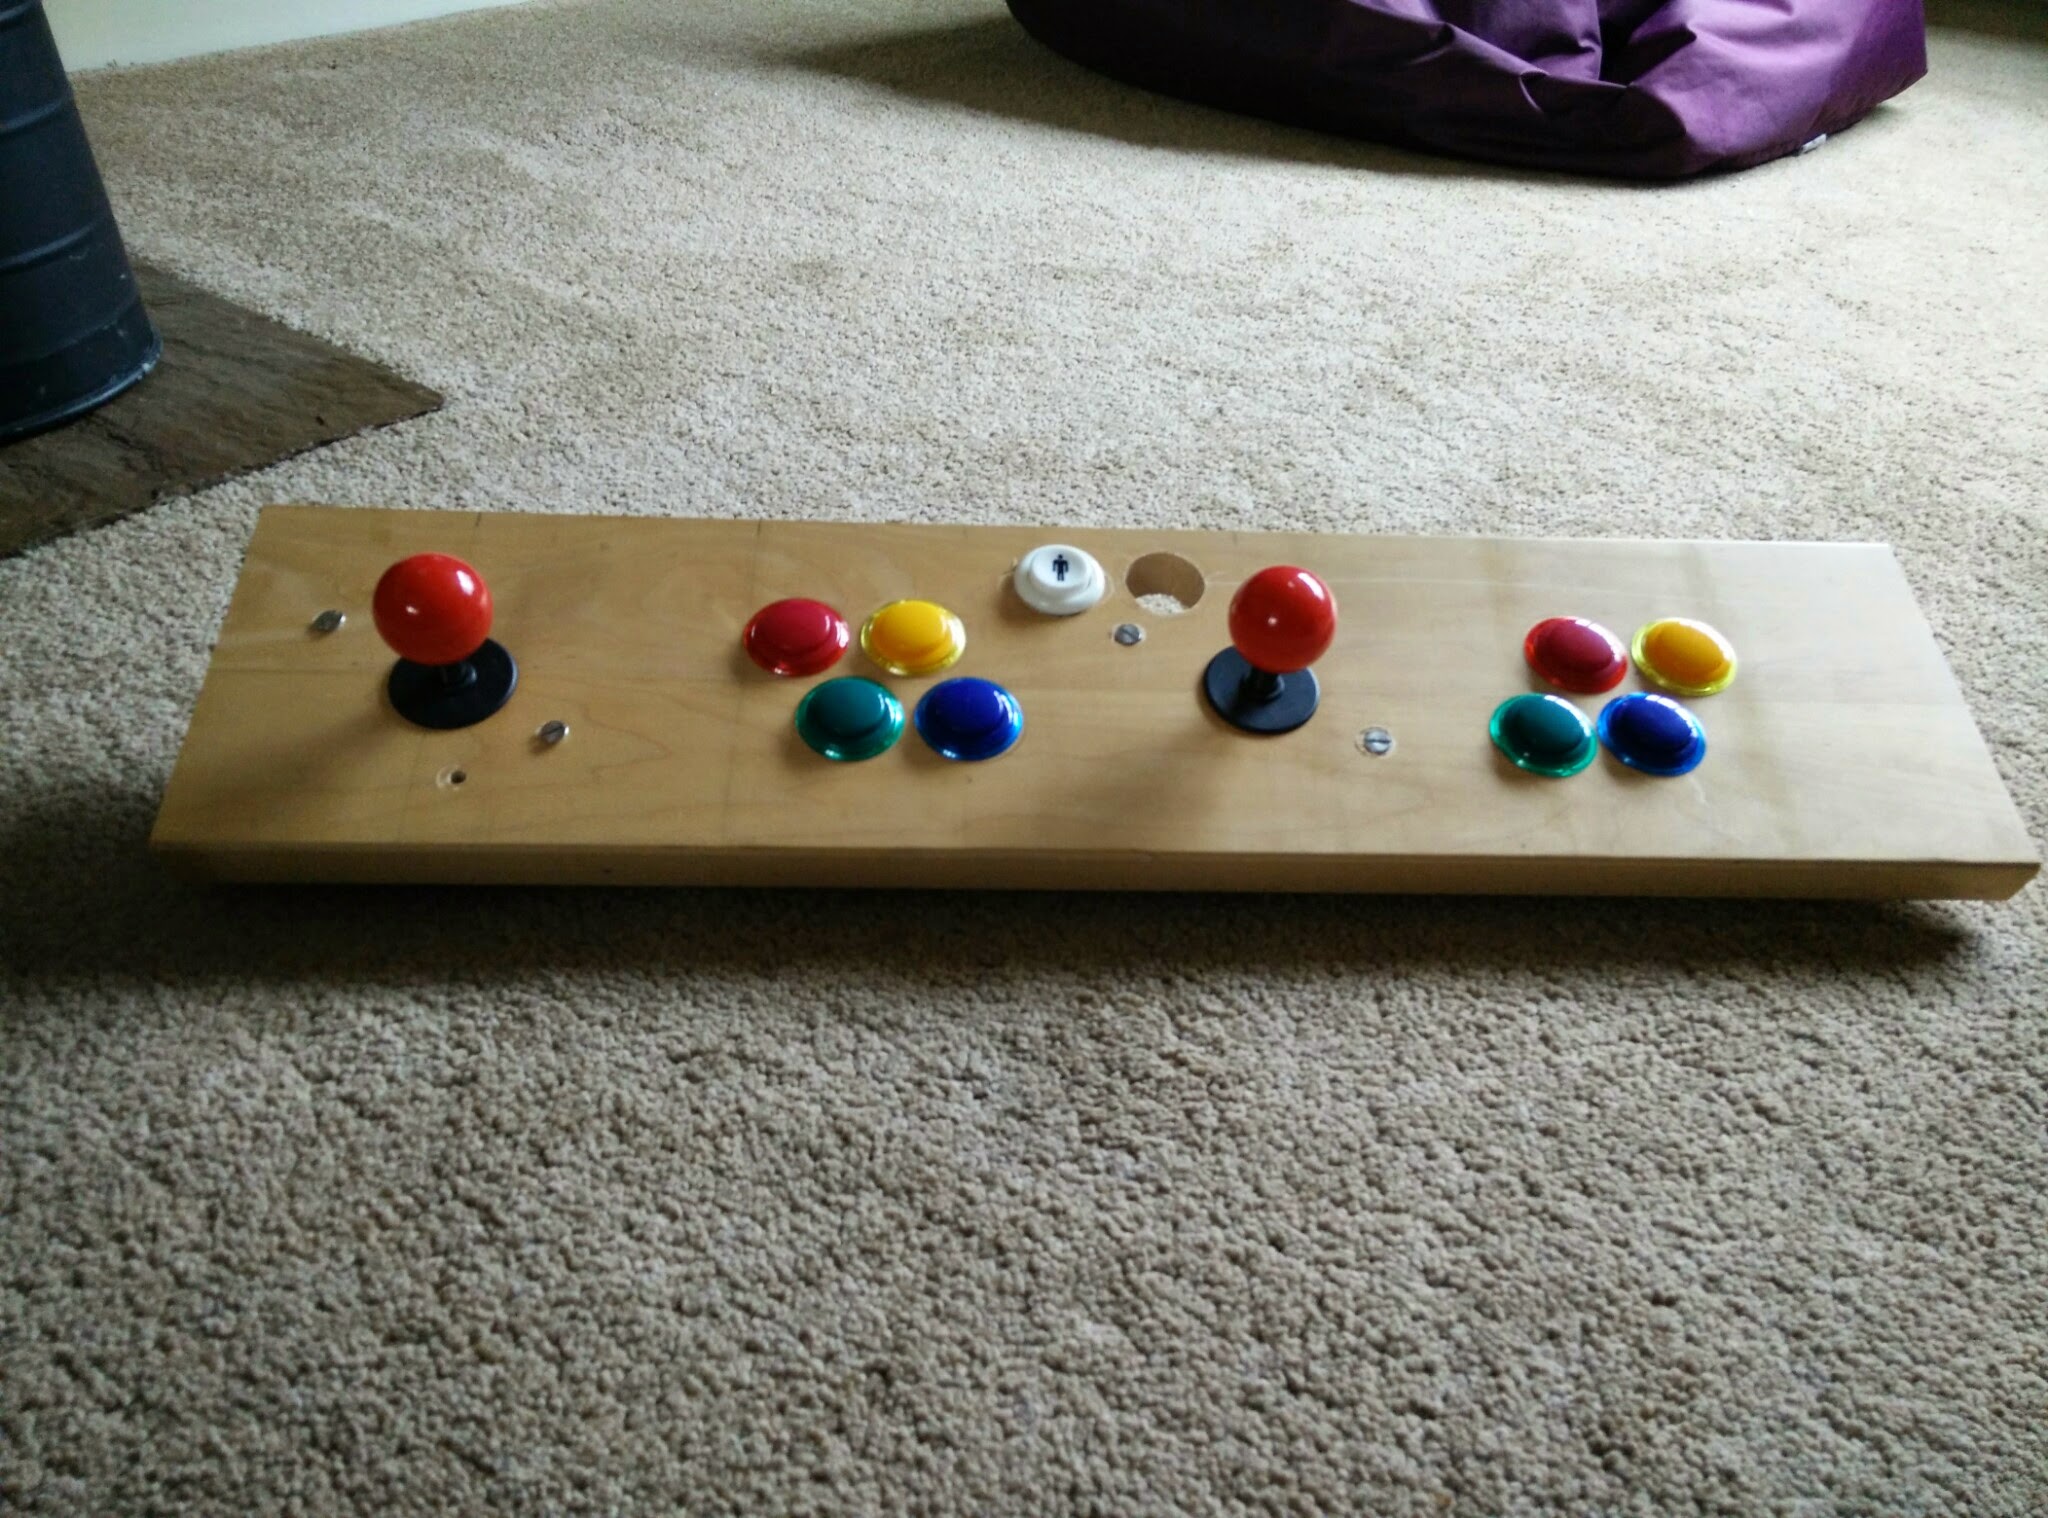
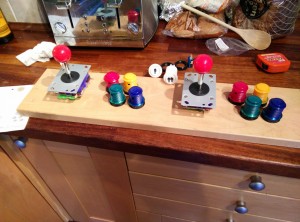
I started by designing and prototyping the controls. I bought the controls on eBay for £42. I had initially planned to just have four buttons on the controls, but Andy Nugent persuaded me to go with 6 buttons to support more games. Good advice Andy.
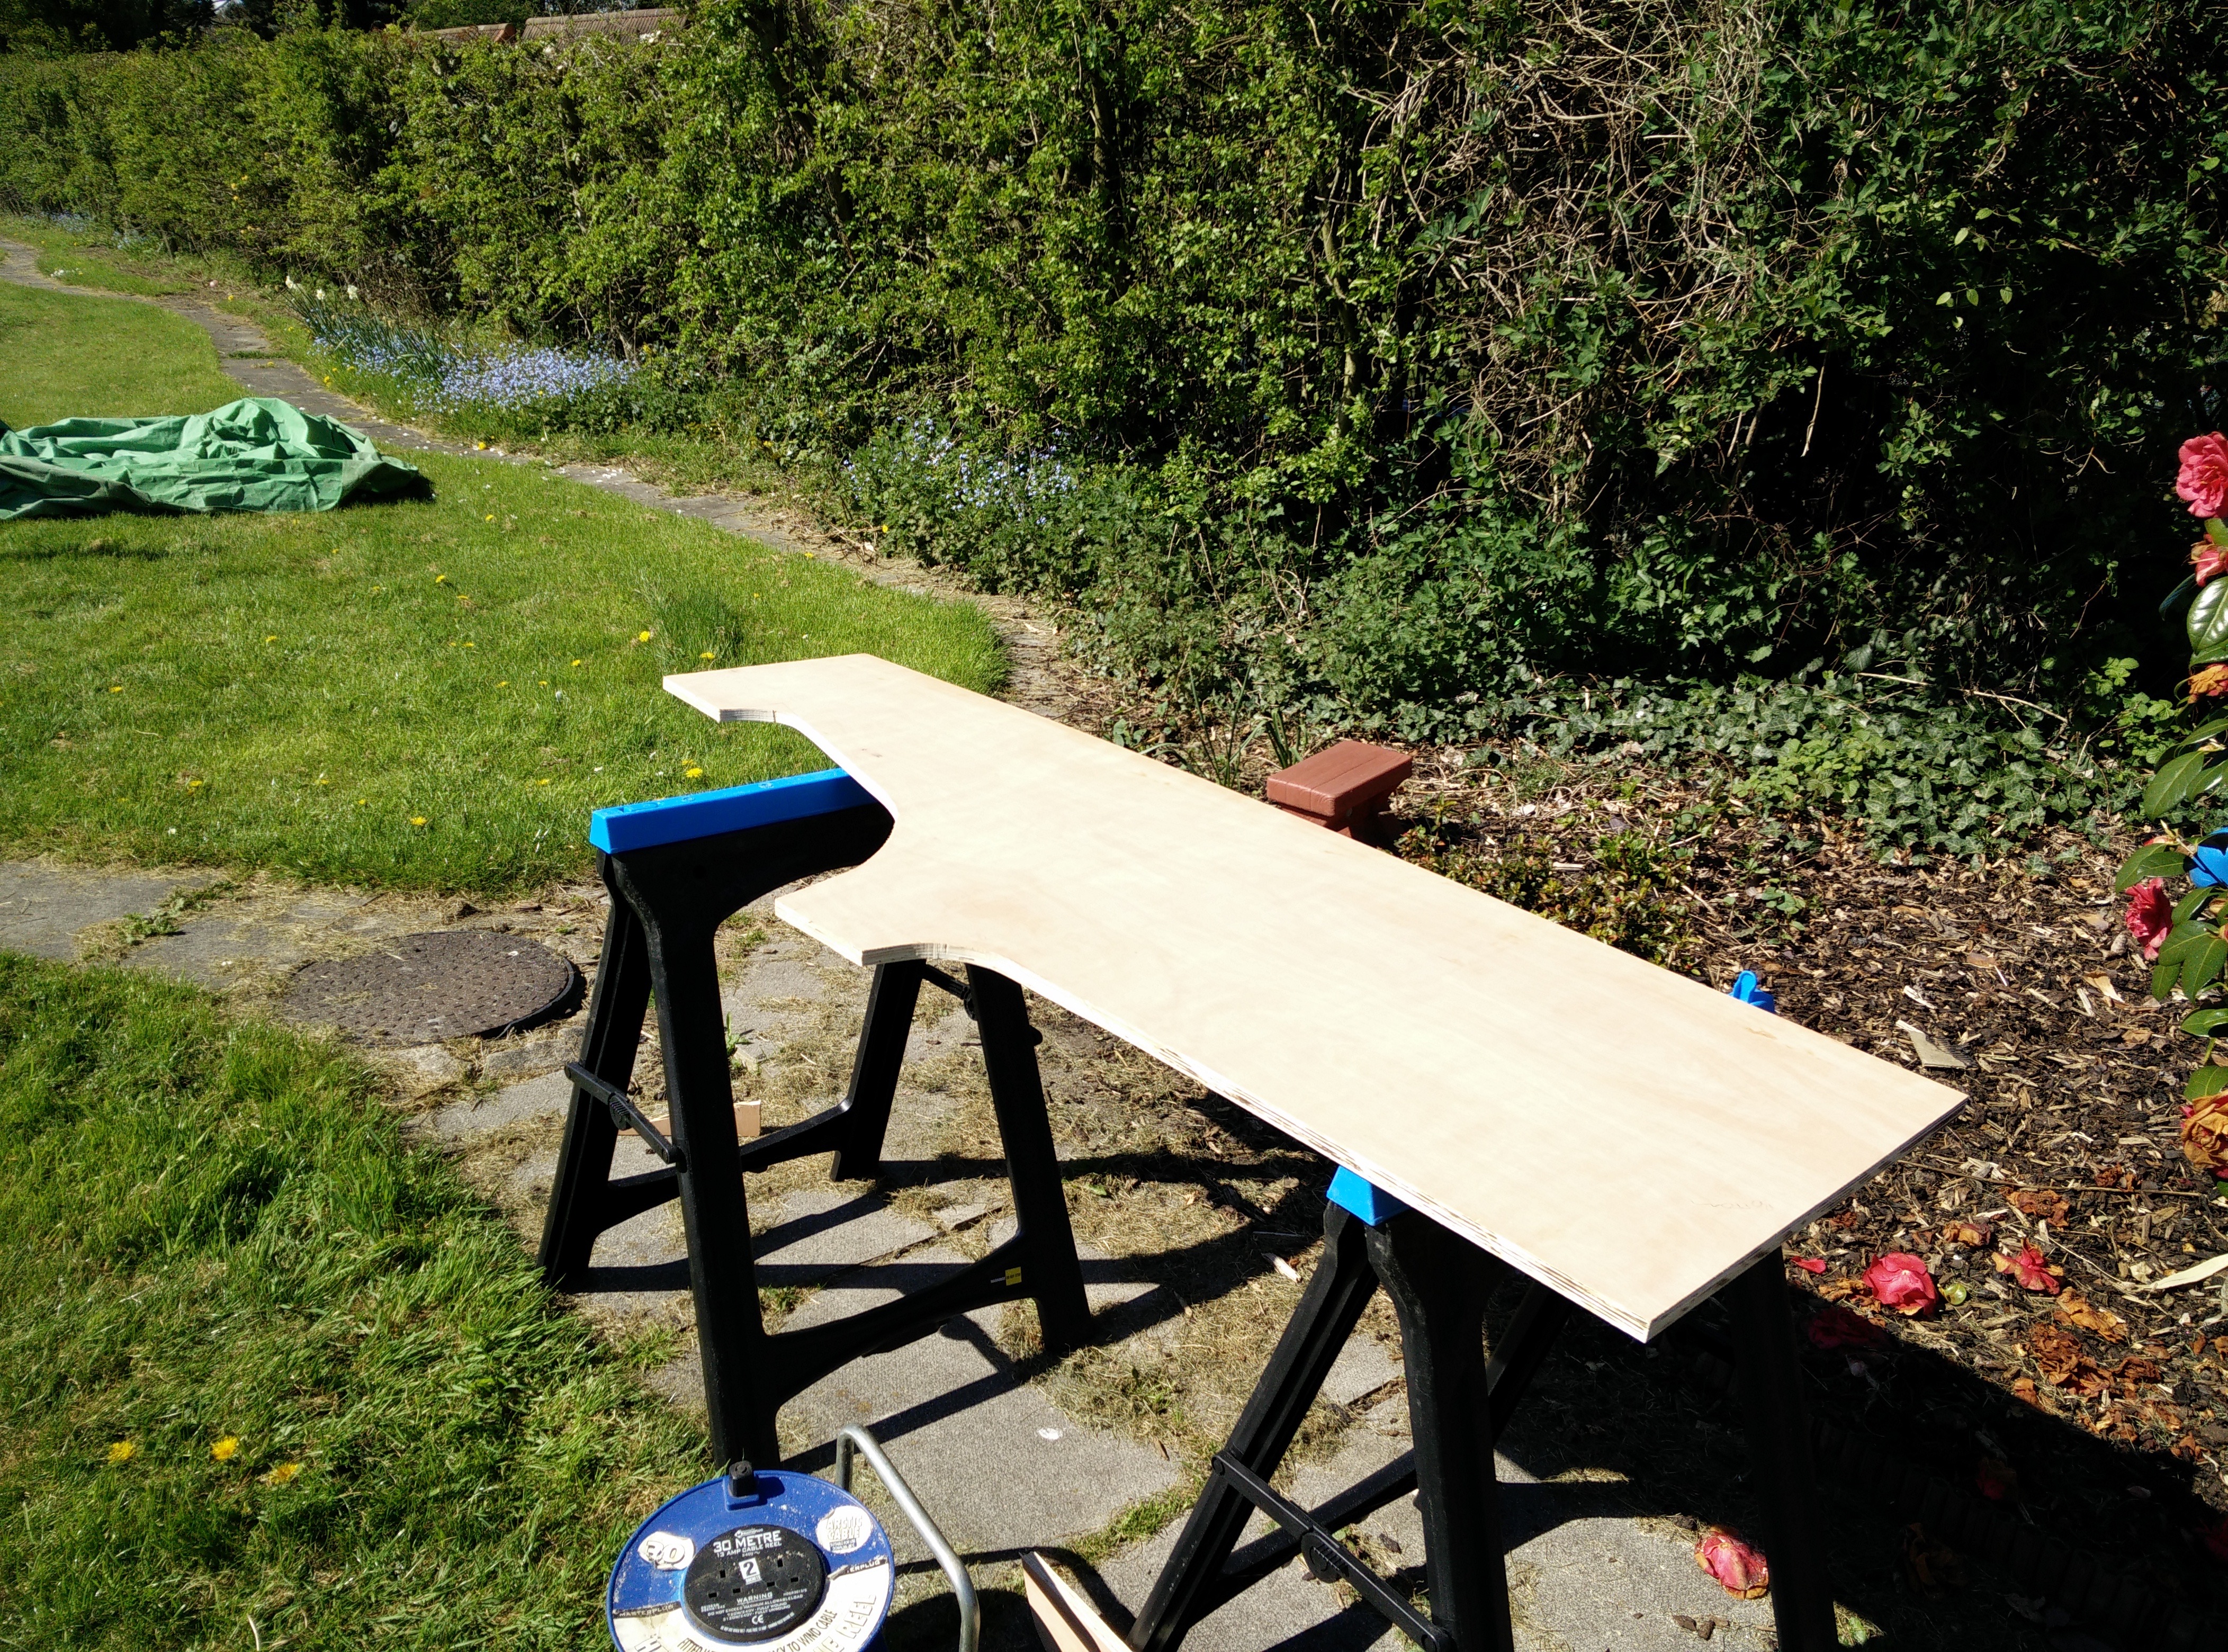
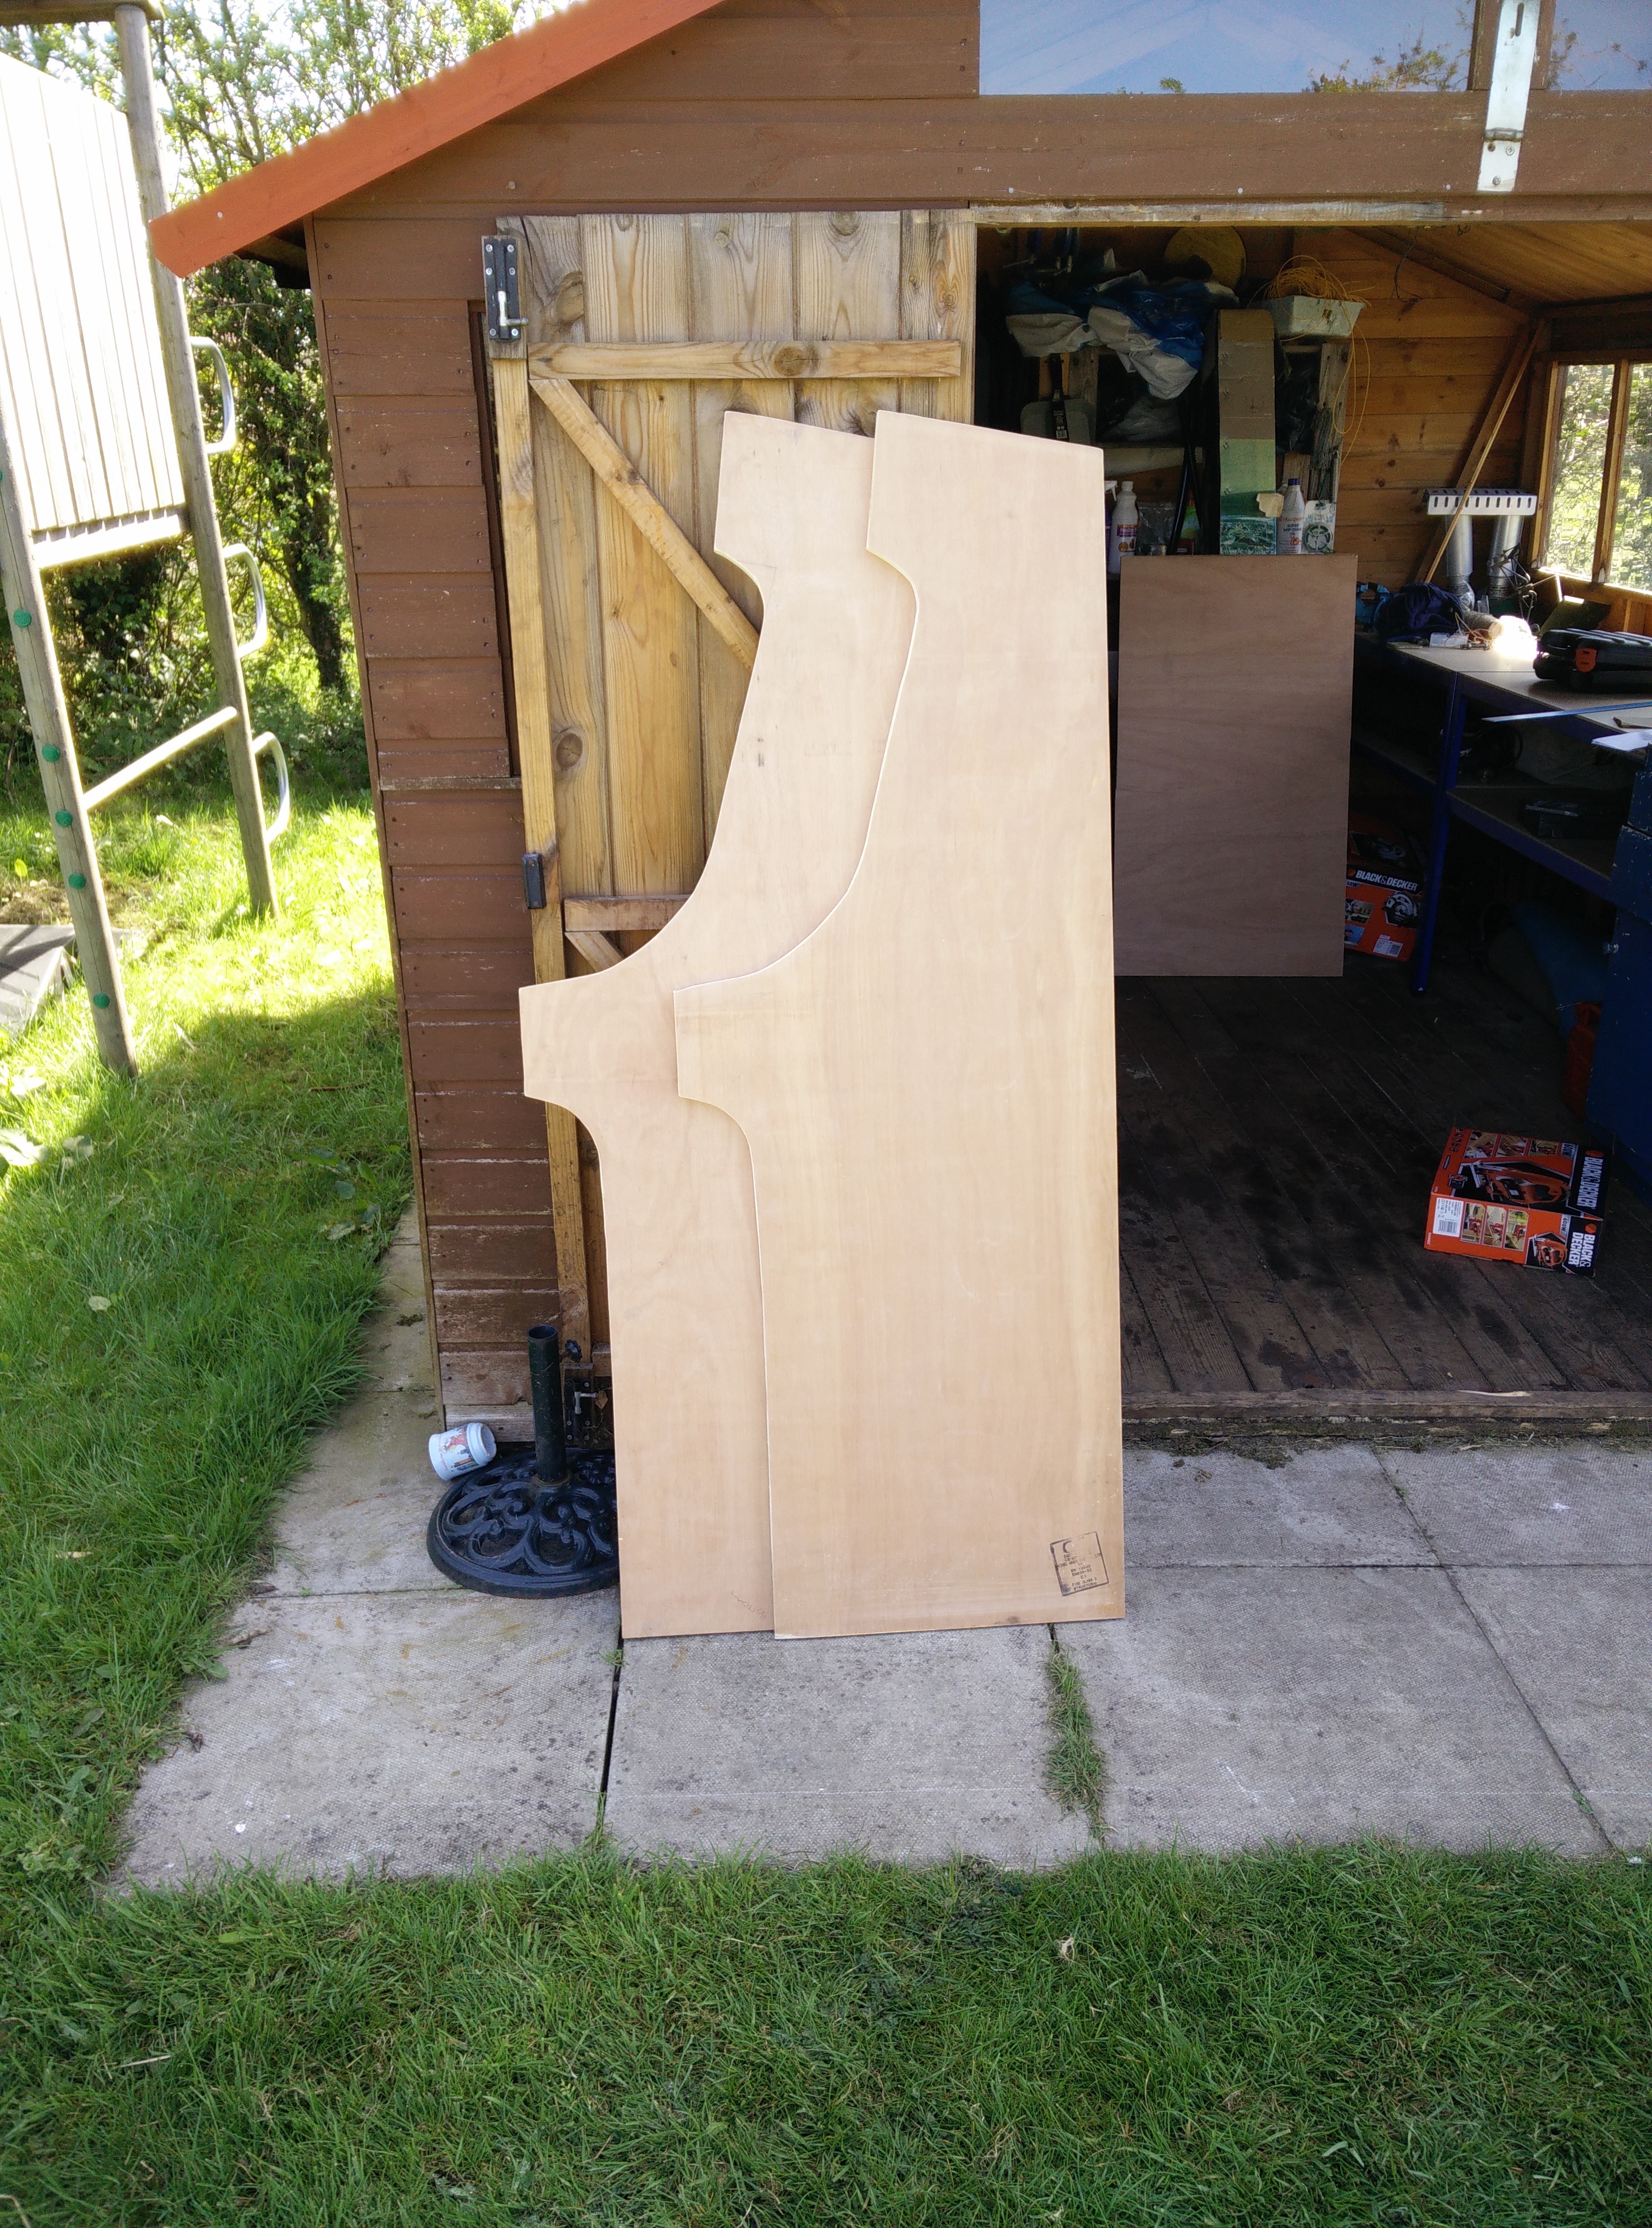
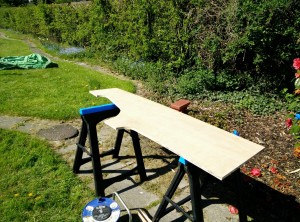
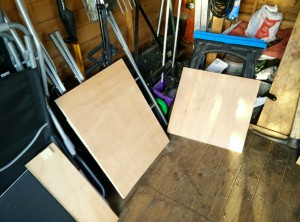
Then I bought some plywood for a cost of about £70. I went for 18mm plywood to make the whole cabinet heavy and sturdy. I’d consider using MDF in the future, or when I really get the hang of it I’d make an oak cabinet.
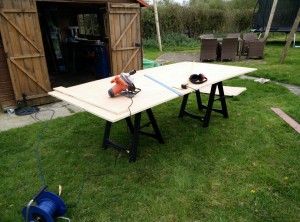
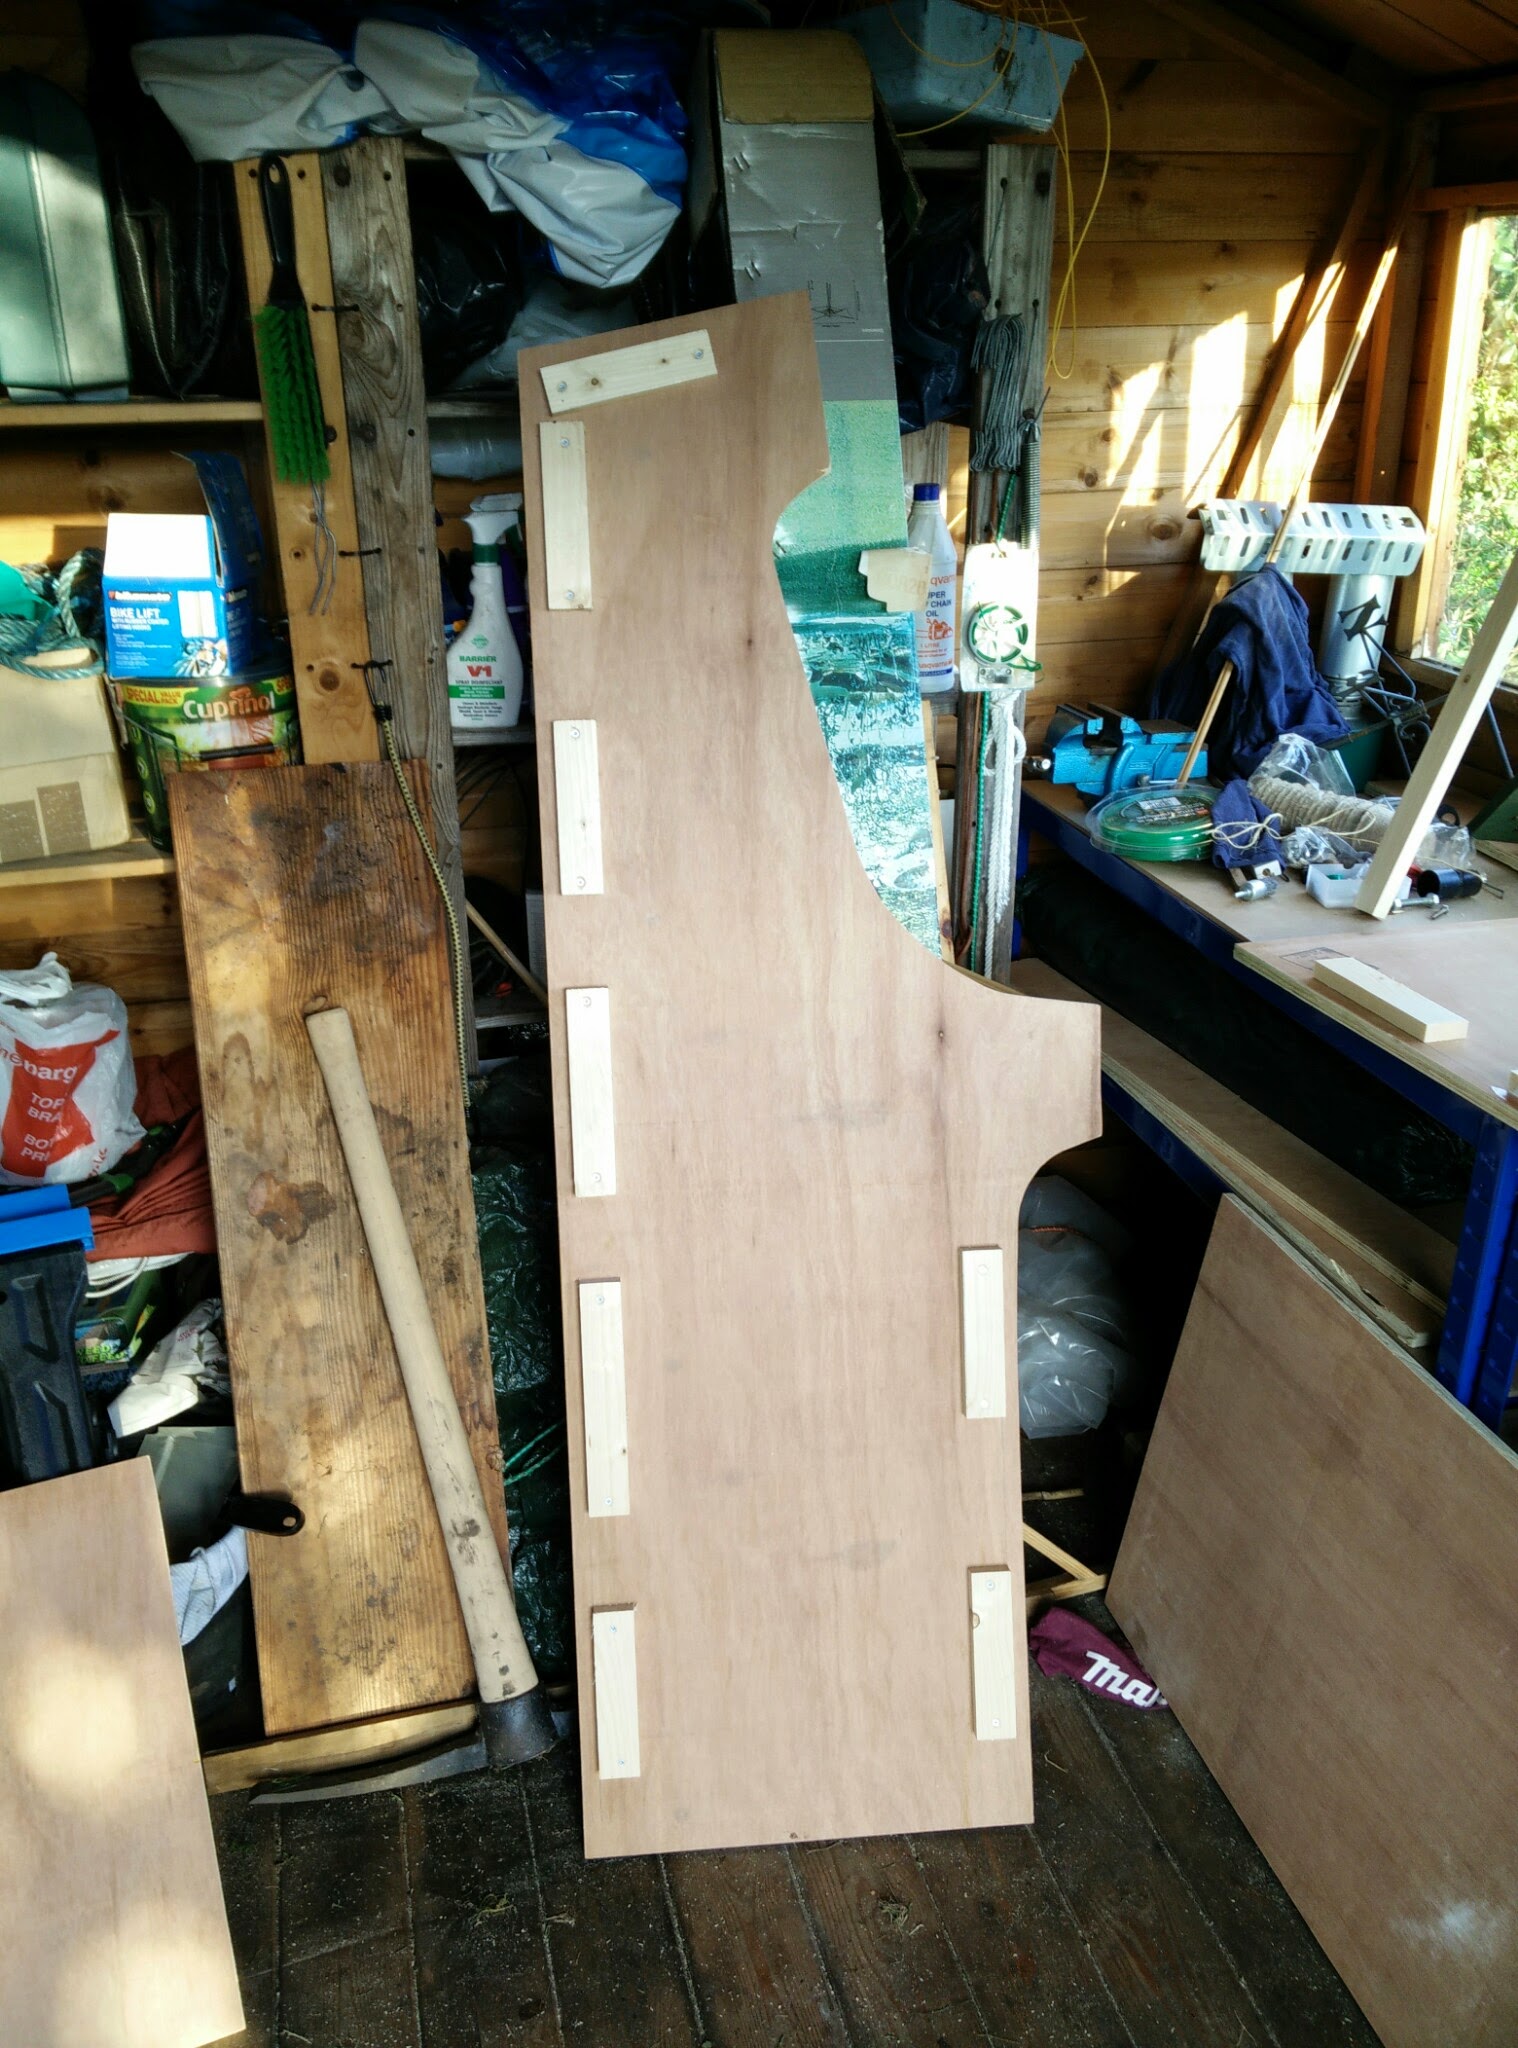
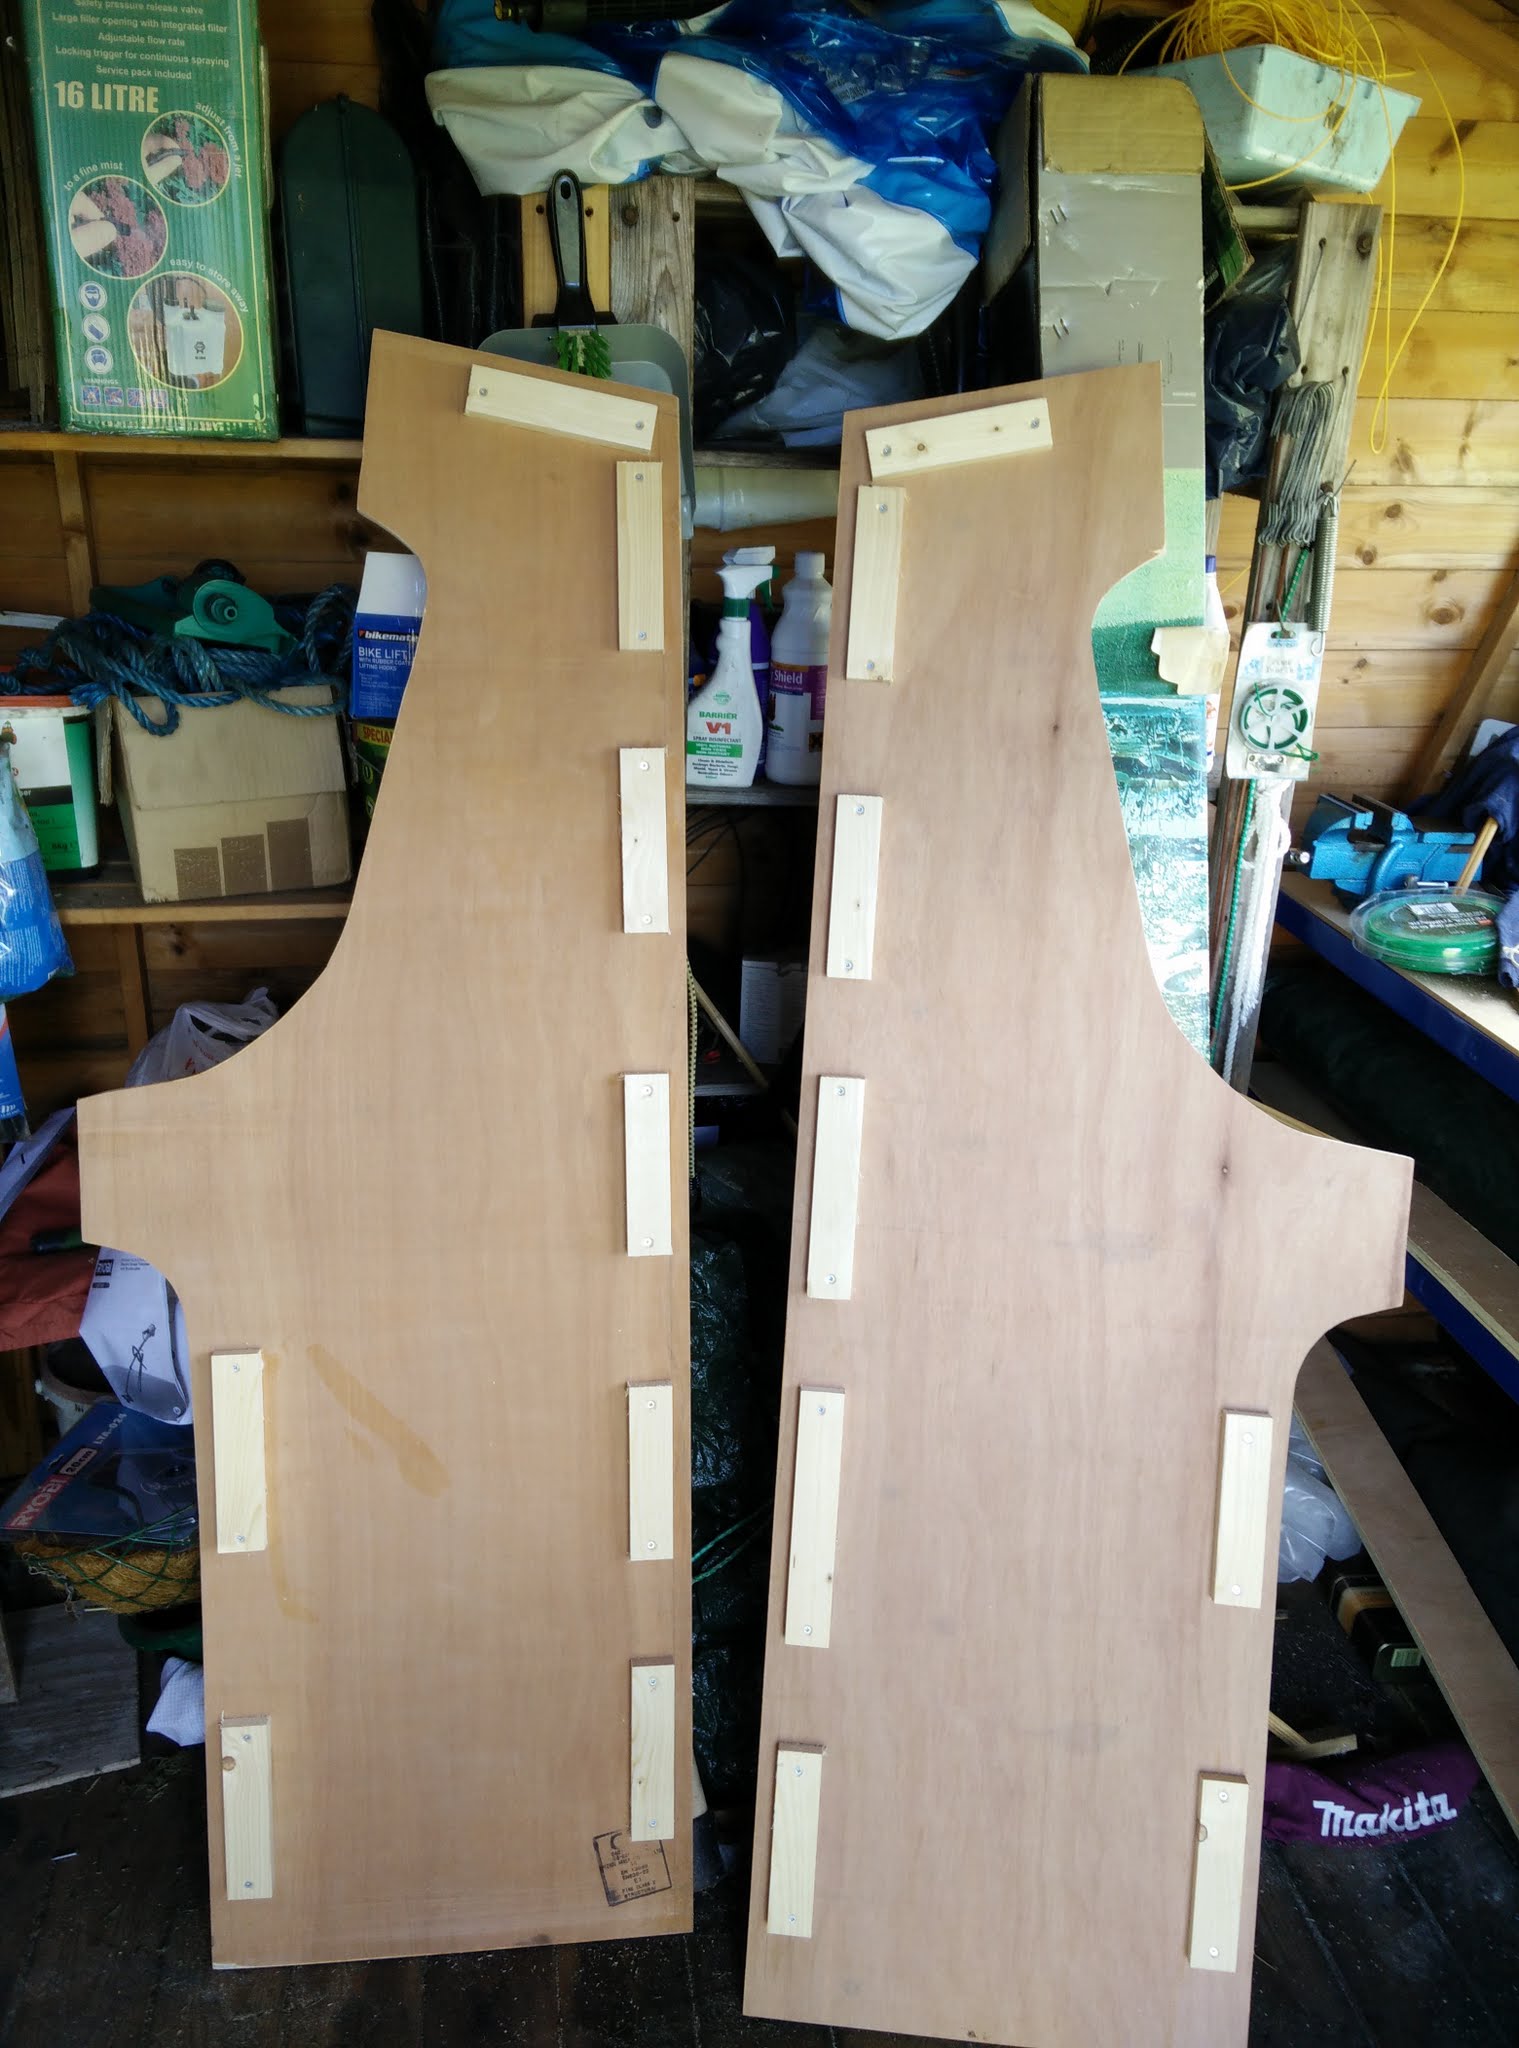
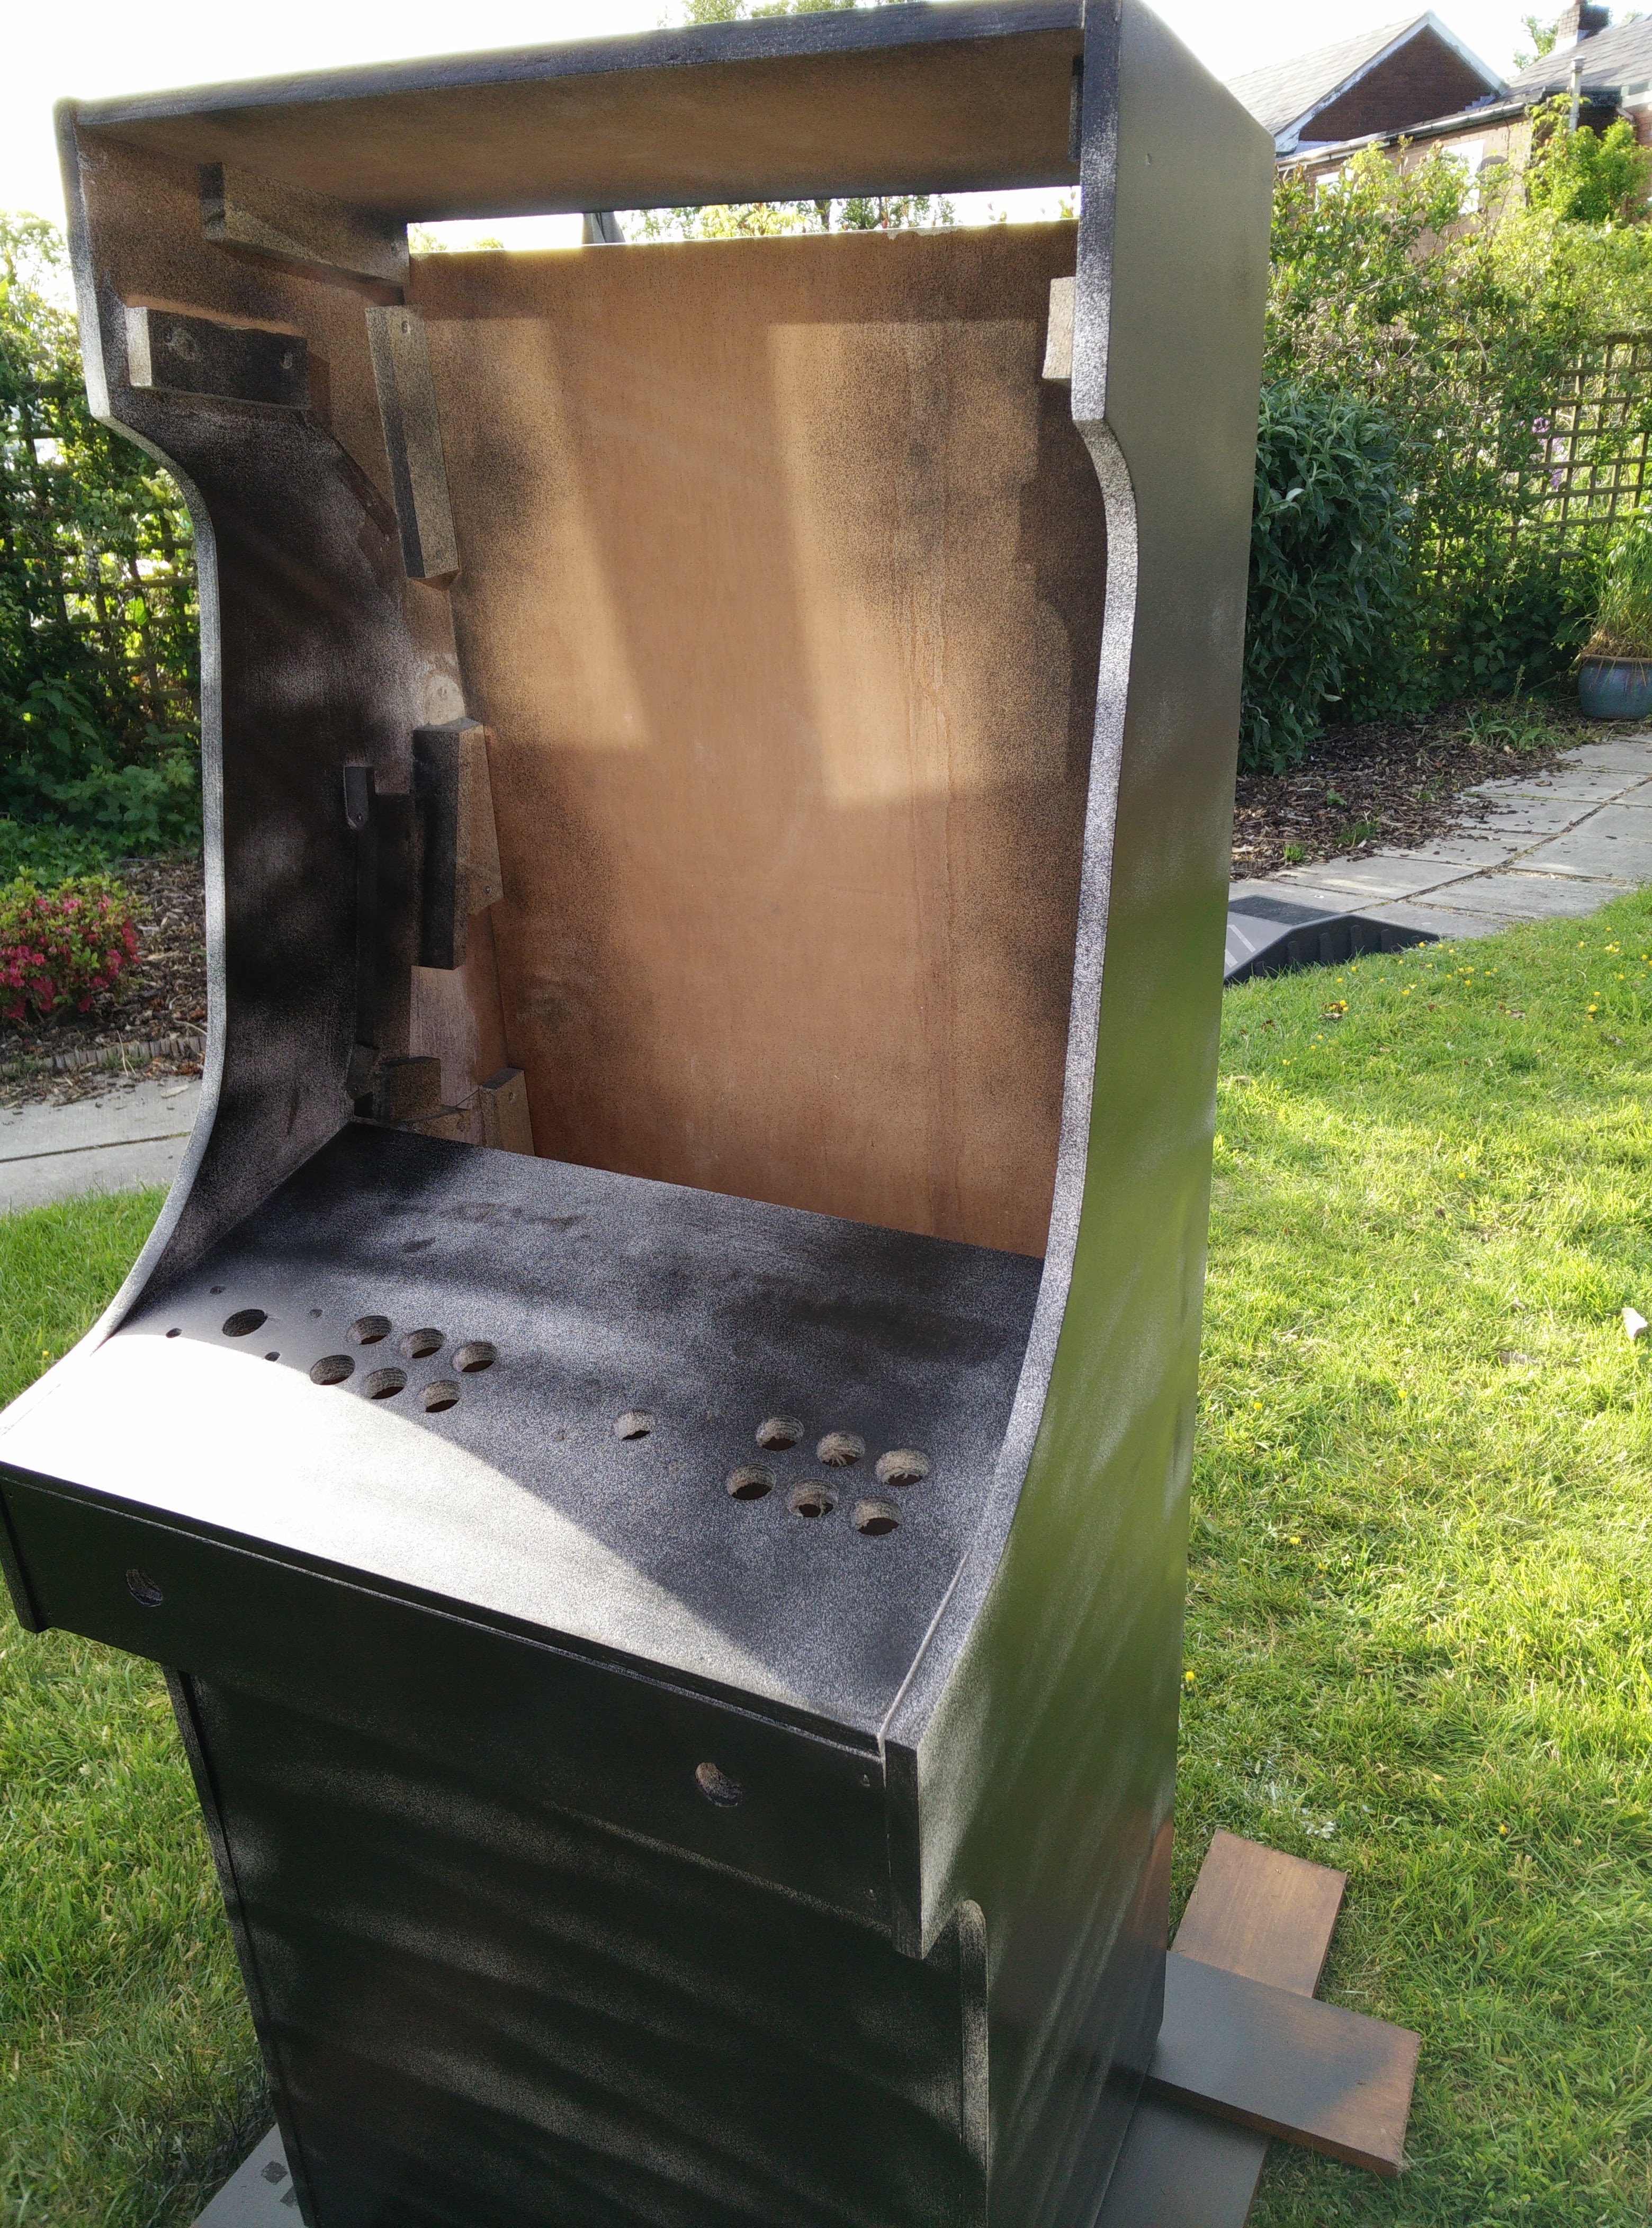
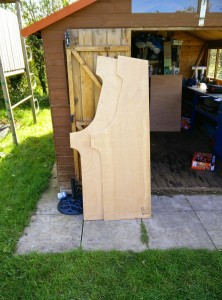
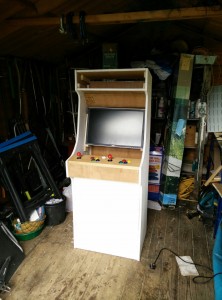
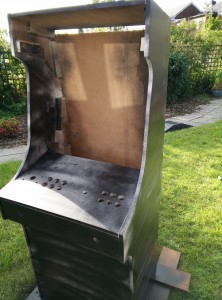
It was at this point I realised that using a hand saw for this project just wasn’t going to work so I had to buy a circular saw, a jigsaw and finally a router. After some arse twitching moments using dangerously dangerous power tools I ended up with my basic frame


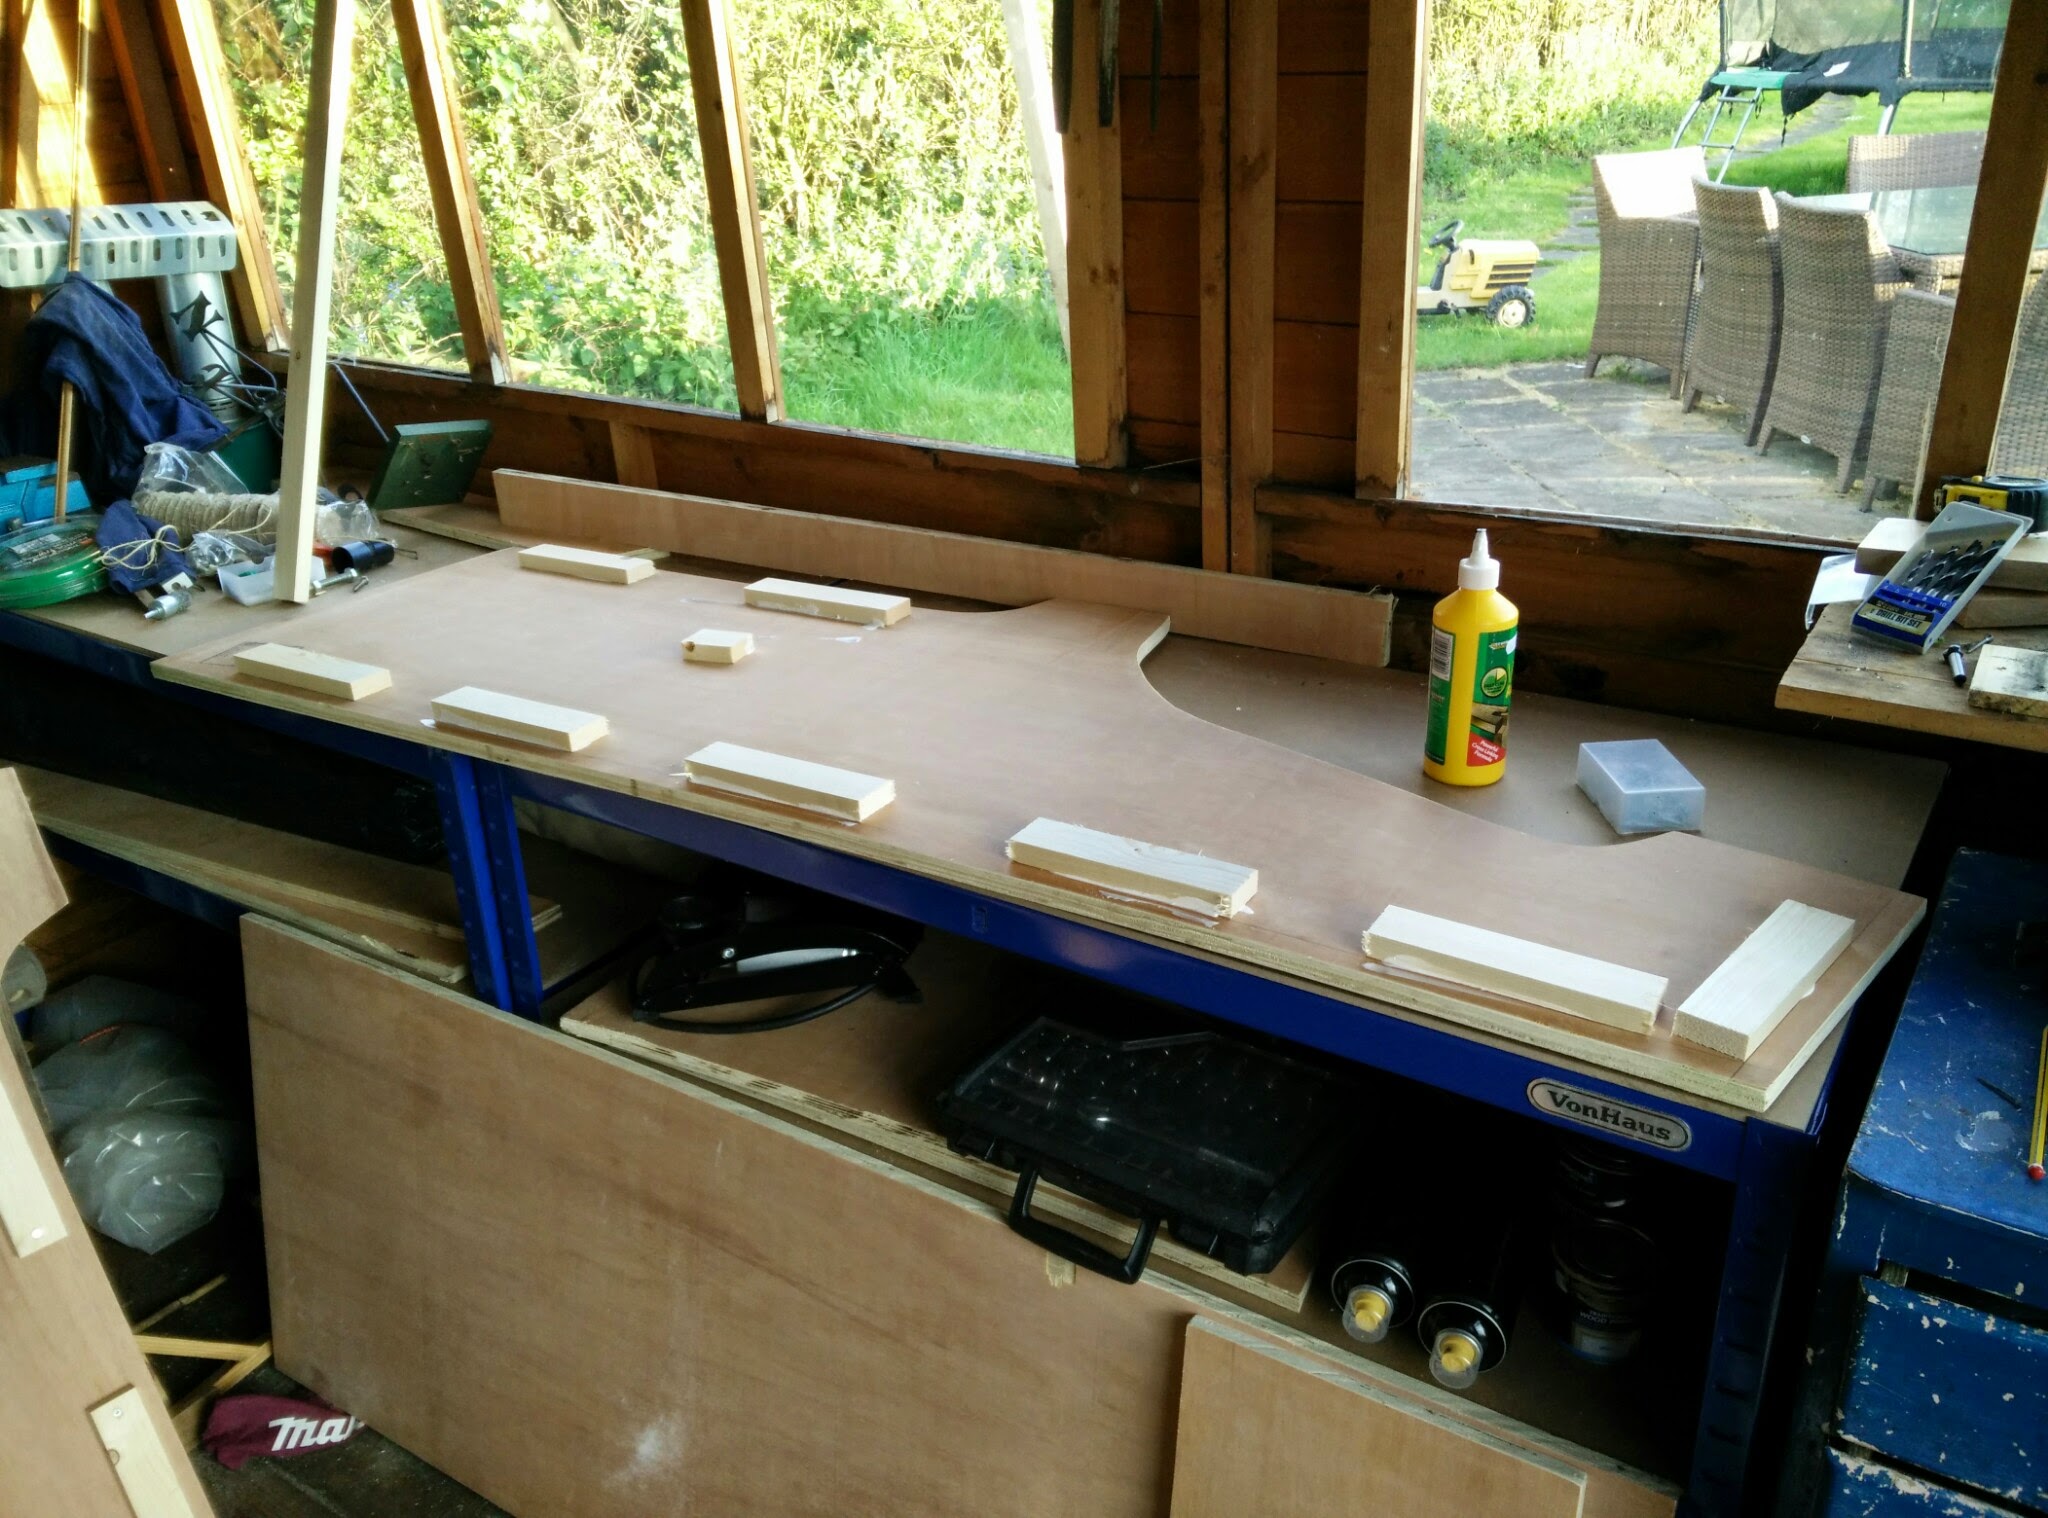
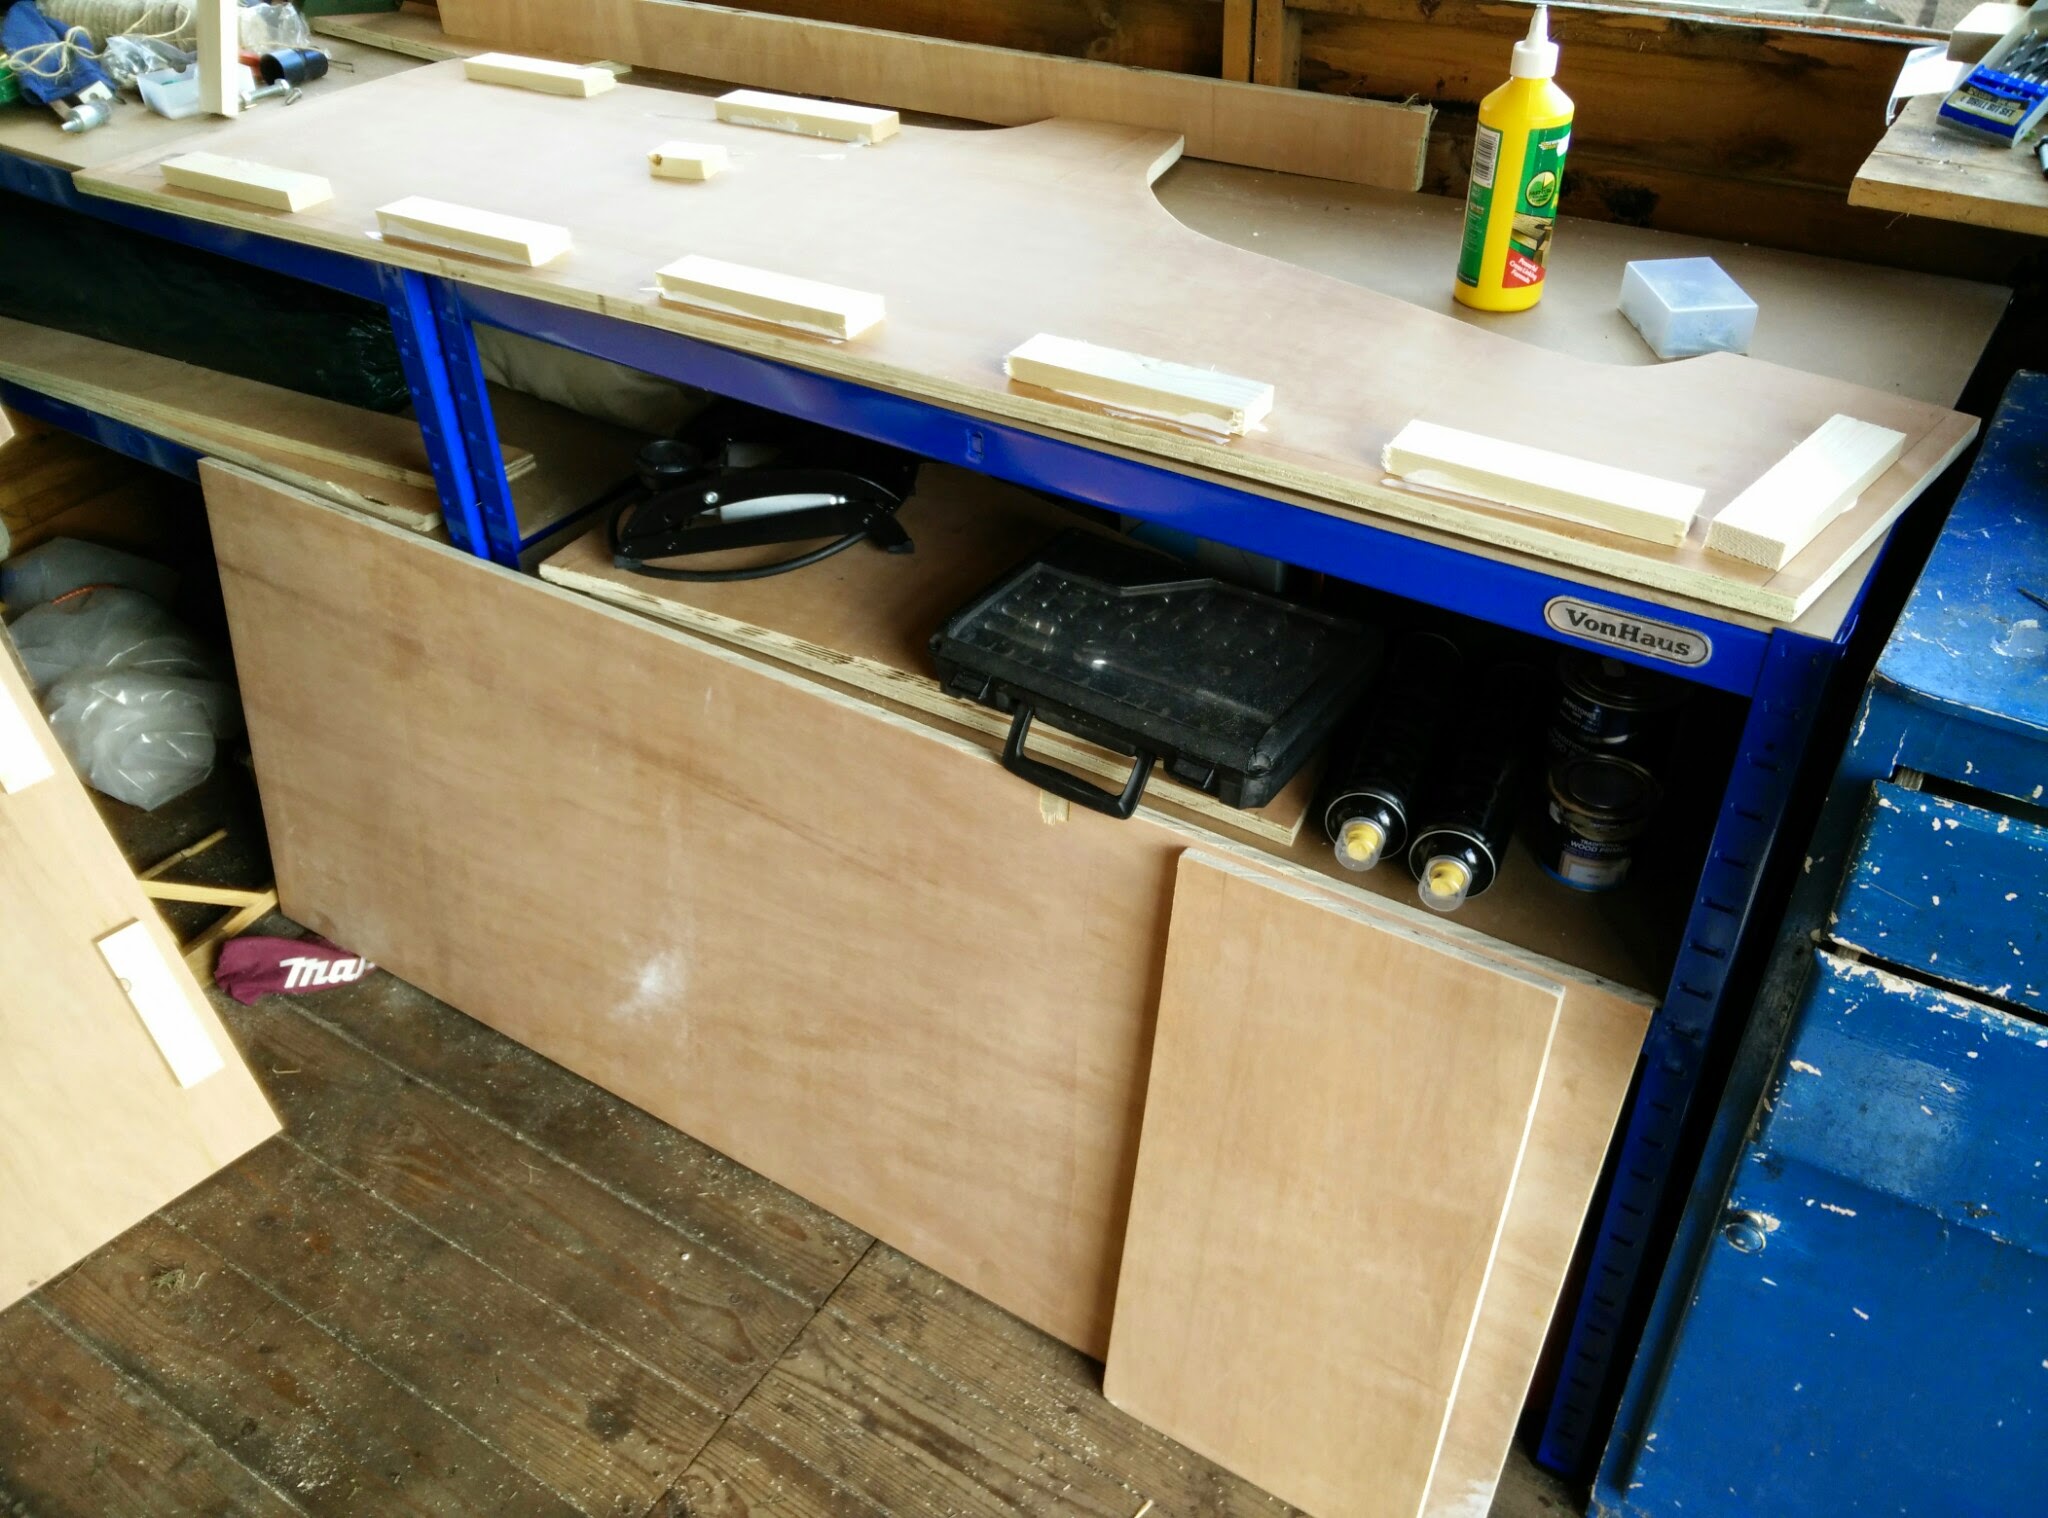
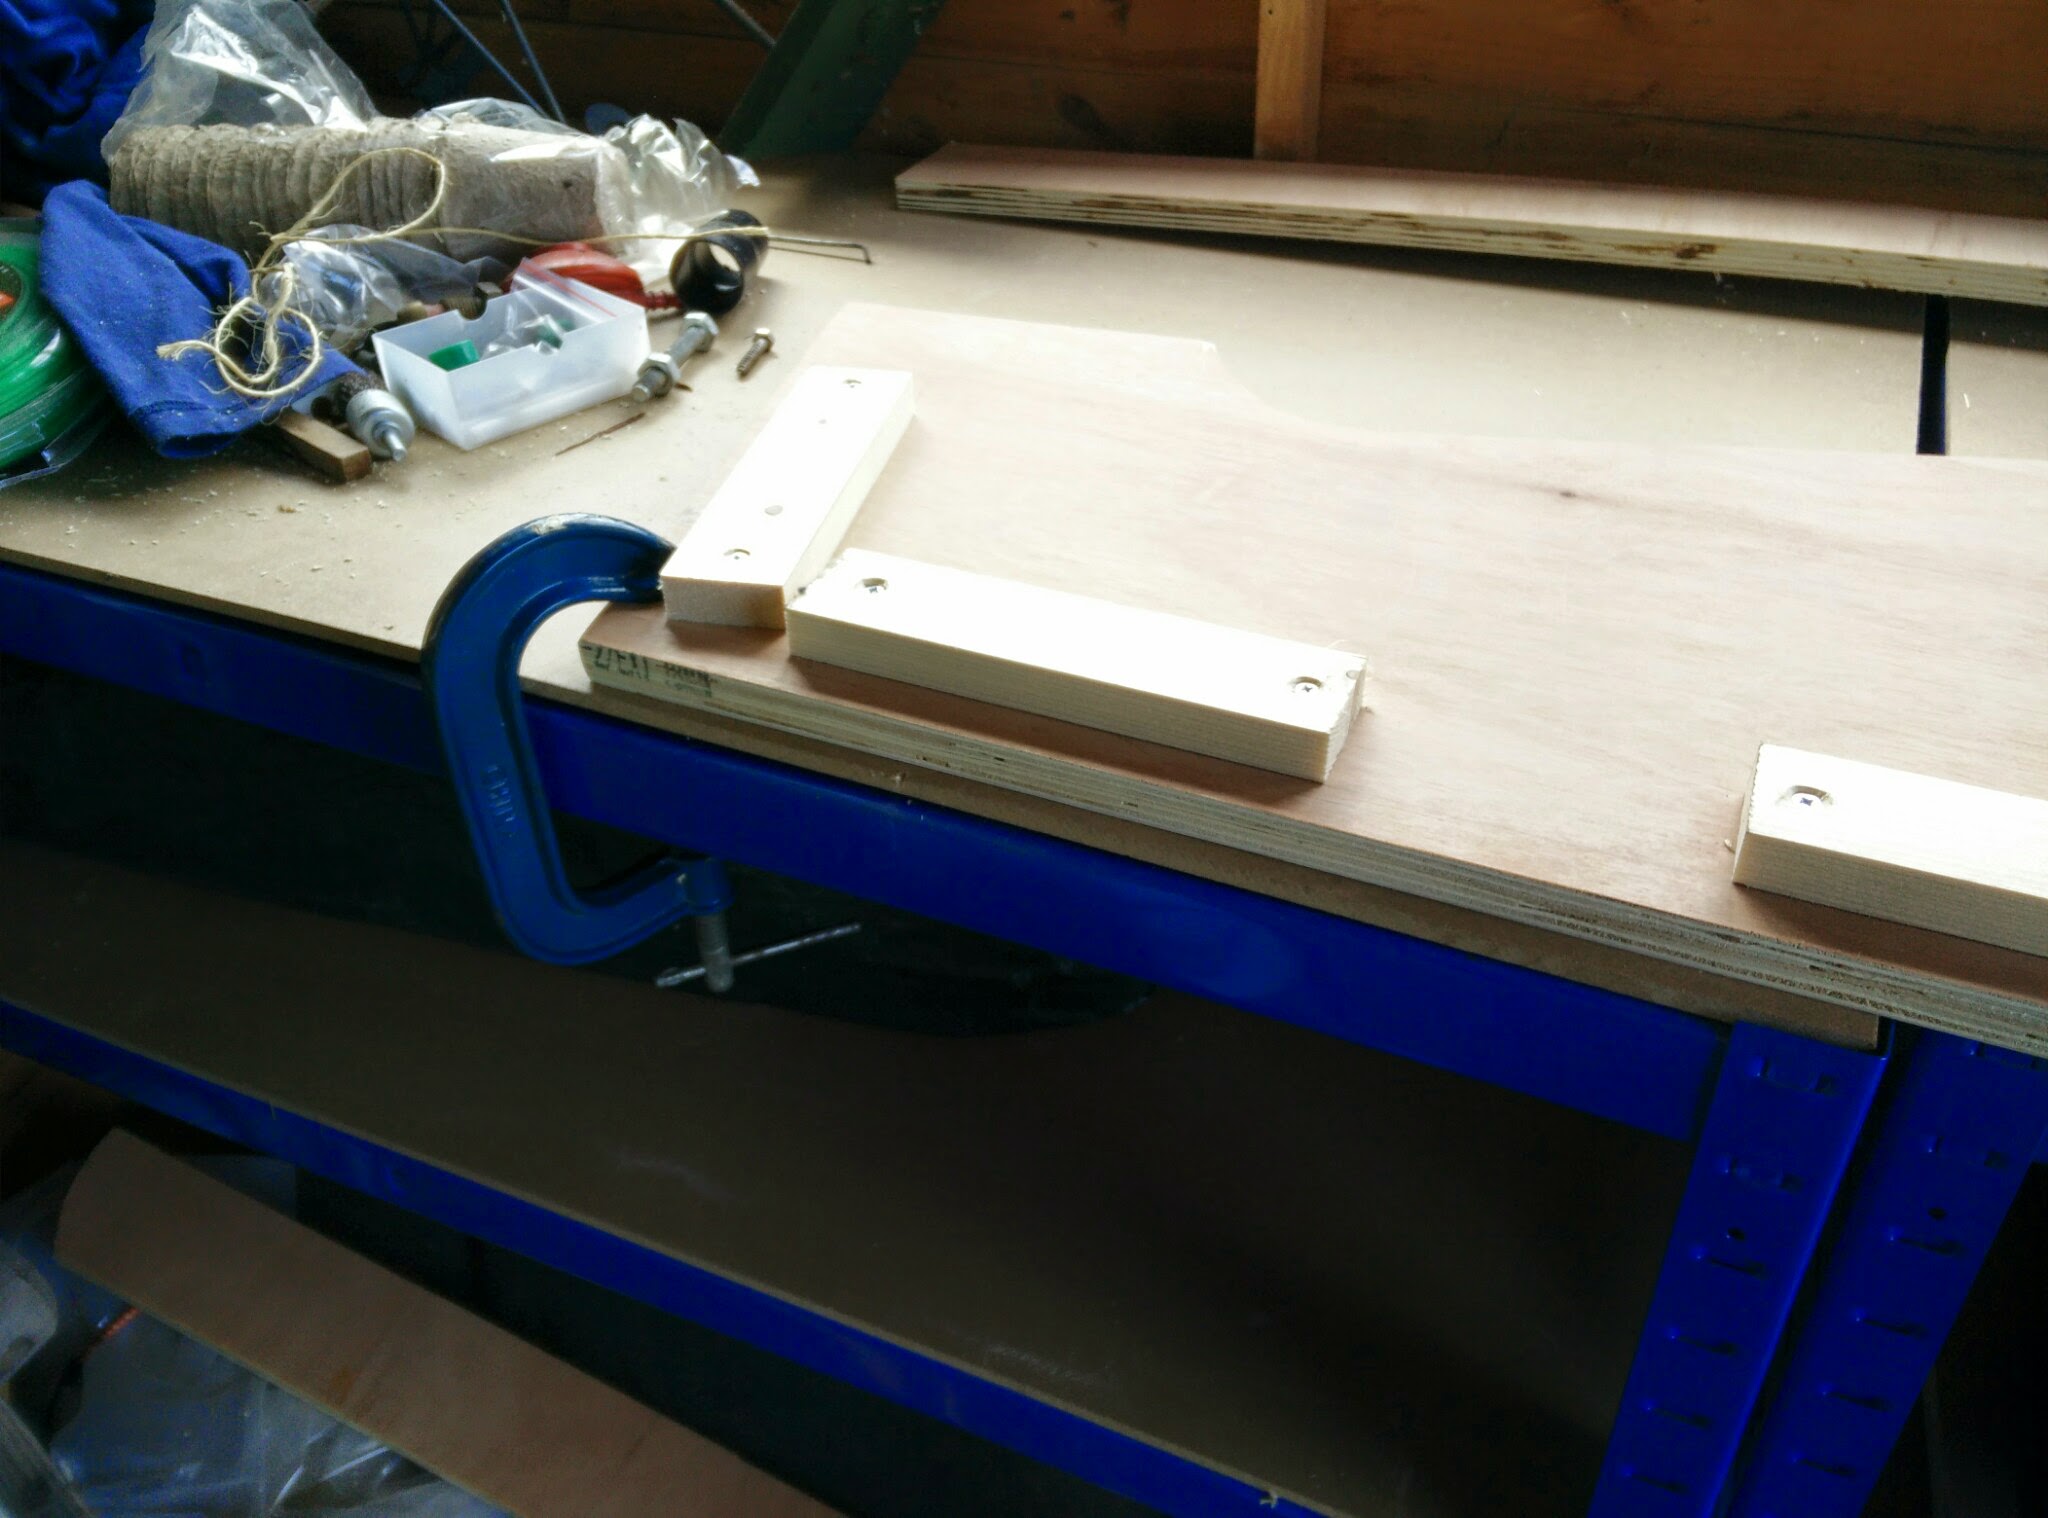
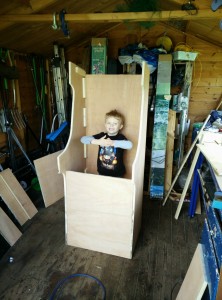
I wasn’t really sure how to join all the bits together so I ended up using some 2×1 timber and glueing/screwing the timber to the wood to use as screwing-in points. I think I made a mistake here as I mounted the timber onto the sides and screwed the front, back, control panel and kick board into the sides. This means that as I tighten the screws it pulls the front/back bits into the sides rather than pulling the sides into the front/back. The result of this is that there are a few gaps where the wood joins. When I build Mk II I’ll make it so the screws go in from the sides and pull the whole cabinet together without gaps.
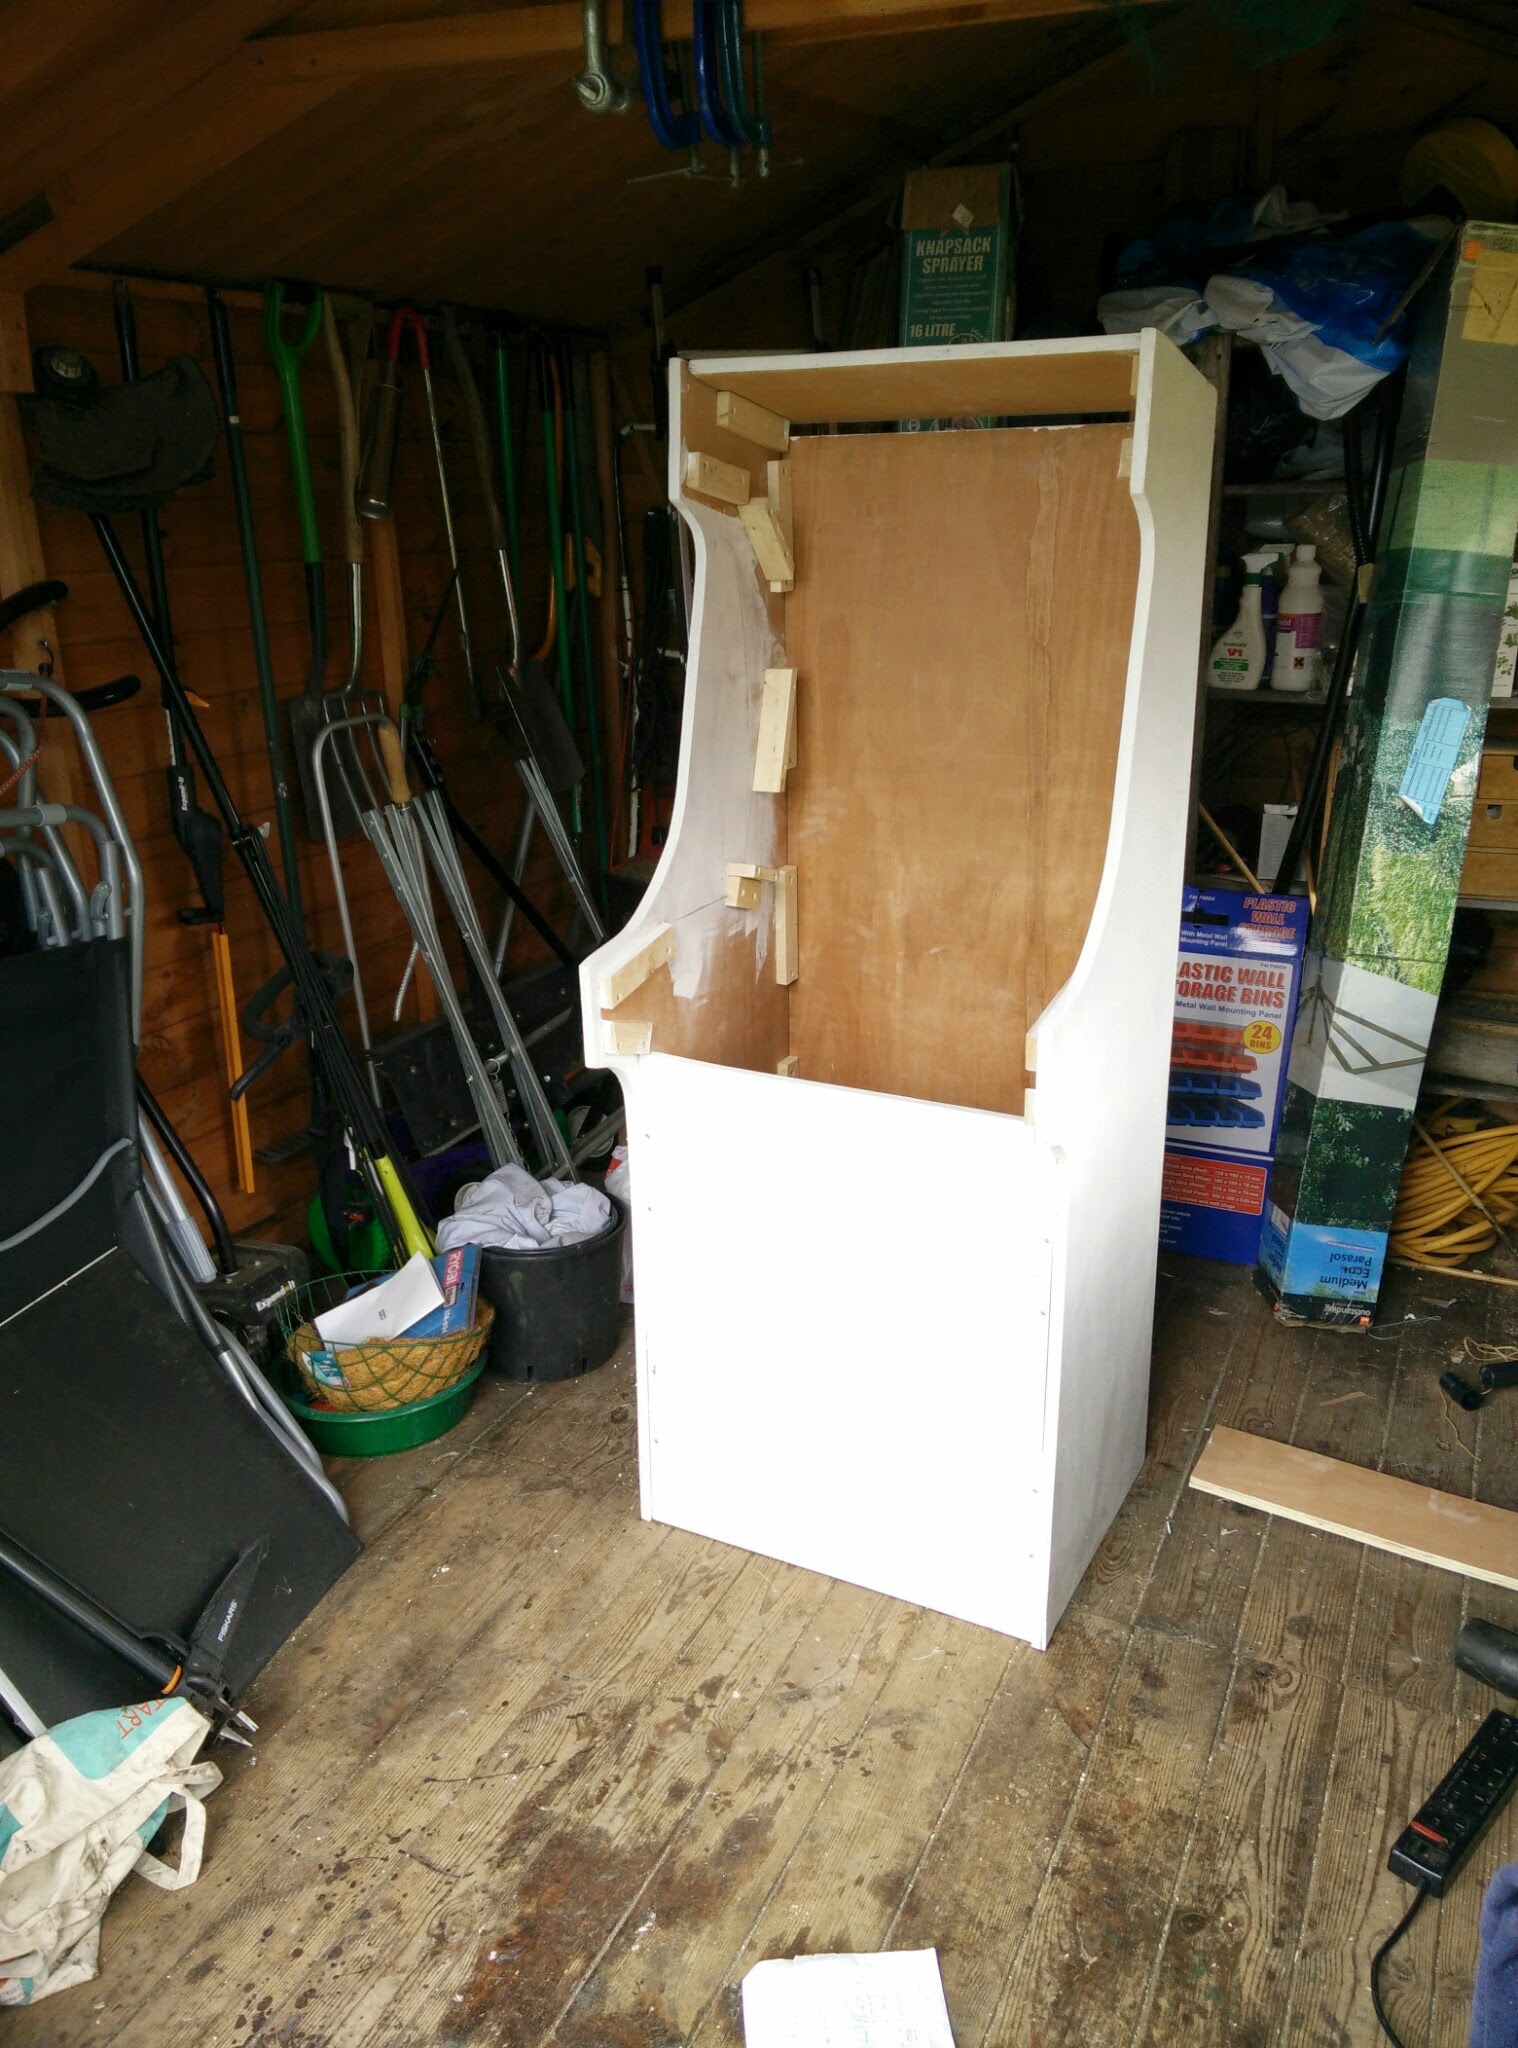
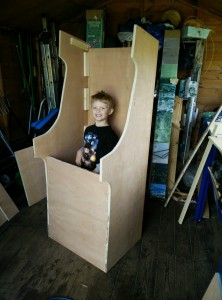
I then began the painful process of sanding, sanding some more, priming, sanding, priming again and then doing a final sand. I had to buy a sander. After buying the sander I realised I already had two sanders in the garage. Doh. After joining most of the cabinet together I decided I wanted the whole thing to be smooth and used some filler to smooth over the screws and sand it flat. This made for a sleek looking cabinet but now I can’t get into the bottom to make adjustments/repairs. This was another mistake. A bit later on in the project I decided to leave the screws showing so that I could lift off the control panel, I should have done this everywhere, maybe using thumb screws to give it a more industrial look. Another issue I had is that some of the cuts weren’t completely square. I didn’t have a right-angle thingy to check. I’ve since bought one for about £2 from Amazon. Should have done this from the beginning.

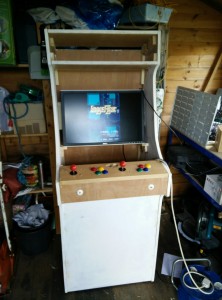
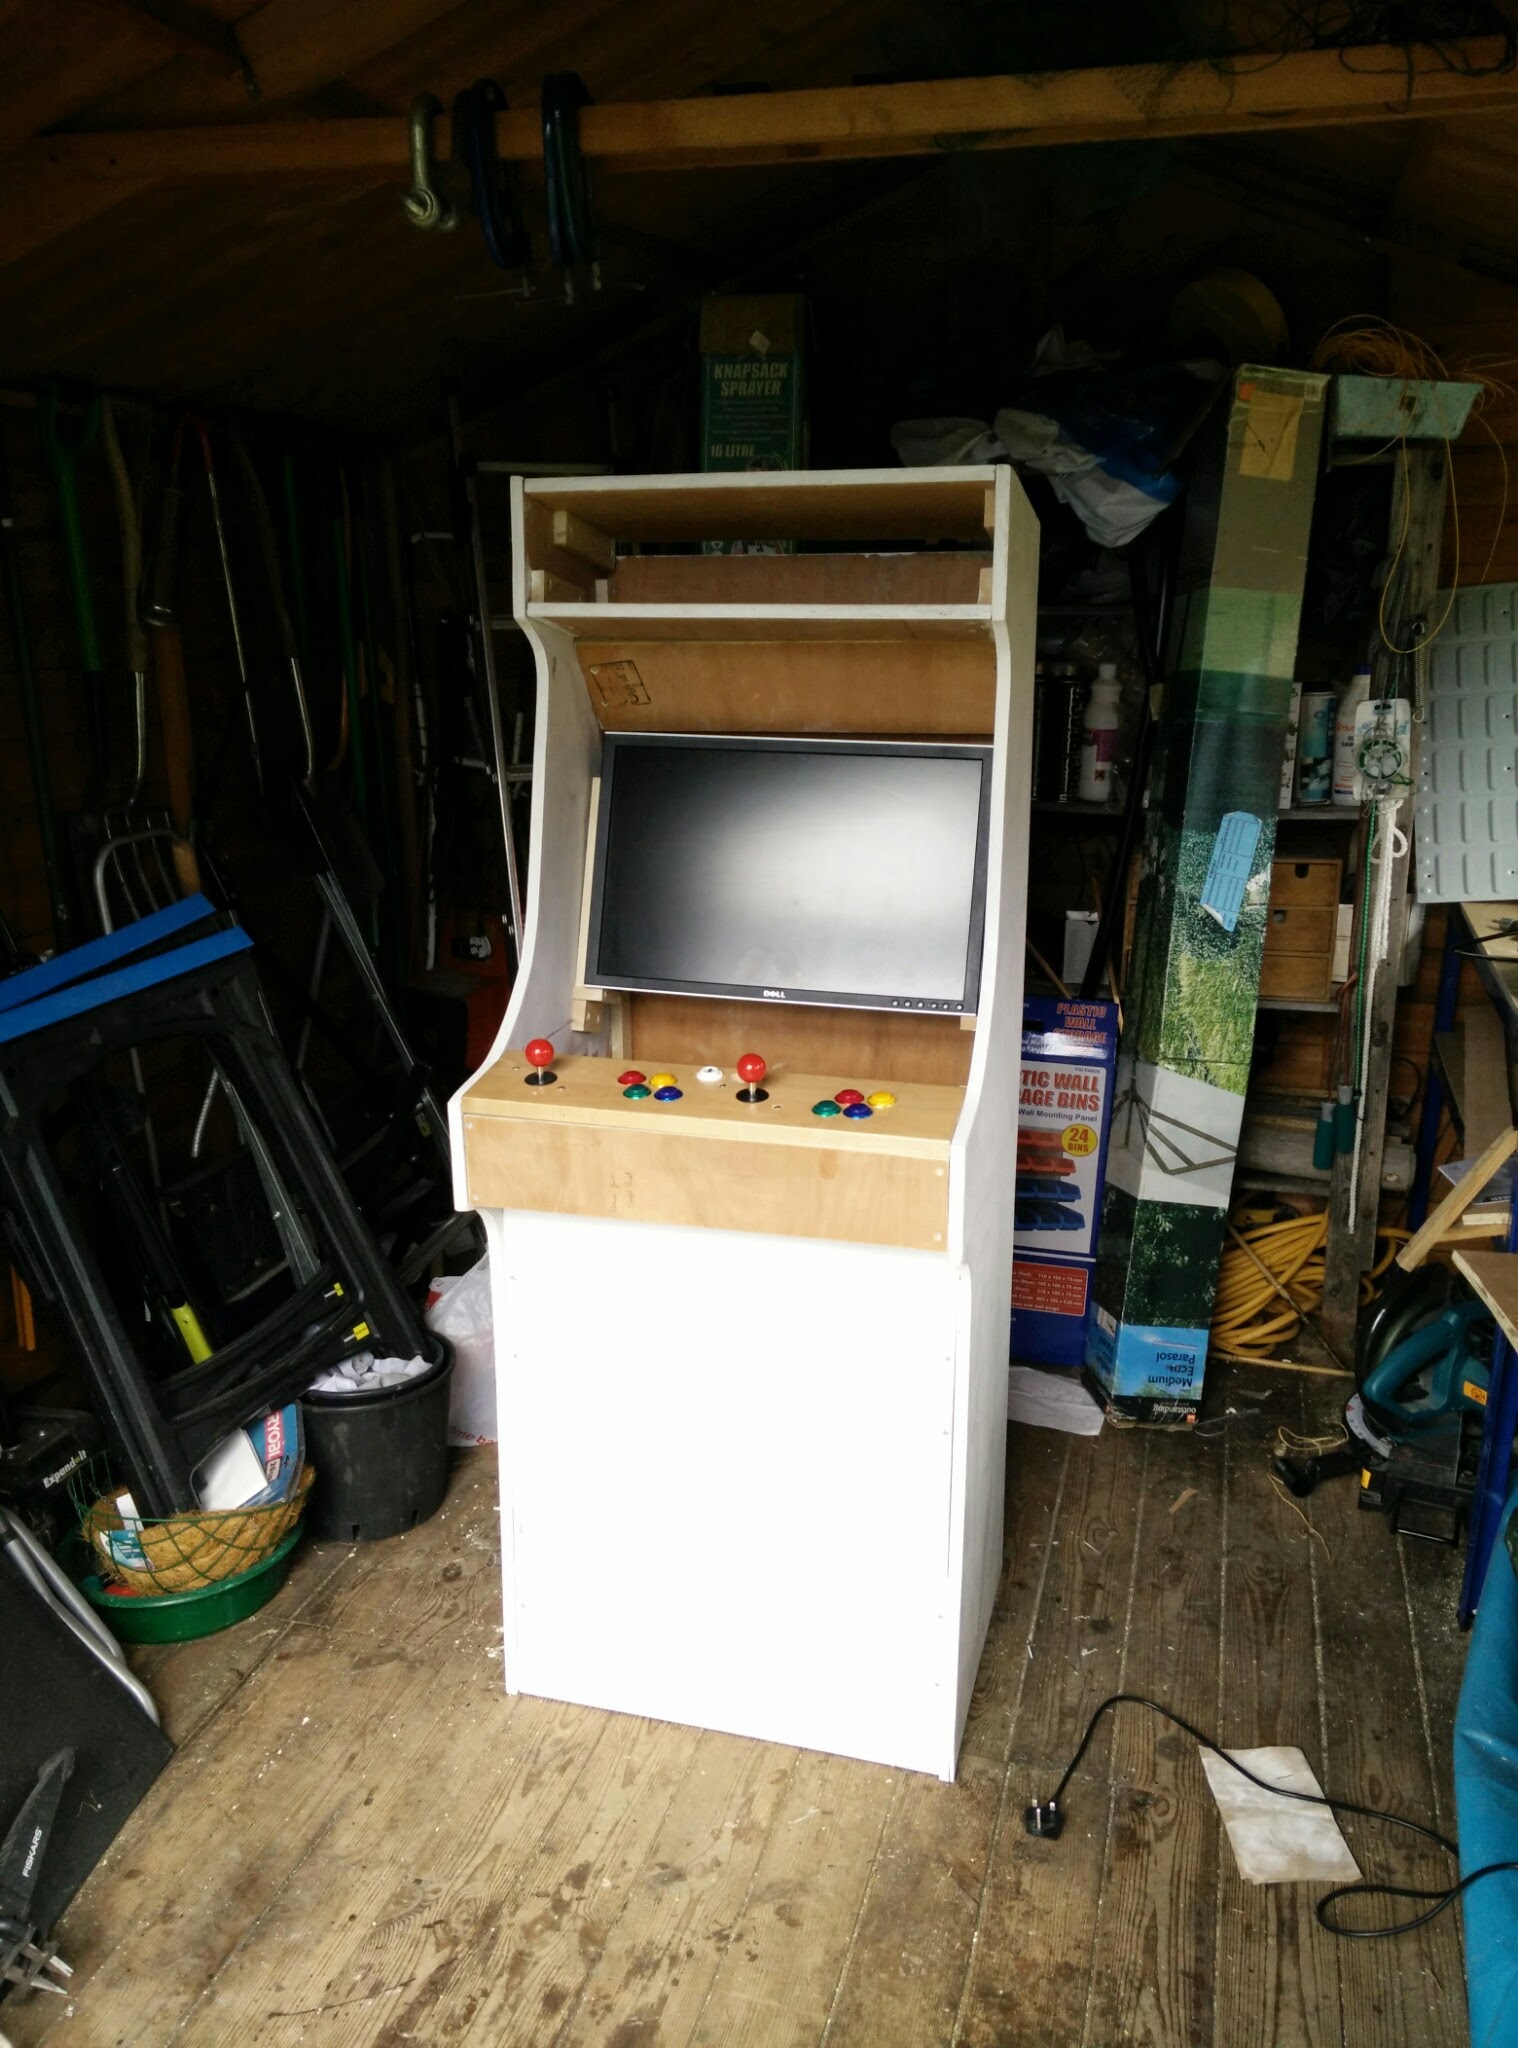
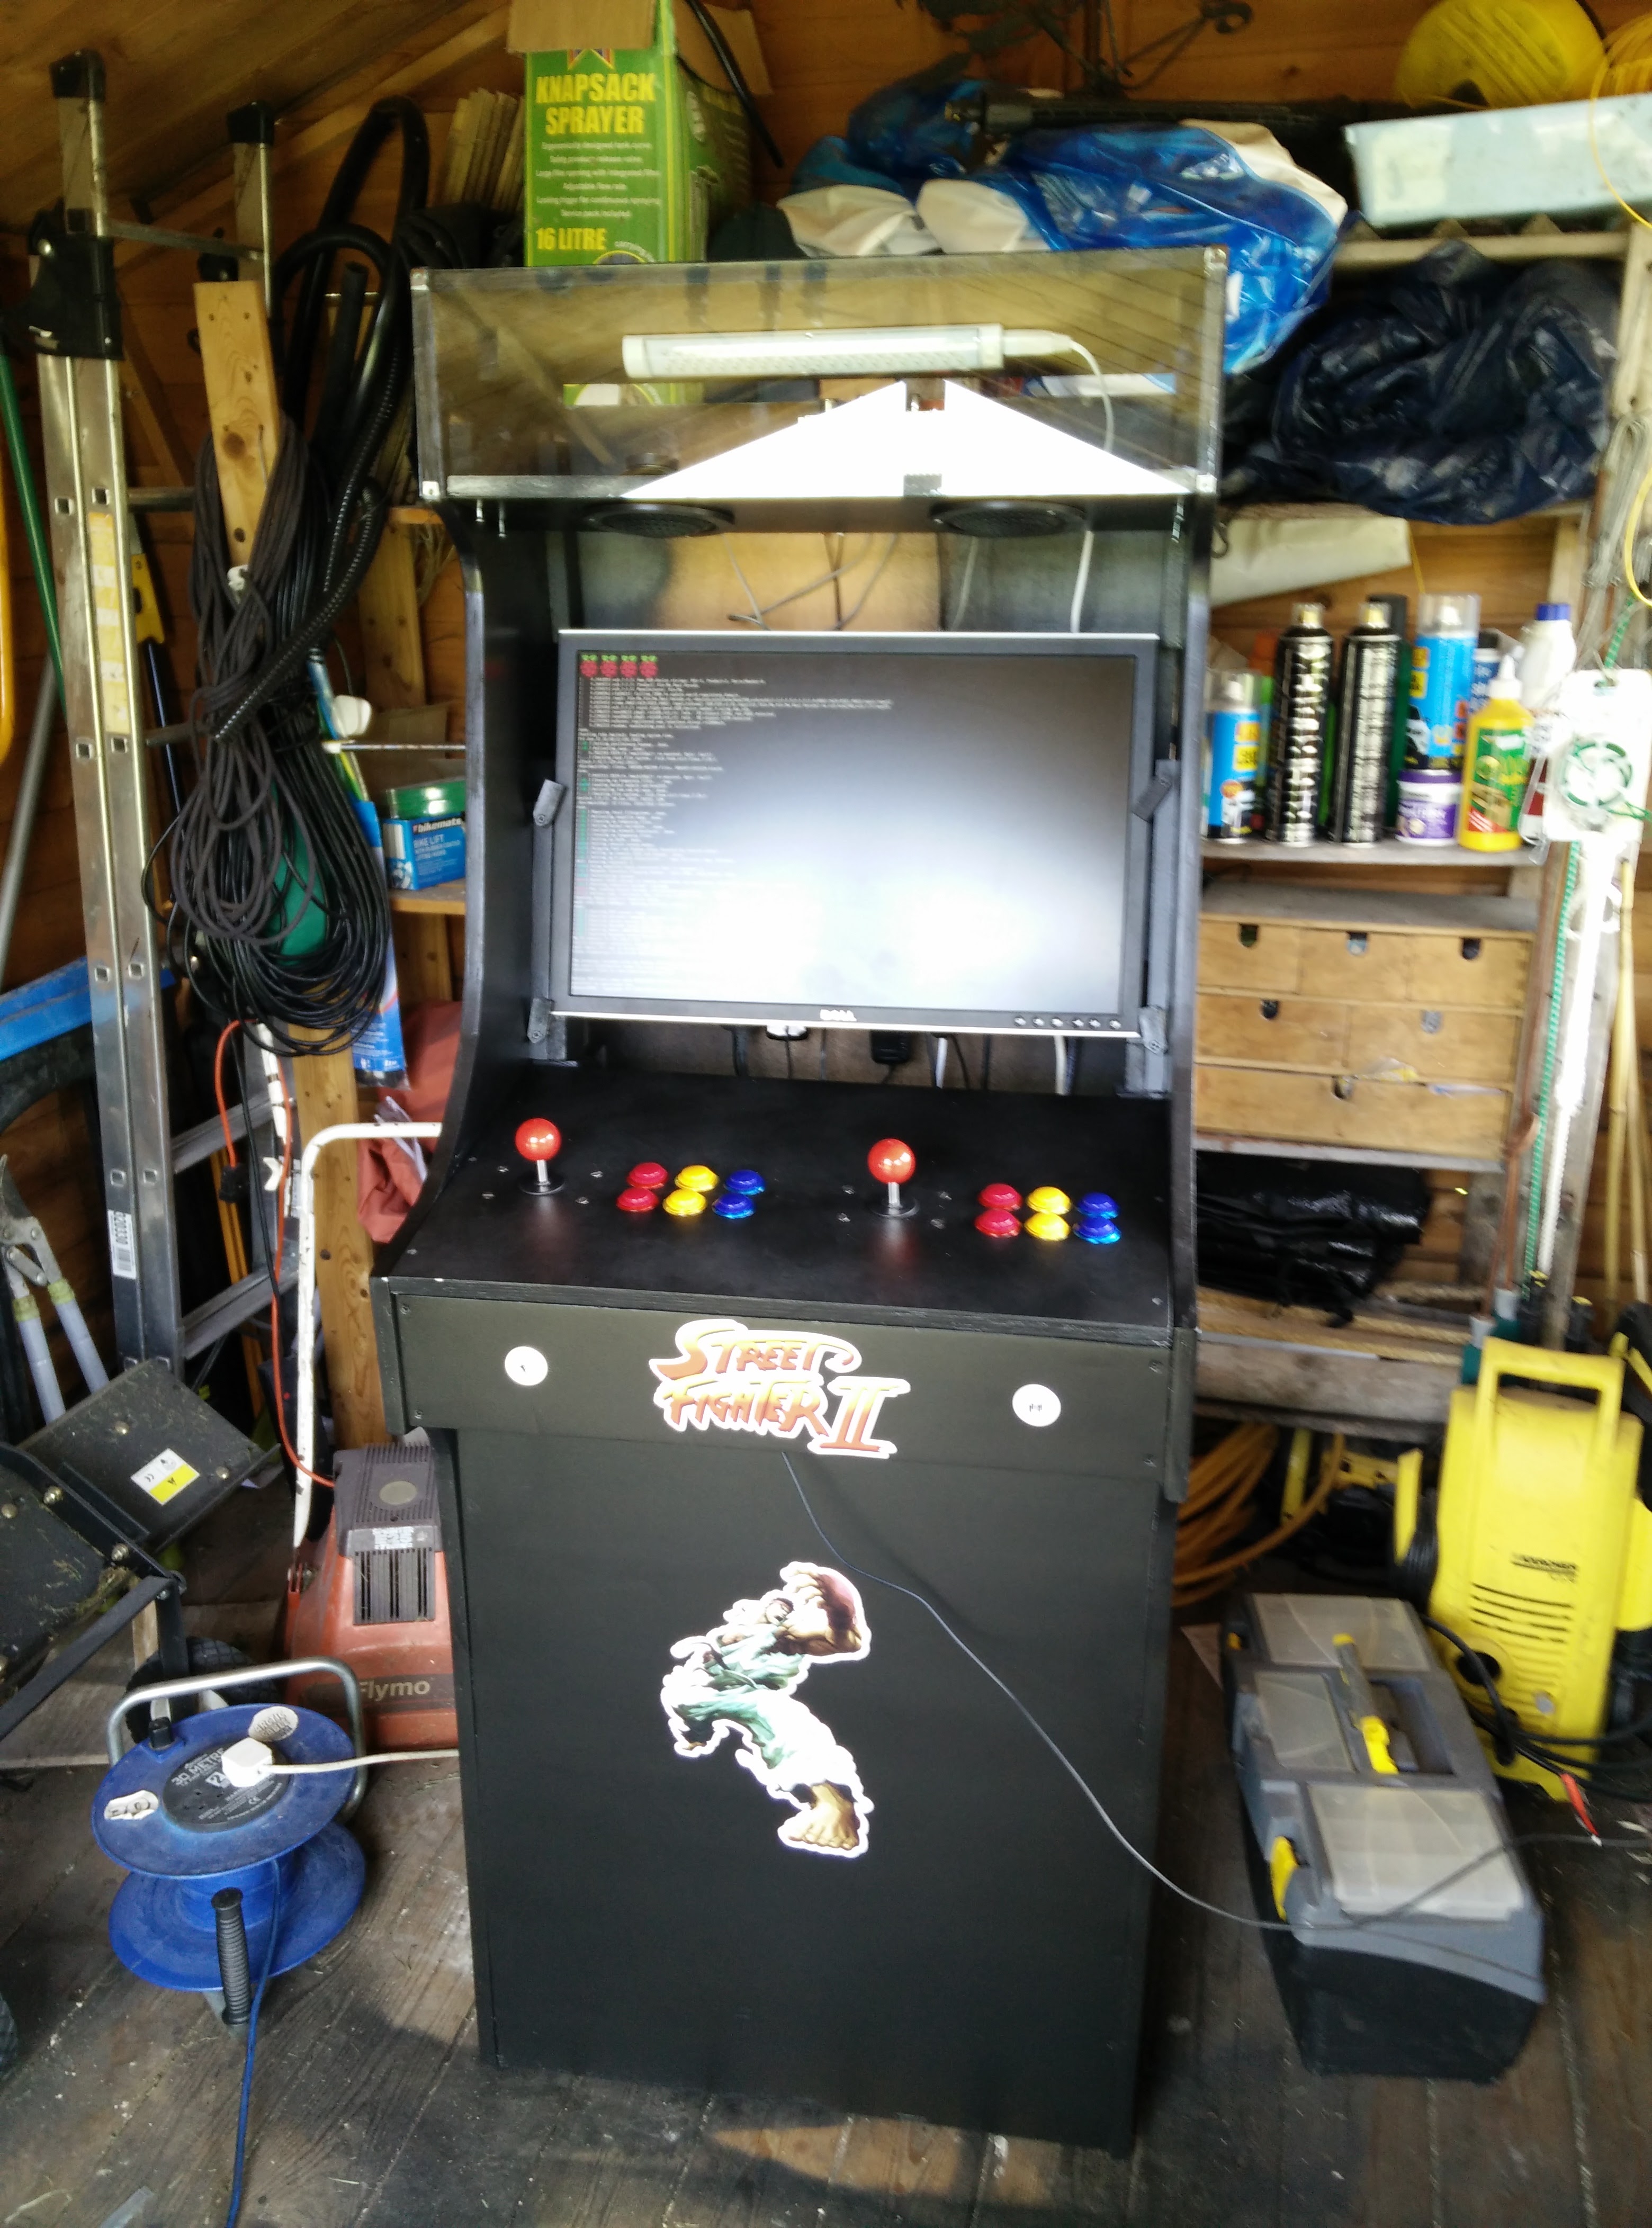
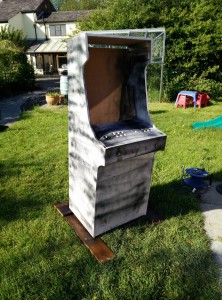
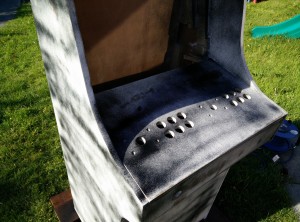
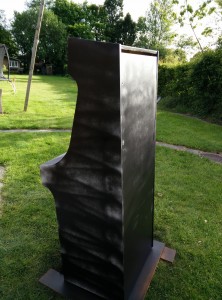
I mounted my prototype control panel and dropped in an old Dell 24″ [ I think ] monitor. The monitor was an utter bugger to get level as I added the mounting points after the cabinet had been screwed together…and the screws had been filled/sanded…remember that bit when I said it was a mistake to fill the screws? This is when I played my first game of Image Fight on a cabinet in 25 years. It was a very very happy moment for me. All of the work so far had been done in my shed which doesn’t have WiFi. So I had to plug a keyboard into the raspberry pi [ I’ll get to that bit ] to get MAME started. This meant that the pi detected the joysticks and assigned them to /dev/input/js1. So I setup MAME to use the joystick on js1, then I rebooted without the keyboard and the pi assigned the joysticks to js0, which meant MAME stopped working – this was a pain until I moved the cabinet to my office [ with WiFi ] and then ssh’d in to set up the joystick properly. But I get ahead of myself. The next step in the process was spray painting. I used about 4 or 5 cans of spray paint [ Kobra KOB-10072 600ml Aerosol Spray Paint – Big Black ] which cost about £30

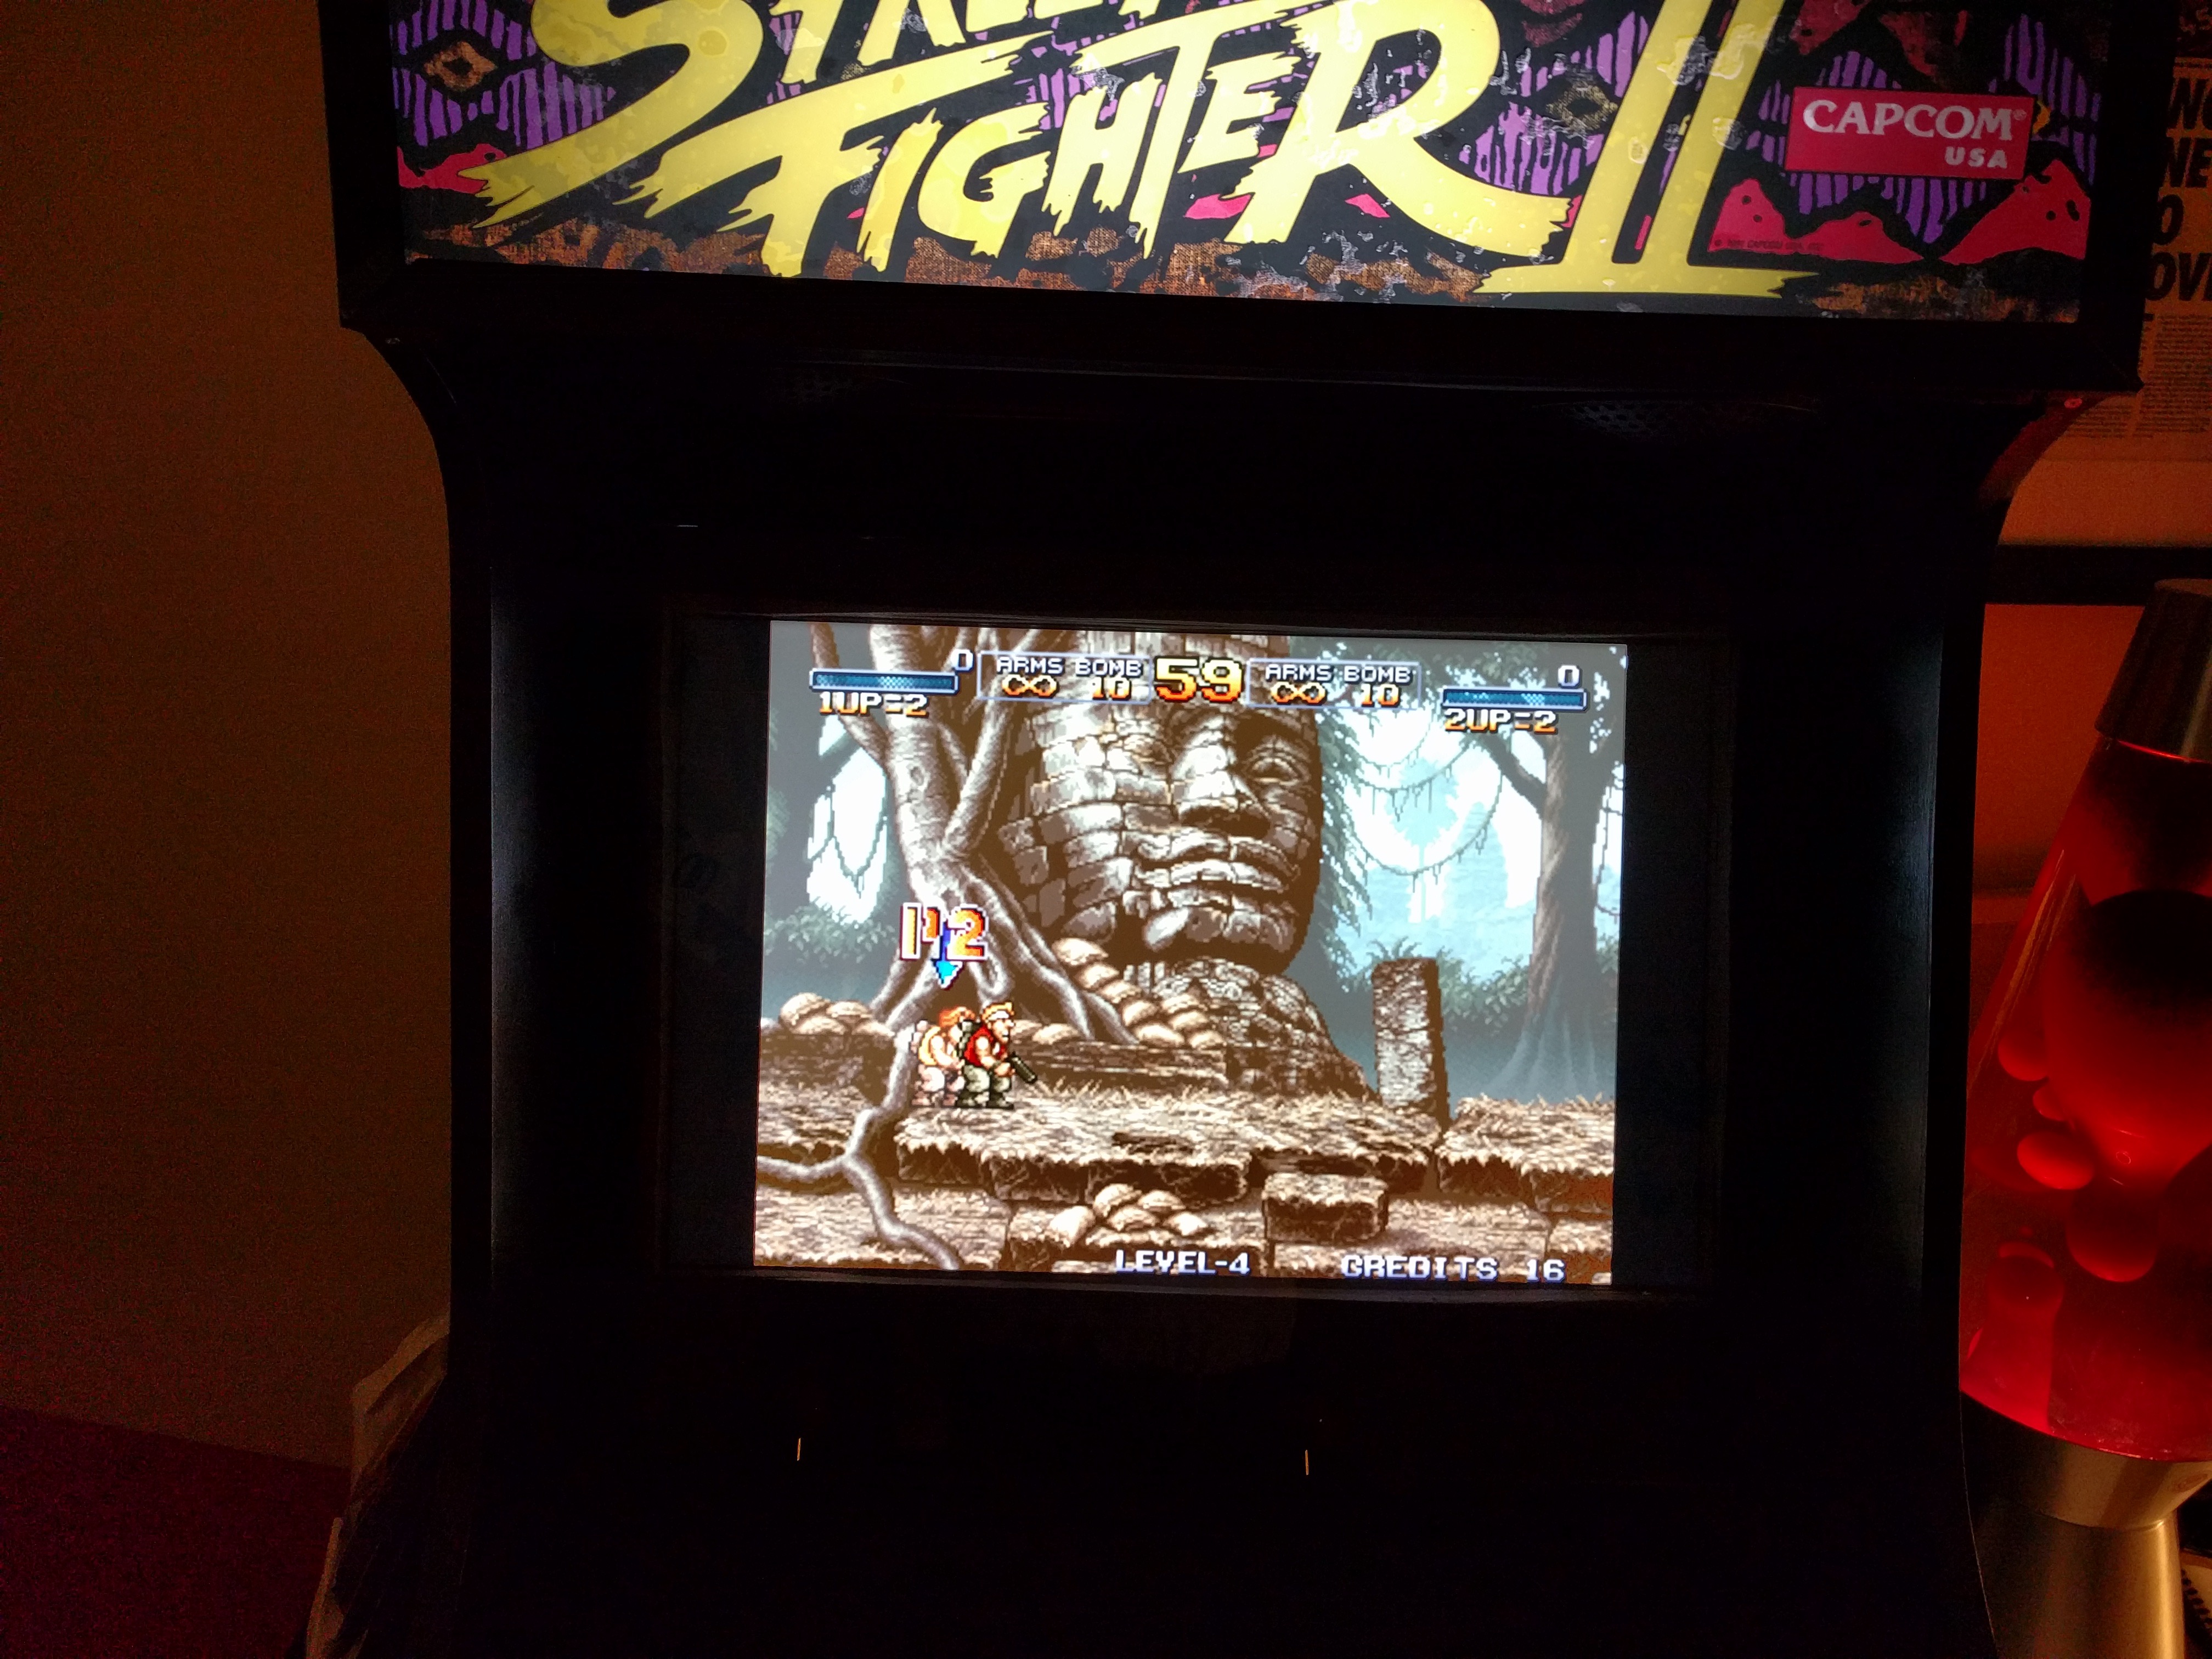
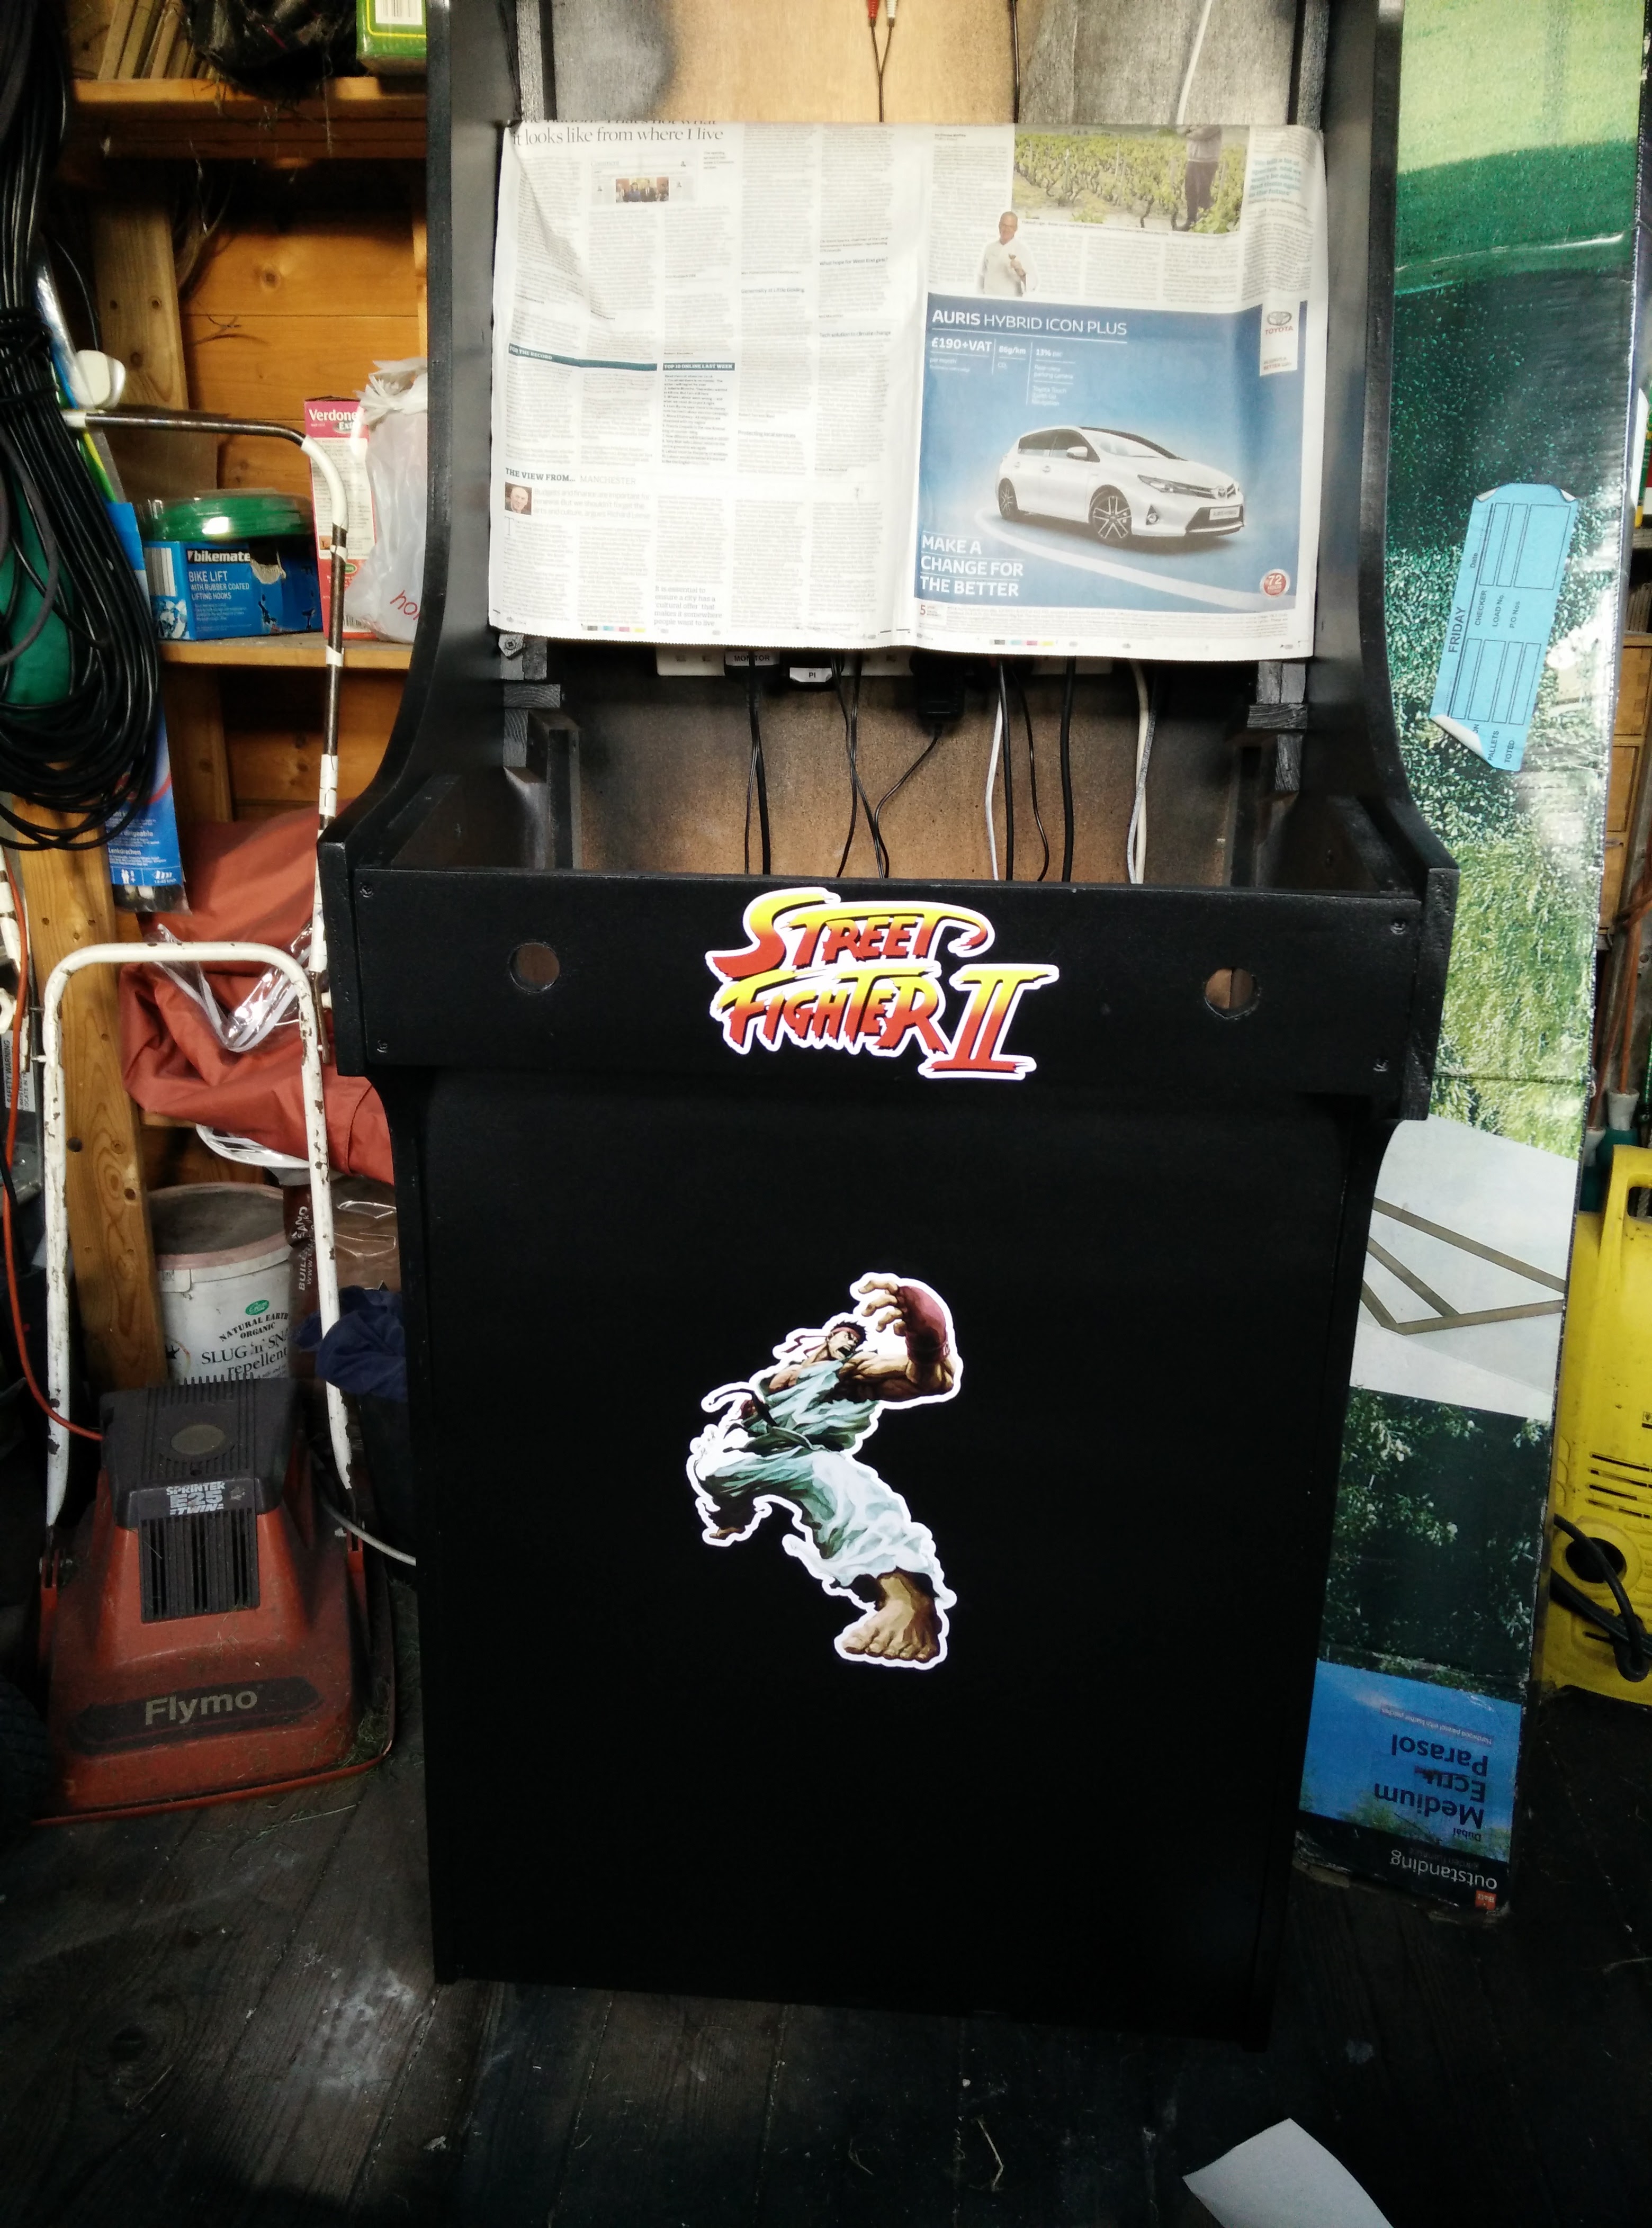
At this point Oliver and I had a debate about how to decorate the cabinet. I wanted Space Invaders stickers, he wanted Street Fighter stickers. I acquiesced and bought Street Fighter decals from eBay for about £25.

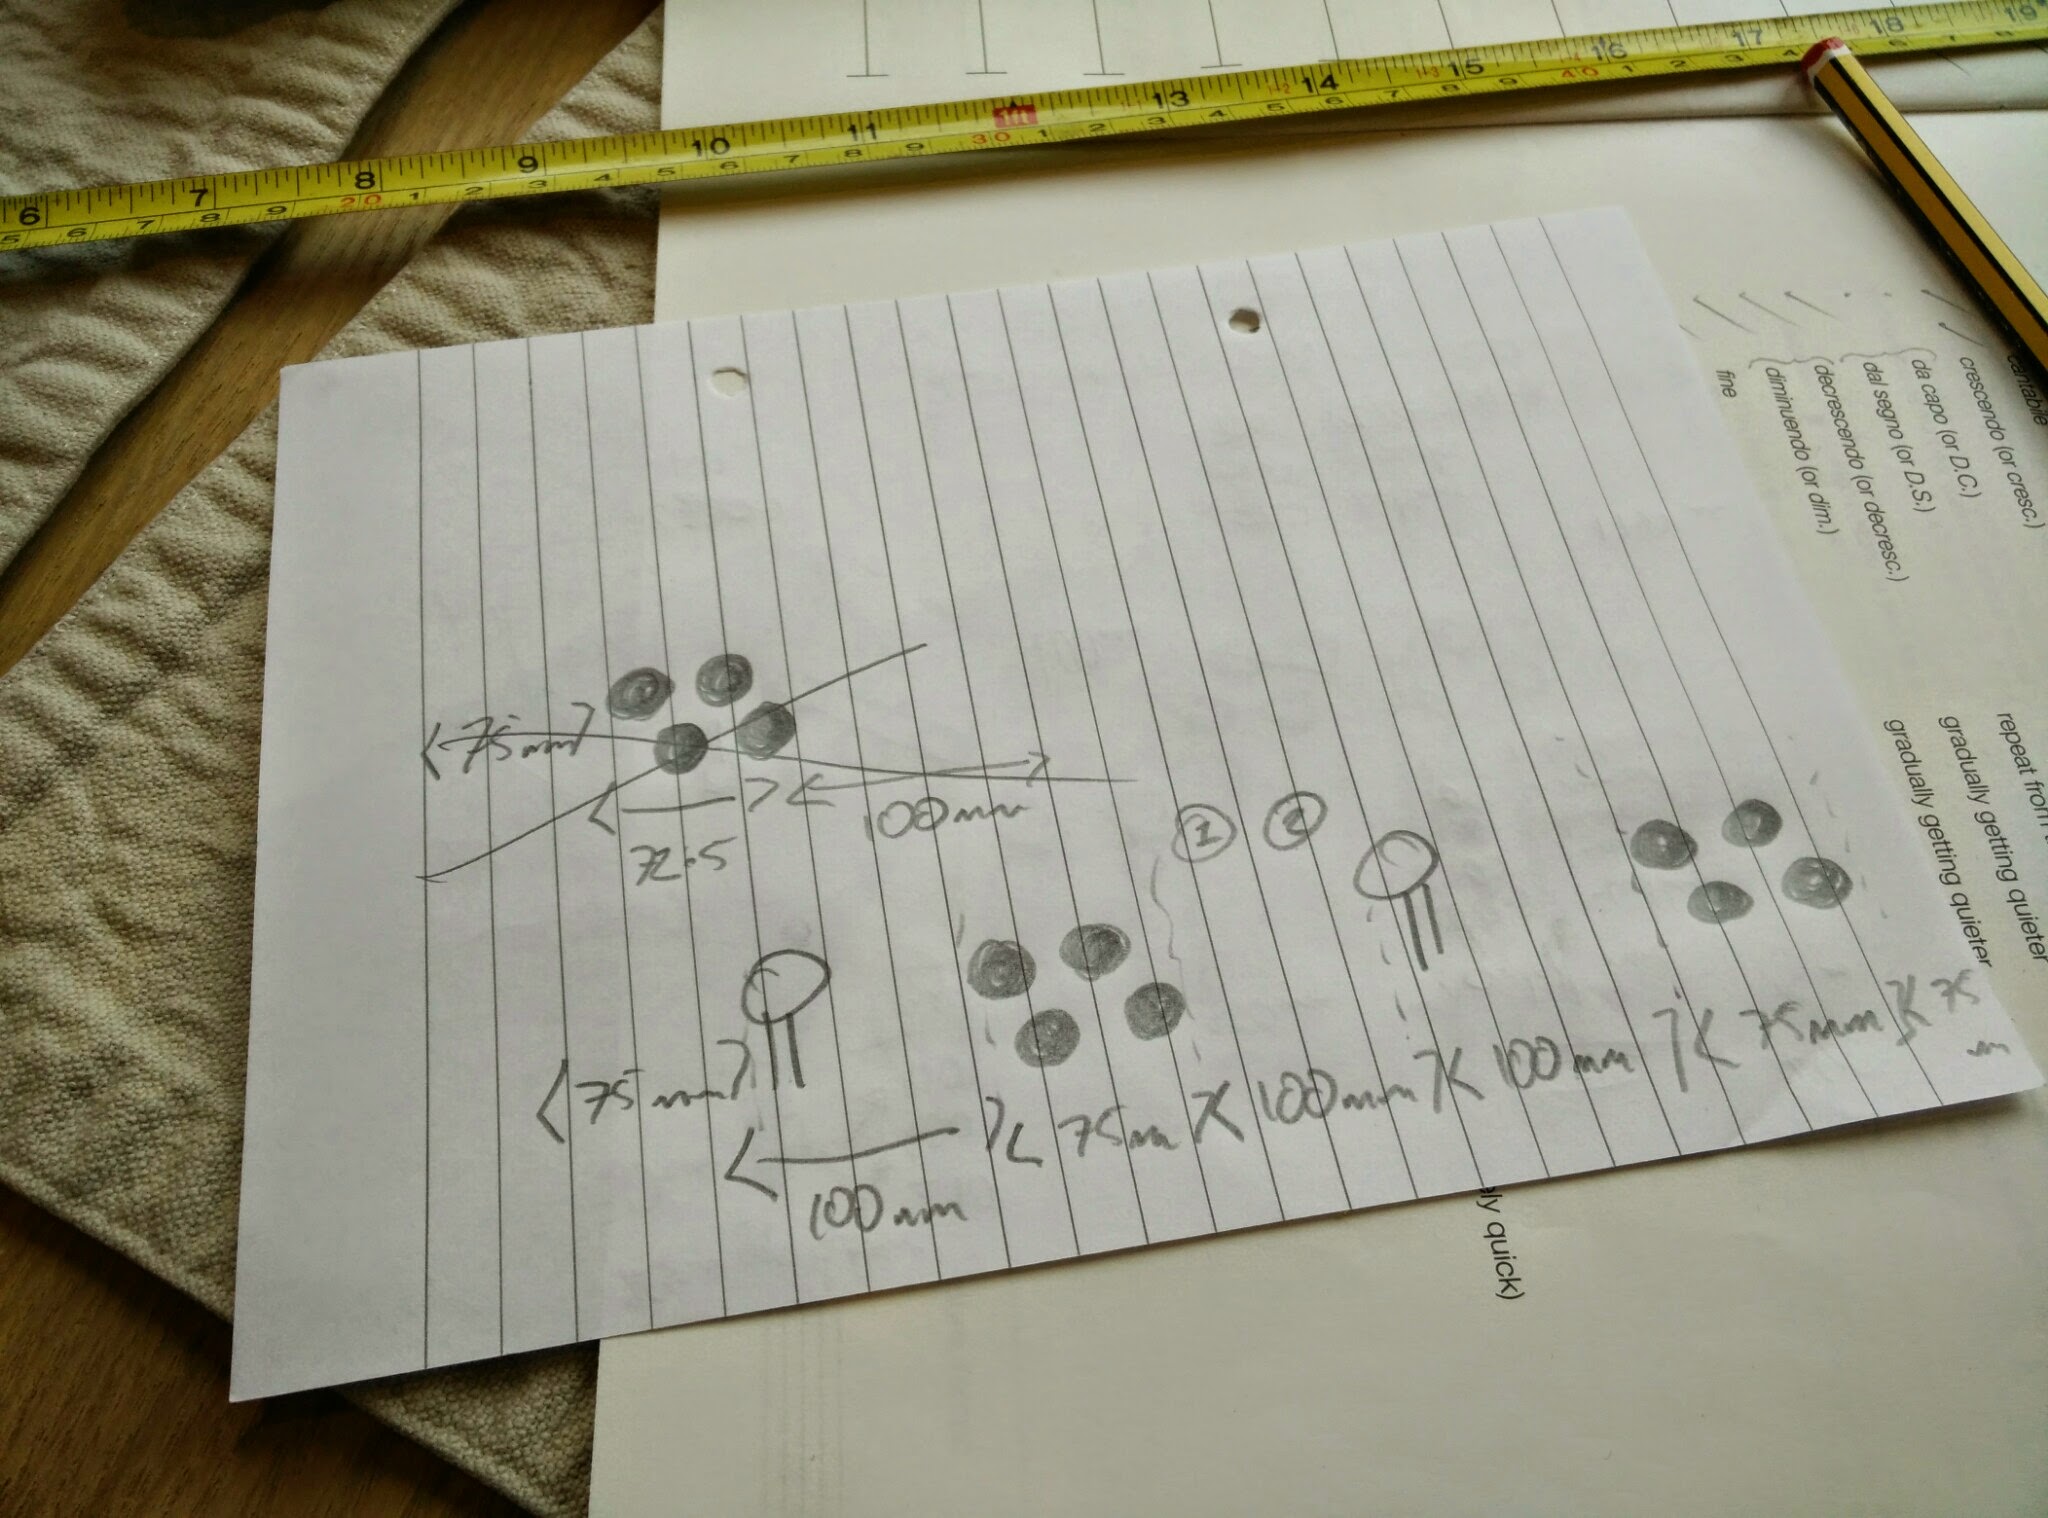
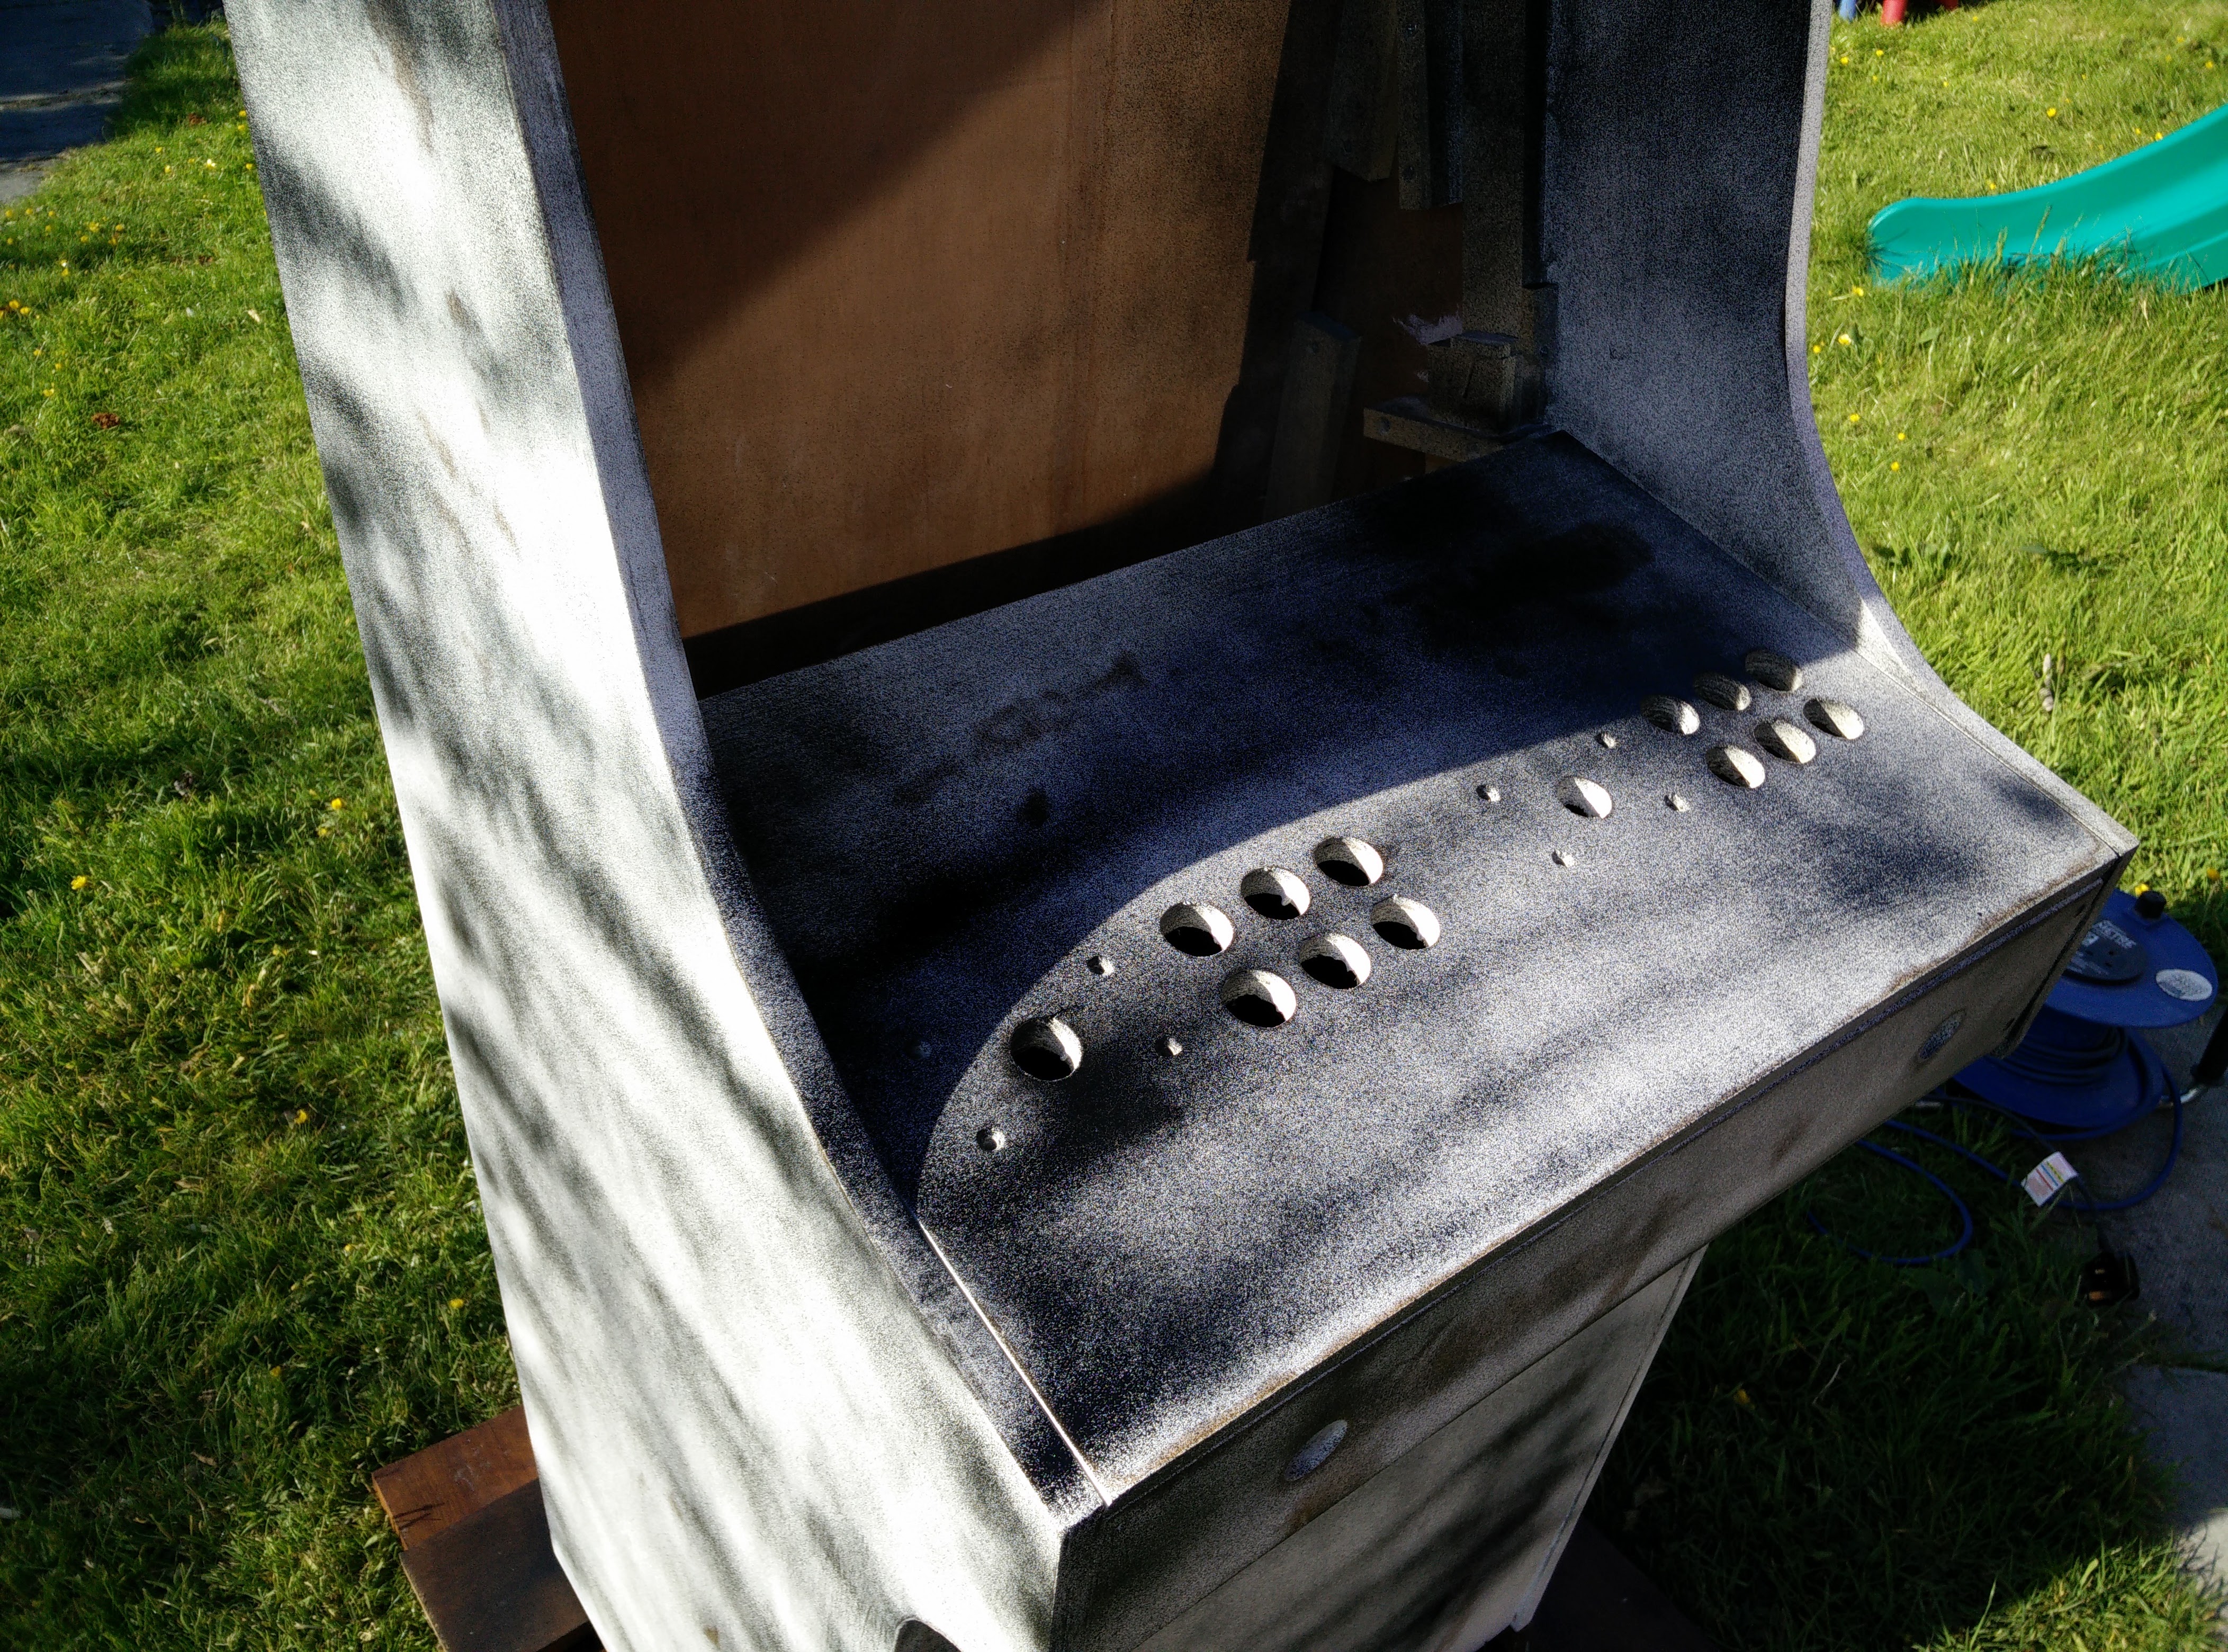
Around this time I also made the real control panel out of plywood. I had to buy some big arse drill bits to make the holes for the buttons and joysticks. It was also around this time that I learned if you’re drilling big arse holes with big arse drill bits then have another piece of wood underneath the wood that you’re drilling or else you’ll rip the underside of the plywood to shreds. The underside of my control panel is an utter mess.
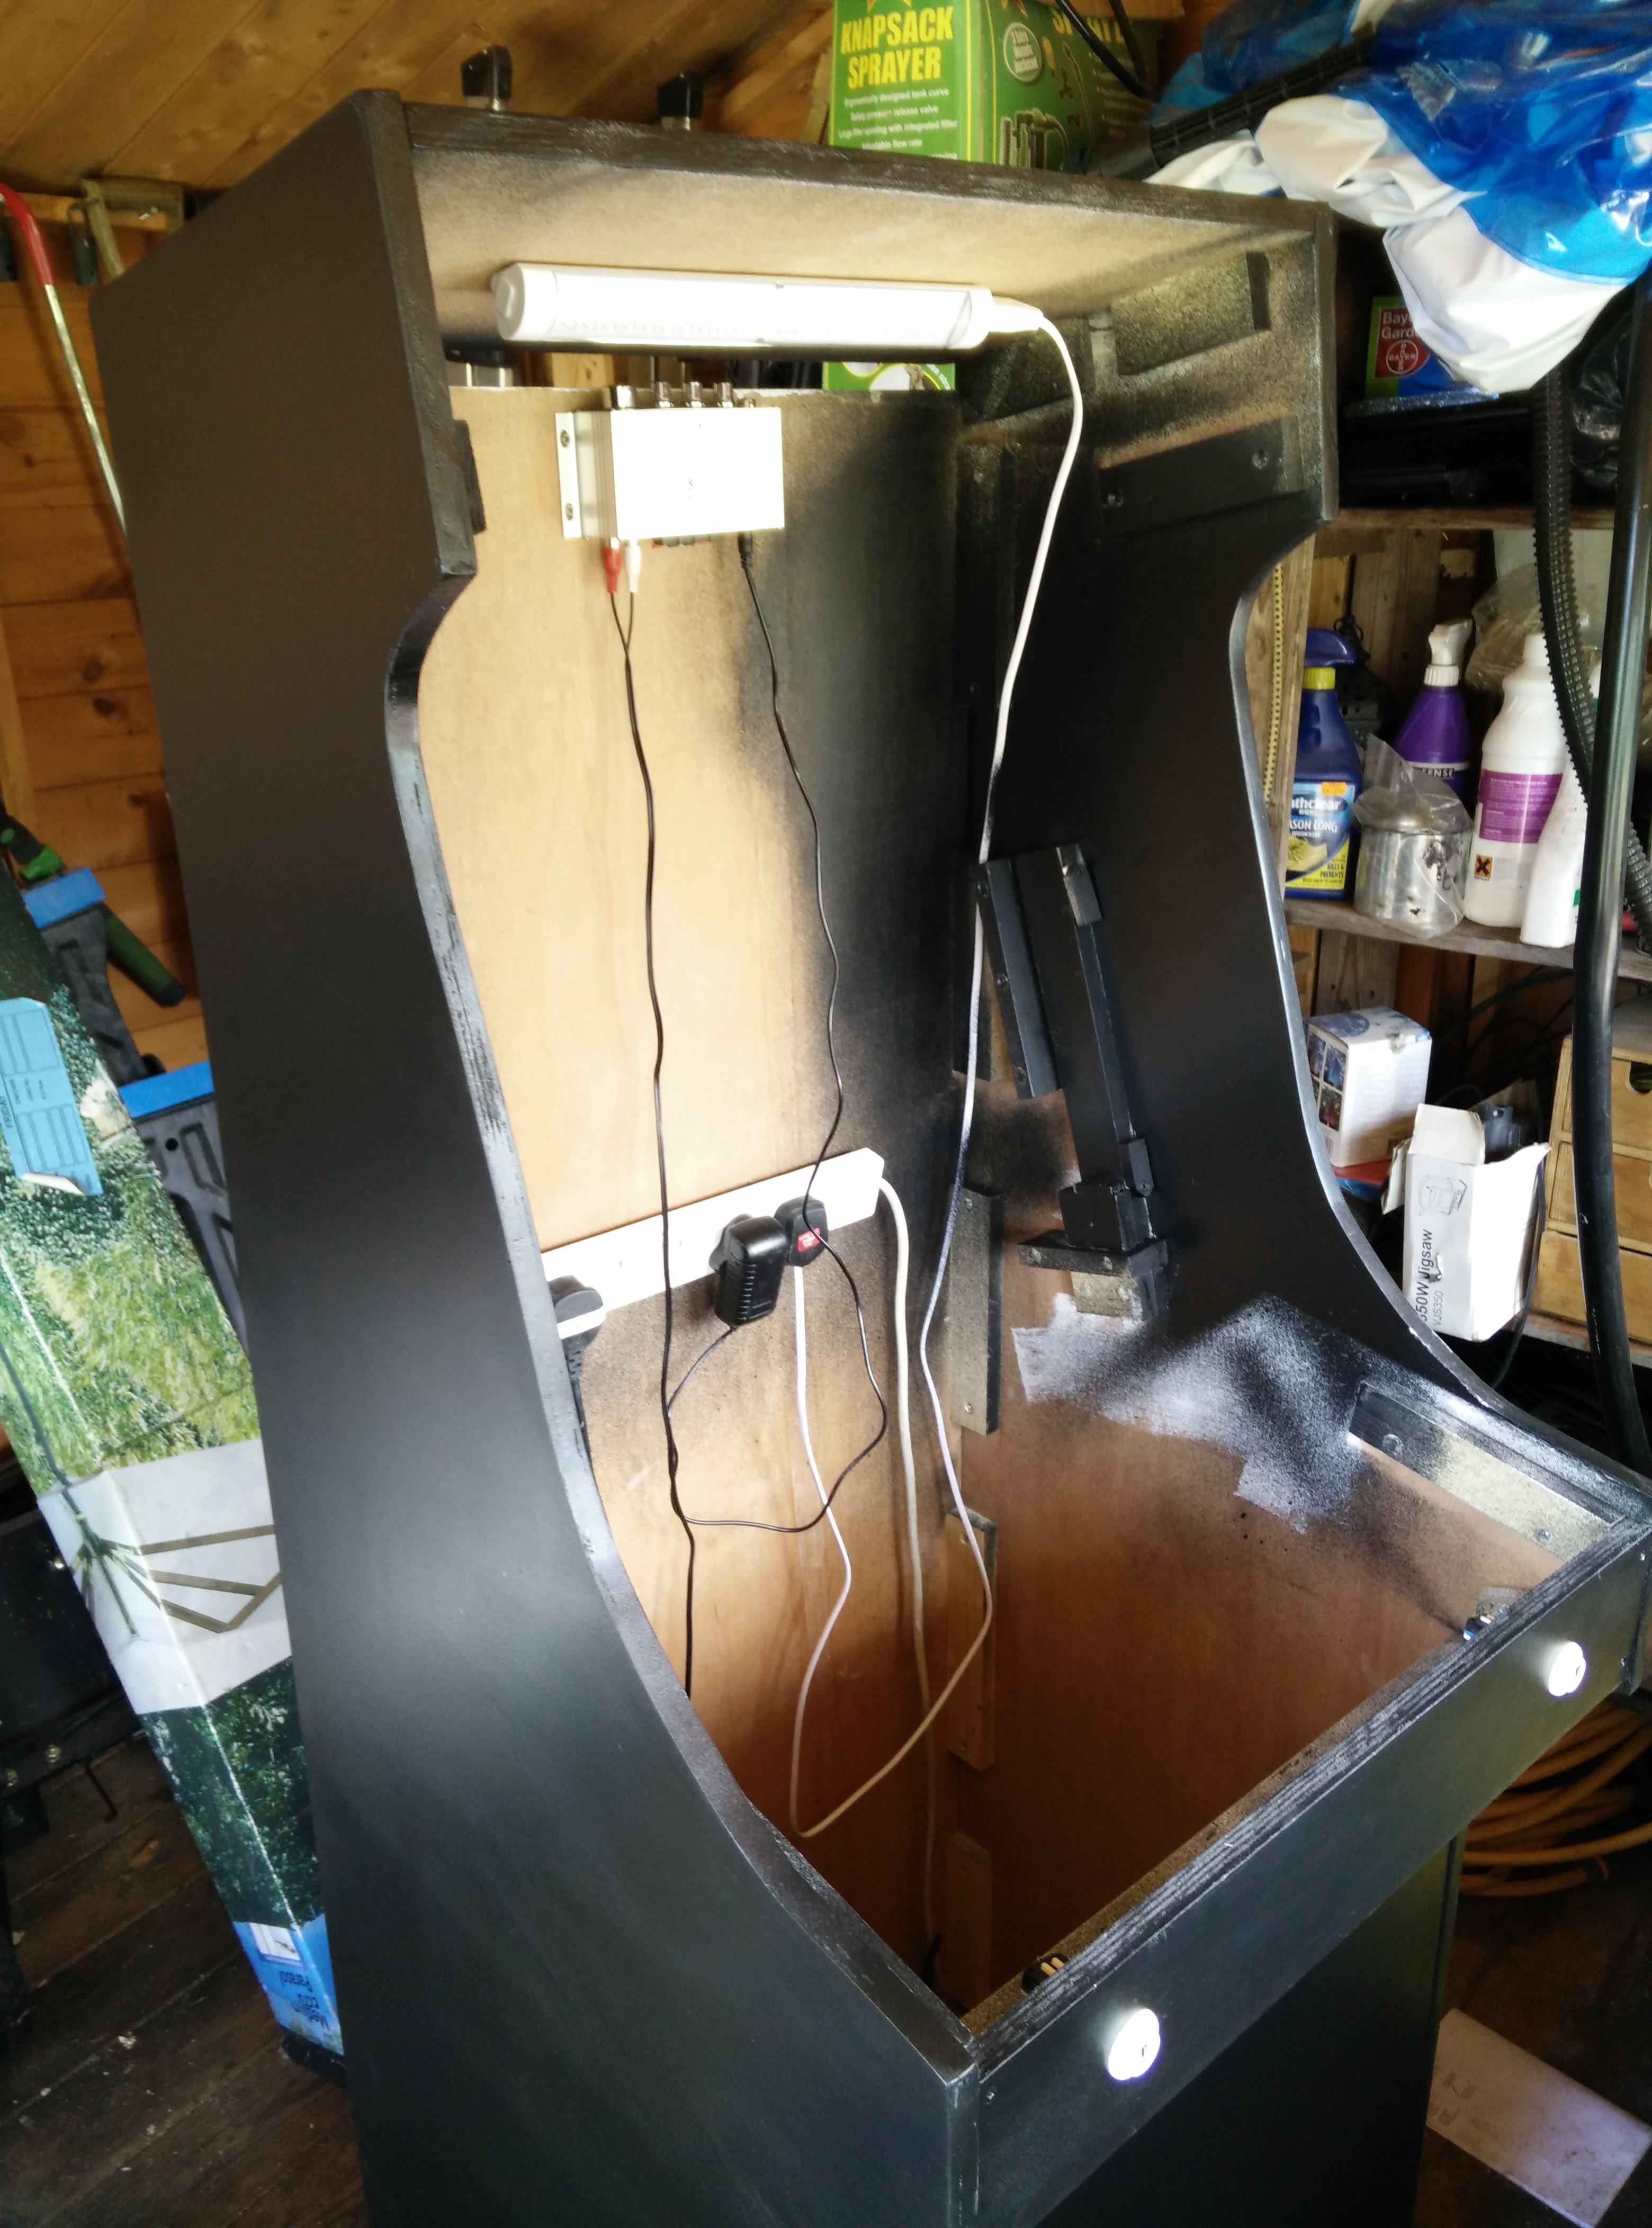
The next stage was mounting the speakers [ about £20 from eBay ] and the backlight for the marquee [ about £10 from eBay ].

This bit was easy enough, but then I had to mount the marquee itself which was quite a painful process. I found a Street Fighter II marquee image on the internet and had it printed by https://www.diginate.com/ – many thanks to Nik Gardner for the tip. The marquee image cost about £17 to print and I opted for a self-cling sticker. I initially mounted the marquee sticker on a piece of laminated glass. However the heat from the backlight cause the self cling sticker to peel off. So then I took a piece of plexiglass that I had lying around and mounted it onto the back of the sticker. This made the marquee about 8mm thick which then jutted out too much and made it painful to put the edging on the front to give the whole thing a clean, polished finish. Also with the laminated glass the whole thing was really heavy which caused additional problems in the mounting. I discarded the laminate glass and eventually used two pieces of plexiglass which resulted in the marquee being more like 3-4mm thick and much lighter. By this point the cabinet had been moved to my office, which was really rather difficult as the whole things weighs quite a lot by now, and I had to do it on my own.
The final stage was mounting the glass in front of the monitor. This bit was really awkward as I’d screwed the whole cabinet together, painted it, filled in the screws [ remember that mistake? ] and I was kinda losing enthusiasm in the project. After a month long hiatus I eventually got my shit together and bought a piece of laminated glass [ yes, another one ] 510mm x 600mm. I routed an 8mm groove into the control panel for the glass to slot into. Despite measuring the location for the groove – 6mm in, I then forgot to set the router correctly and routed a groove about 40mm in. Doh. So I had to make two more grooves so that it looked like I’d done in intentionally. I then took a pair of ummm wood clamps I think they’re called, reversed the clamps so that they force outwards rather than inwards and forced the sides of the cabinet out. I slotted the glass into the groove and positioned the glass at the desired angle. The next step was the proper arse twitching moment as the glass was very tight in the cabinet with the clamps forcing the sides out. I feared that when I released the clamps the force would crack the glass. As it happens, it didn’t, which was a relief. Before mounting the glass I masked off the glass with the dimensions of the monitor and spray painted it black so that the innards of the machine couldn’t be seen.

The Guts of the machine
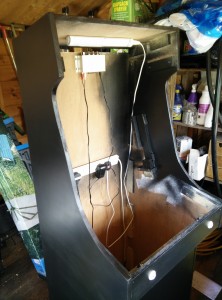
The cabinet is powered by a Raspberry Pi 2 Model B and is running AdvanceMame [ http://blog.sheasilverman.com/tag/advancemame/ ]. This was a little painful to get going as I had to install GCC 7 to recompile the SDL drivers to speed up the graphics and then I had to downgrade back to GCC 5 to build EmulationStation [ http://emulationstation.org/ thanks to Michal Dylka for the suggestion ] so that I could decide which ROM to play. I’ve also wrote a script that will scp ROMs from my mac to the cabinet over an ssh connection.
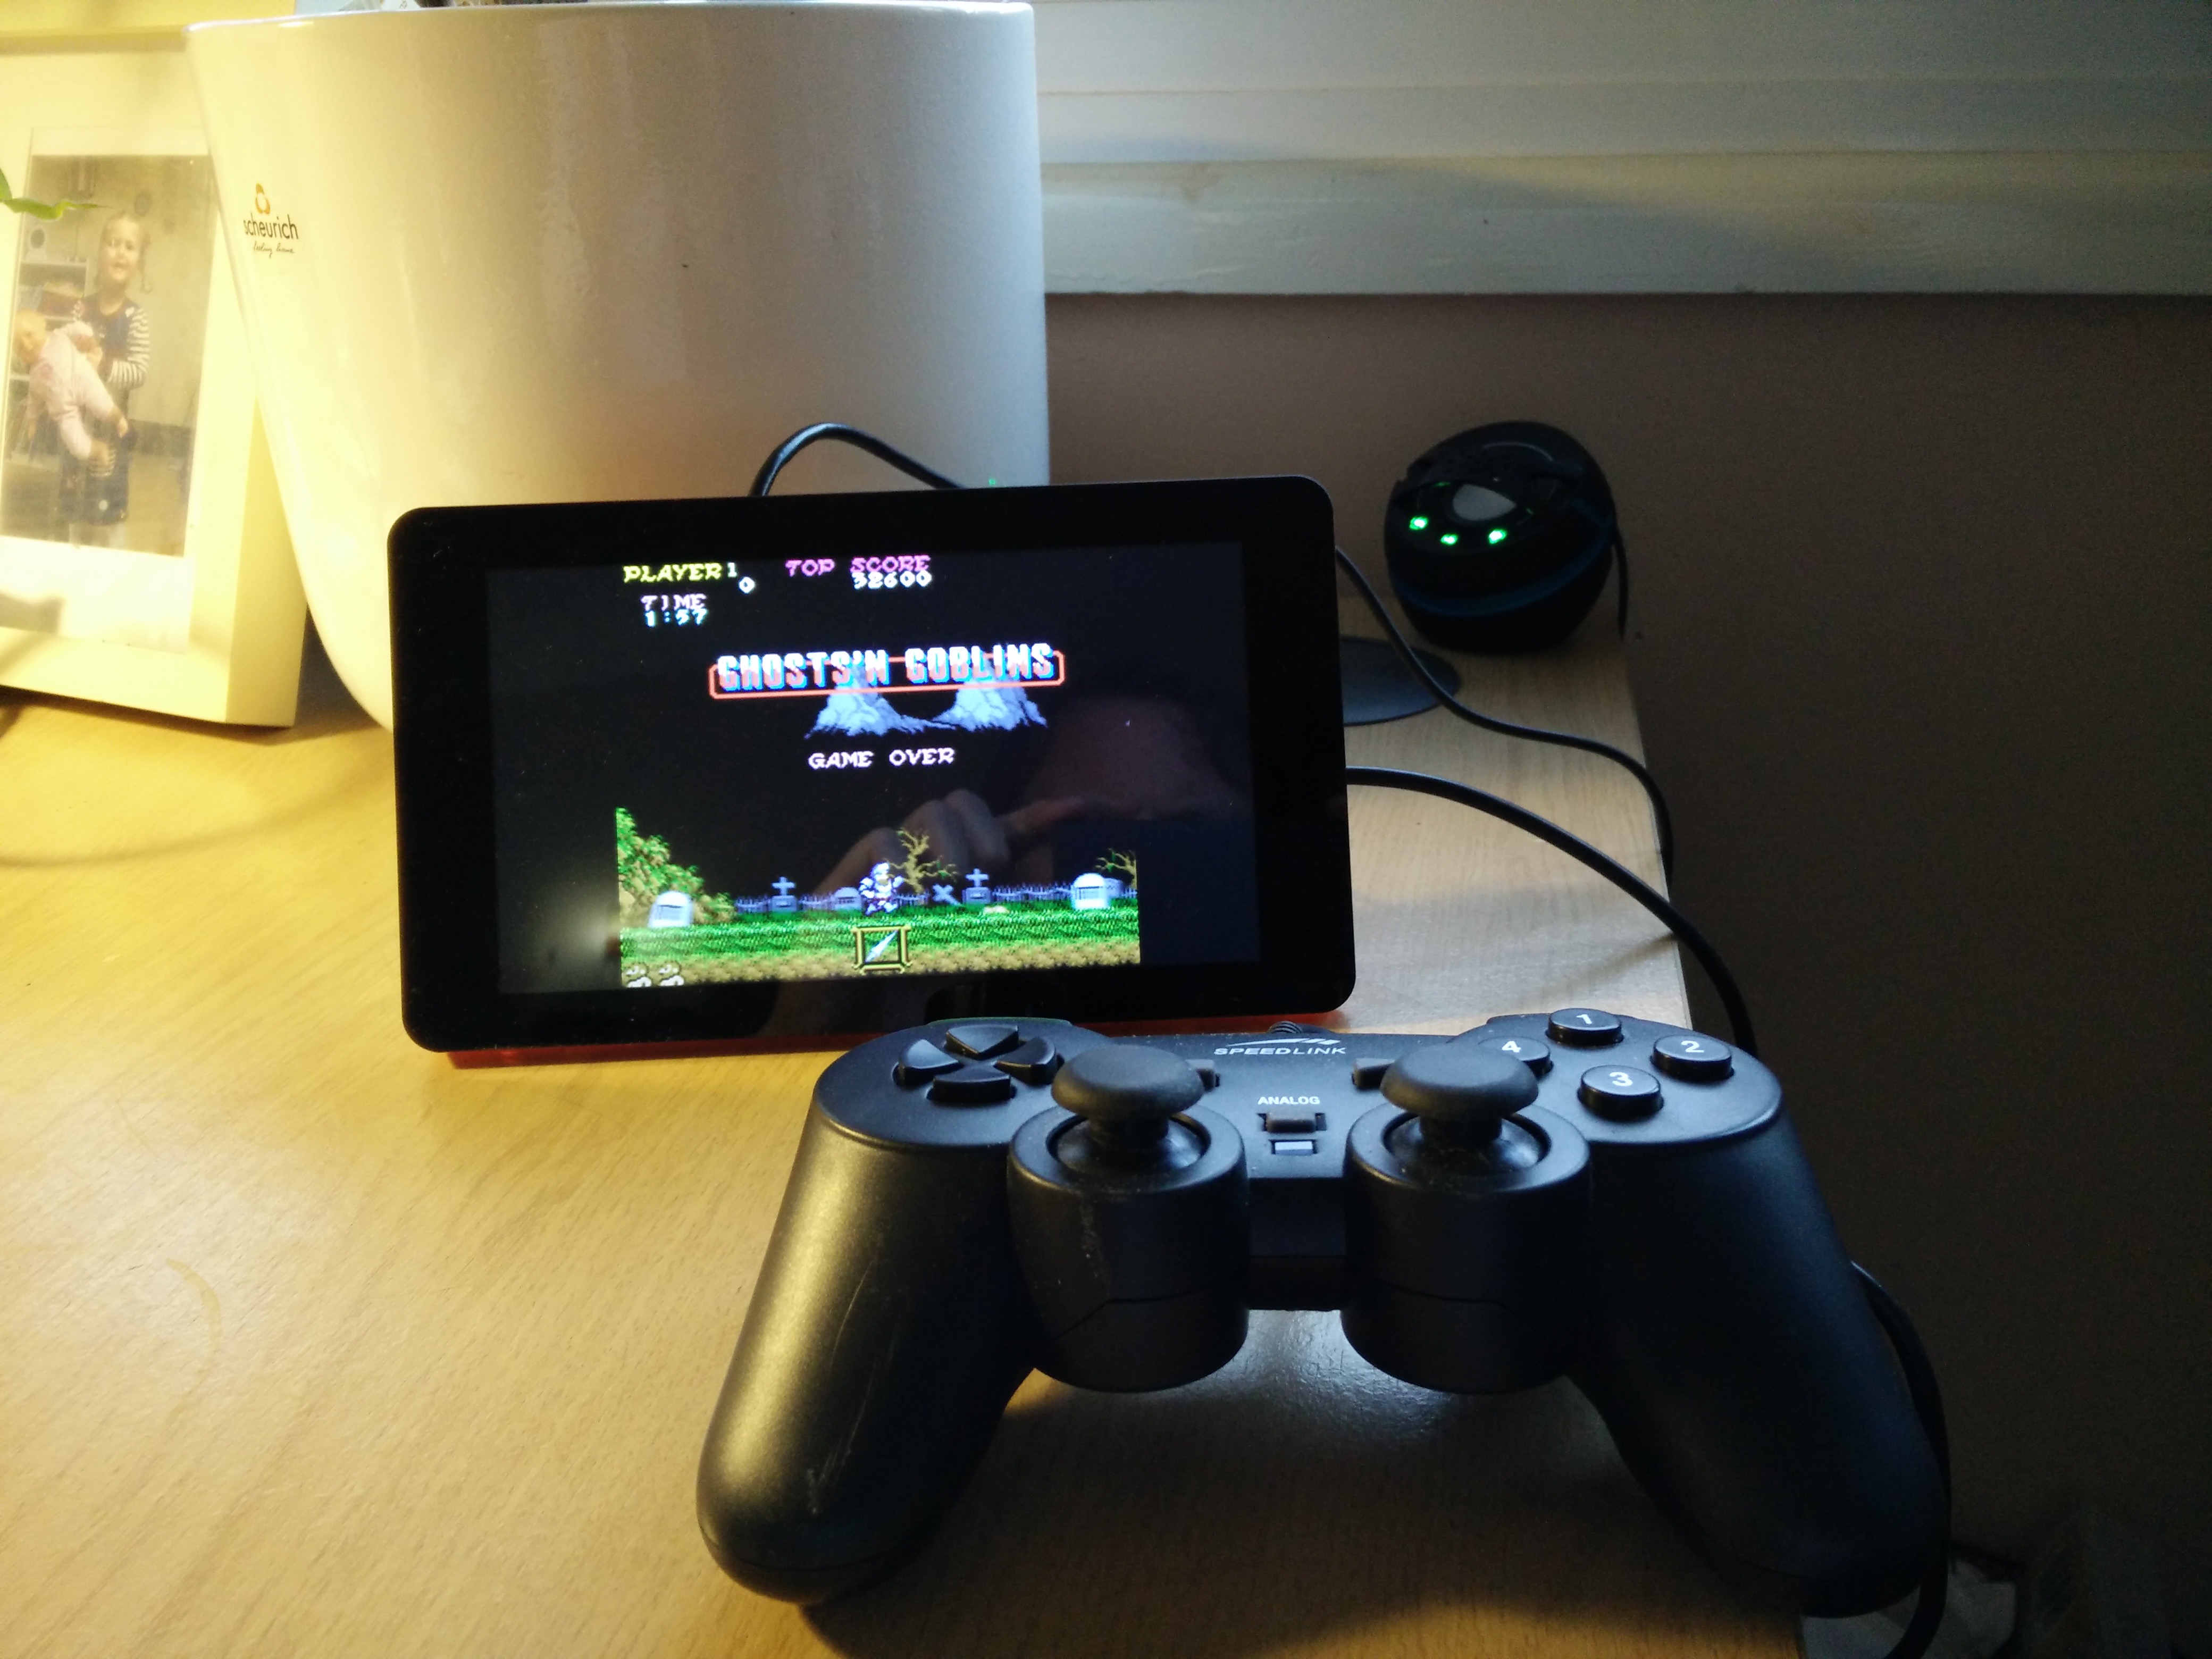
Speaking of ROMs. Current favourites are Image Fight [ obviously ], Street Fighter 2 [ obviously ] and Super Contra which is just brilliant.
I’ve learned so much more than I’ve documented above and I’m pretty sure that I’ve missed out loads of details but I’m now bored of writing this. I think the whole project cost under £200 but has taken me 4 months to complete. I had a working cabinet after a month or so but all the polish and finishing took ages. Annoyingly I’ve yet to get past level 4 of Image Fight despite being able to finish the whole game as a teenager. Still, it doesn’t cost me 20p a go now so I’ll carry on practising.
To summarise….build one. They’re ace!