
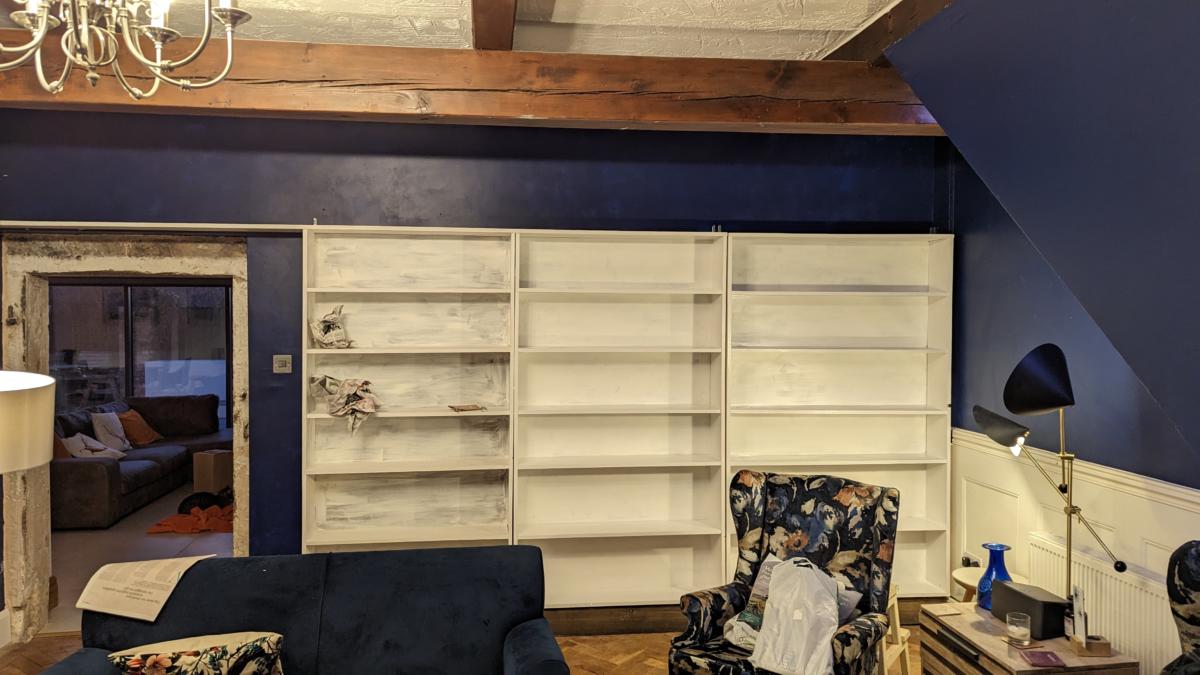
A long long time ago Bill built us some cabinets and bookcases in the “wooden floor room”. They covered one wall of the room either side of the chimney breast and extended over the doorway to the the “carpet room”. After the extension was complete we had a whole other wall doing nothing in the wooden floor room since we have moved a doorway. Given that we also had a whole load of books in storage because we couldn’t fit them on the shelves I decided a new set of matching bookcases were in order…and I would build them myself.
The cynical amongst you will view this an excuse to buy a new Ryobi electric plane. It’s a thing of beauty.
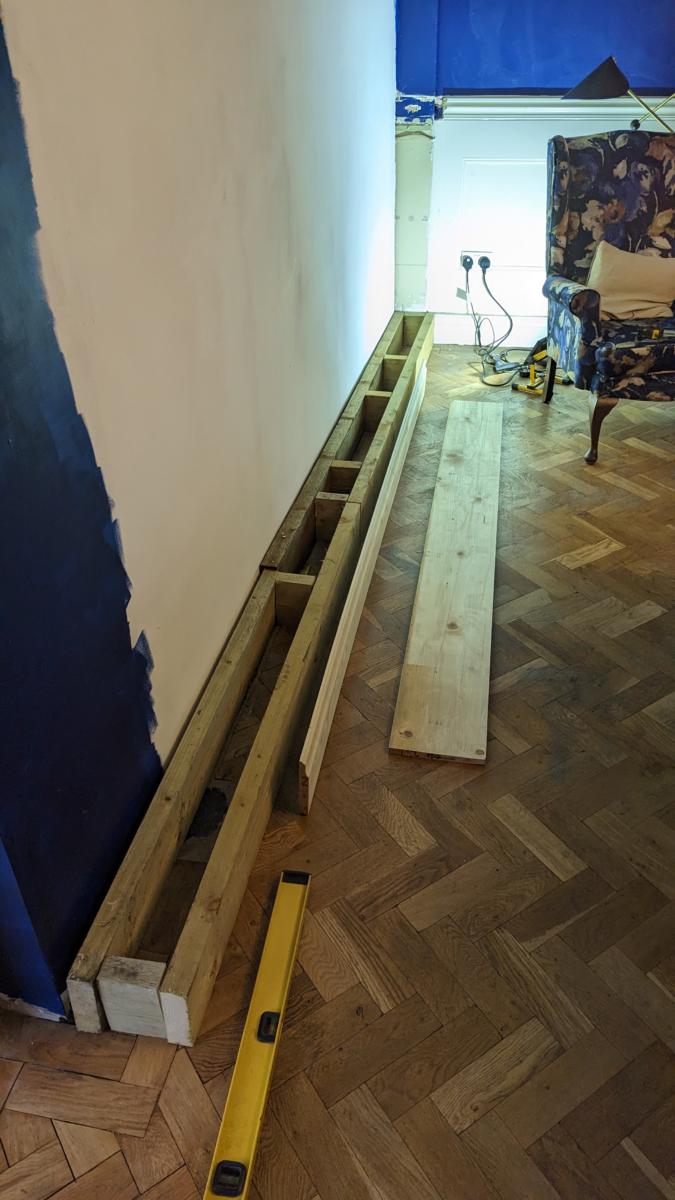
Anyway…the base. Some left over 6×2 that was used as my roof beams in my front shed formed a sturdy base for the cases to sit atop.
My initial plan was to cover the 3.6m wall with three equally sized bookcases of 1.2m each. This meant that the light switch would have been inside one of the bookcases which I thought would have been kinda cool. Emma and Amelia disagreed so I let them have their way. The problem is that I’d already made a 1.2m bookcase.
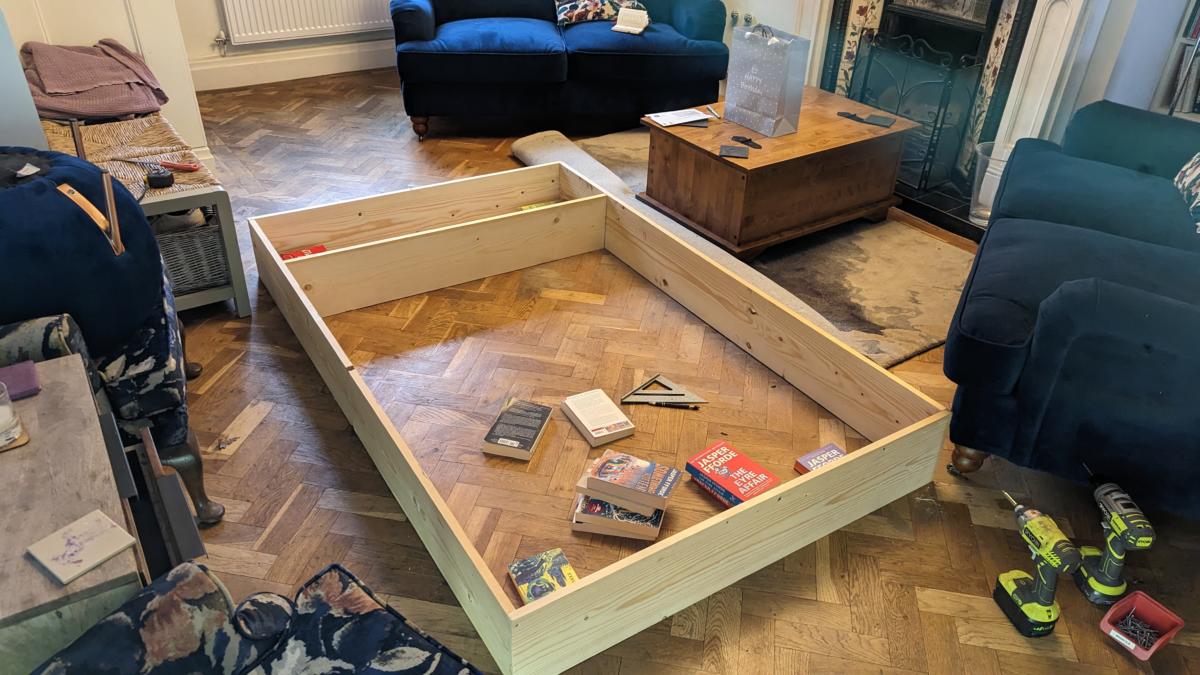
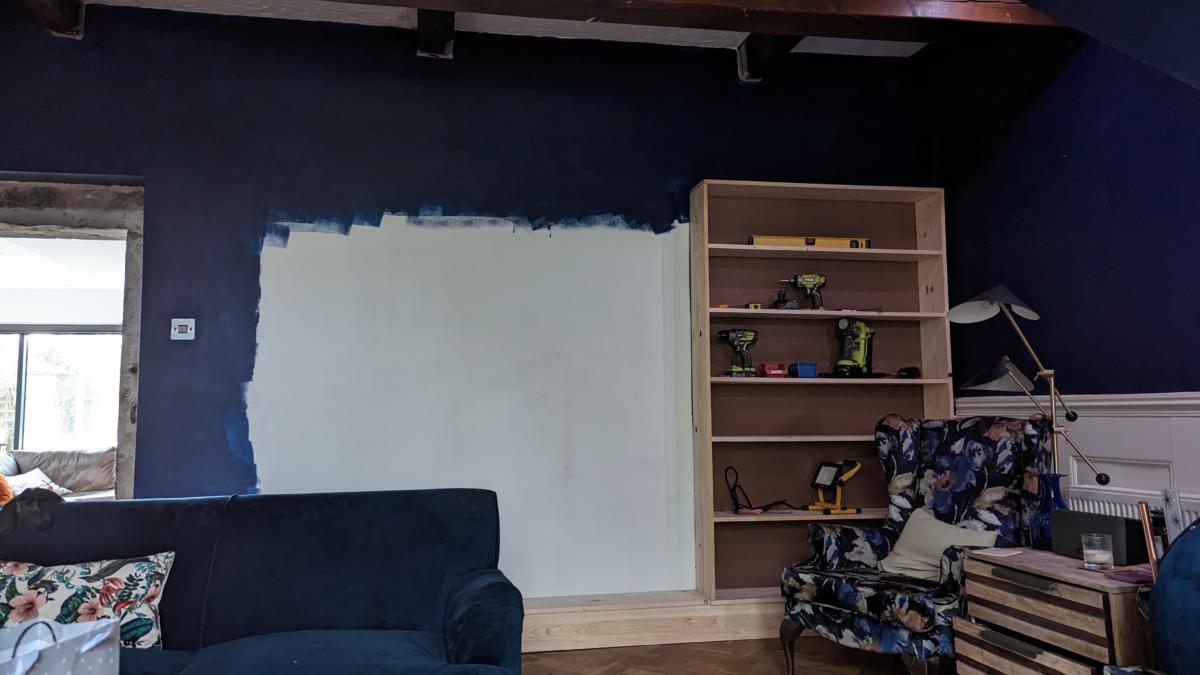
The upshot of building it on the floor raised it’s head when I realised the base it was on wasn’t quite level. It doesn’t seem like a massive problem until you put a large bookcase on there and then everything is thrown out. I put some spacers underneath the base and redid the shelves so that they were level. It’s all still a tiny bit wonky but this is typical of one of my projects.
When I built the next bookcase I thought I’d have the shelves not lining up. So the whole thing looked a bit asymmetrical but having taken a look at them afterwards, and following feedback from Emma and Amelia, I decided to abandon that idea and keep the bookcases level.
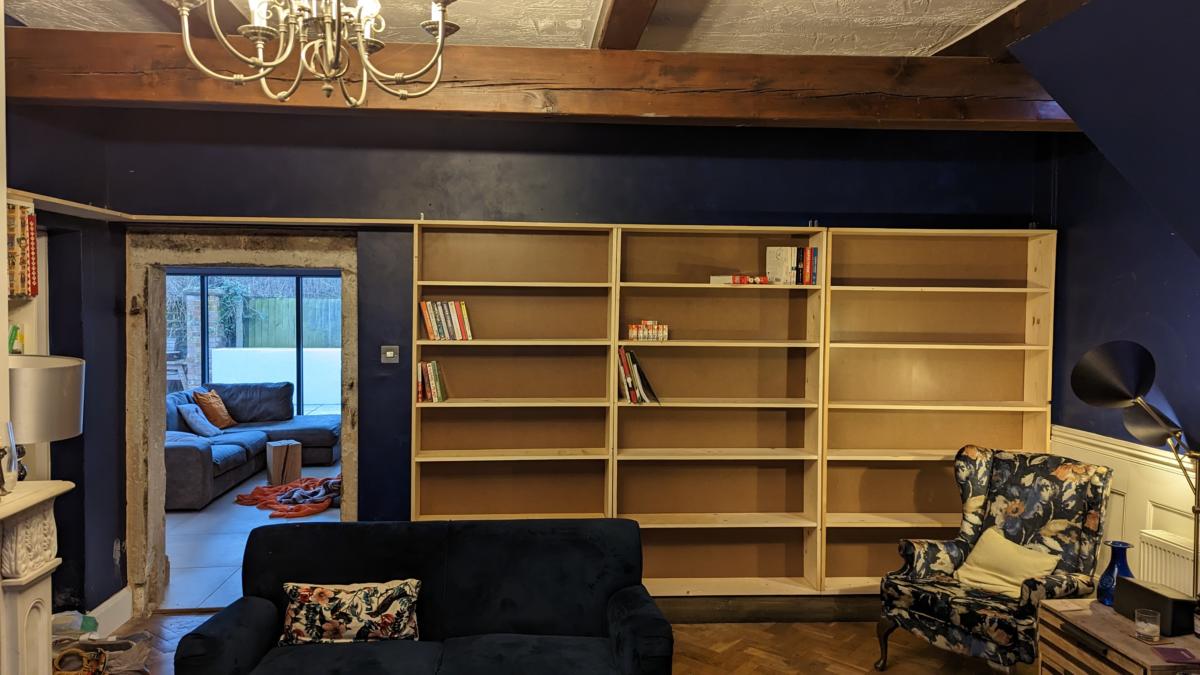
Annoyingly I didn’t get a picture of my shelves when they were asymmetrical, but it just looked wrong. Looks miles better above. I also extended the top shelf over the “discovered doorway” that had been bricked up for who knows how long! I then had to build some padding onto the top of the existing shelves so that my shelf above the doorway would wrap around the corner and join up neatly with the existing shelves.

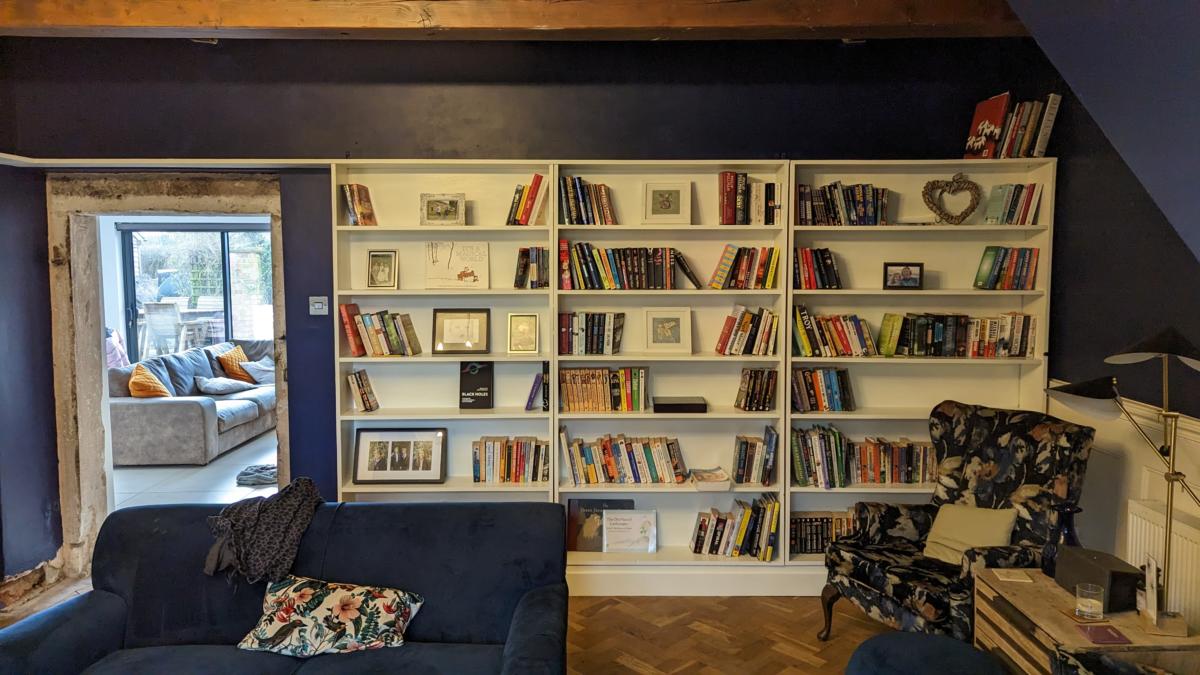
In case you’re wondering why I needed to buy a new electric plane it was for the skirting board you can see underneath the shelves. I had the wood yard cut the 7inch lambs tongue skirting down to 6inch. However because the floor/base is slightly bowed I needed to shave a couple of mm of the skirting. Probably could have done it by hand over a few hours…or buy a new bit of kit and have it done in a few minutes.
Conclusion
Probably would have been cheaper and quicker to buy them from Ikea. Possibly would have ended with a better finish without gaps here and there, but they wouldn’t have tied in with my existing bookcases and this blog would be “bought some bookshelves from Ikea and put them up in a couple of hours…here they are” – which would be a rubbish blog post.