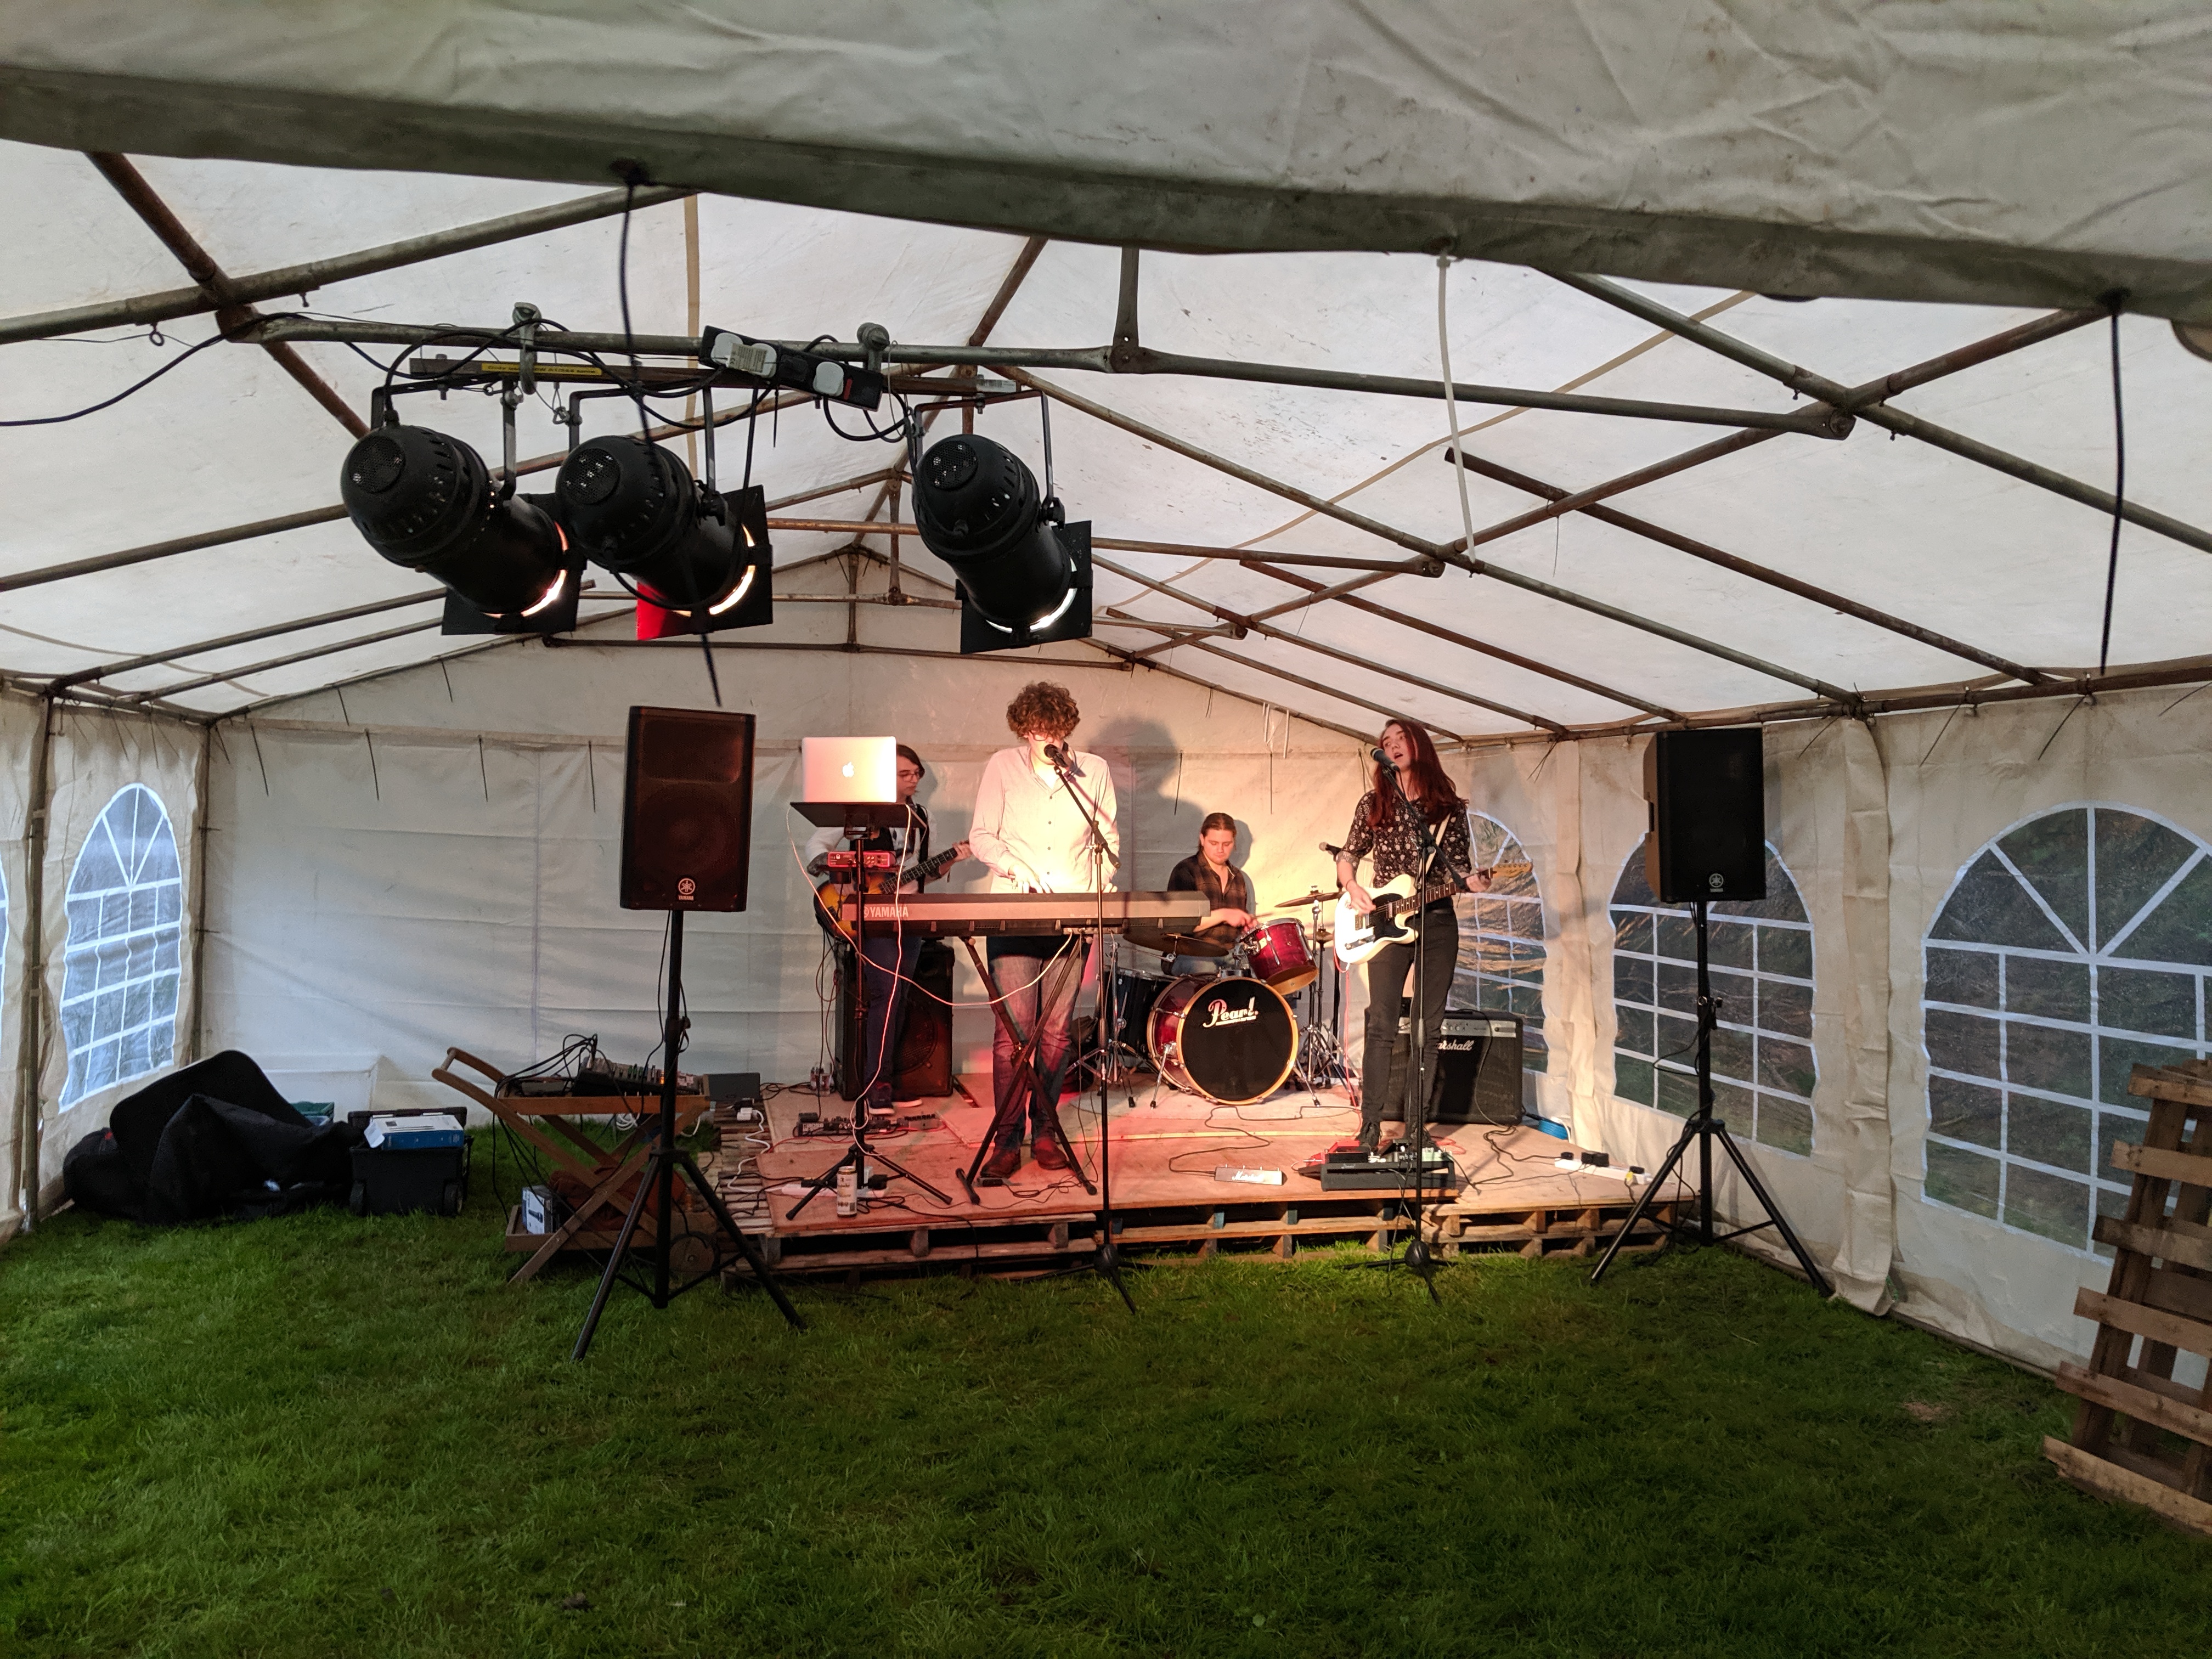
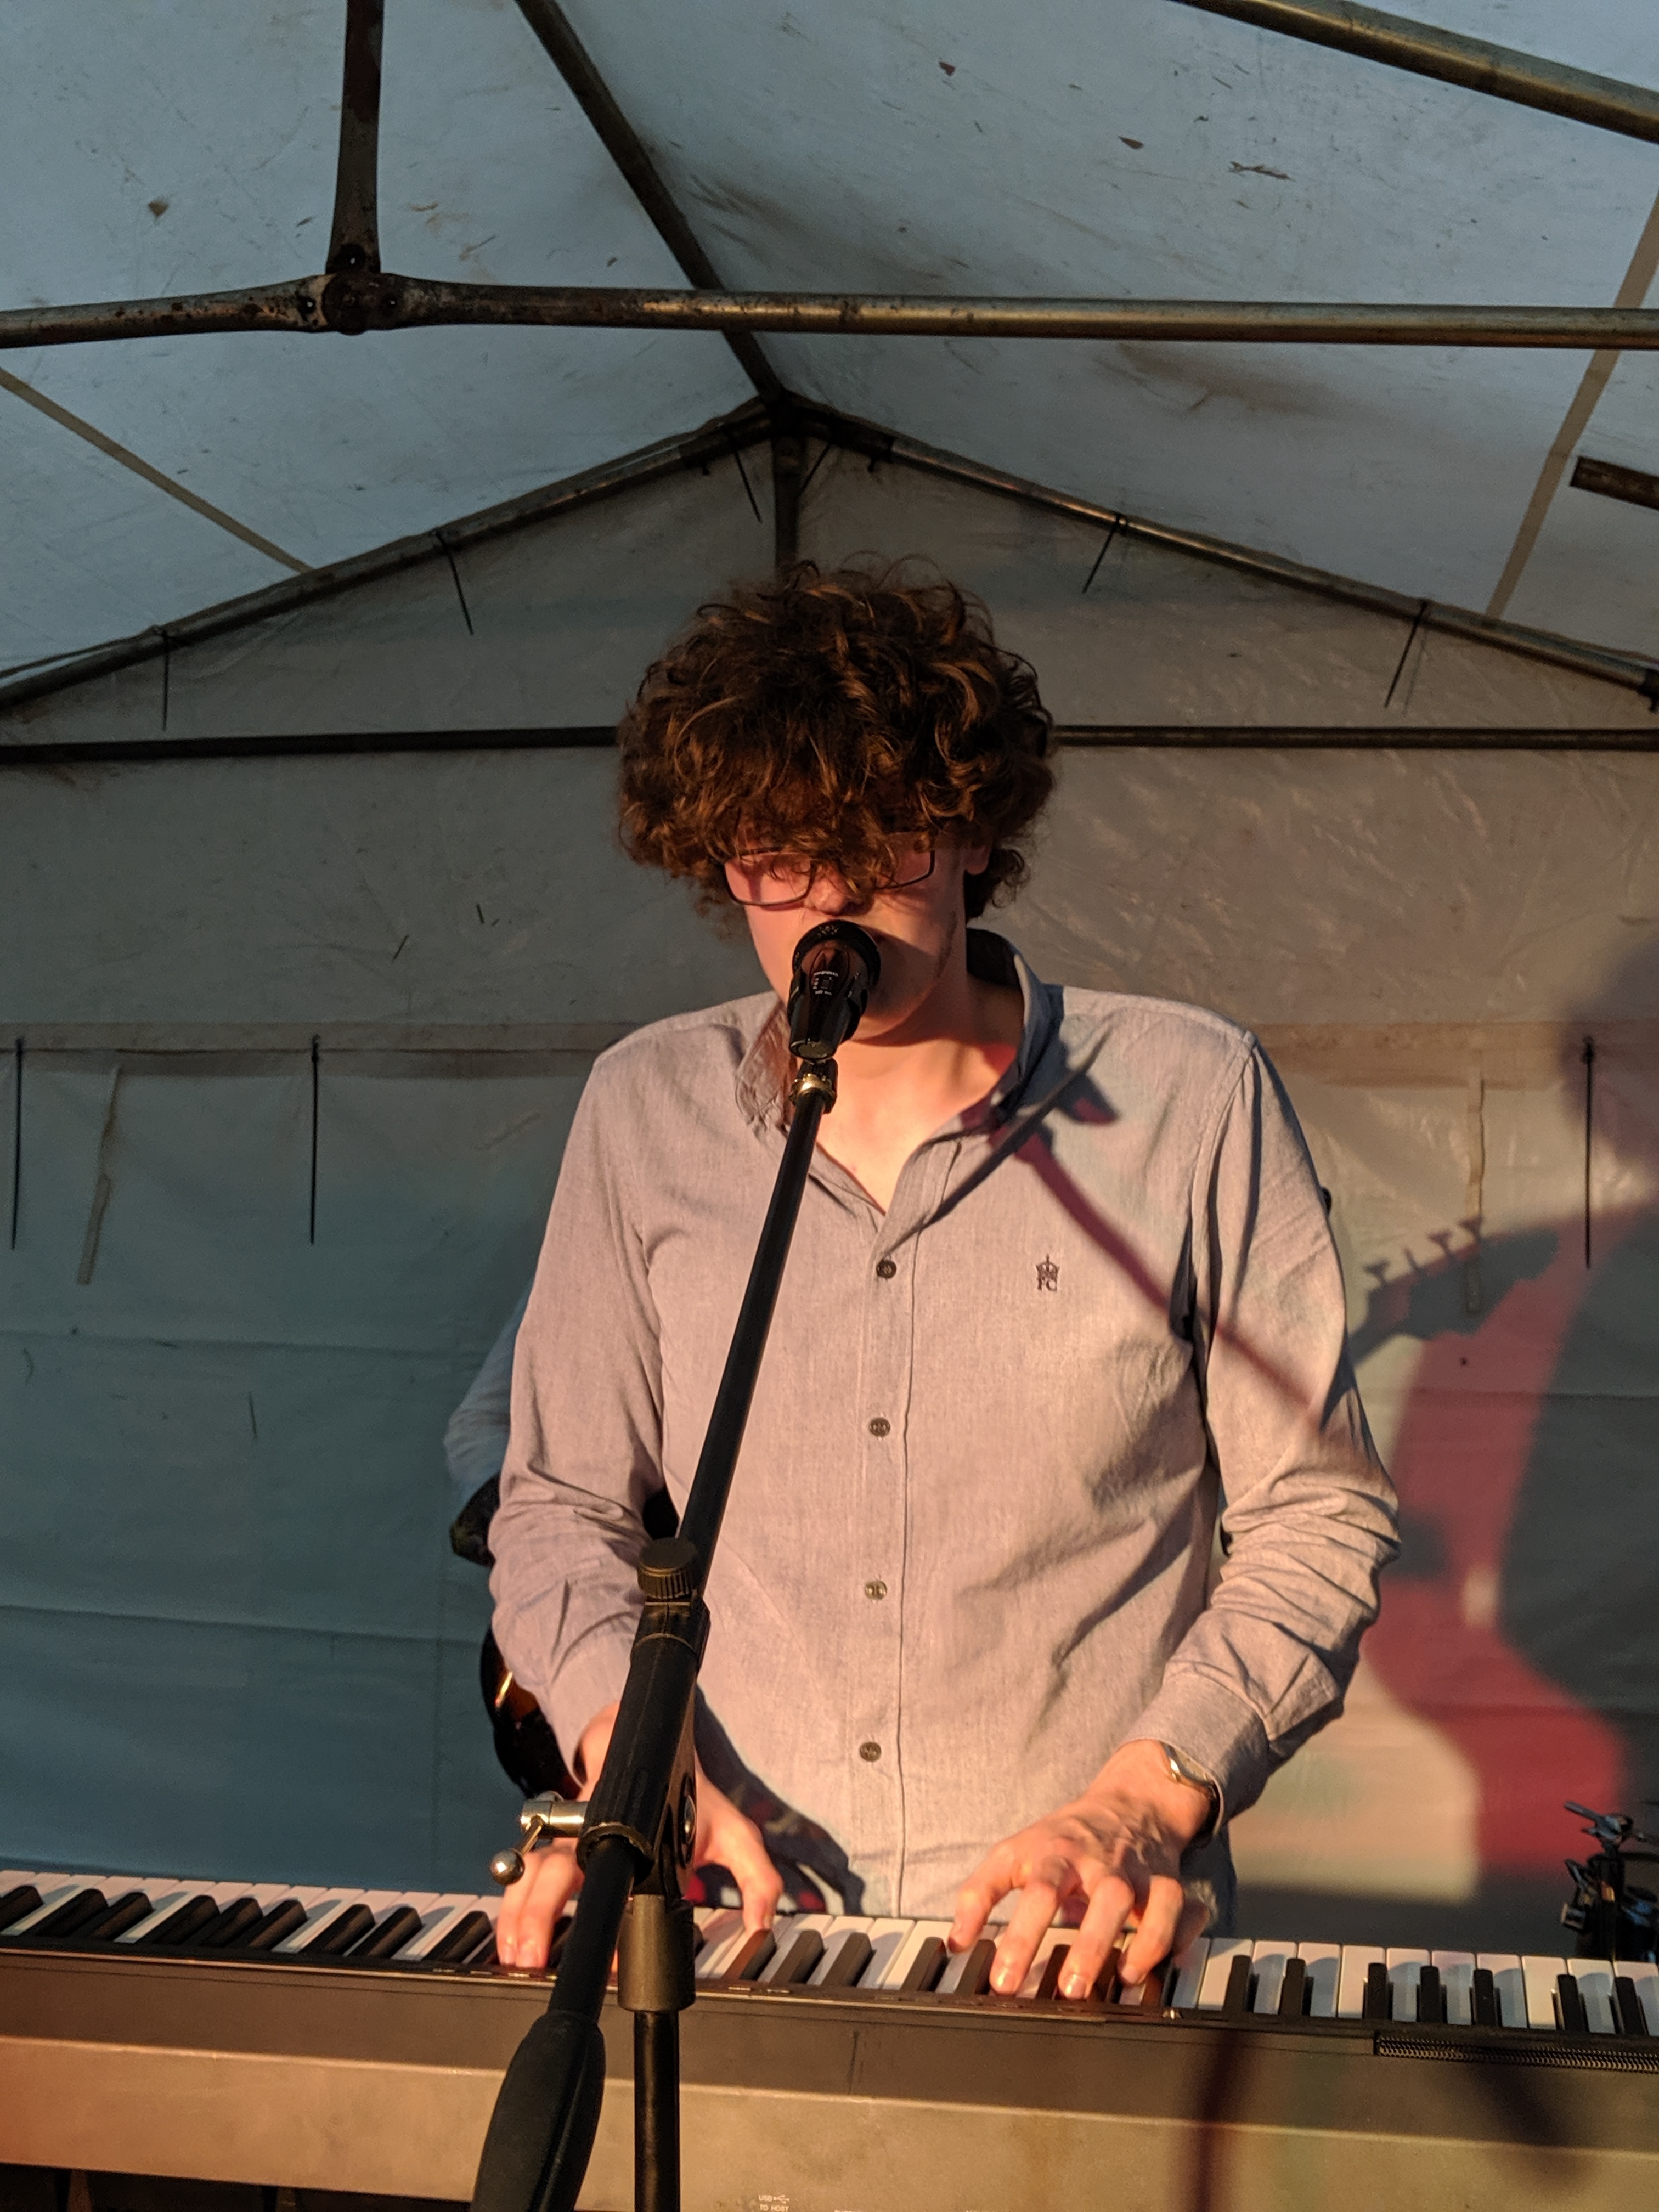
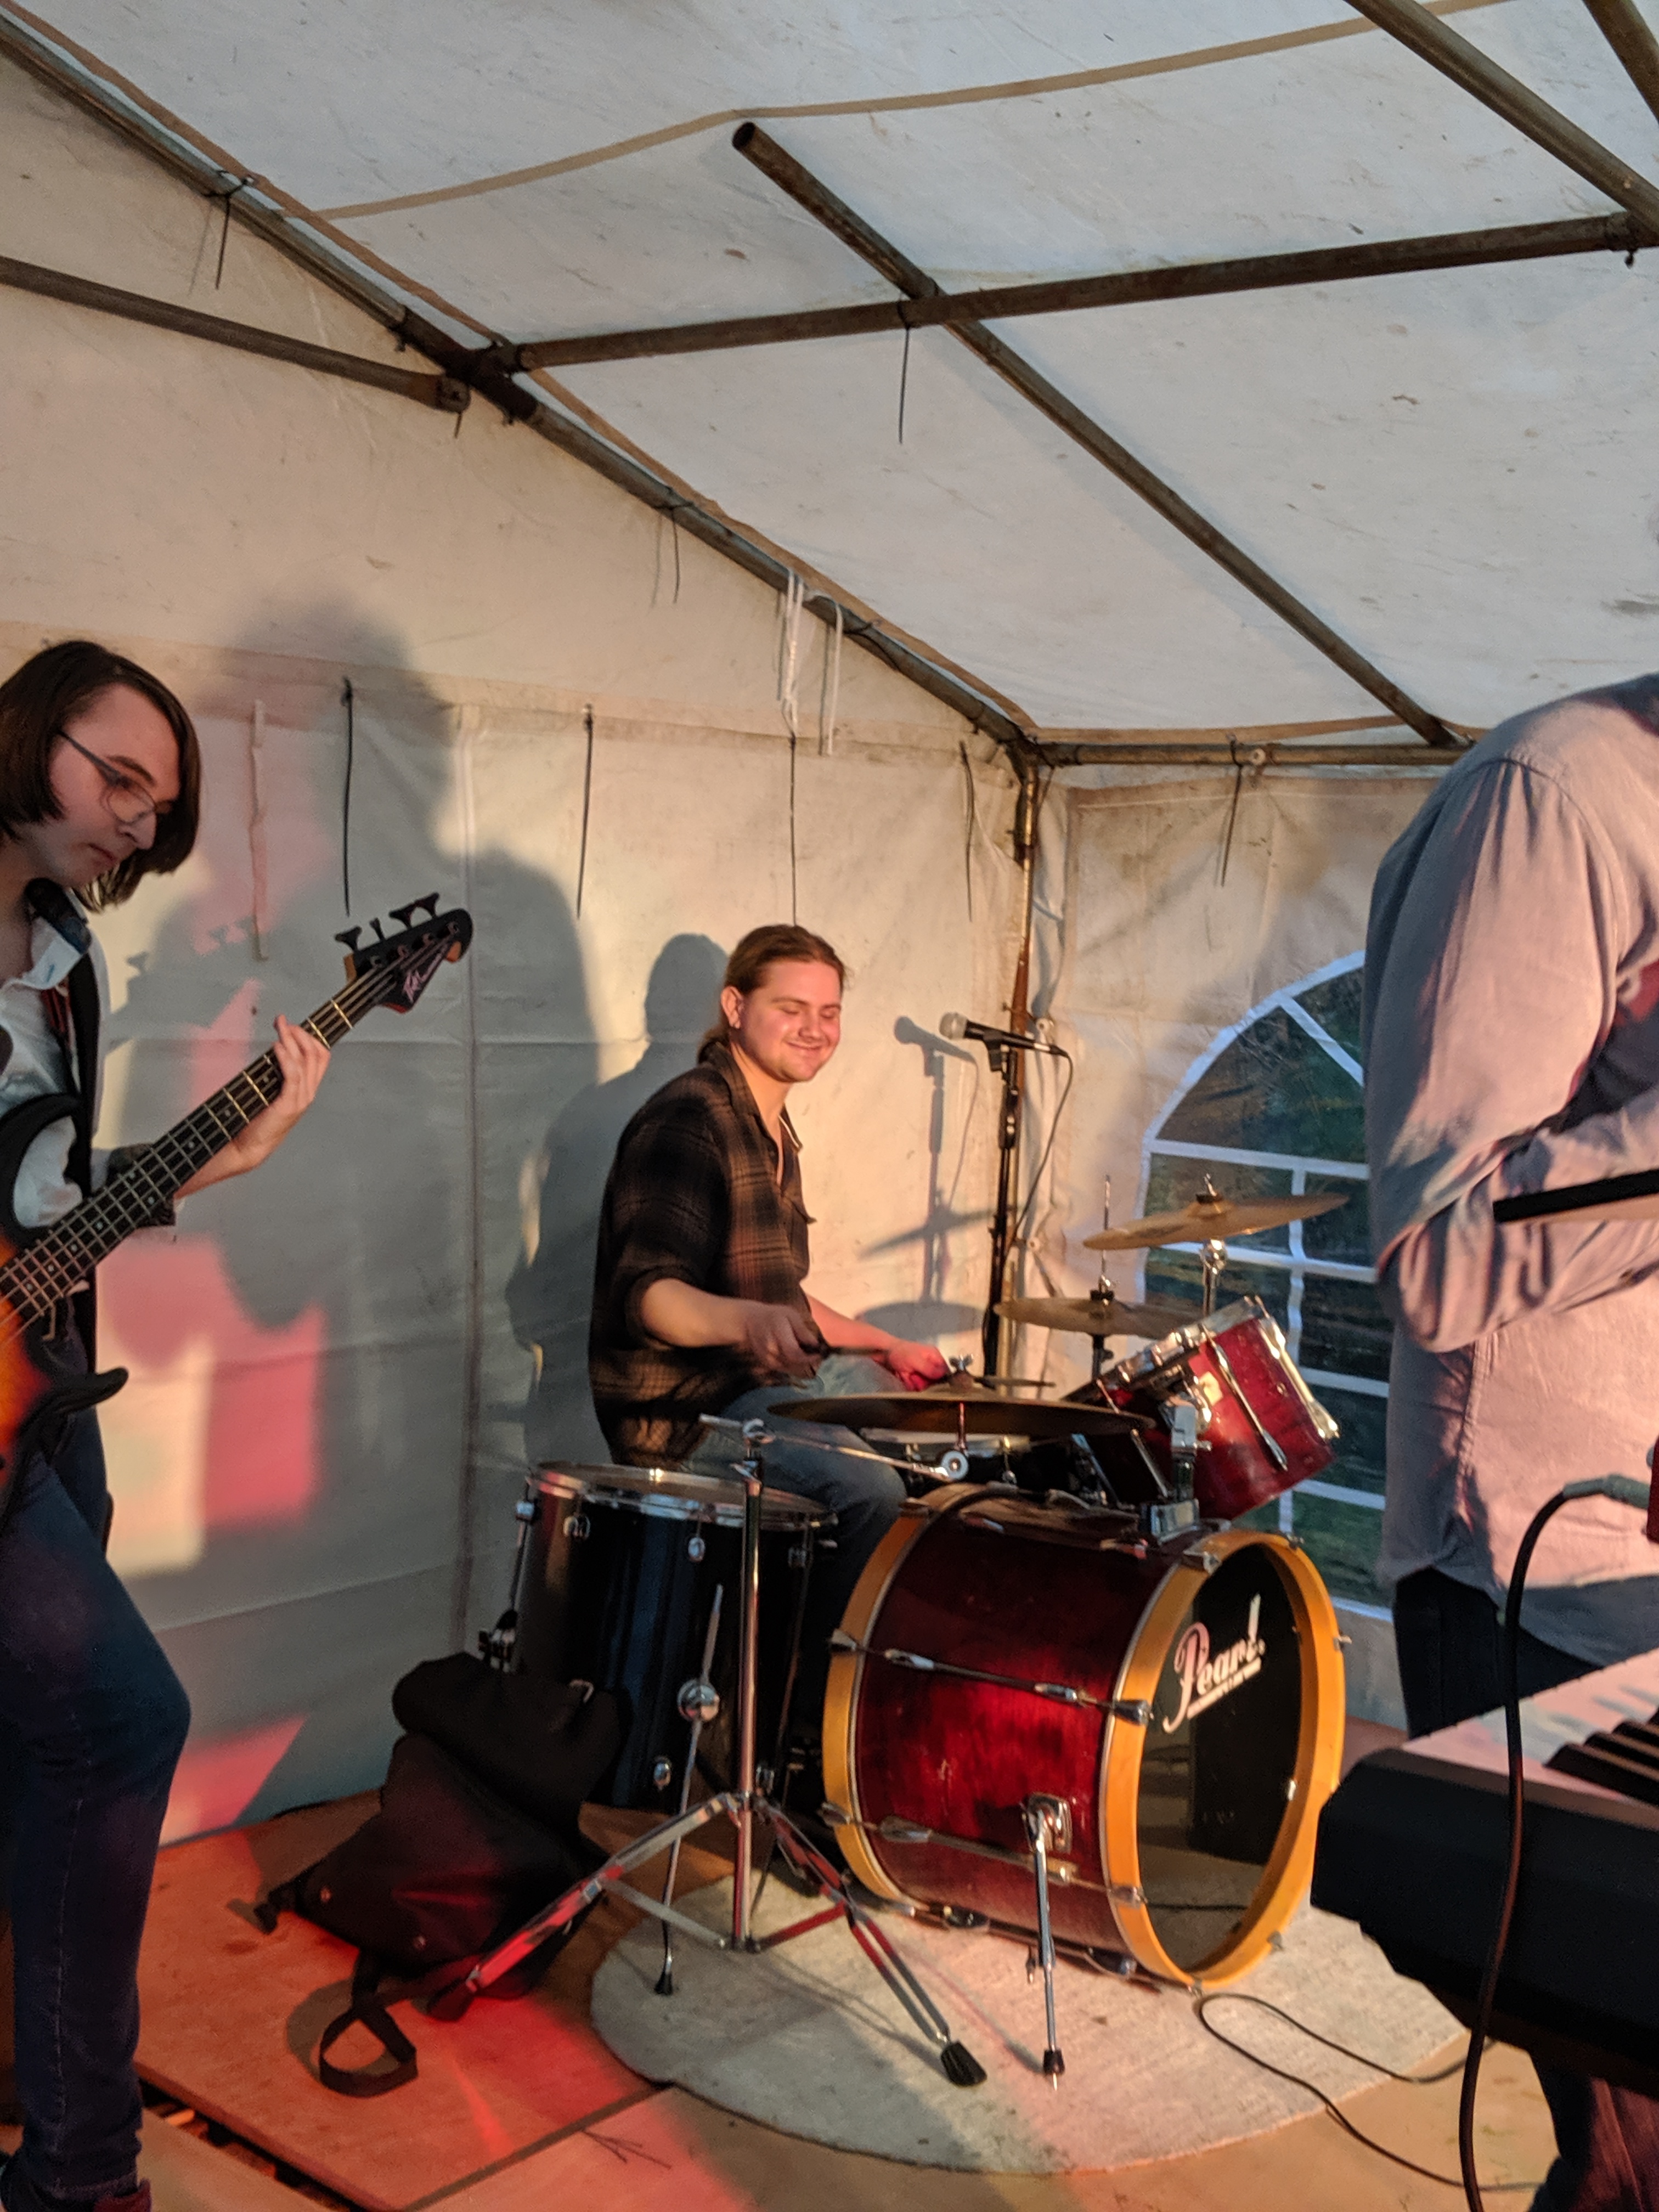
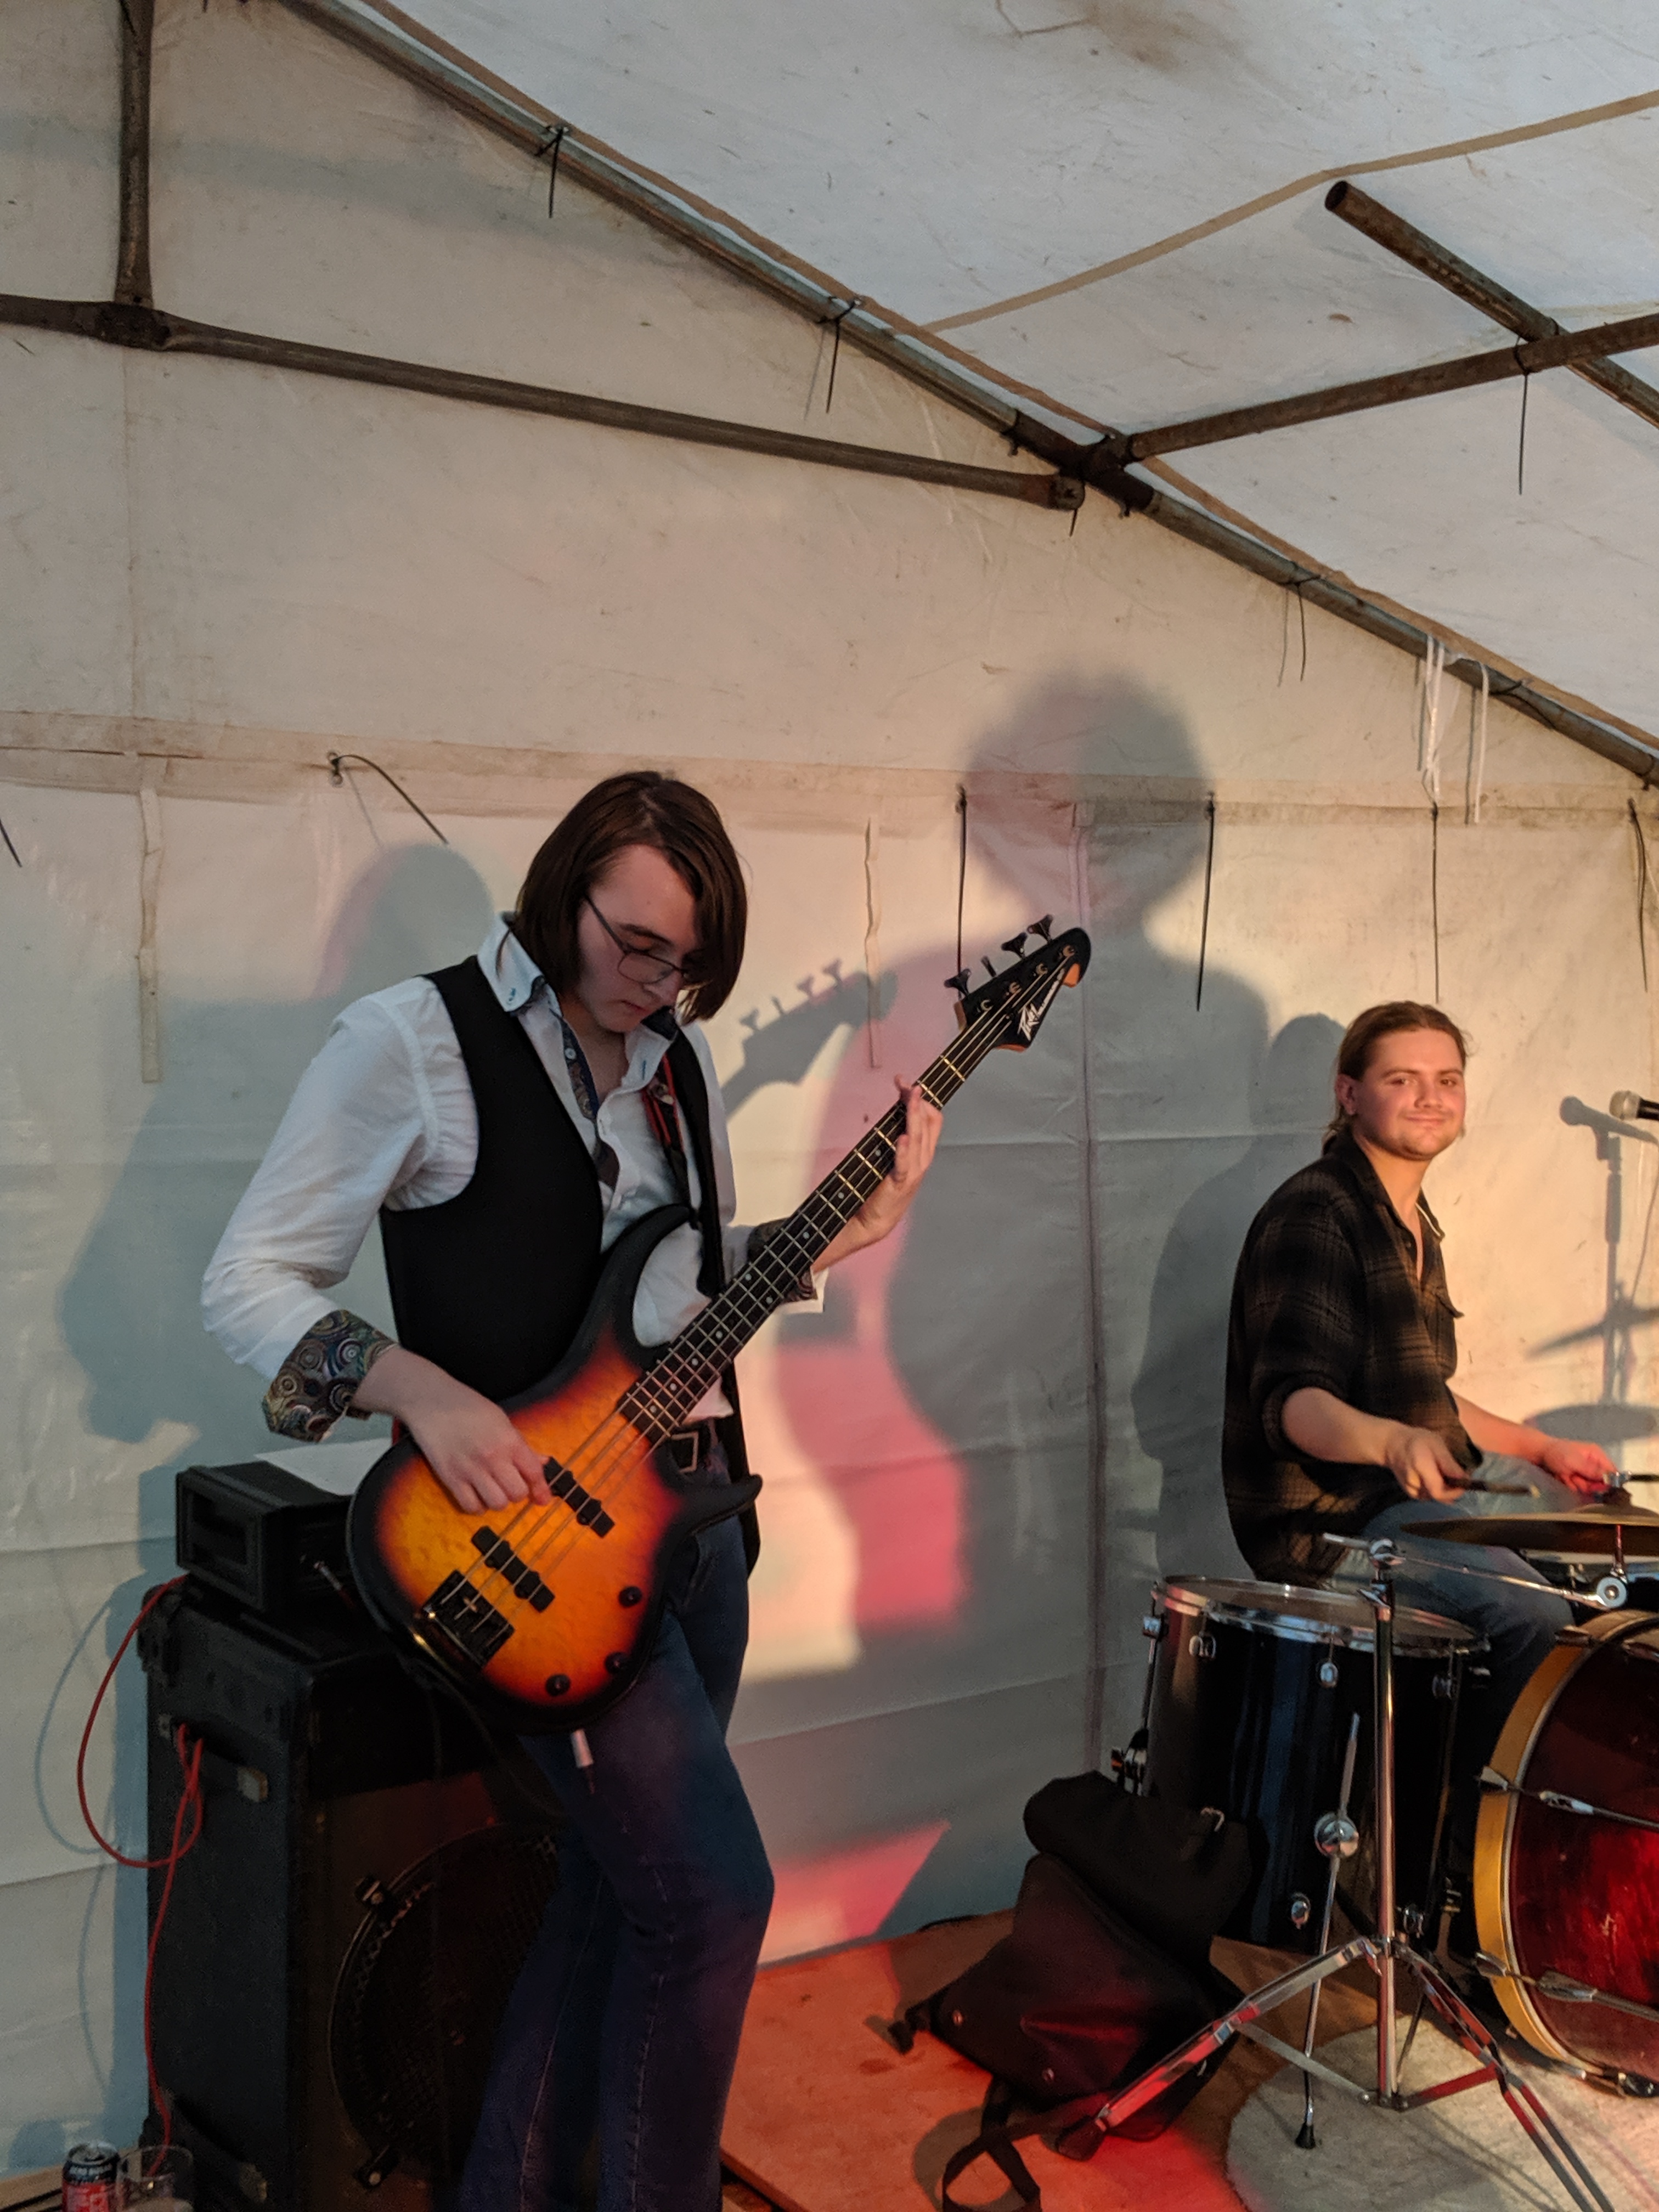
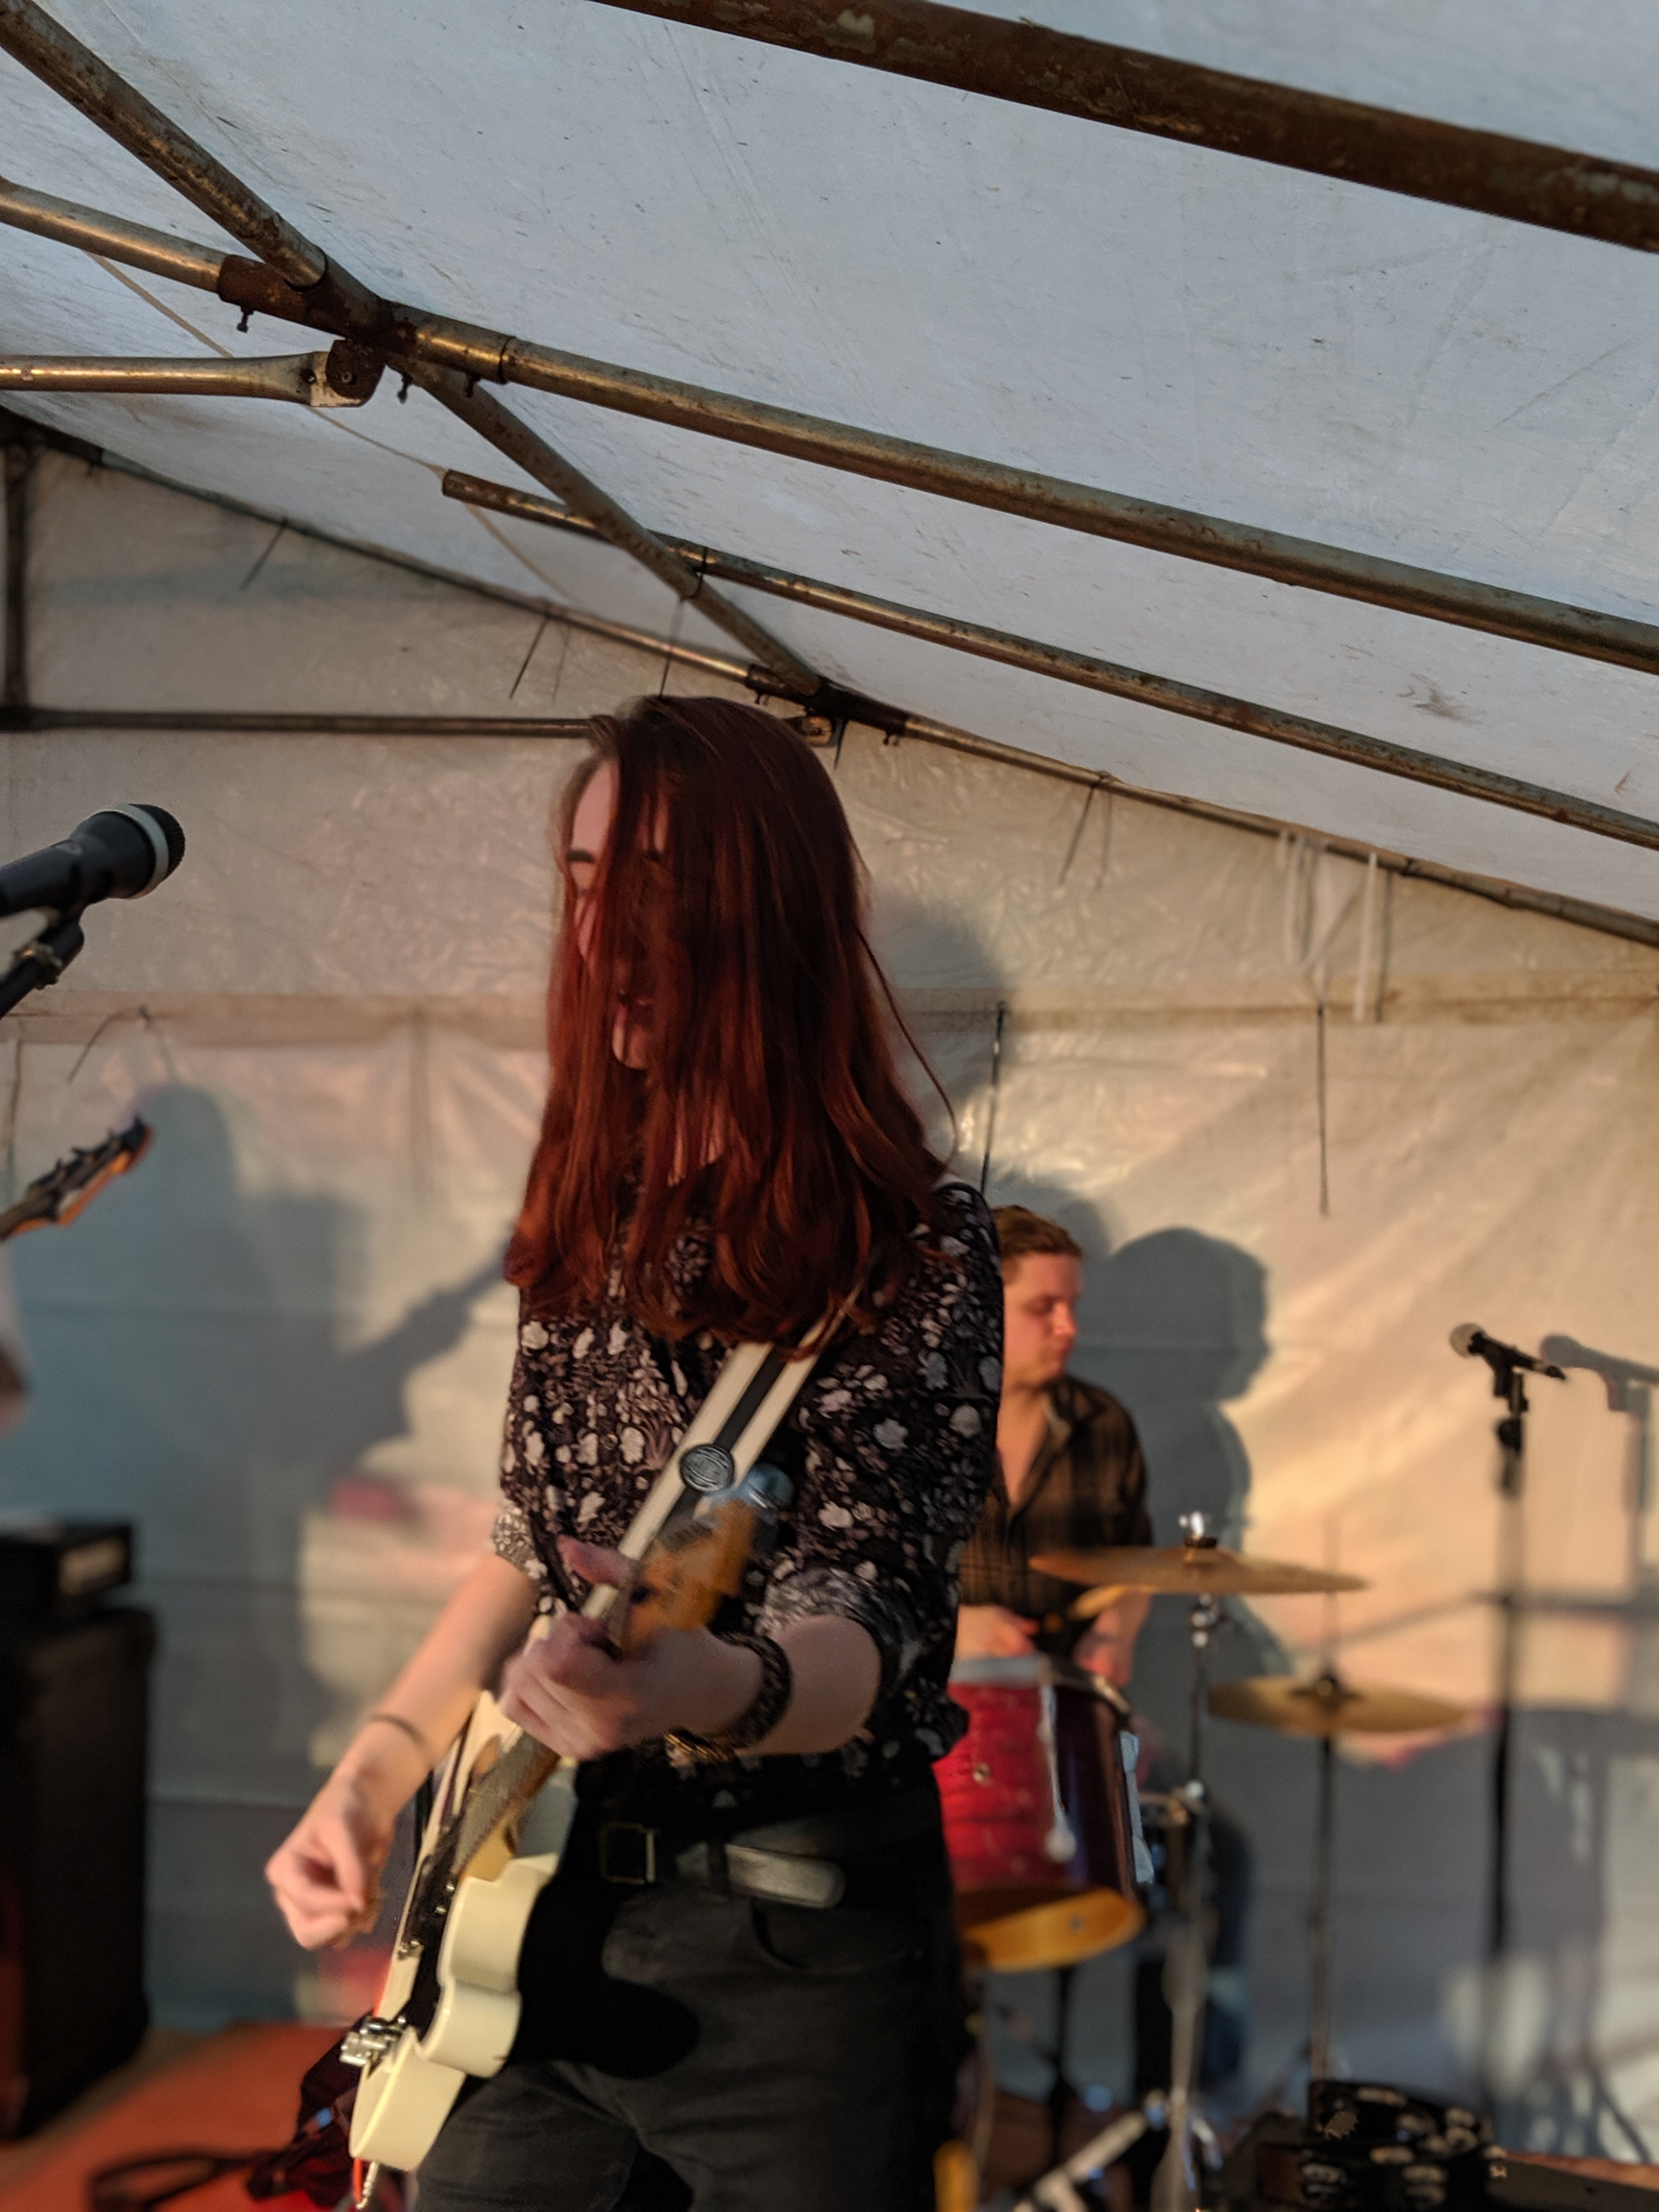
We had a bit of a party in the garden, it rained. A lot. So we put up a couple of marquees and had the Inkbirds over to play
The place where I document the stupid stuff I do
We had a bit of a party in the garden, it rained. A lot. So we put up a couple of marquees and had the Inkbirds over to play
Not entirely sure why the gallery widget has decided to put some of my portrait images as landscape but ho hum. We had fun


This is a bit of an epic of a post. Lots of pictures and lots of words because lots of work went into it.
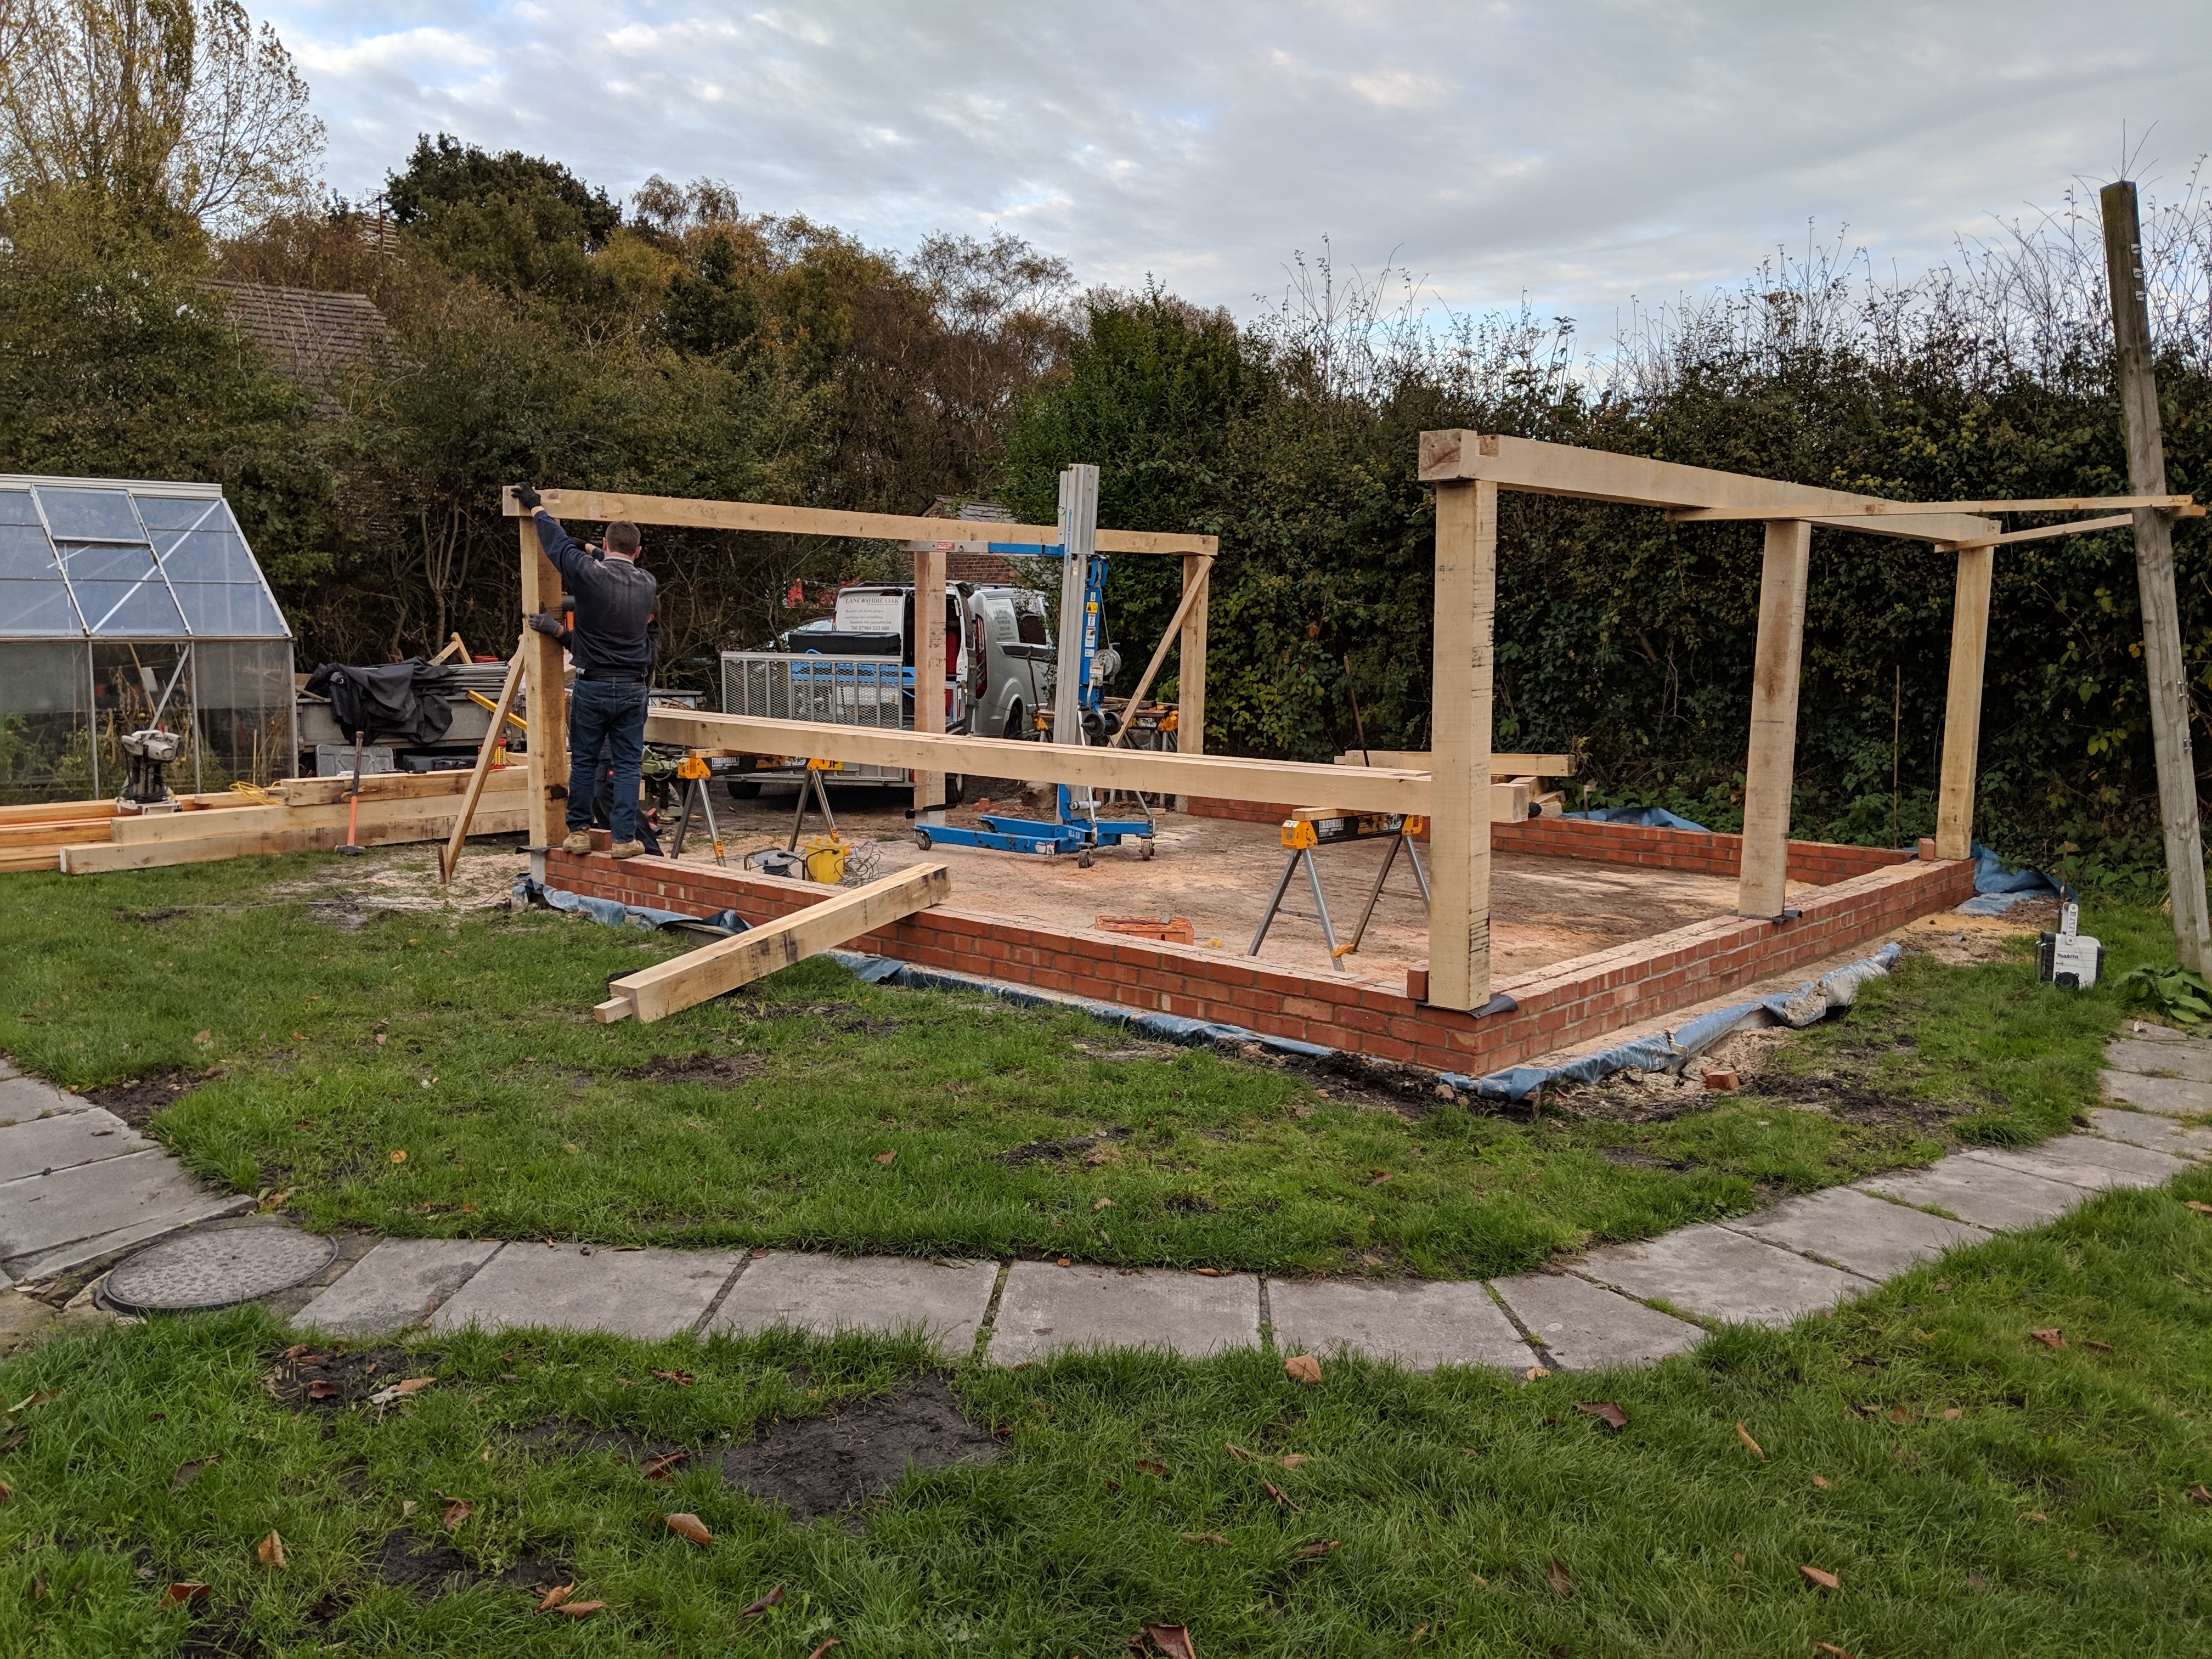
For a long time it’s been my ambition to drive a car that’s older than me. Parking such a car outside in the British weather means that car wouldn’t last much longer before it fell apart so we had to build a garage.
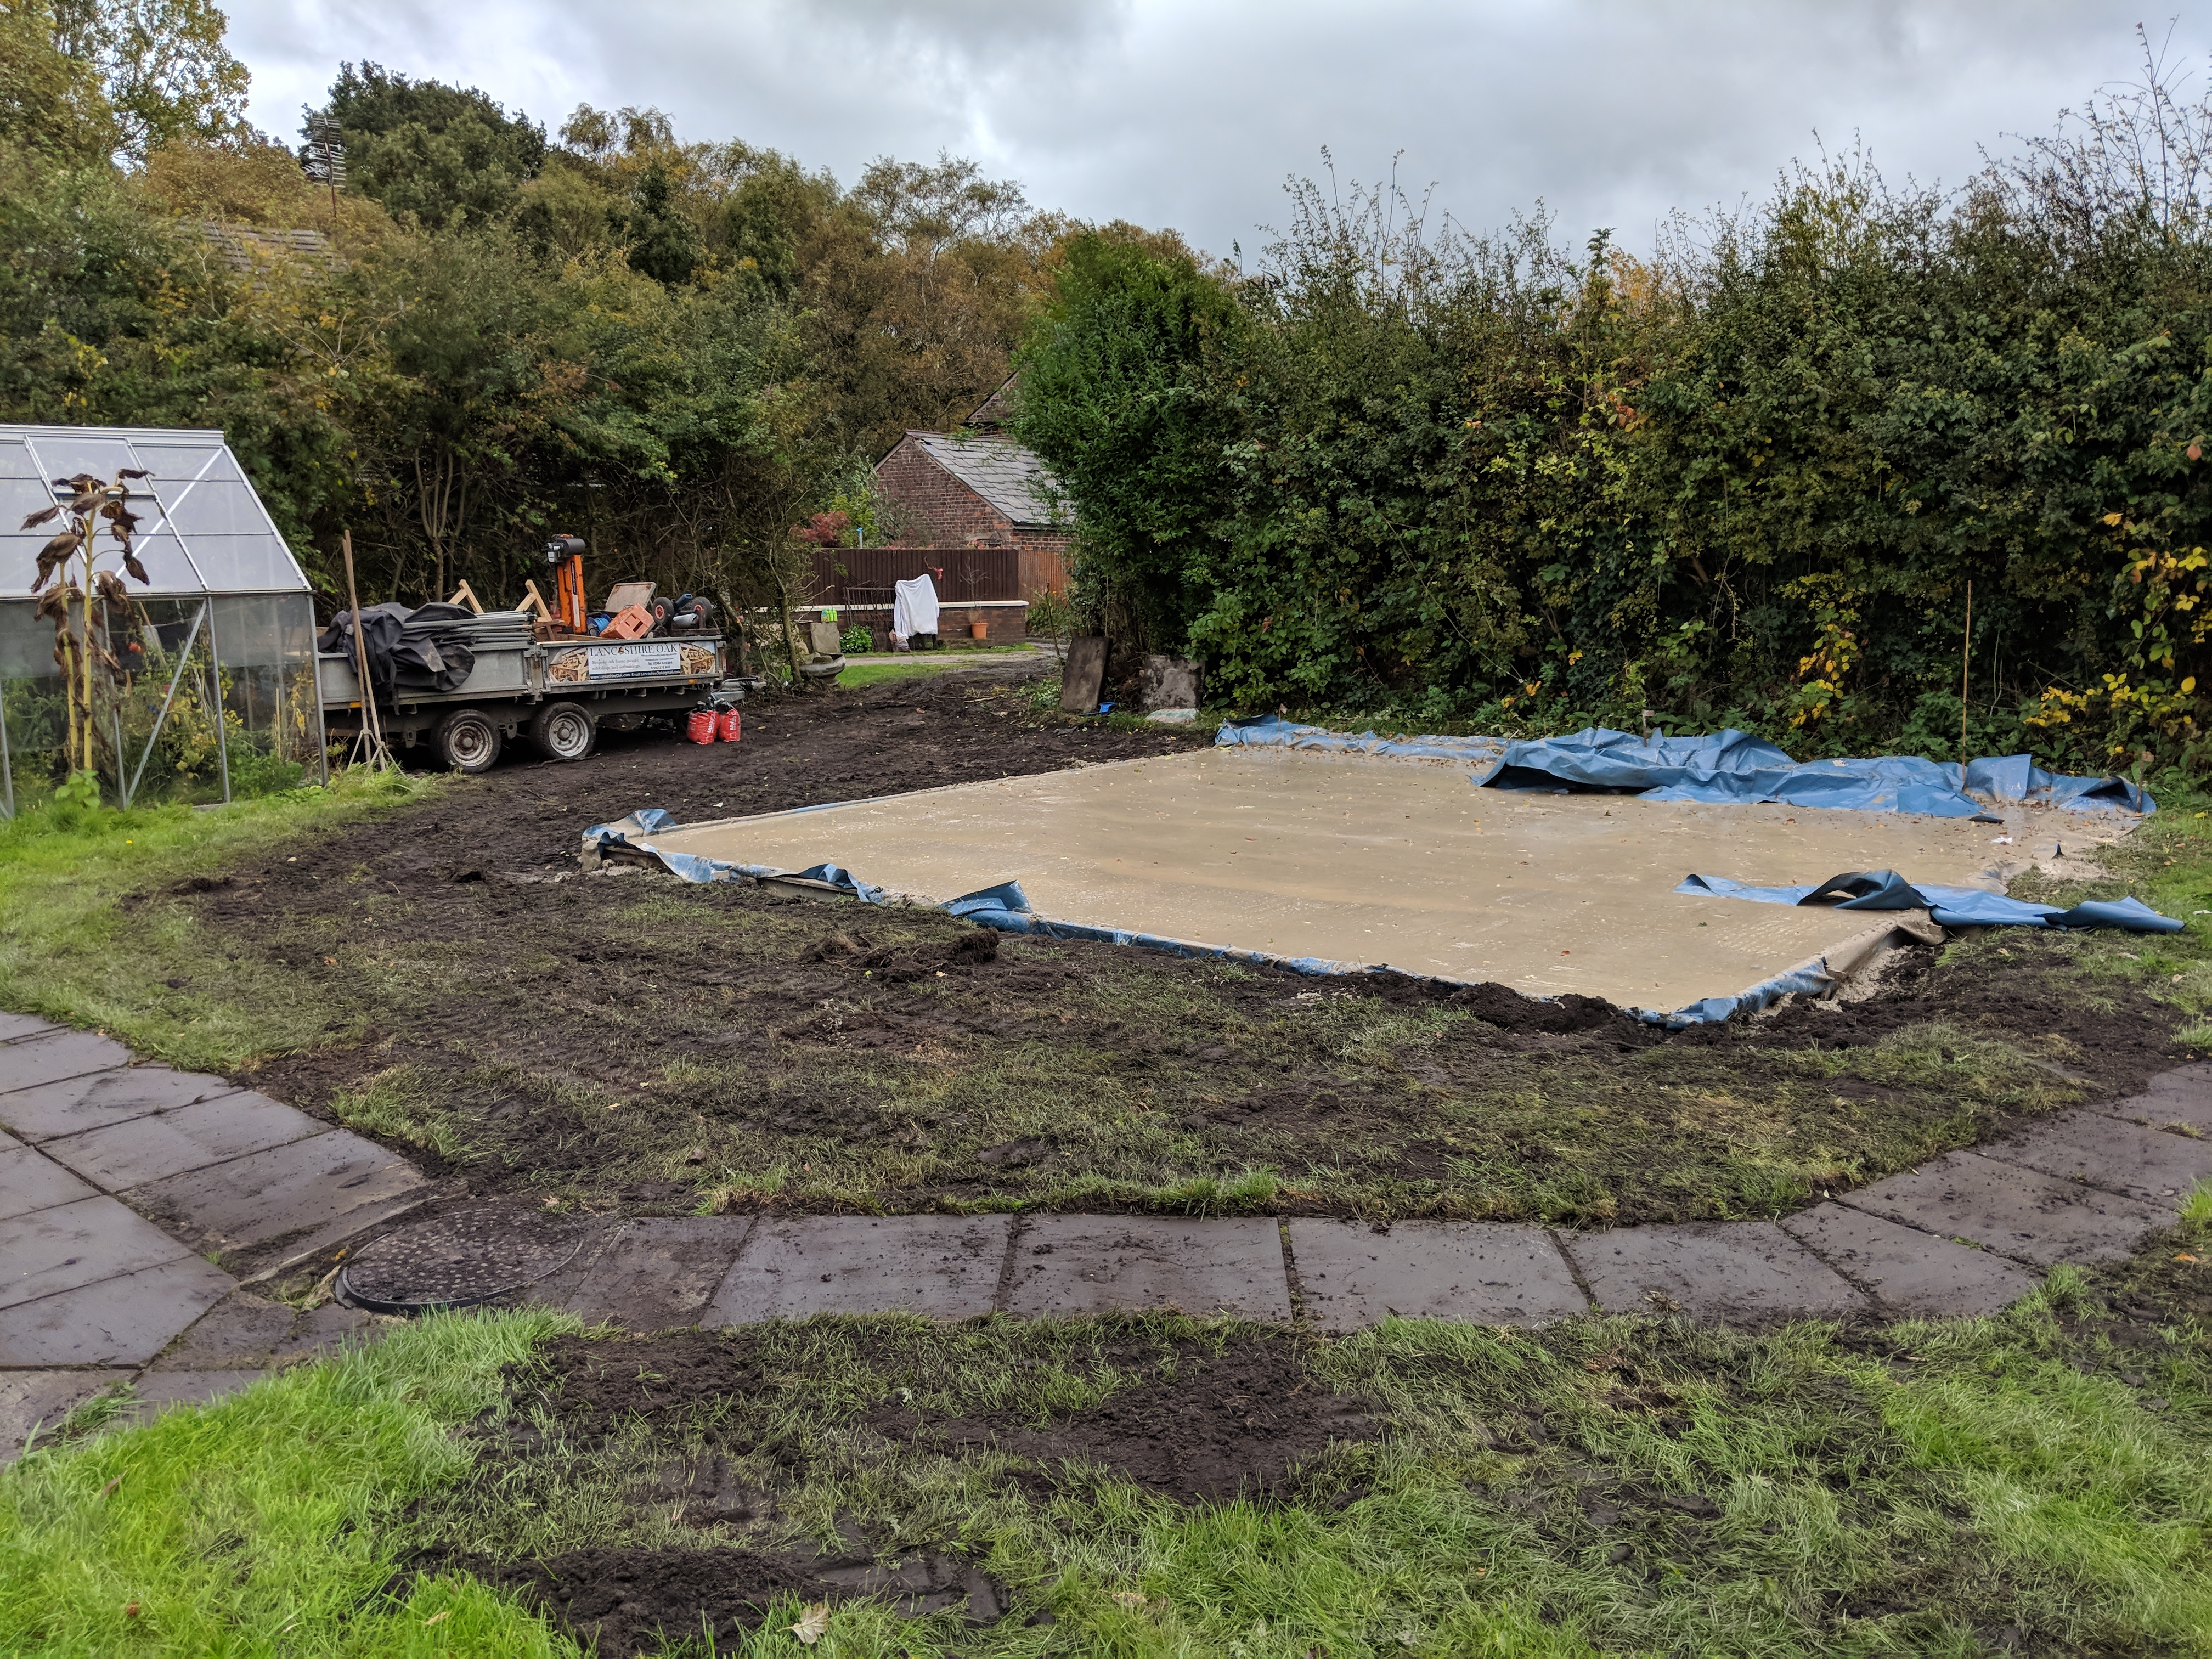
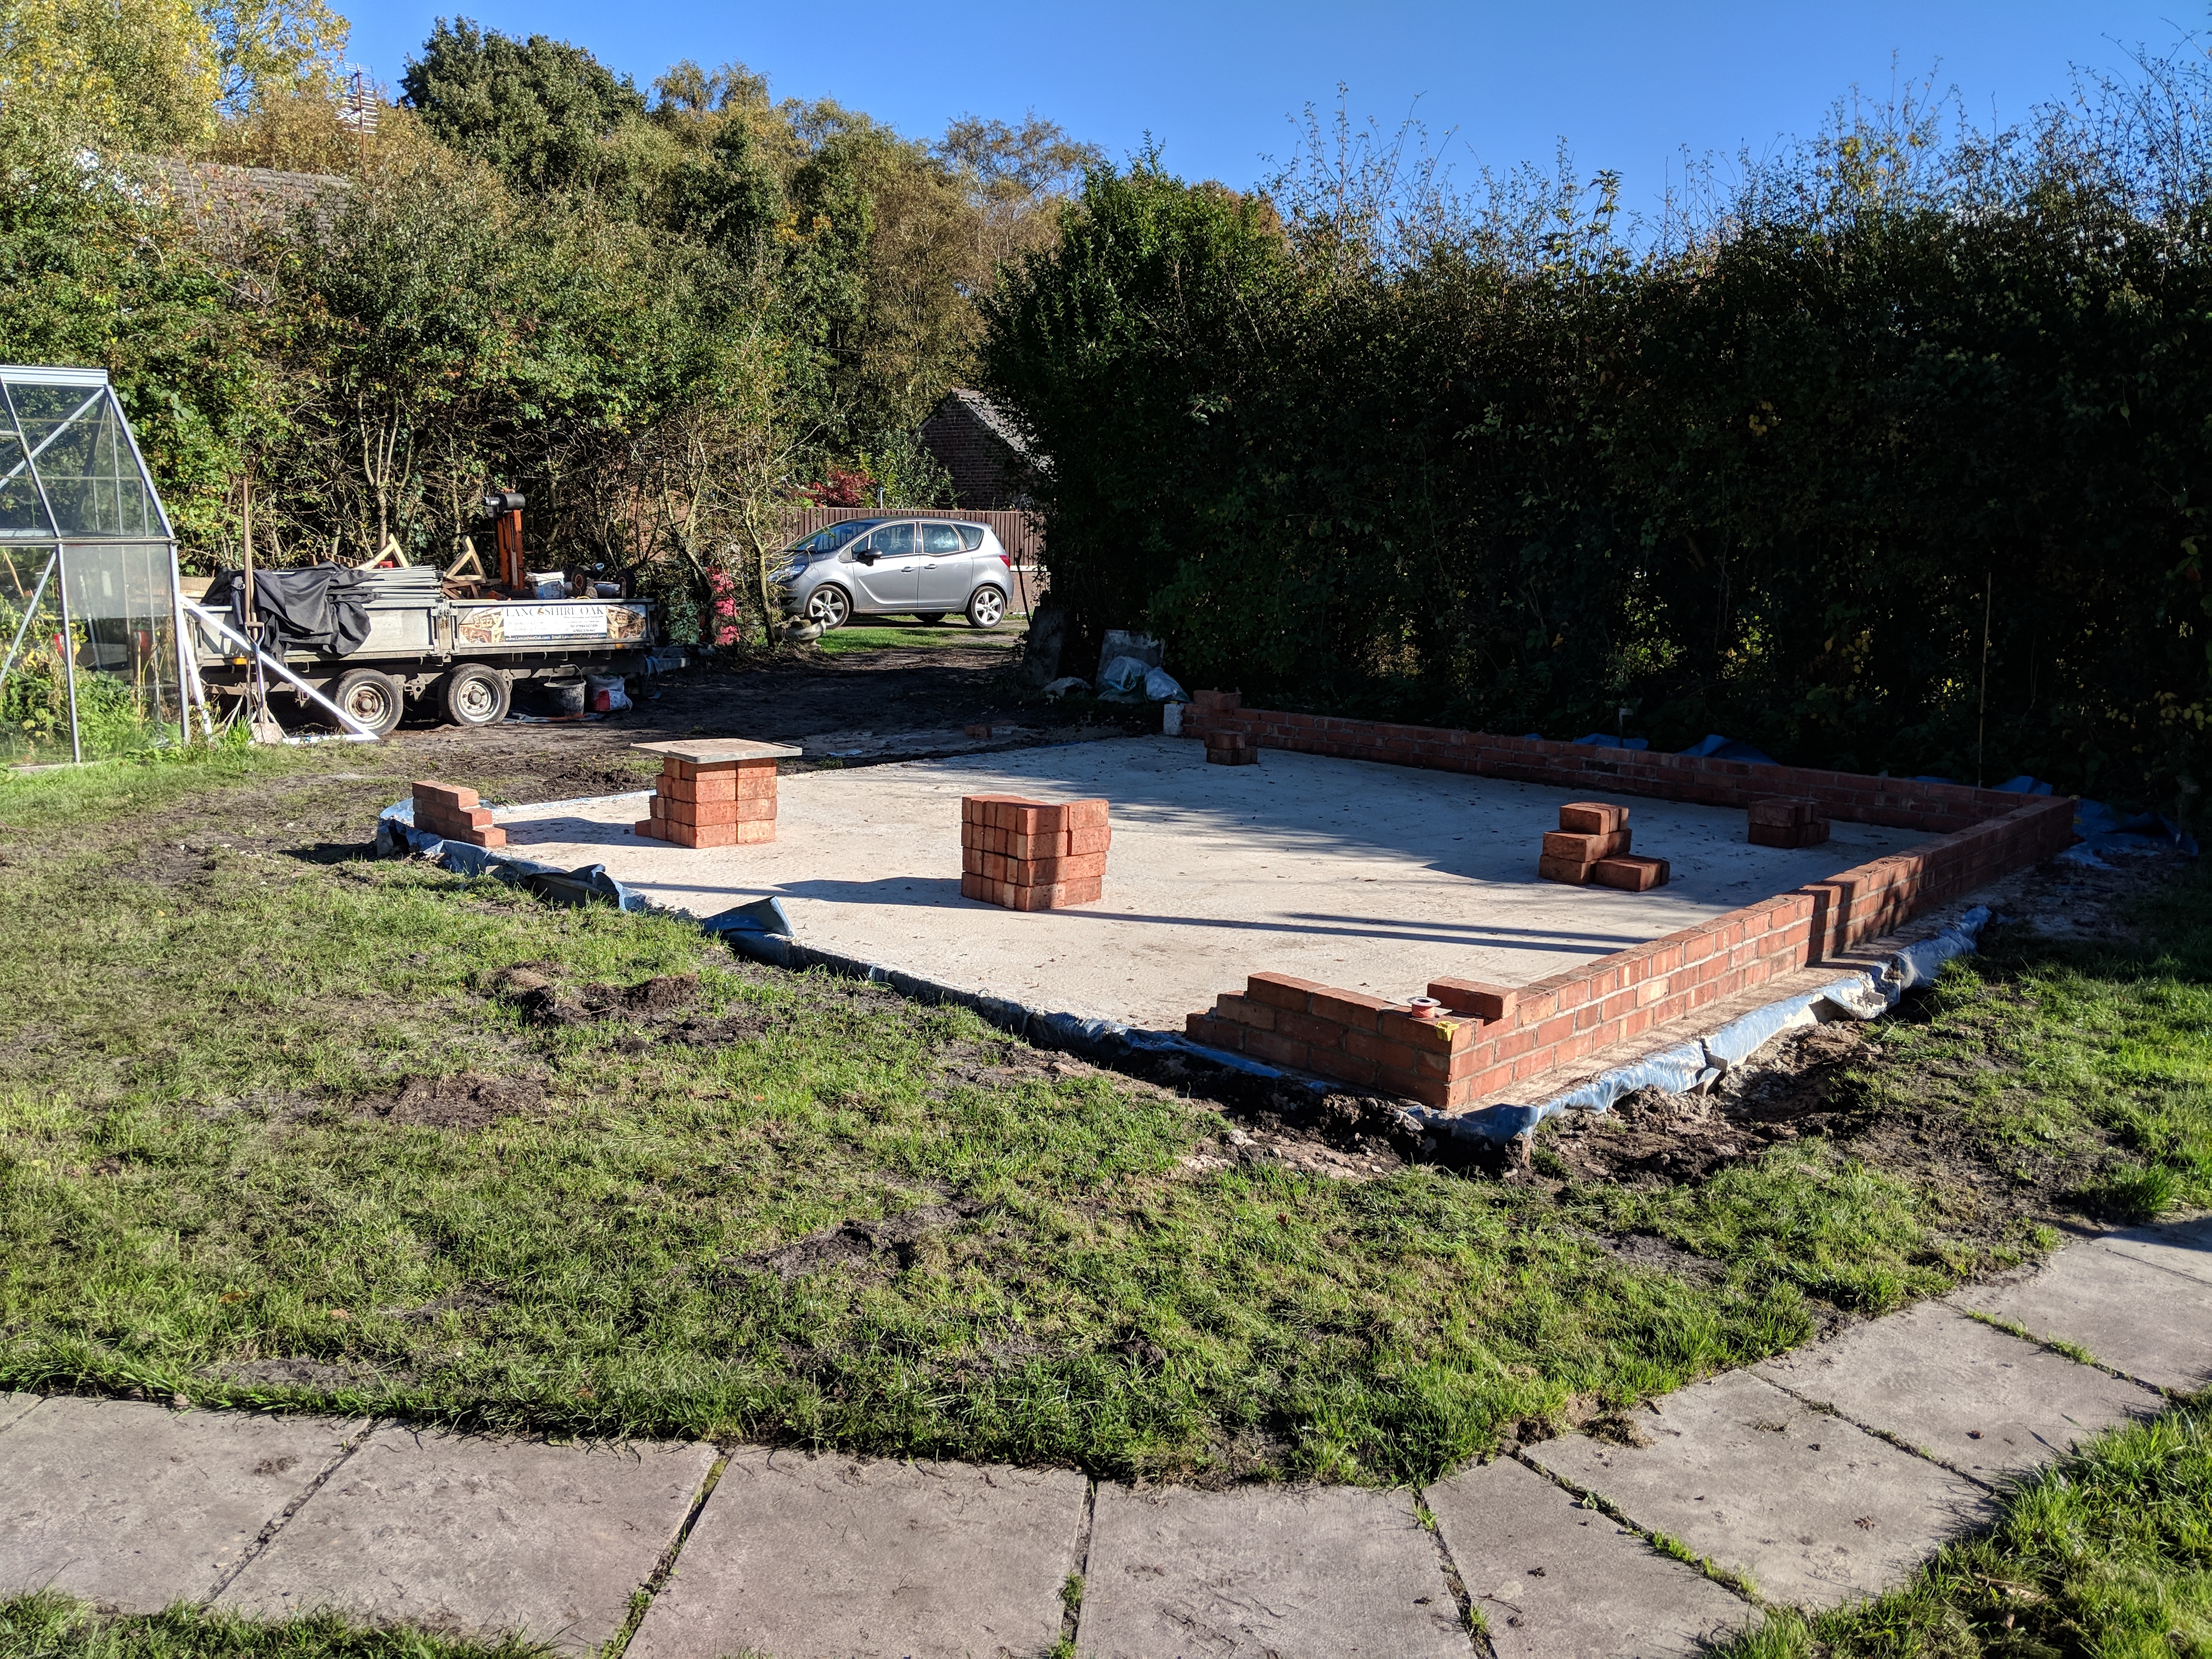
Needless to say I had nothing to do with digging the hole for the concrete, pouring the concrete or laying the bricks.

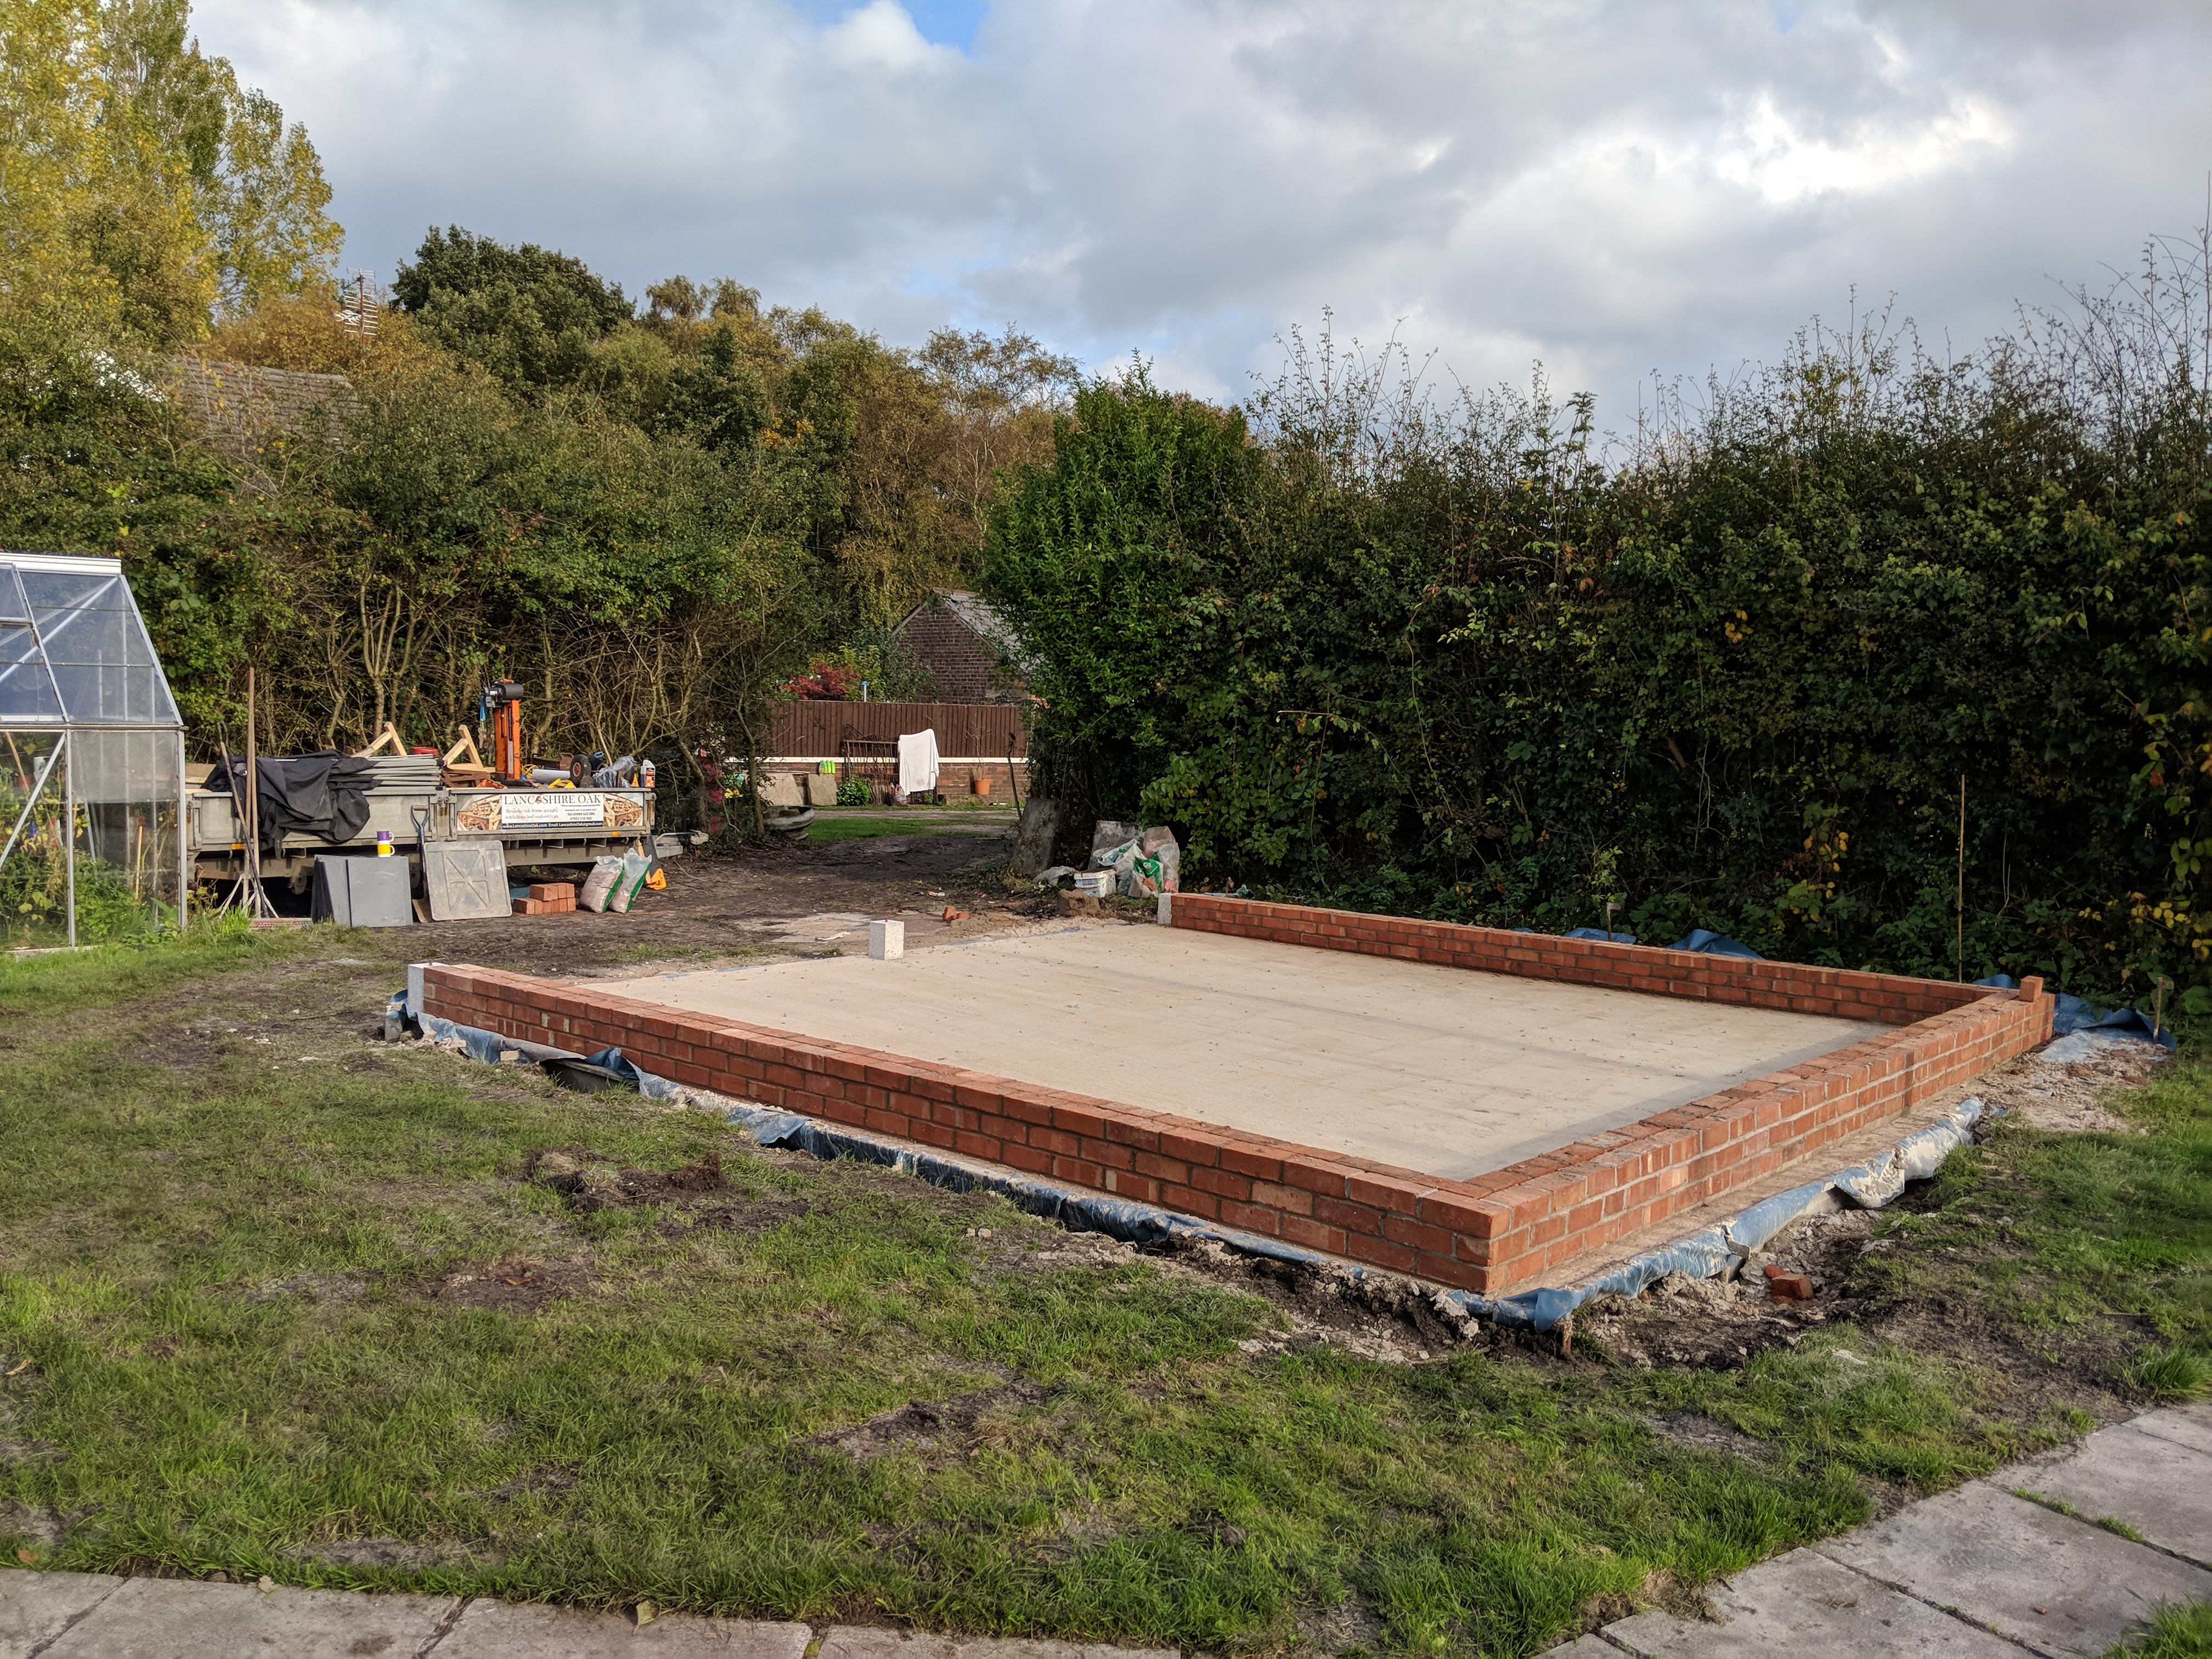
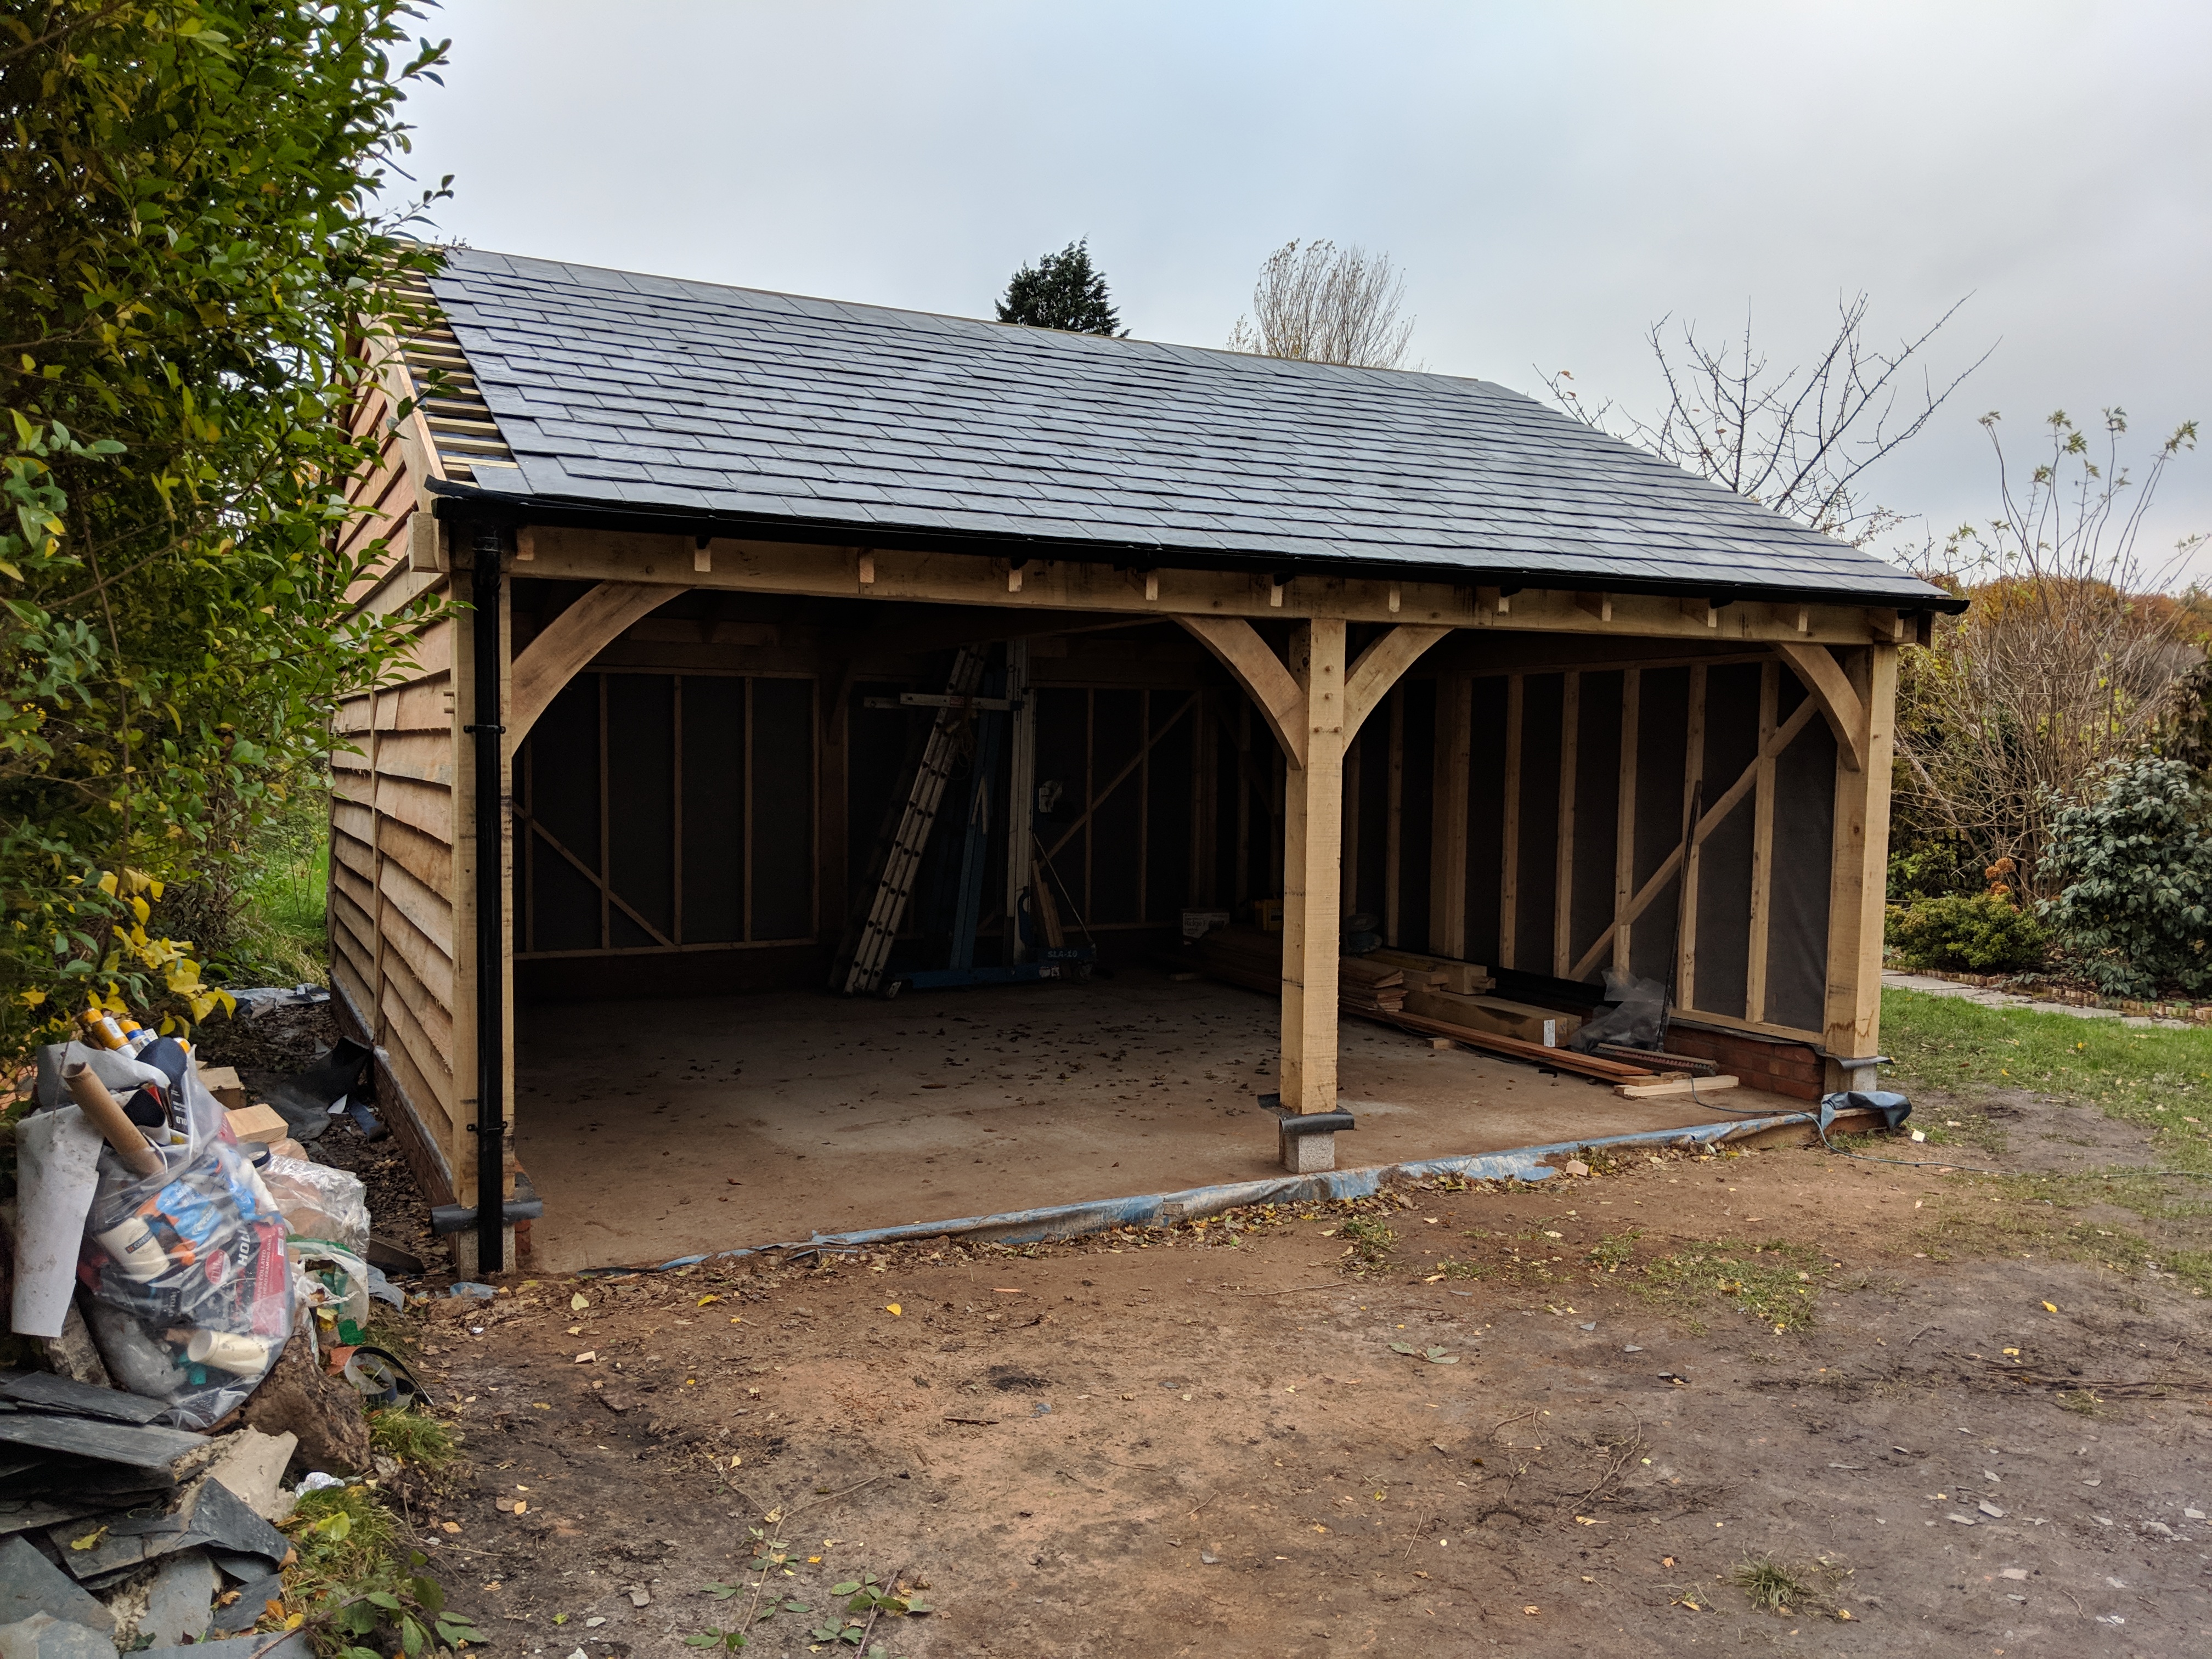
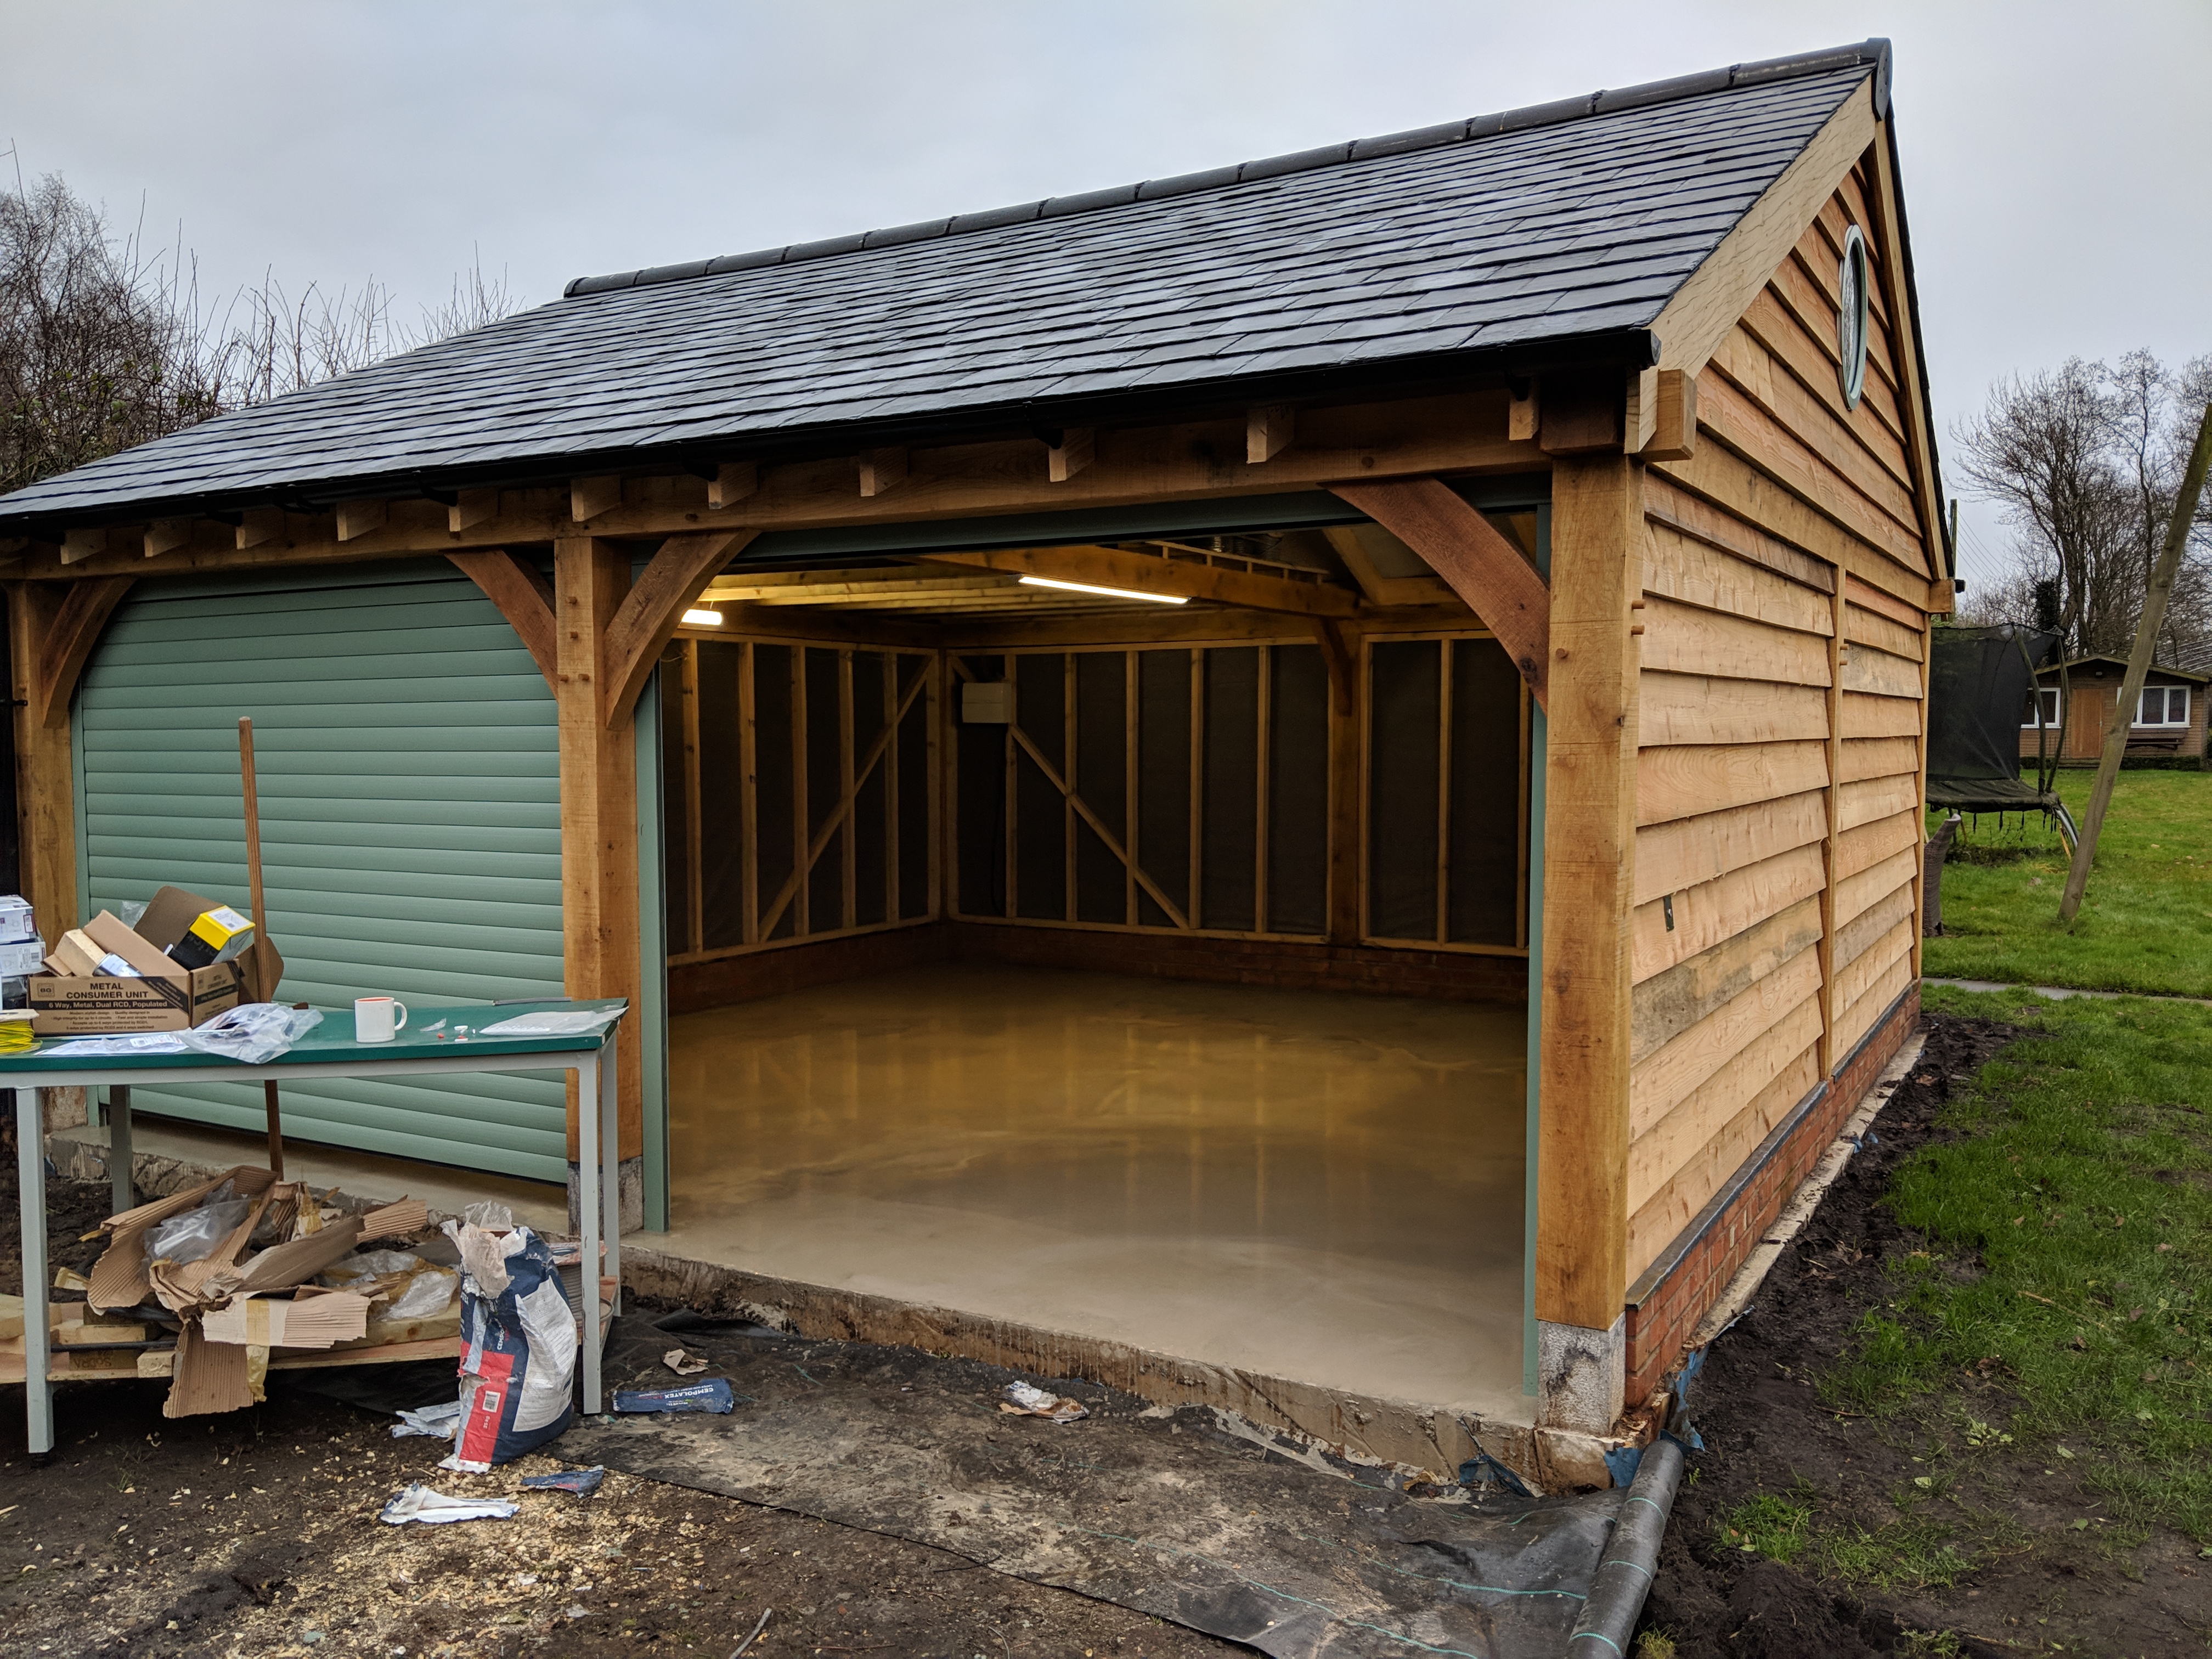
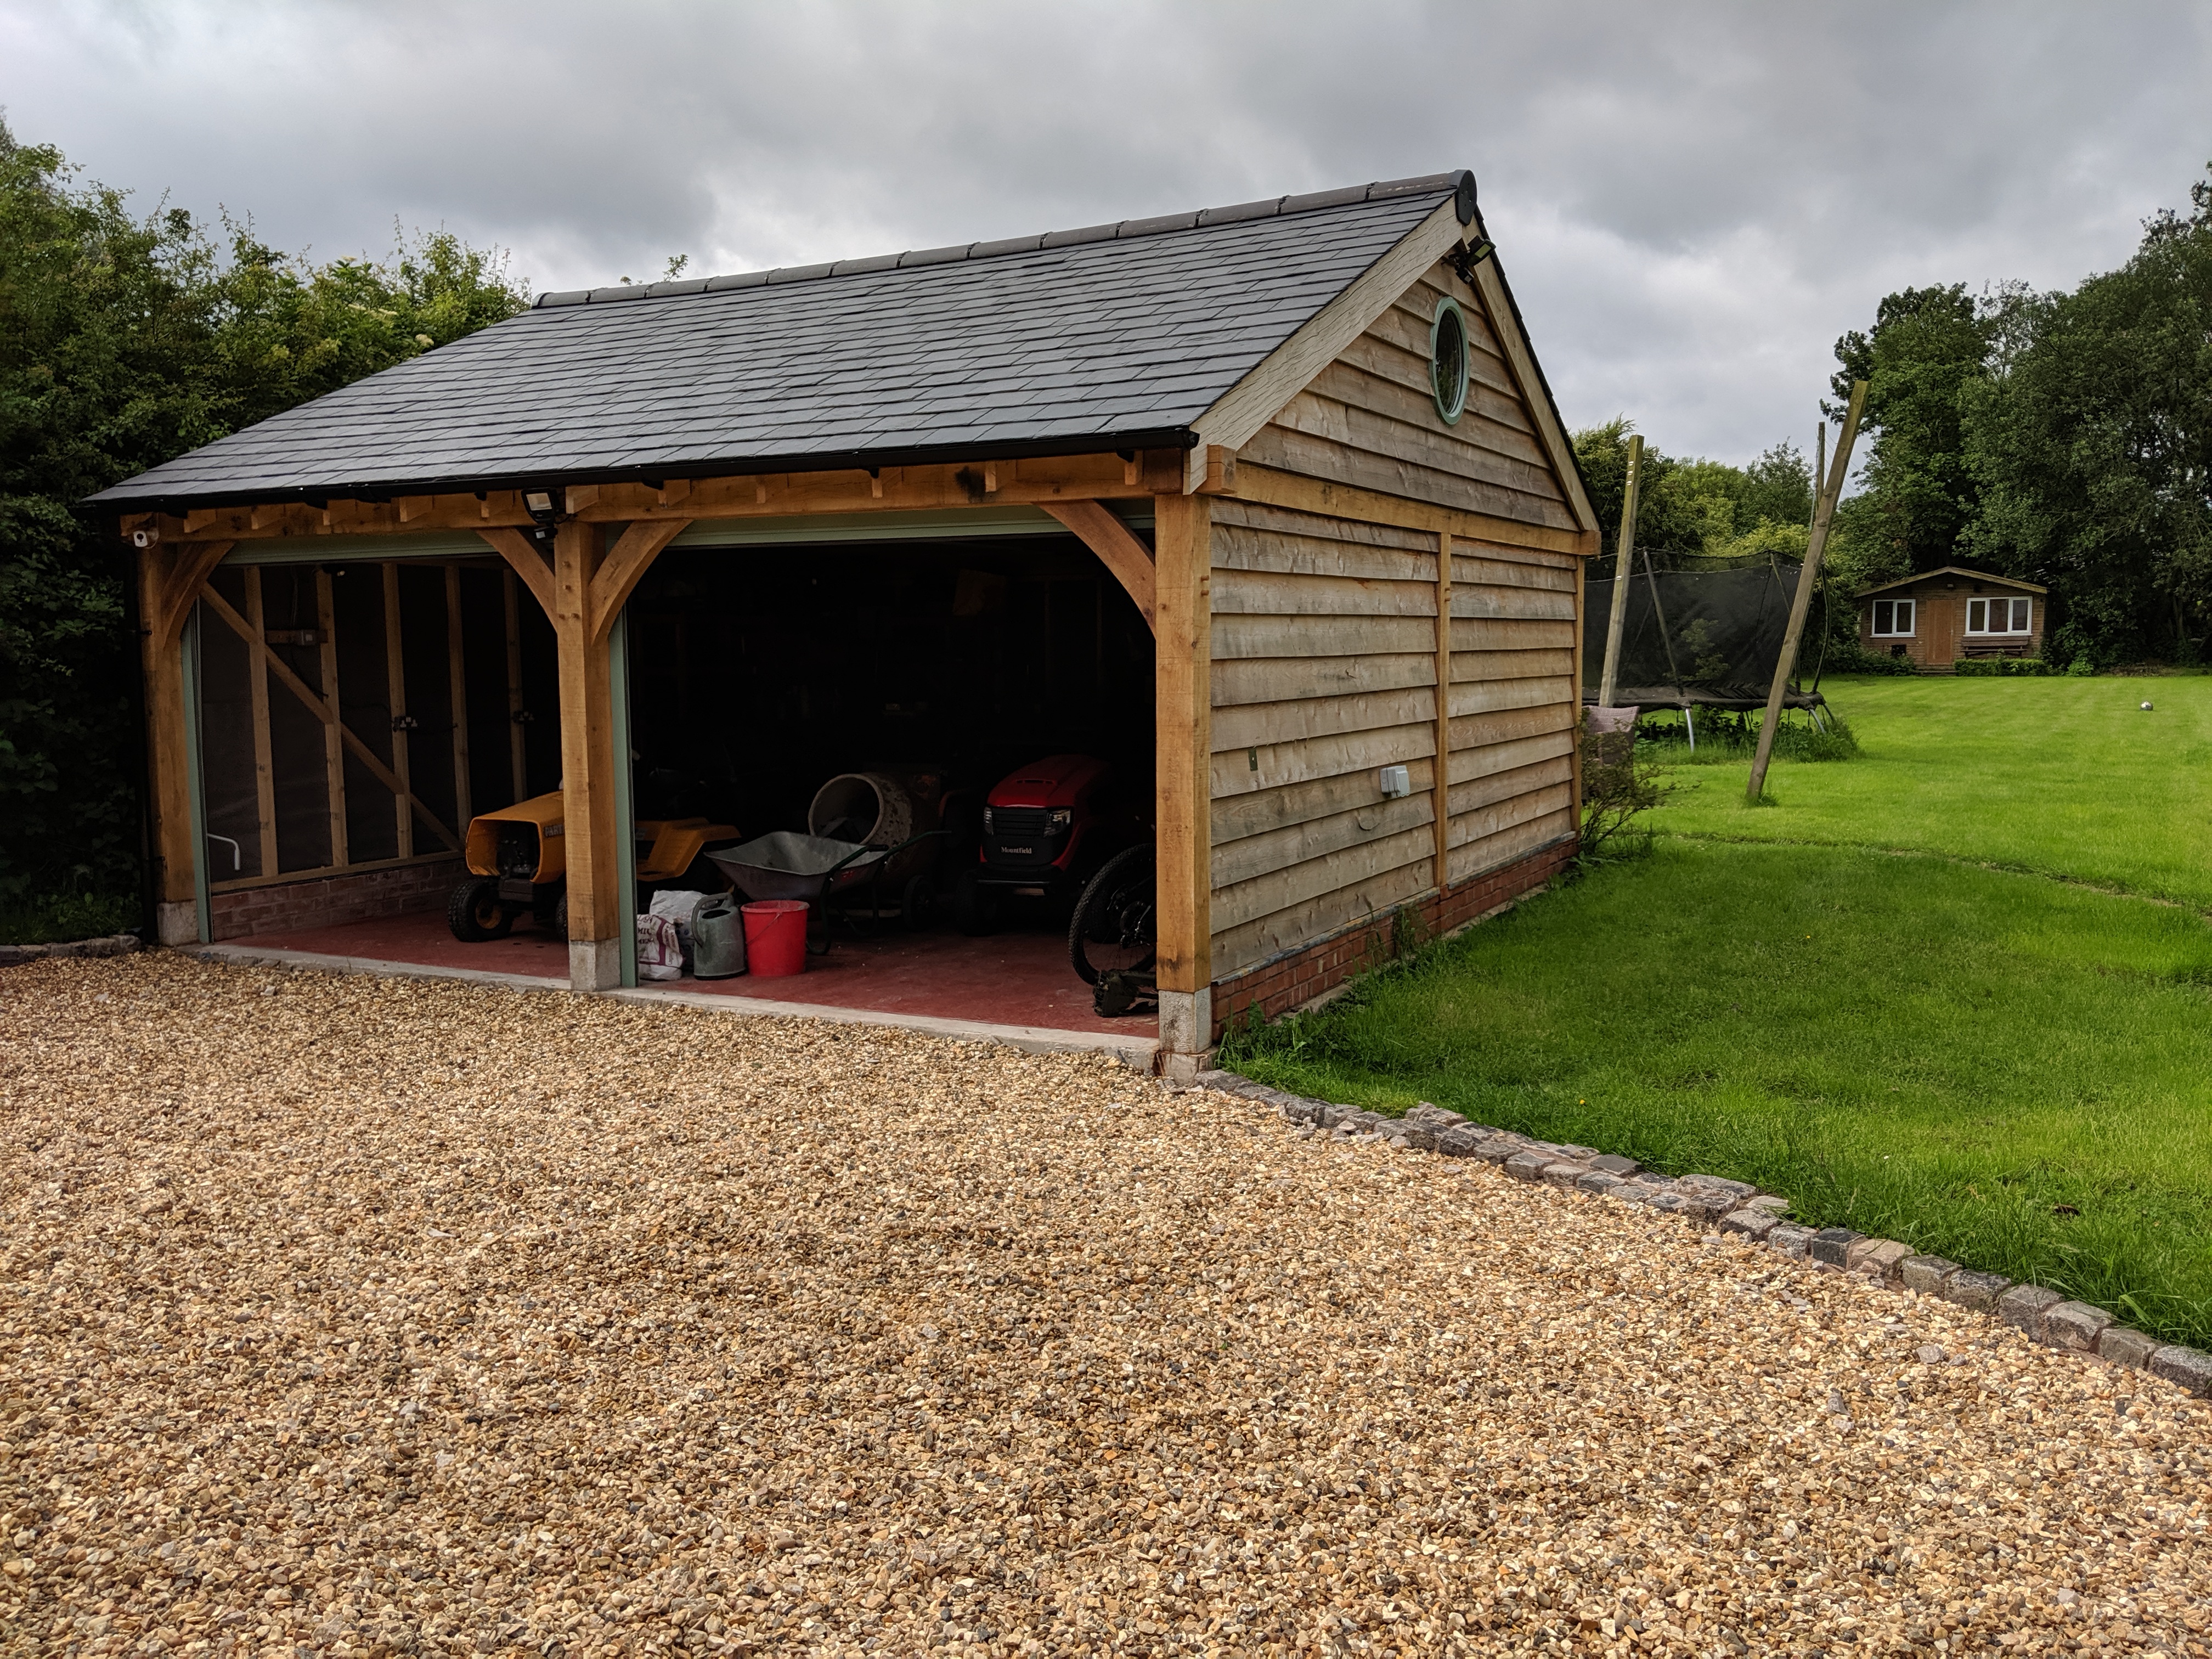
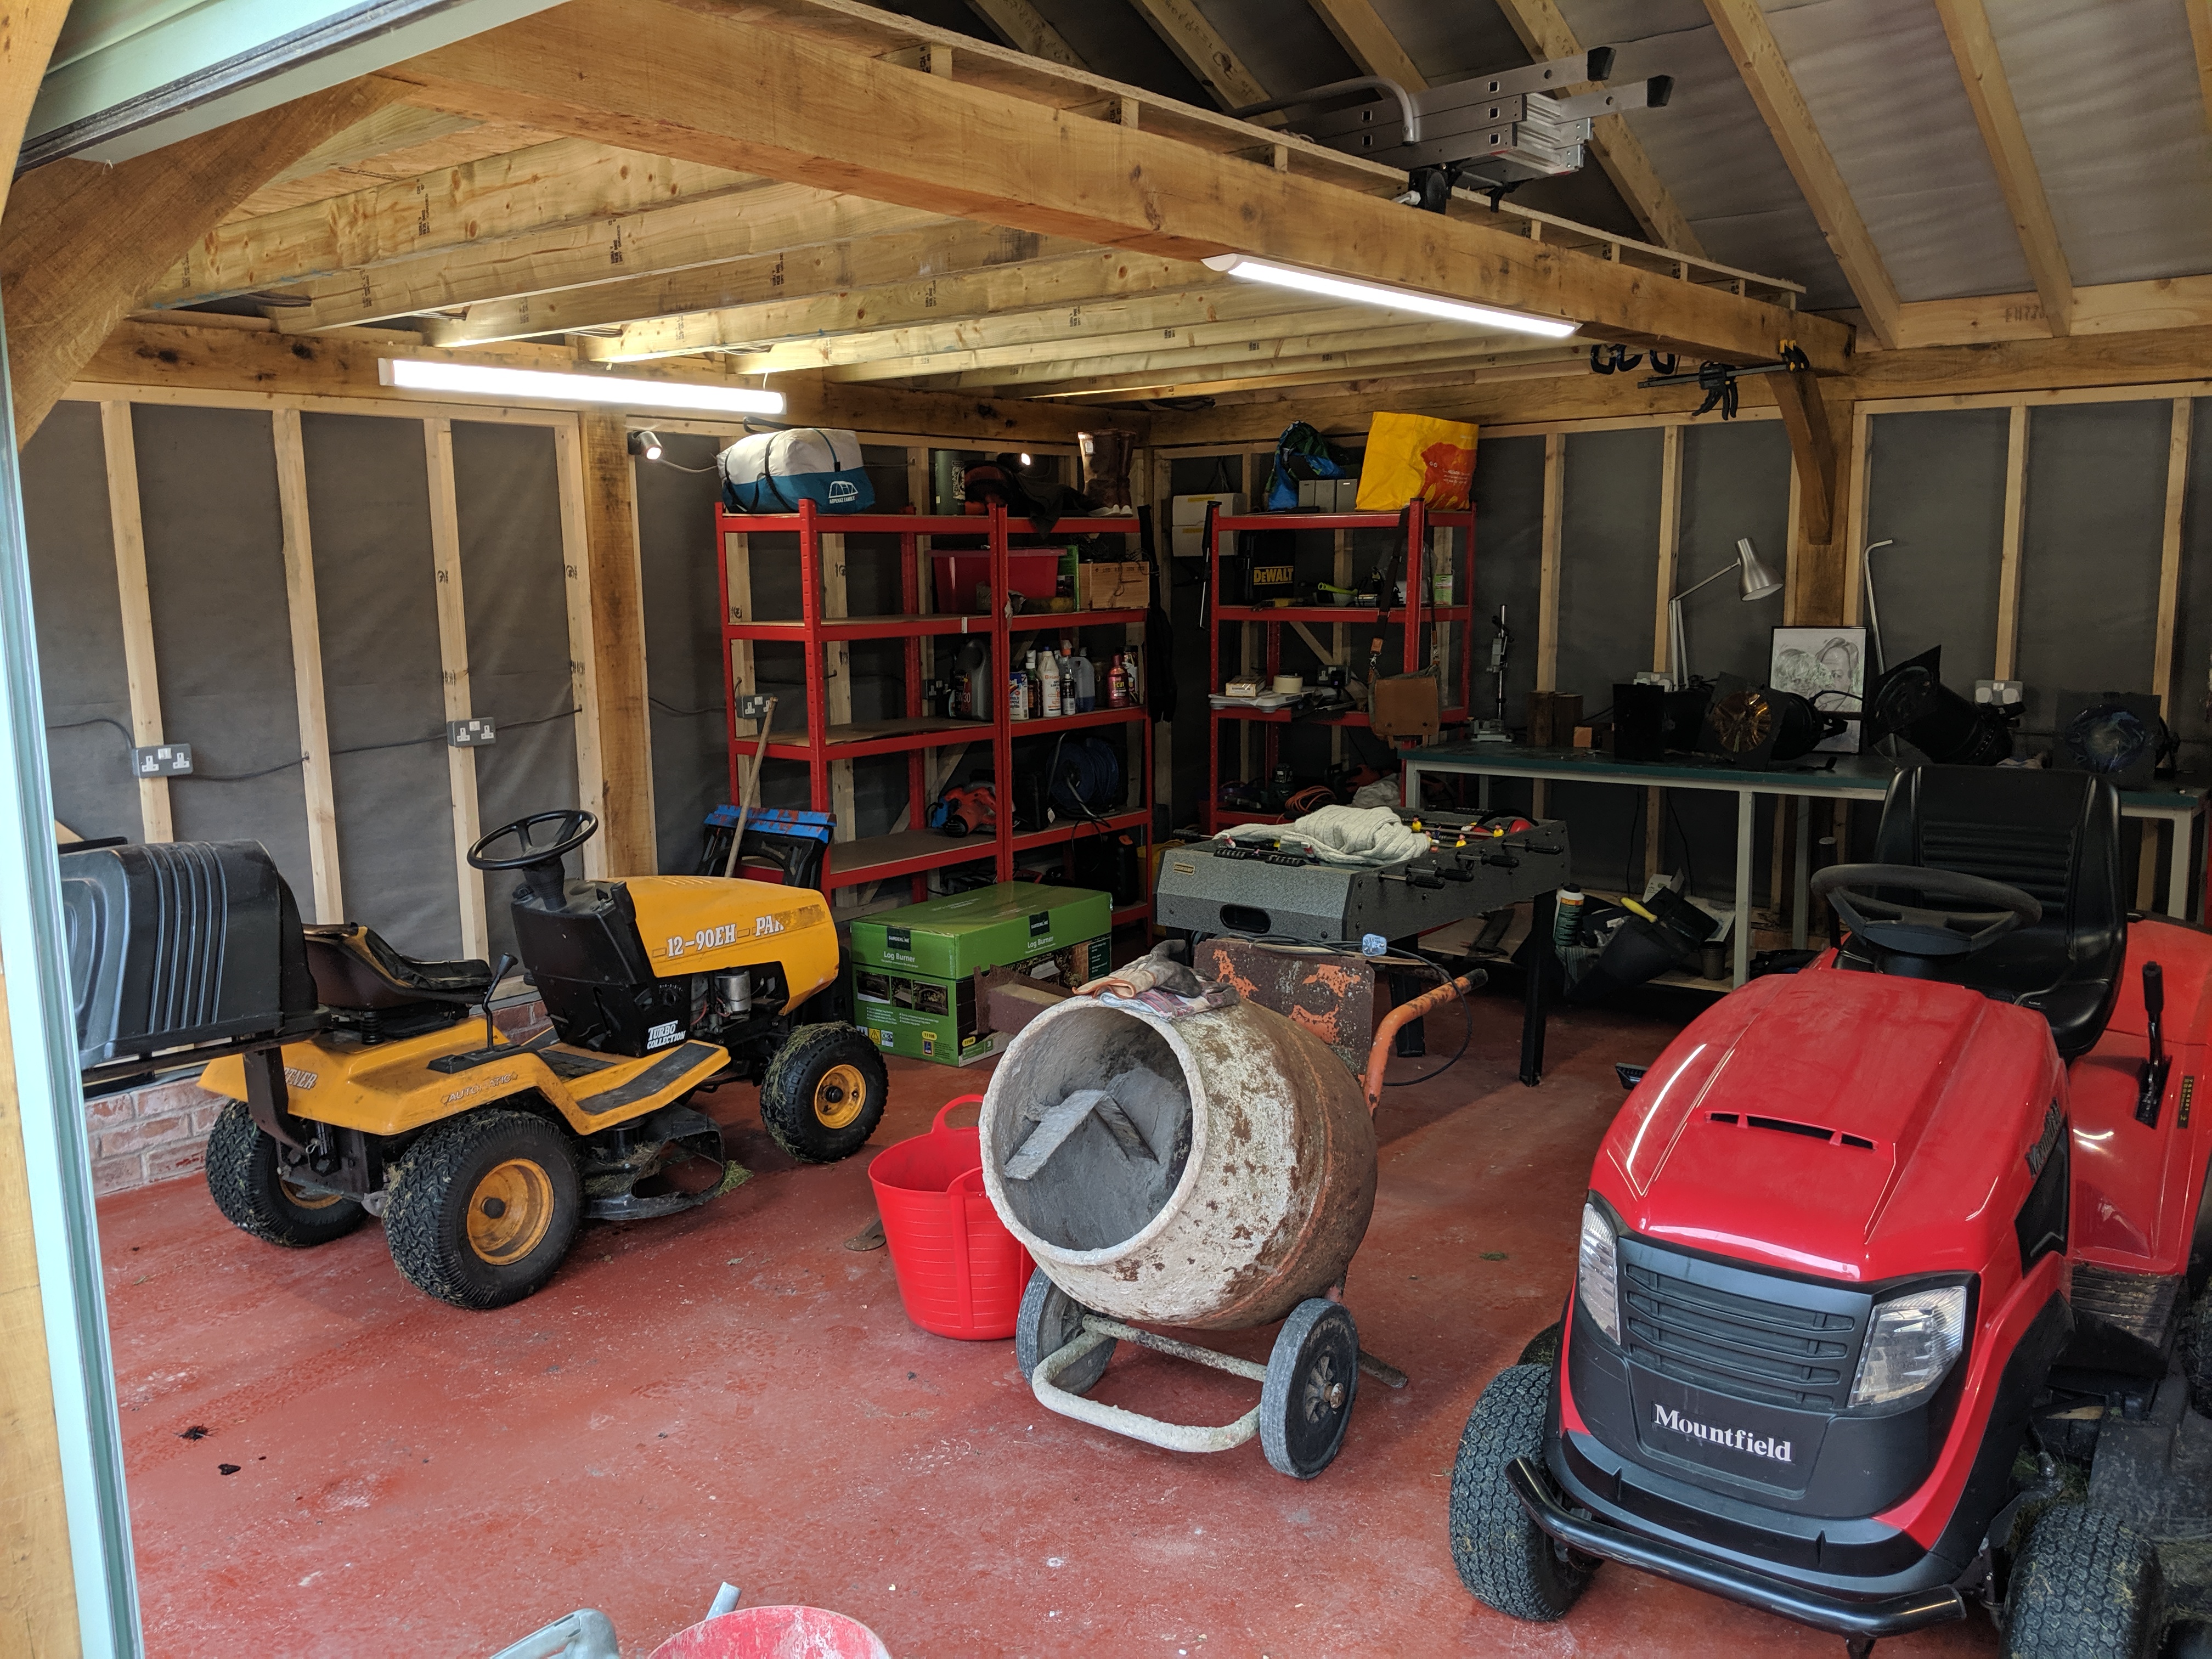
With the concrete set I thought it about time to make sure my old tractor would fit, it was quite a relief when I managed to get it in.
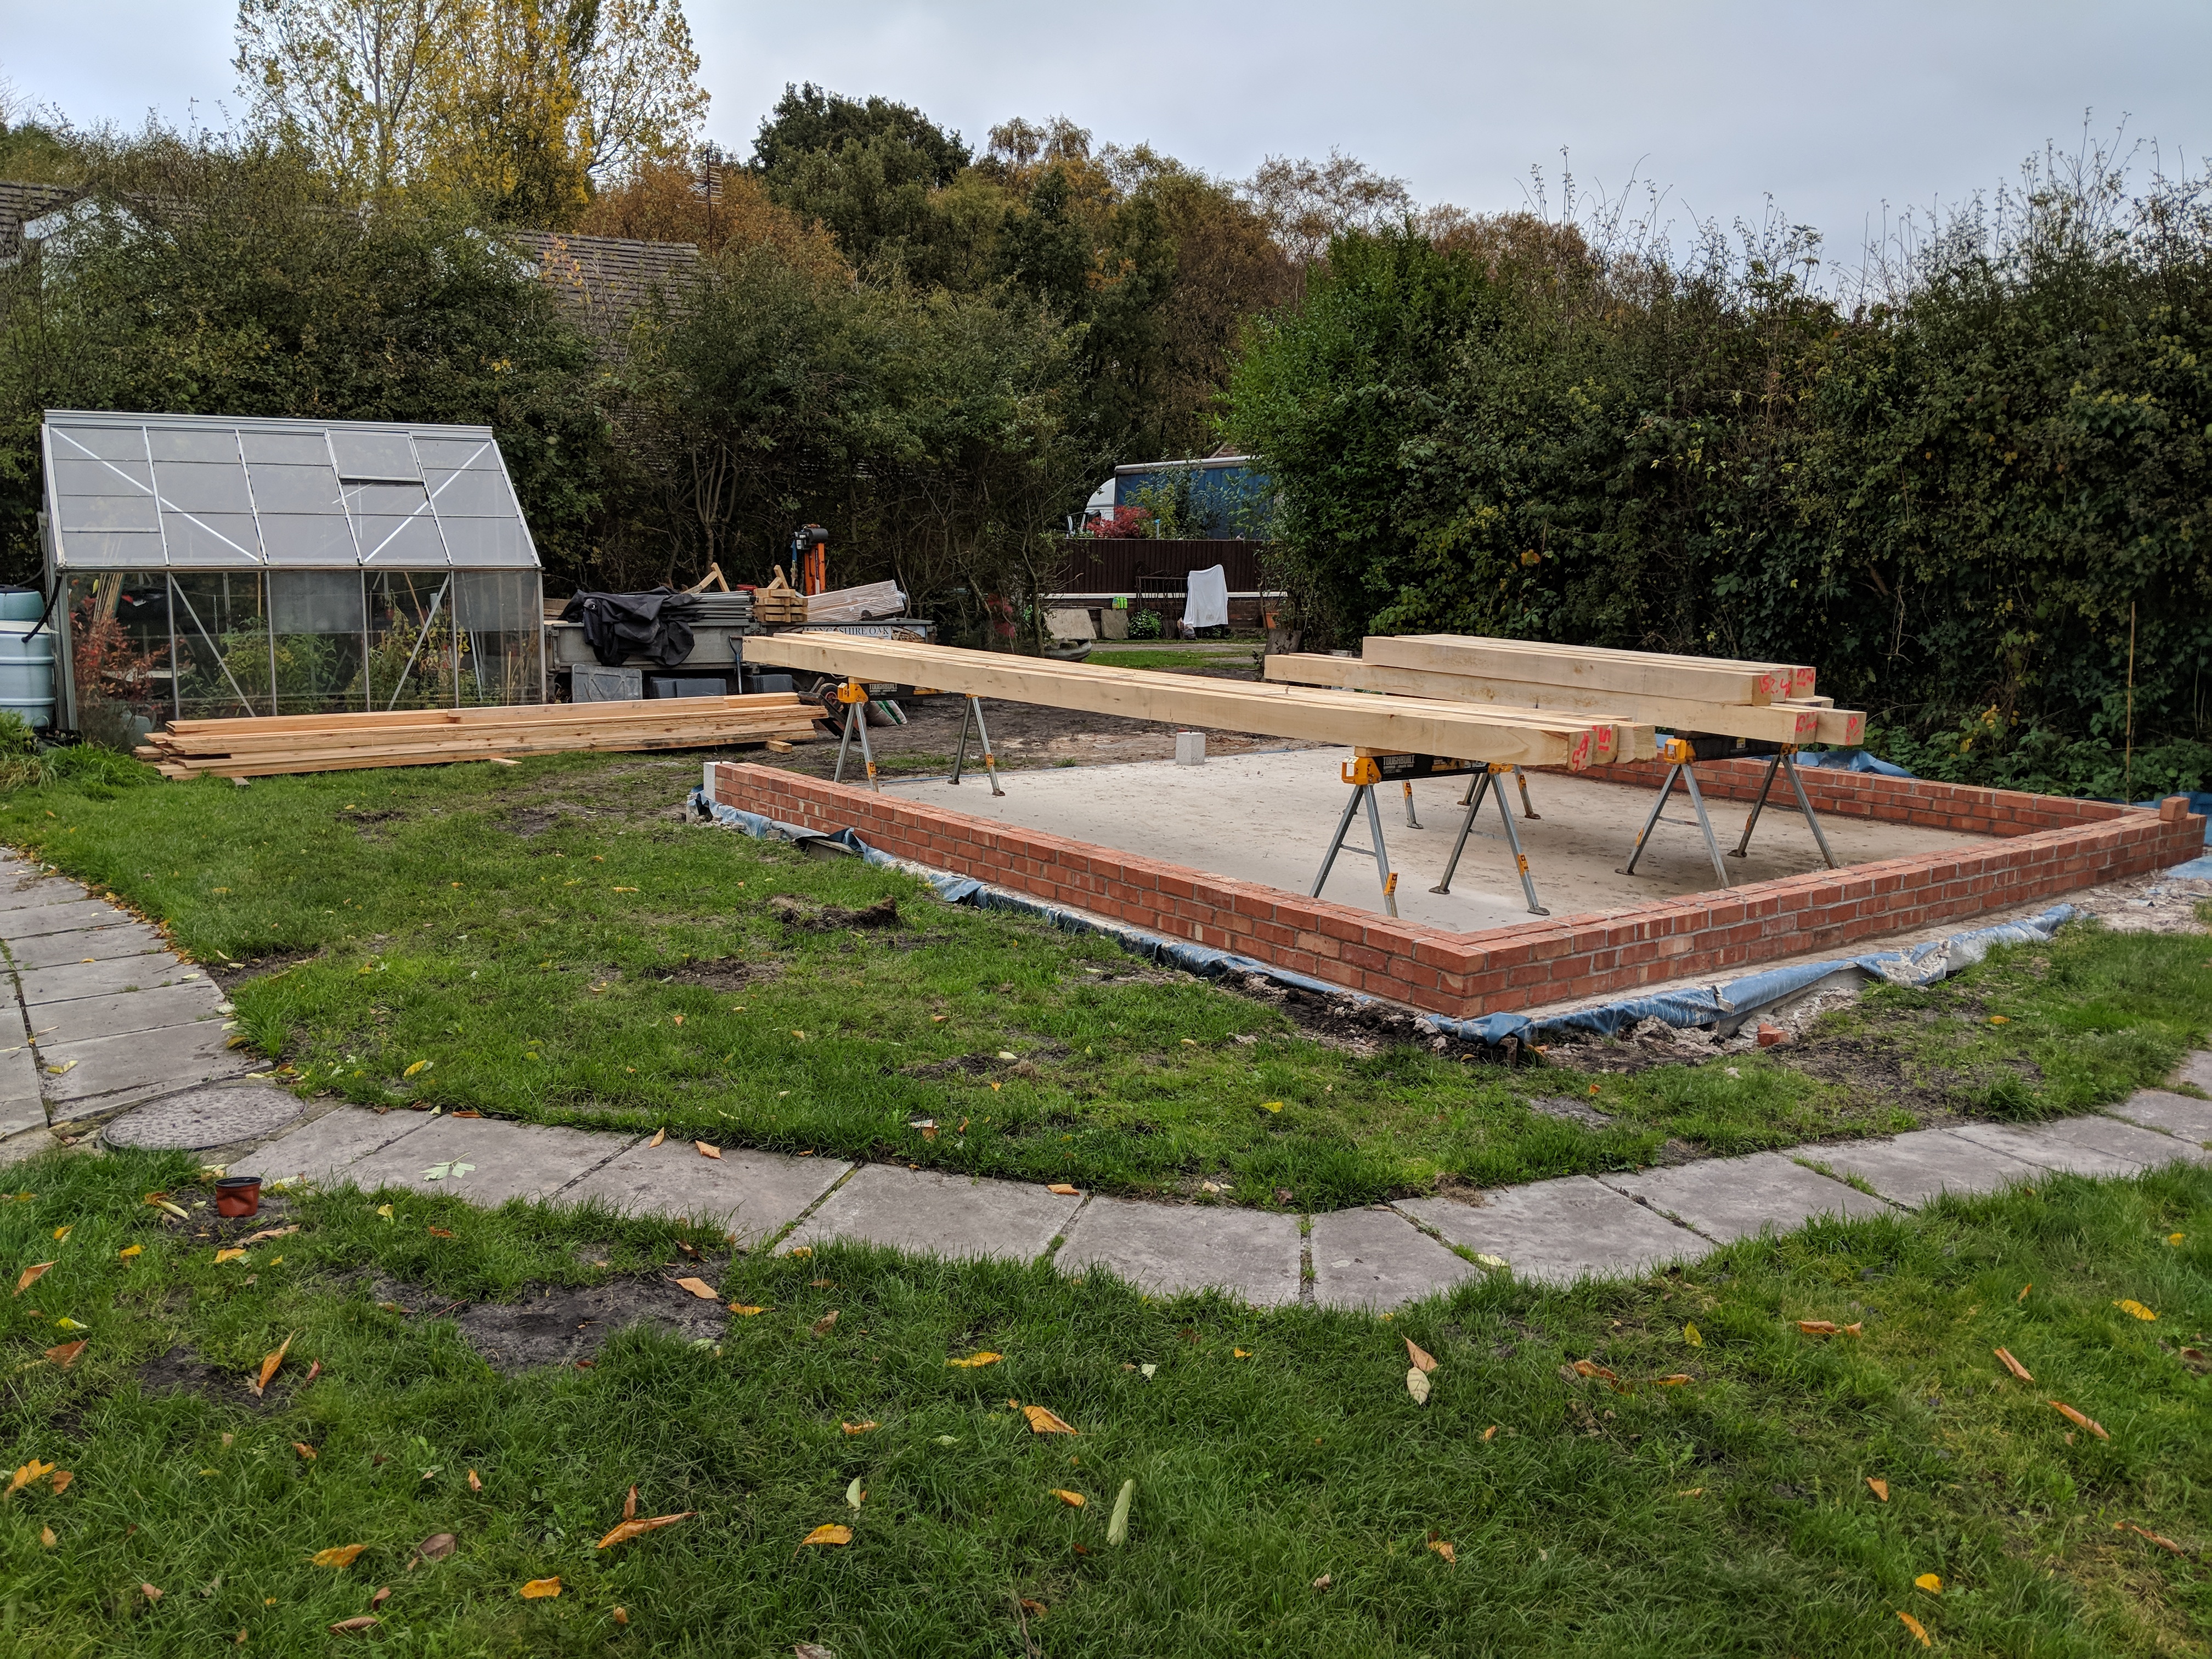
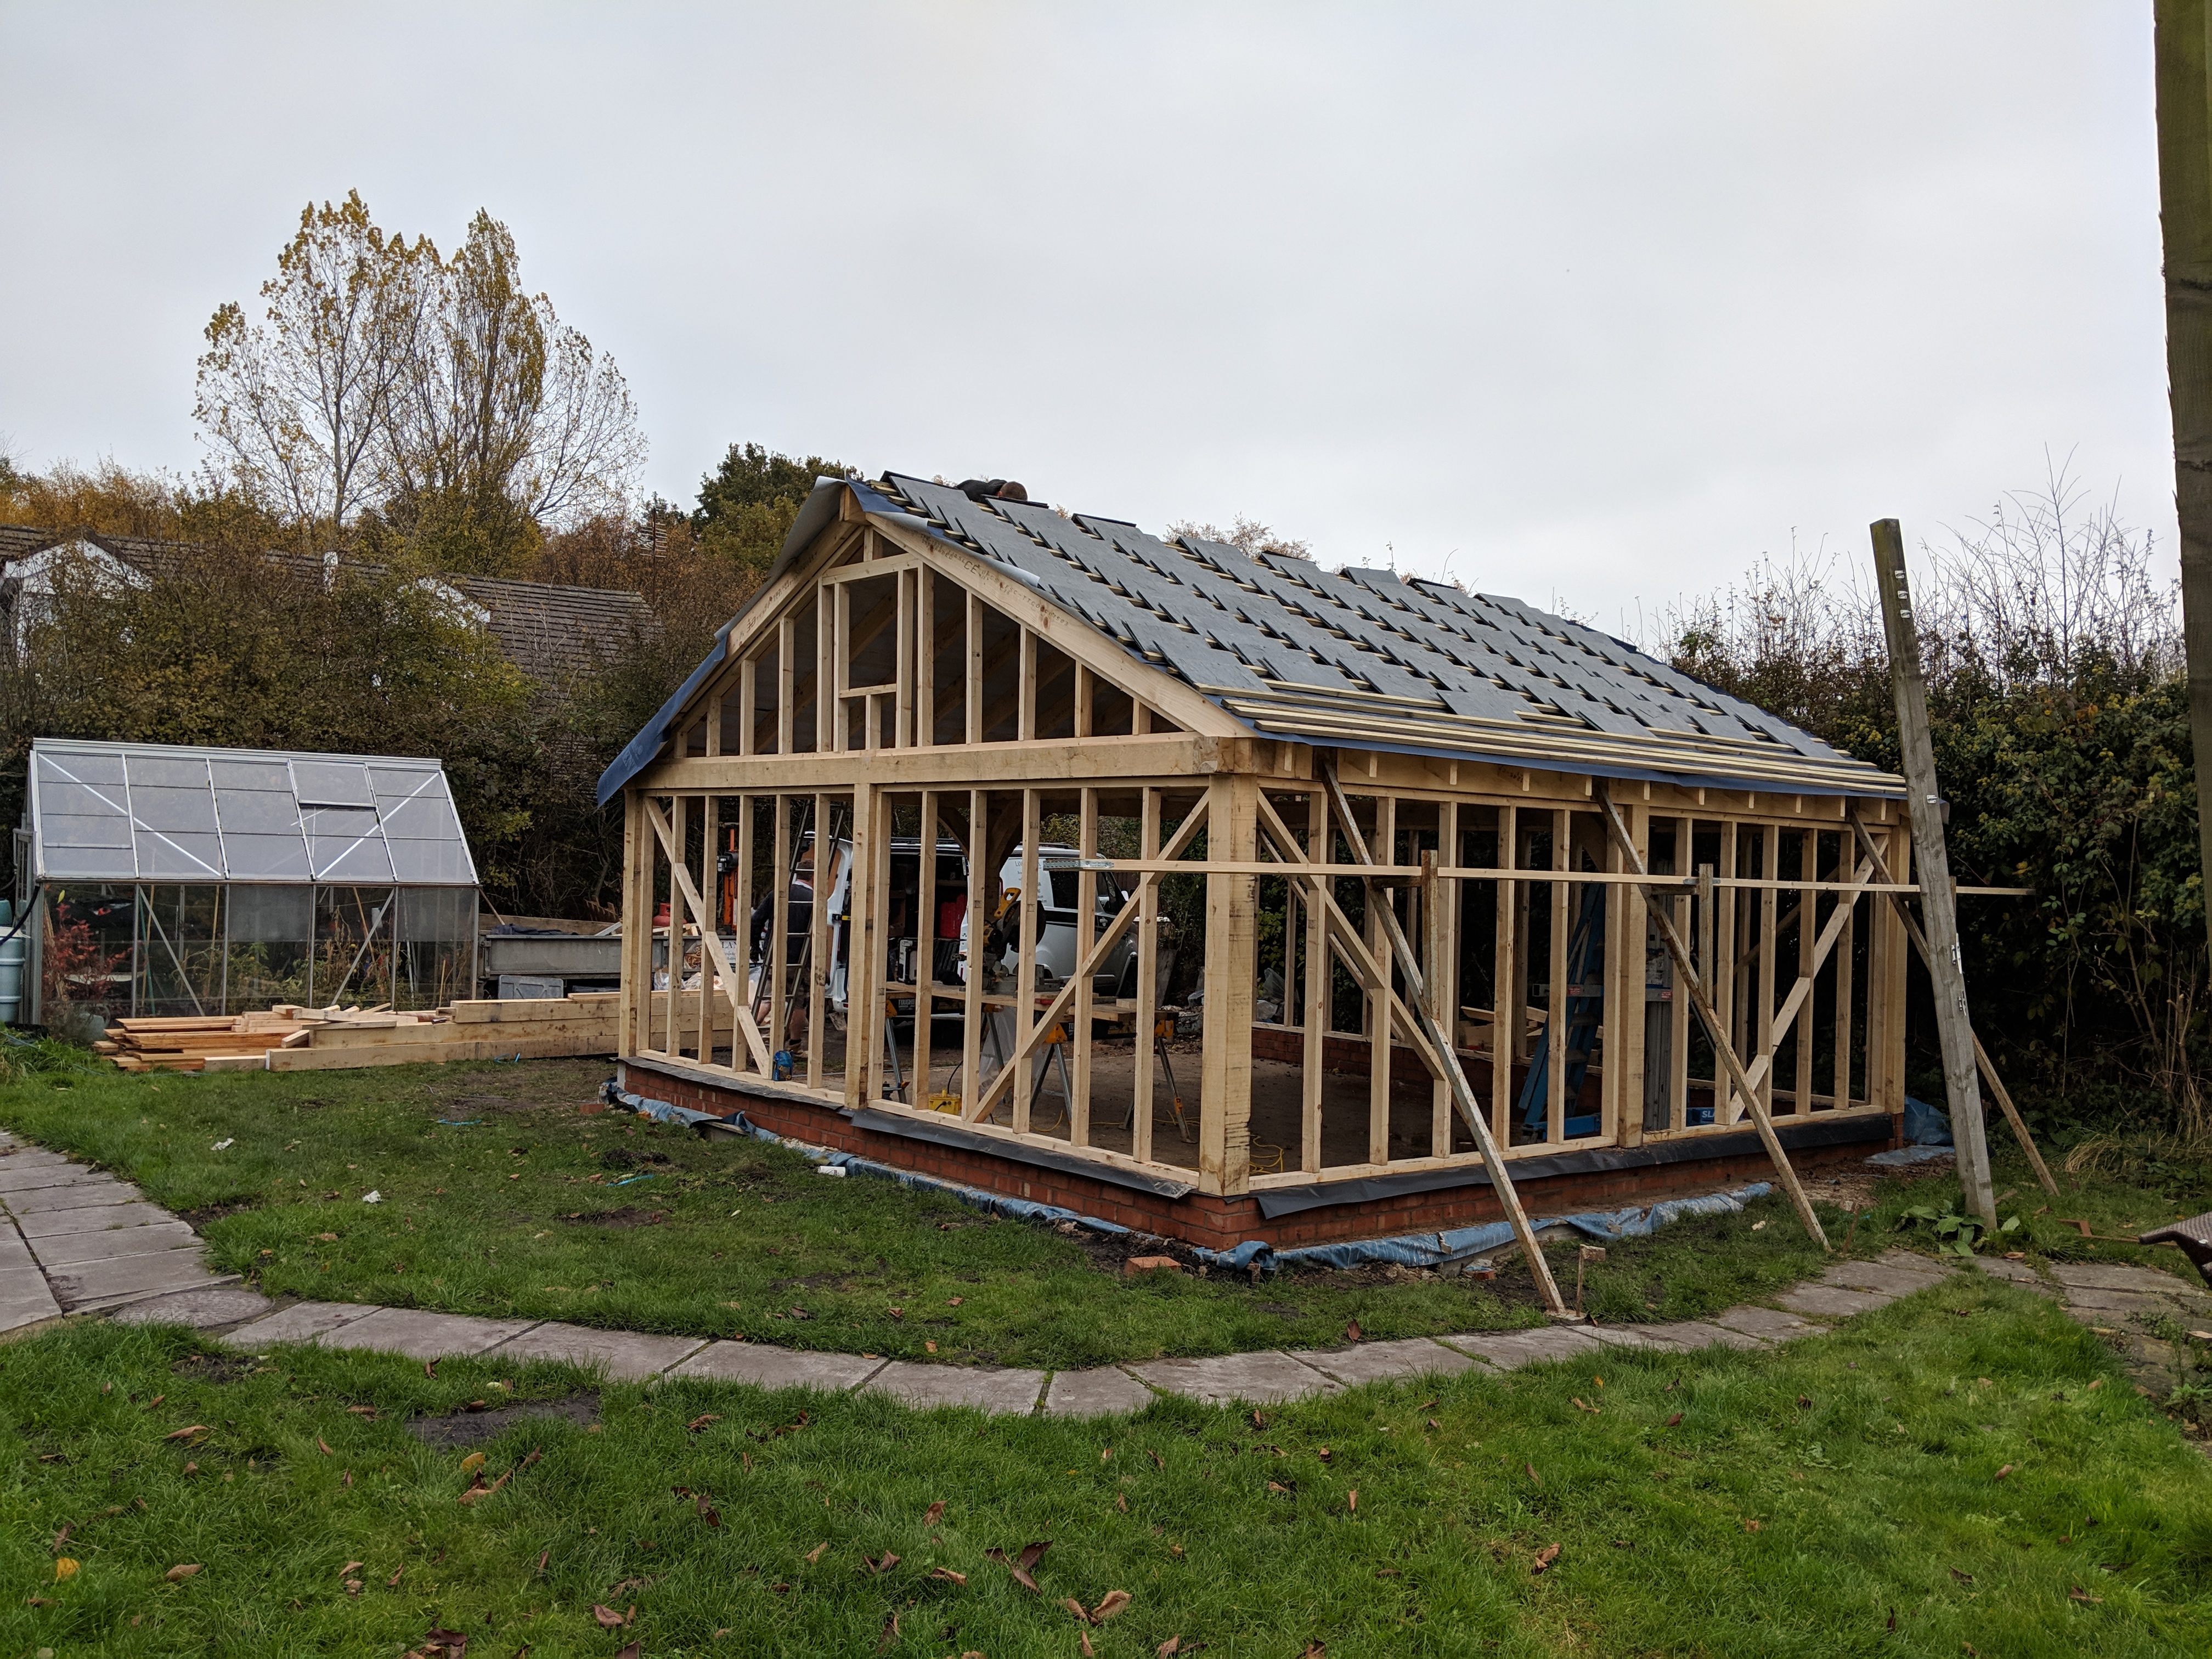
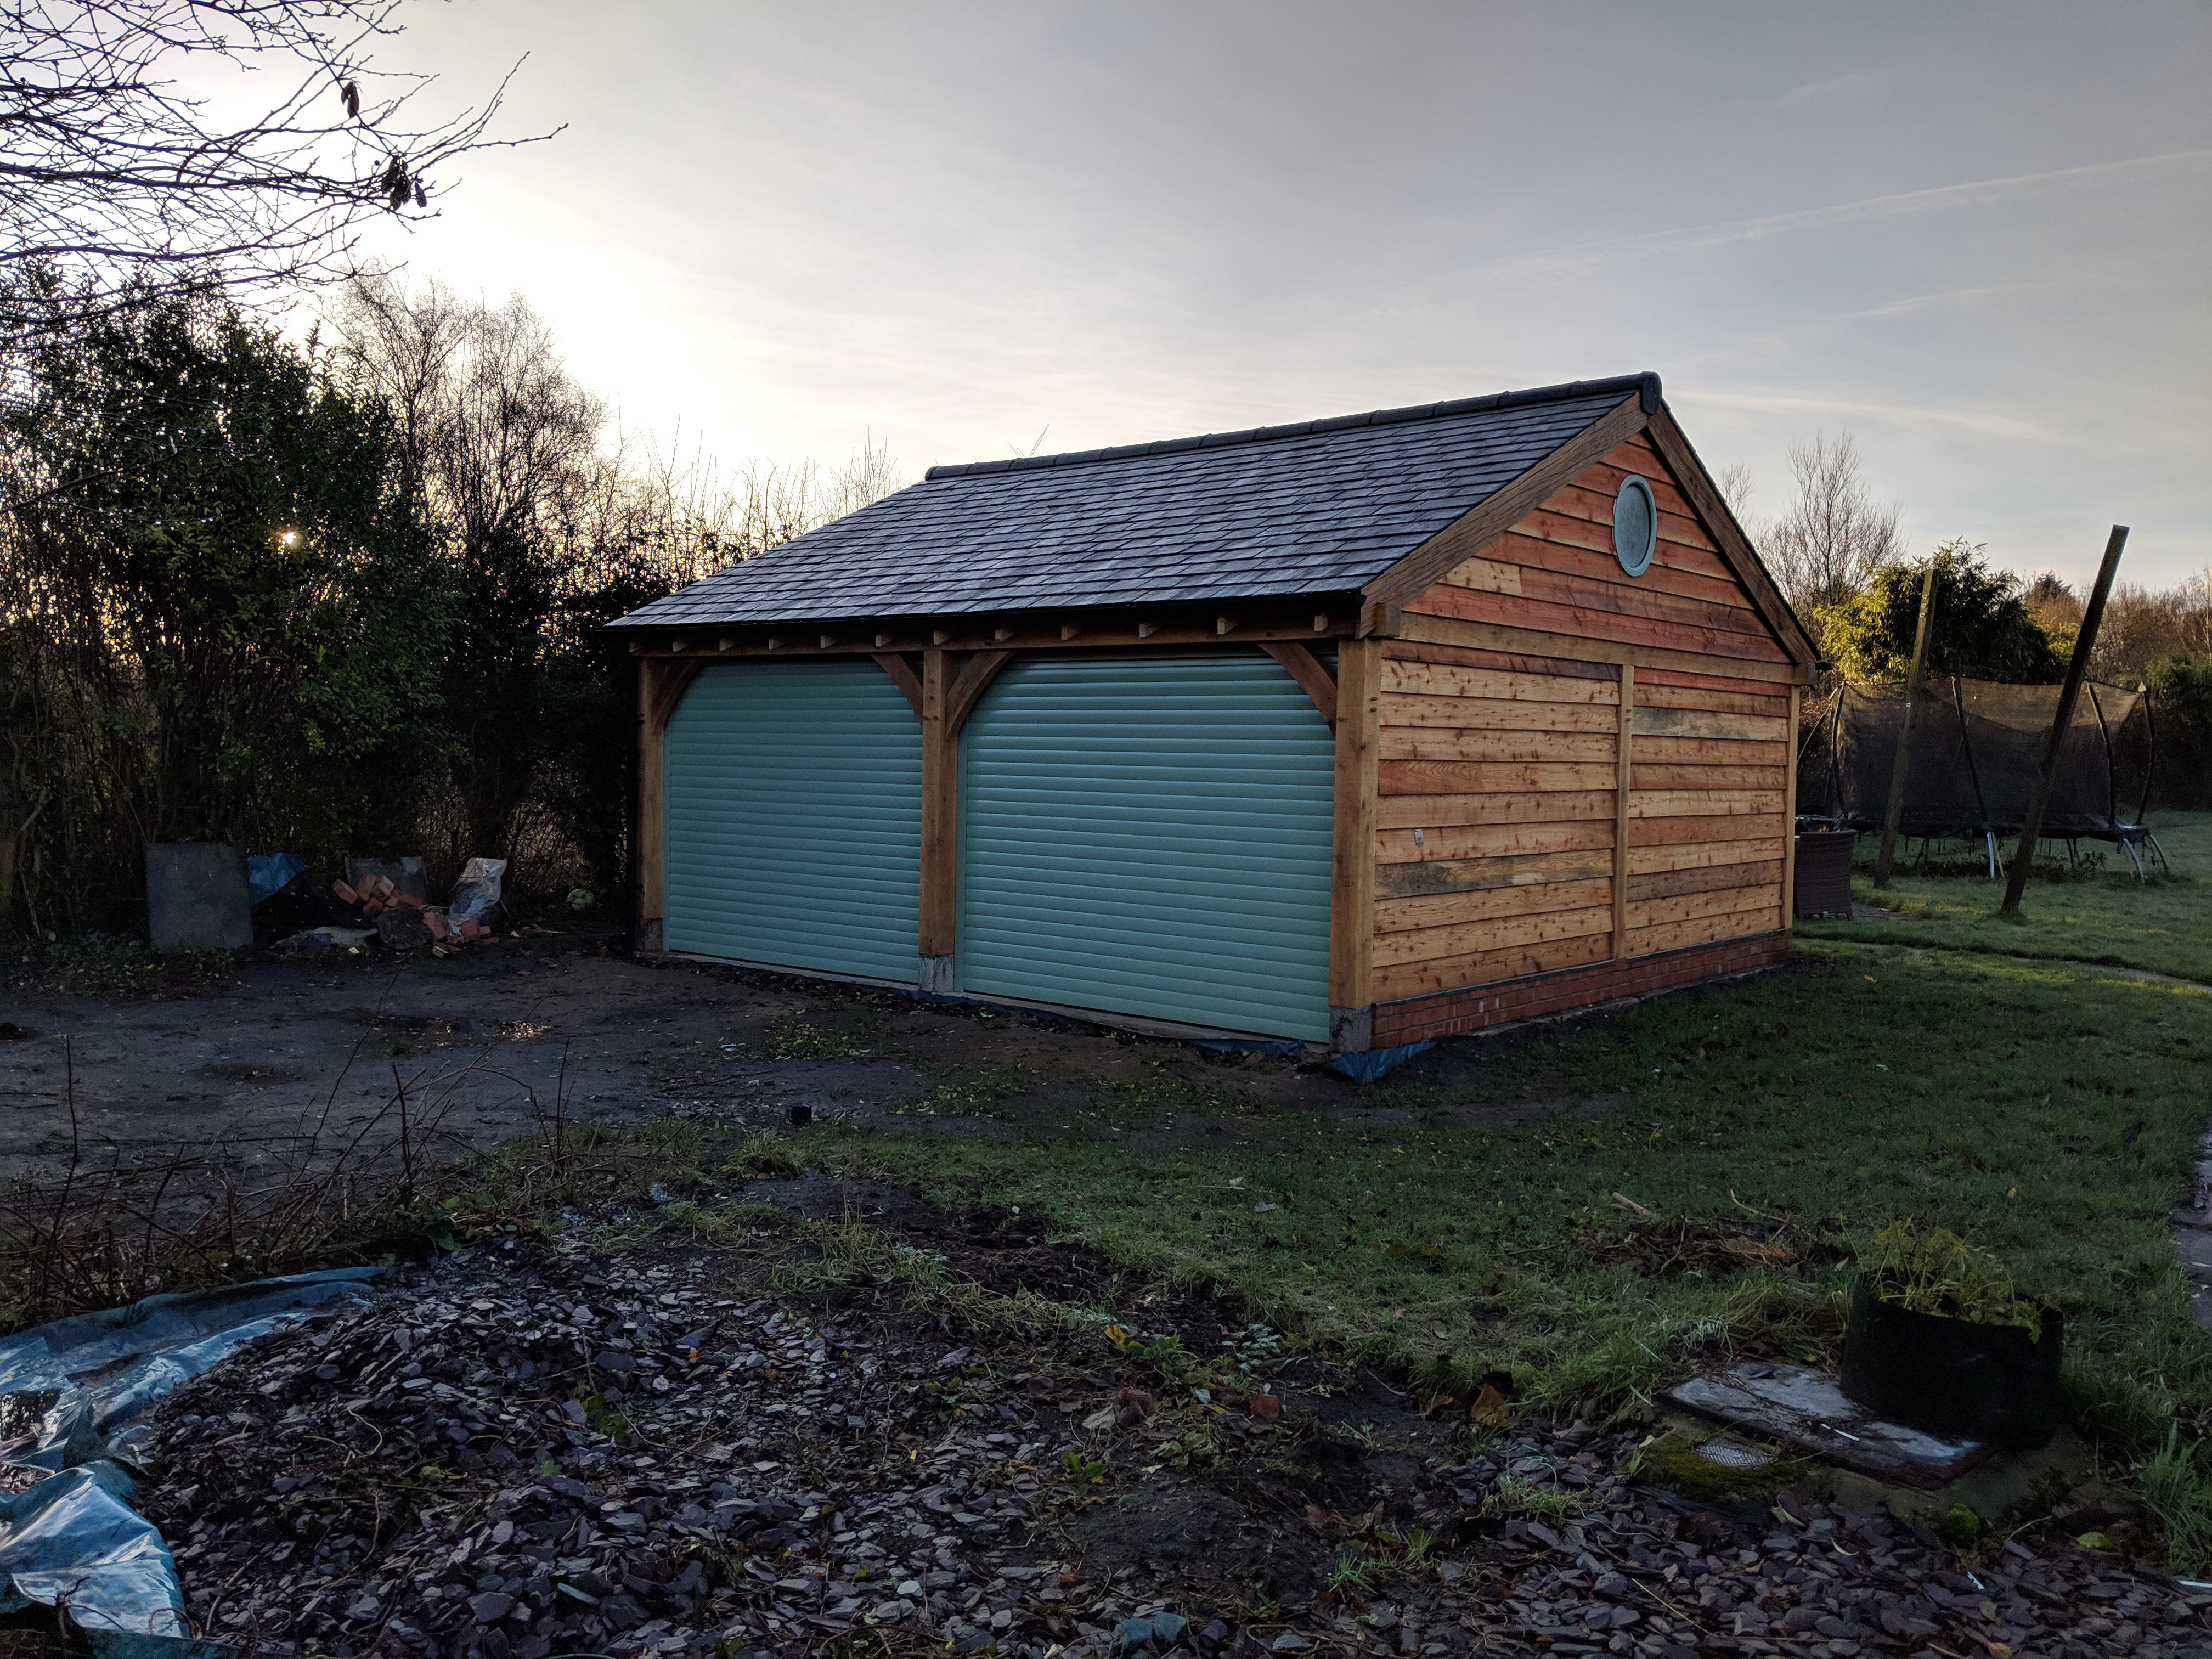
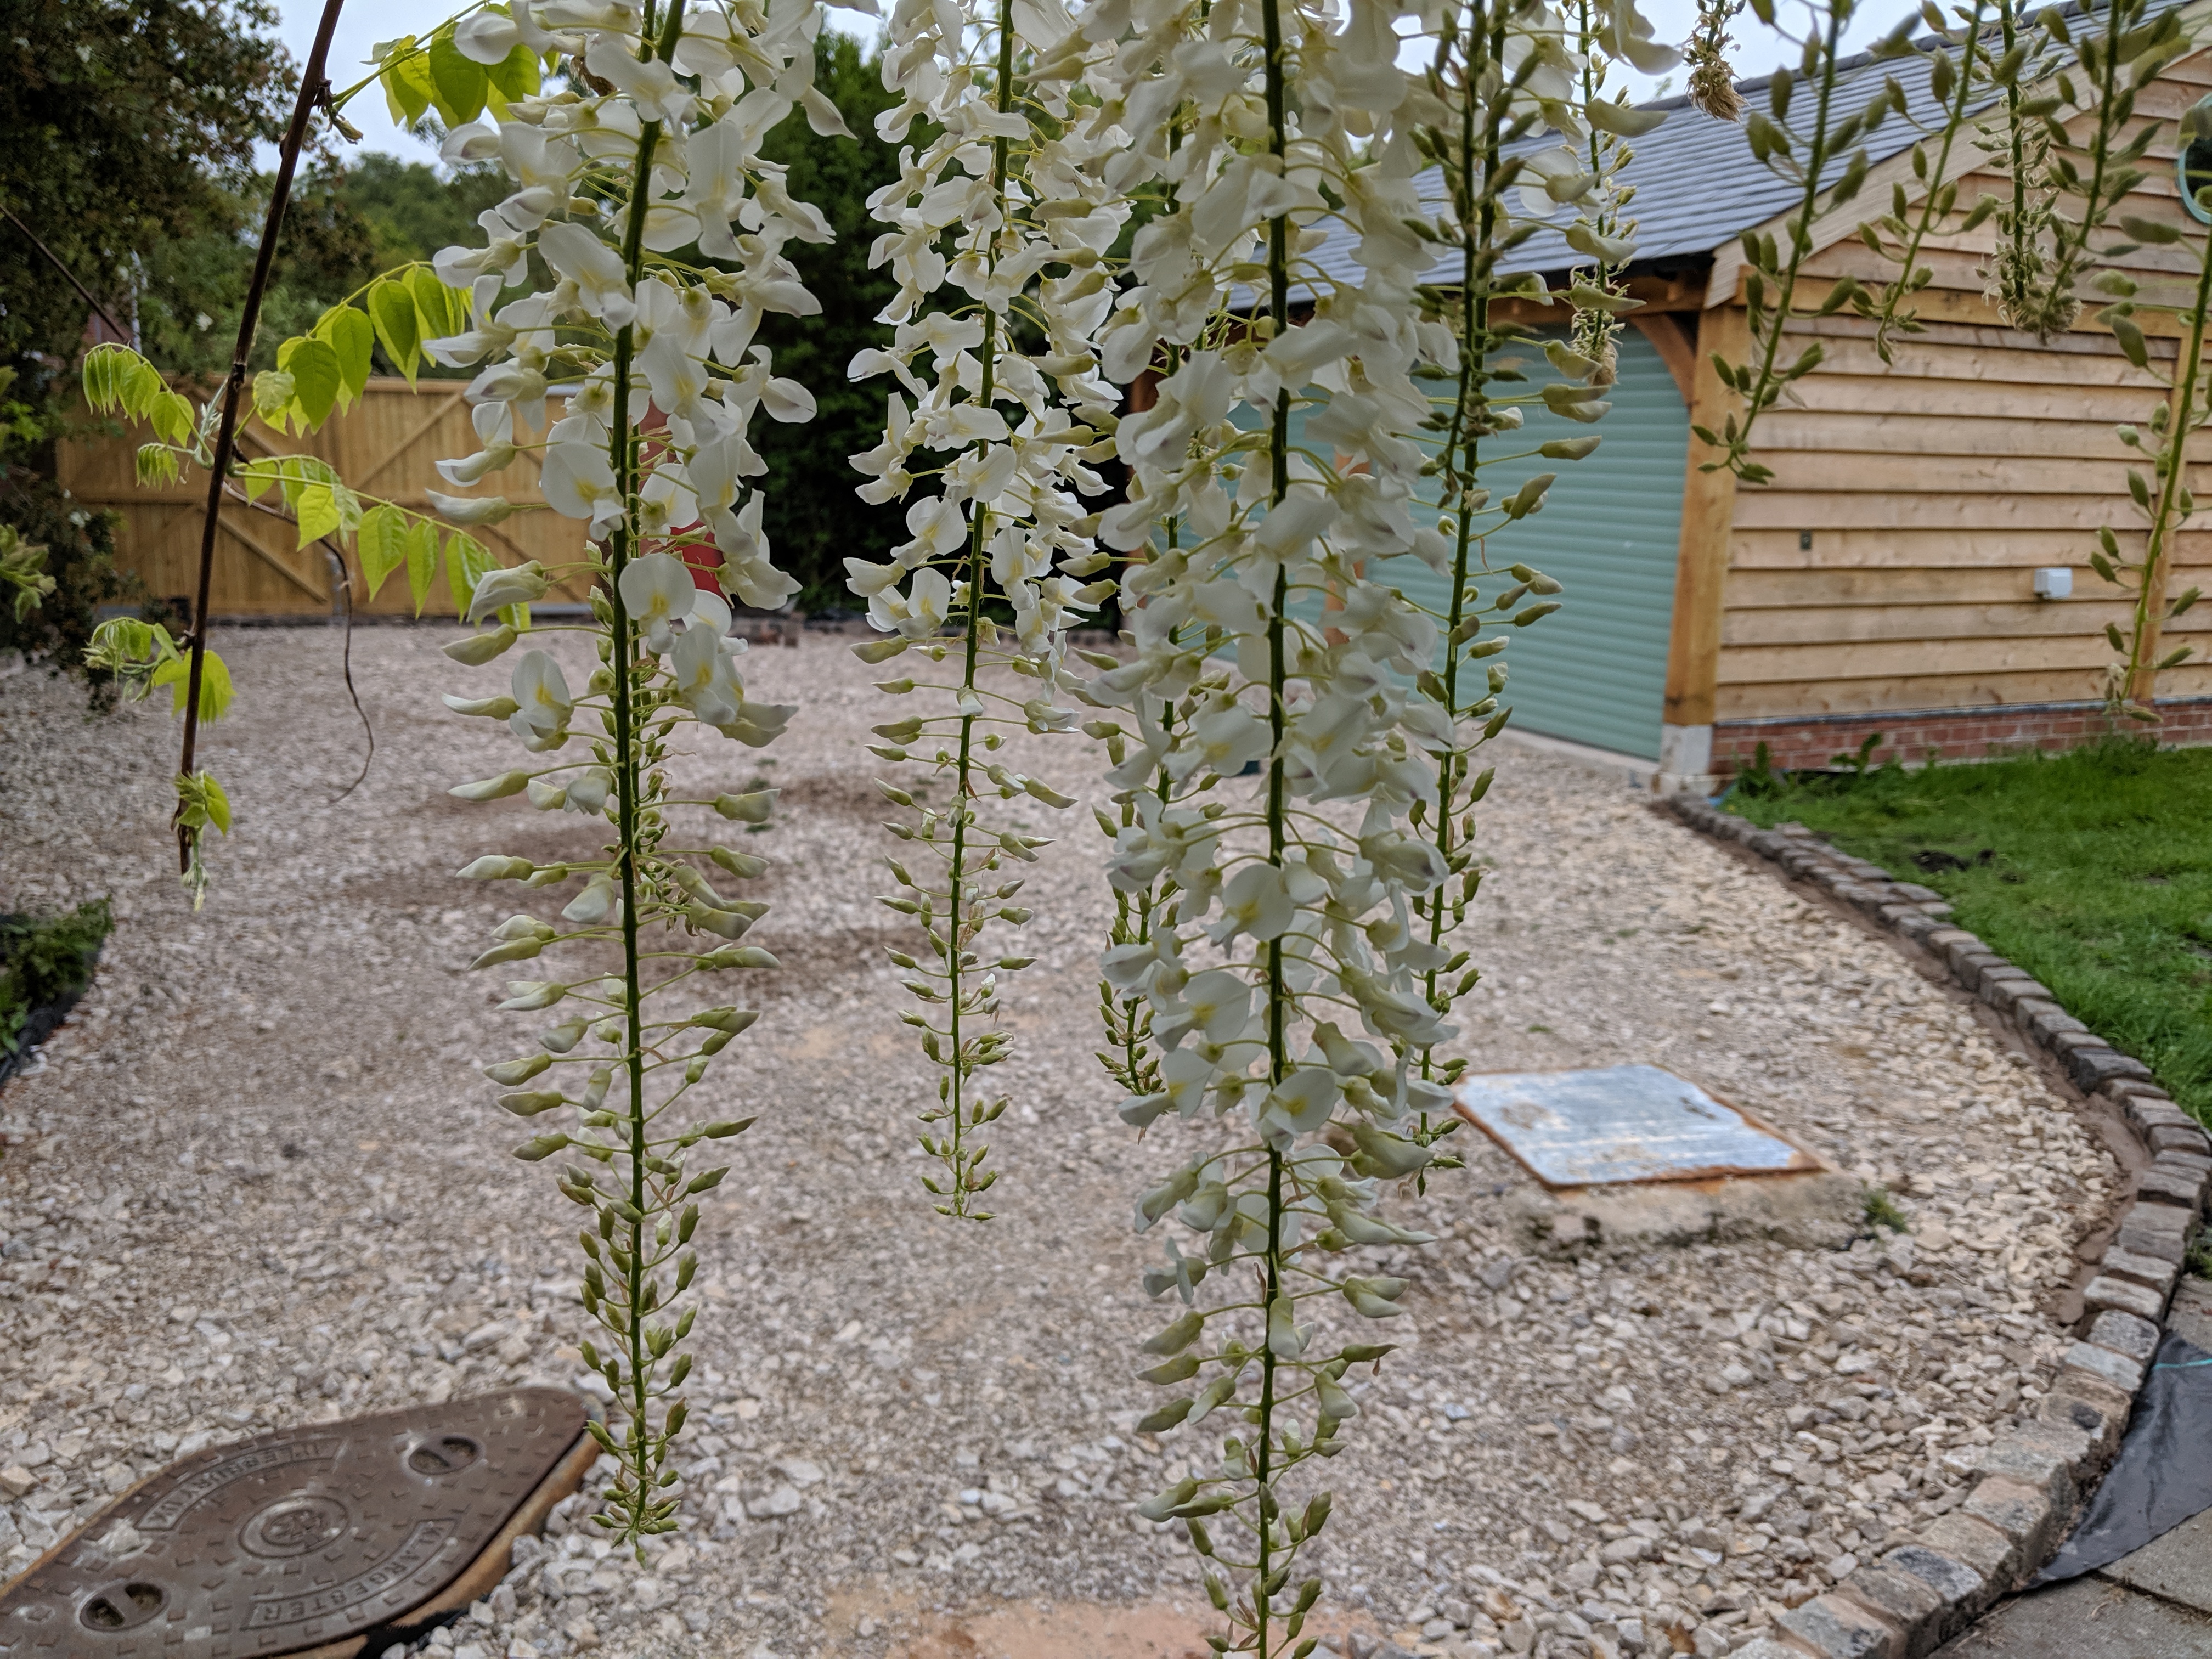
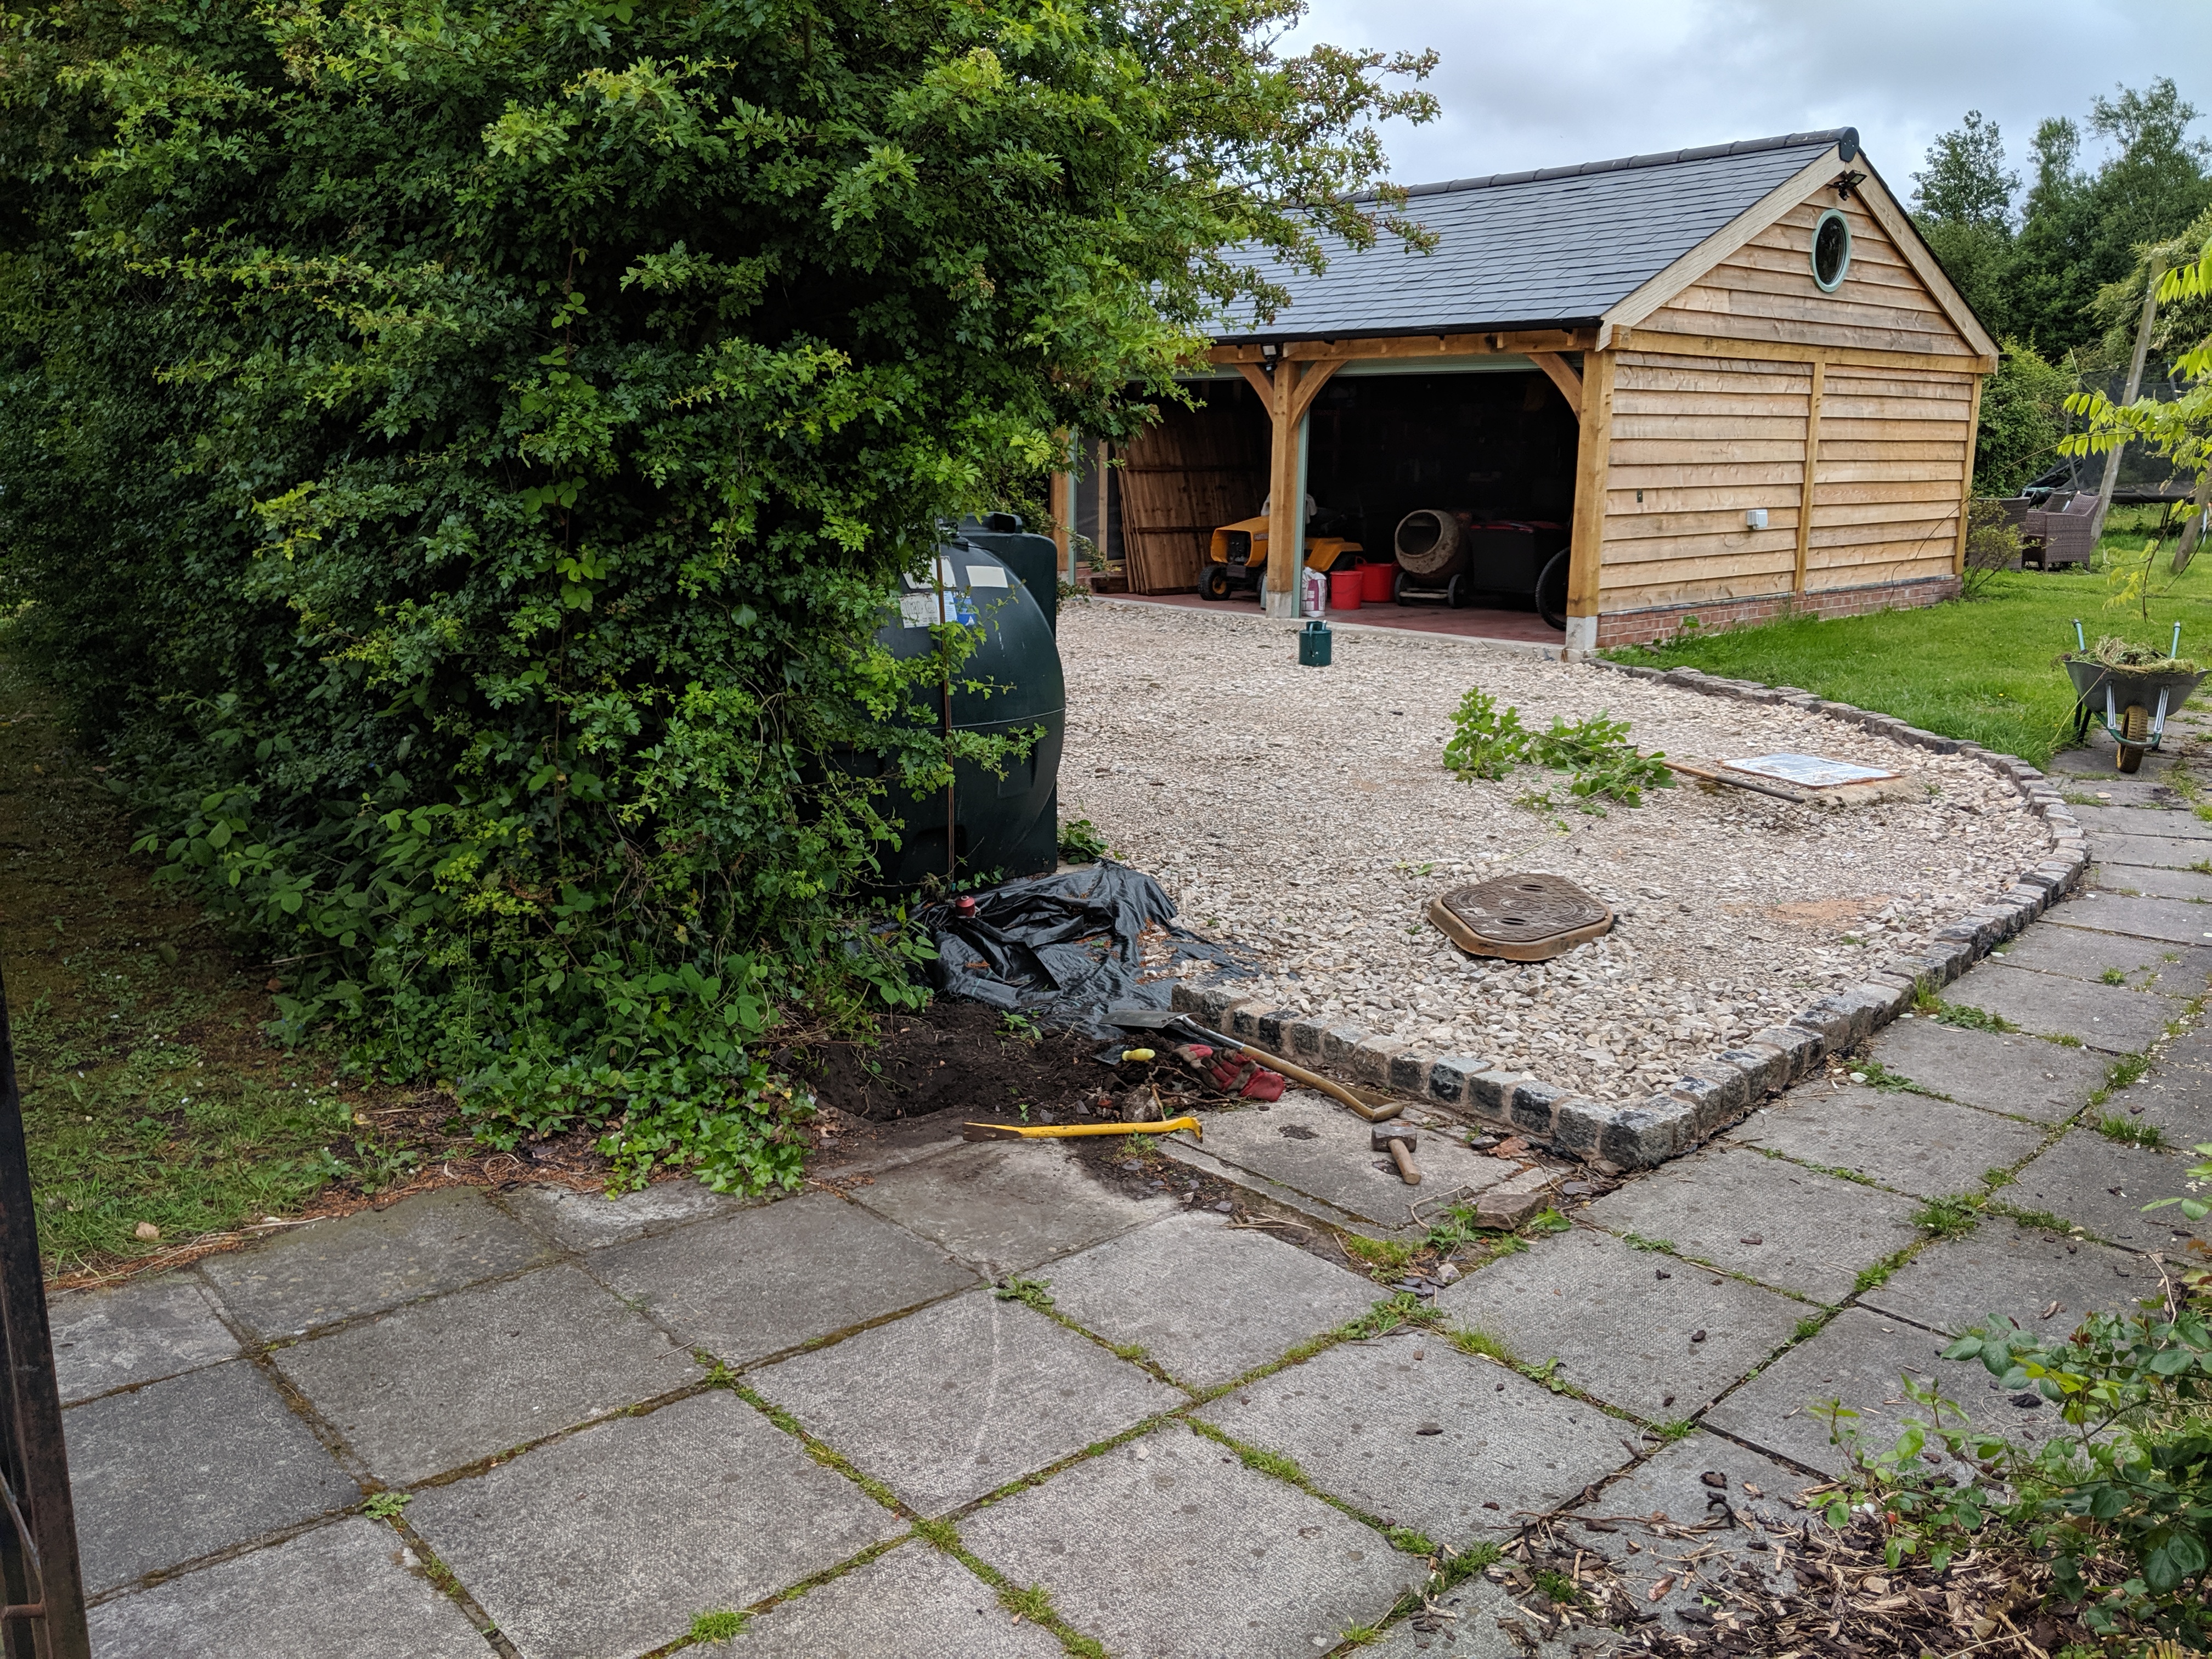
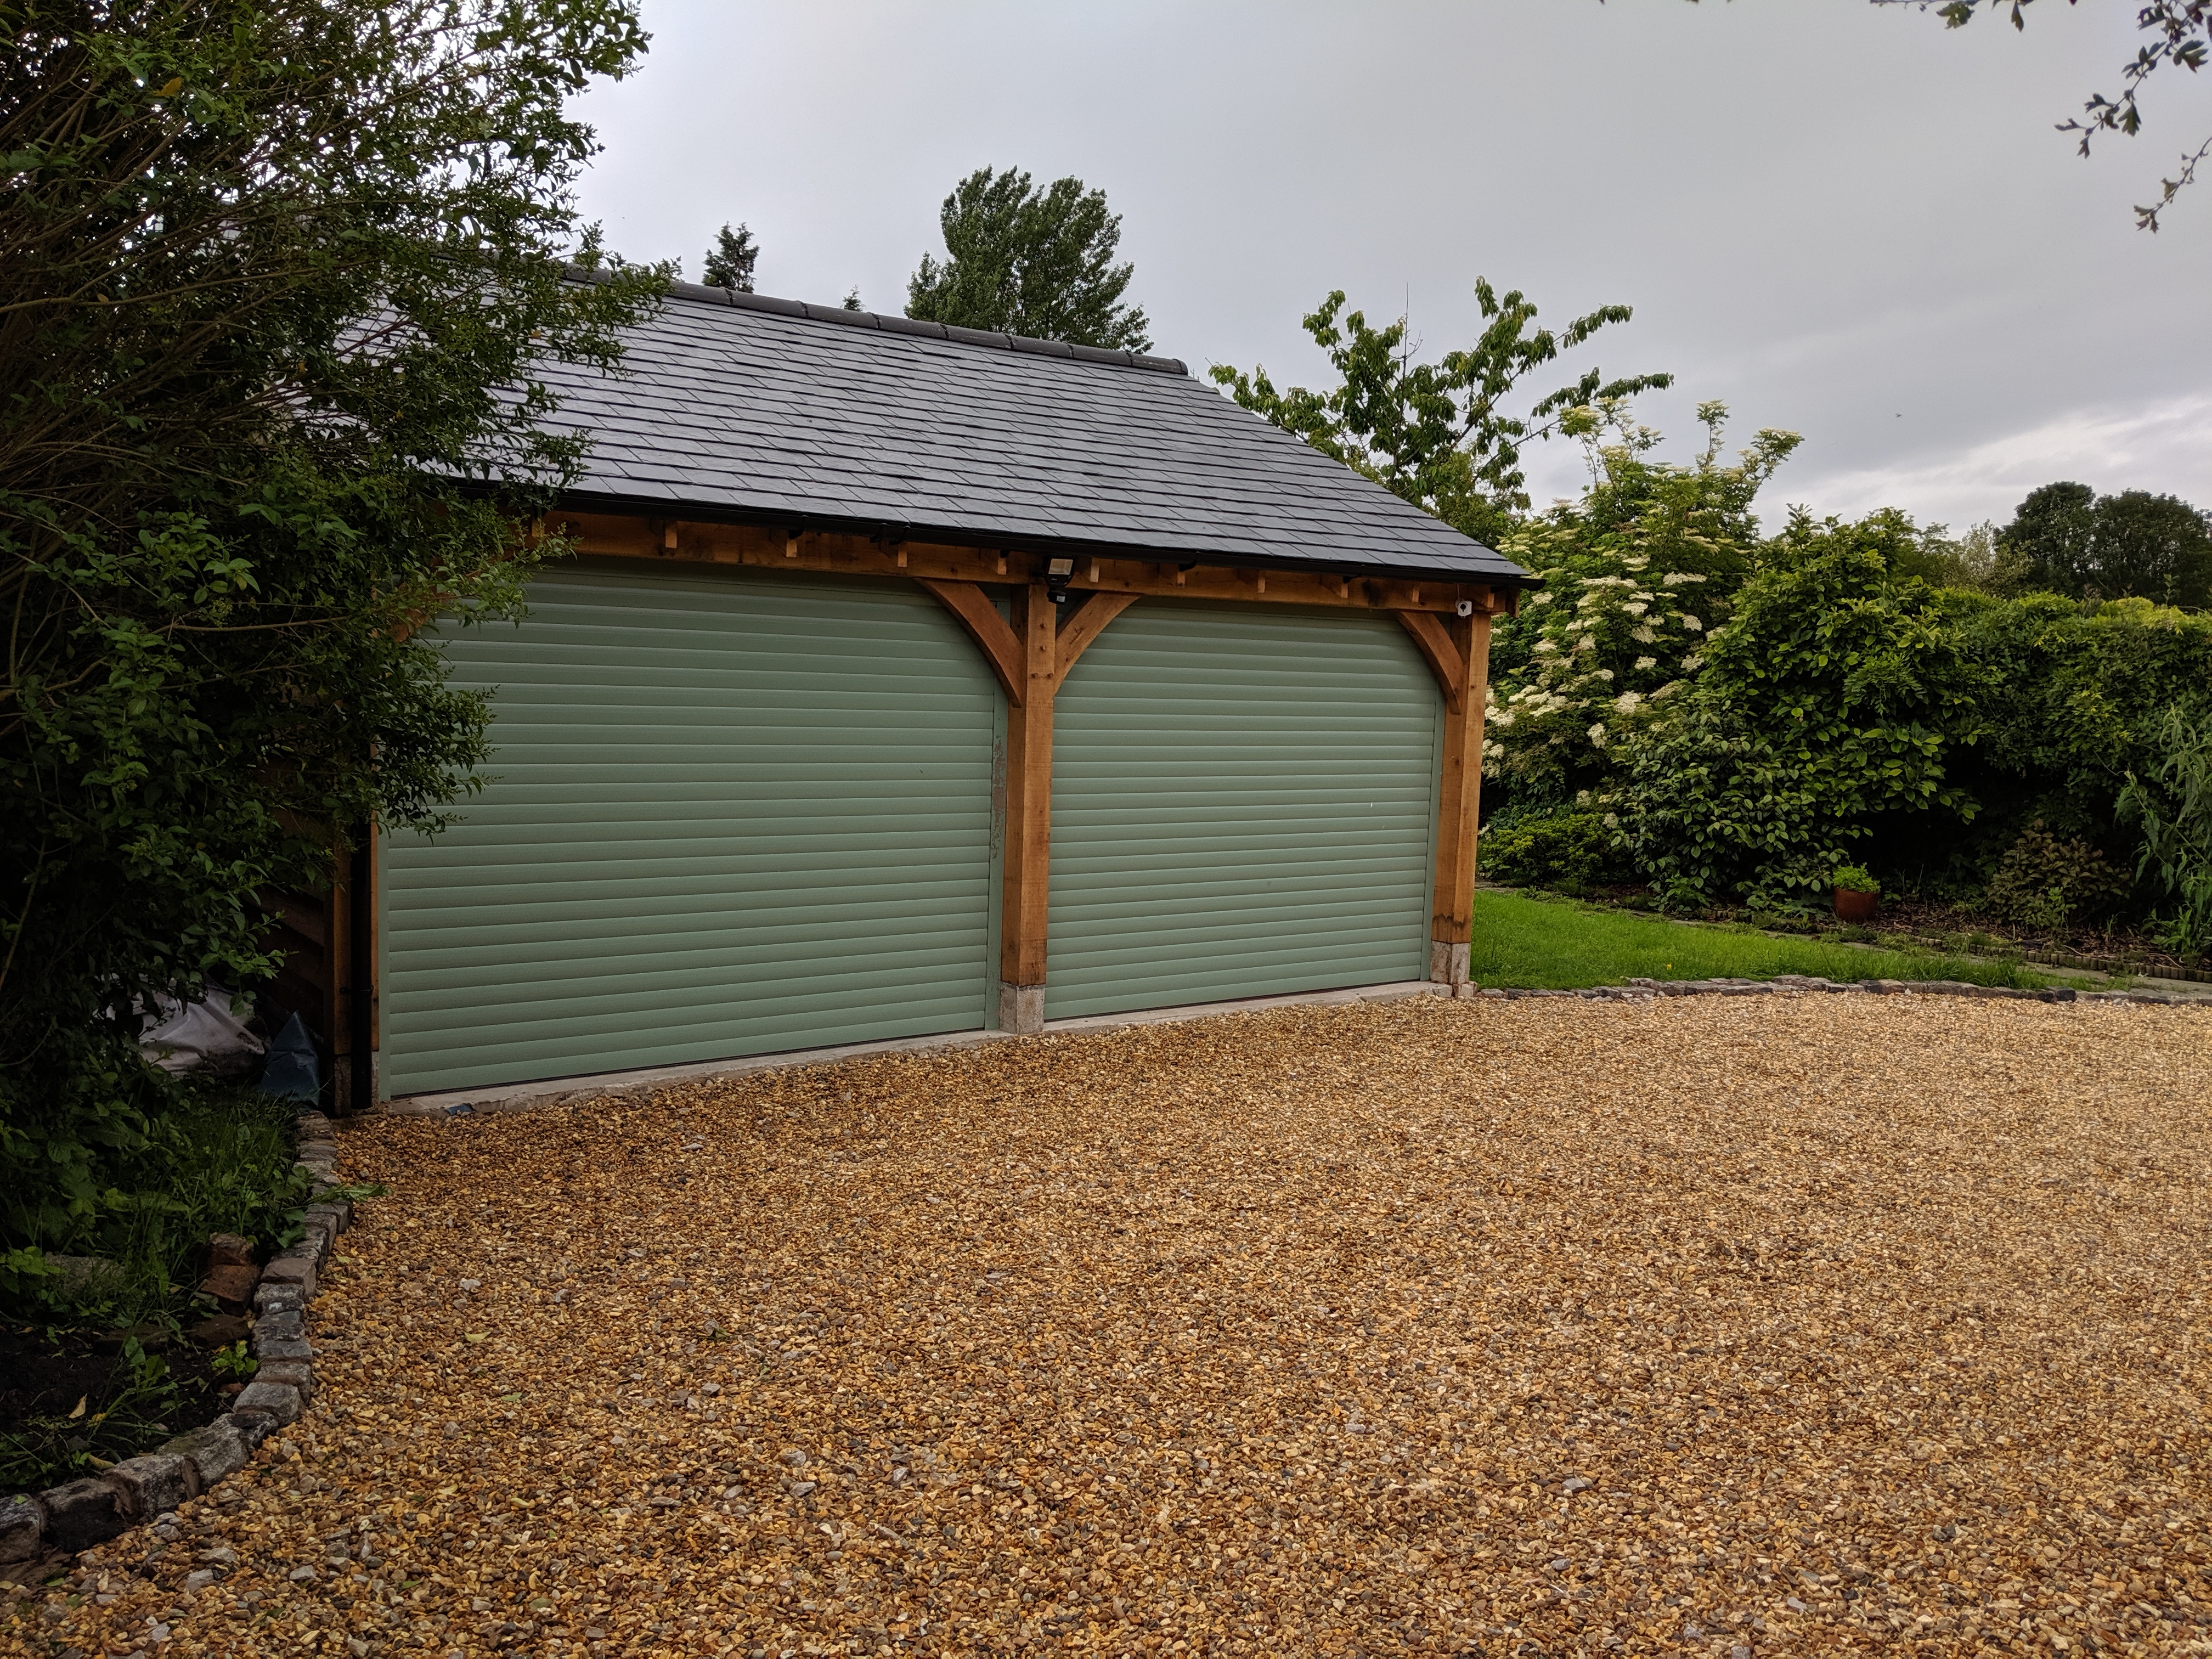
The garage is being built by my friend Alan of lancashireoak.com. It’s an Oak framed garage with larch planking. See that greenhouse…well, that’ll have to go.
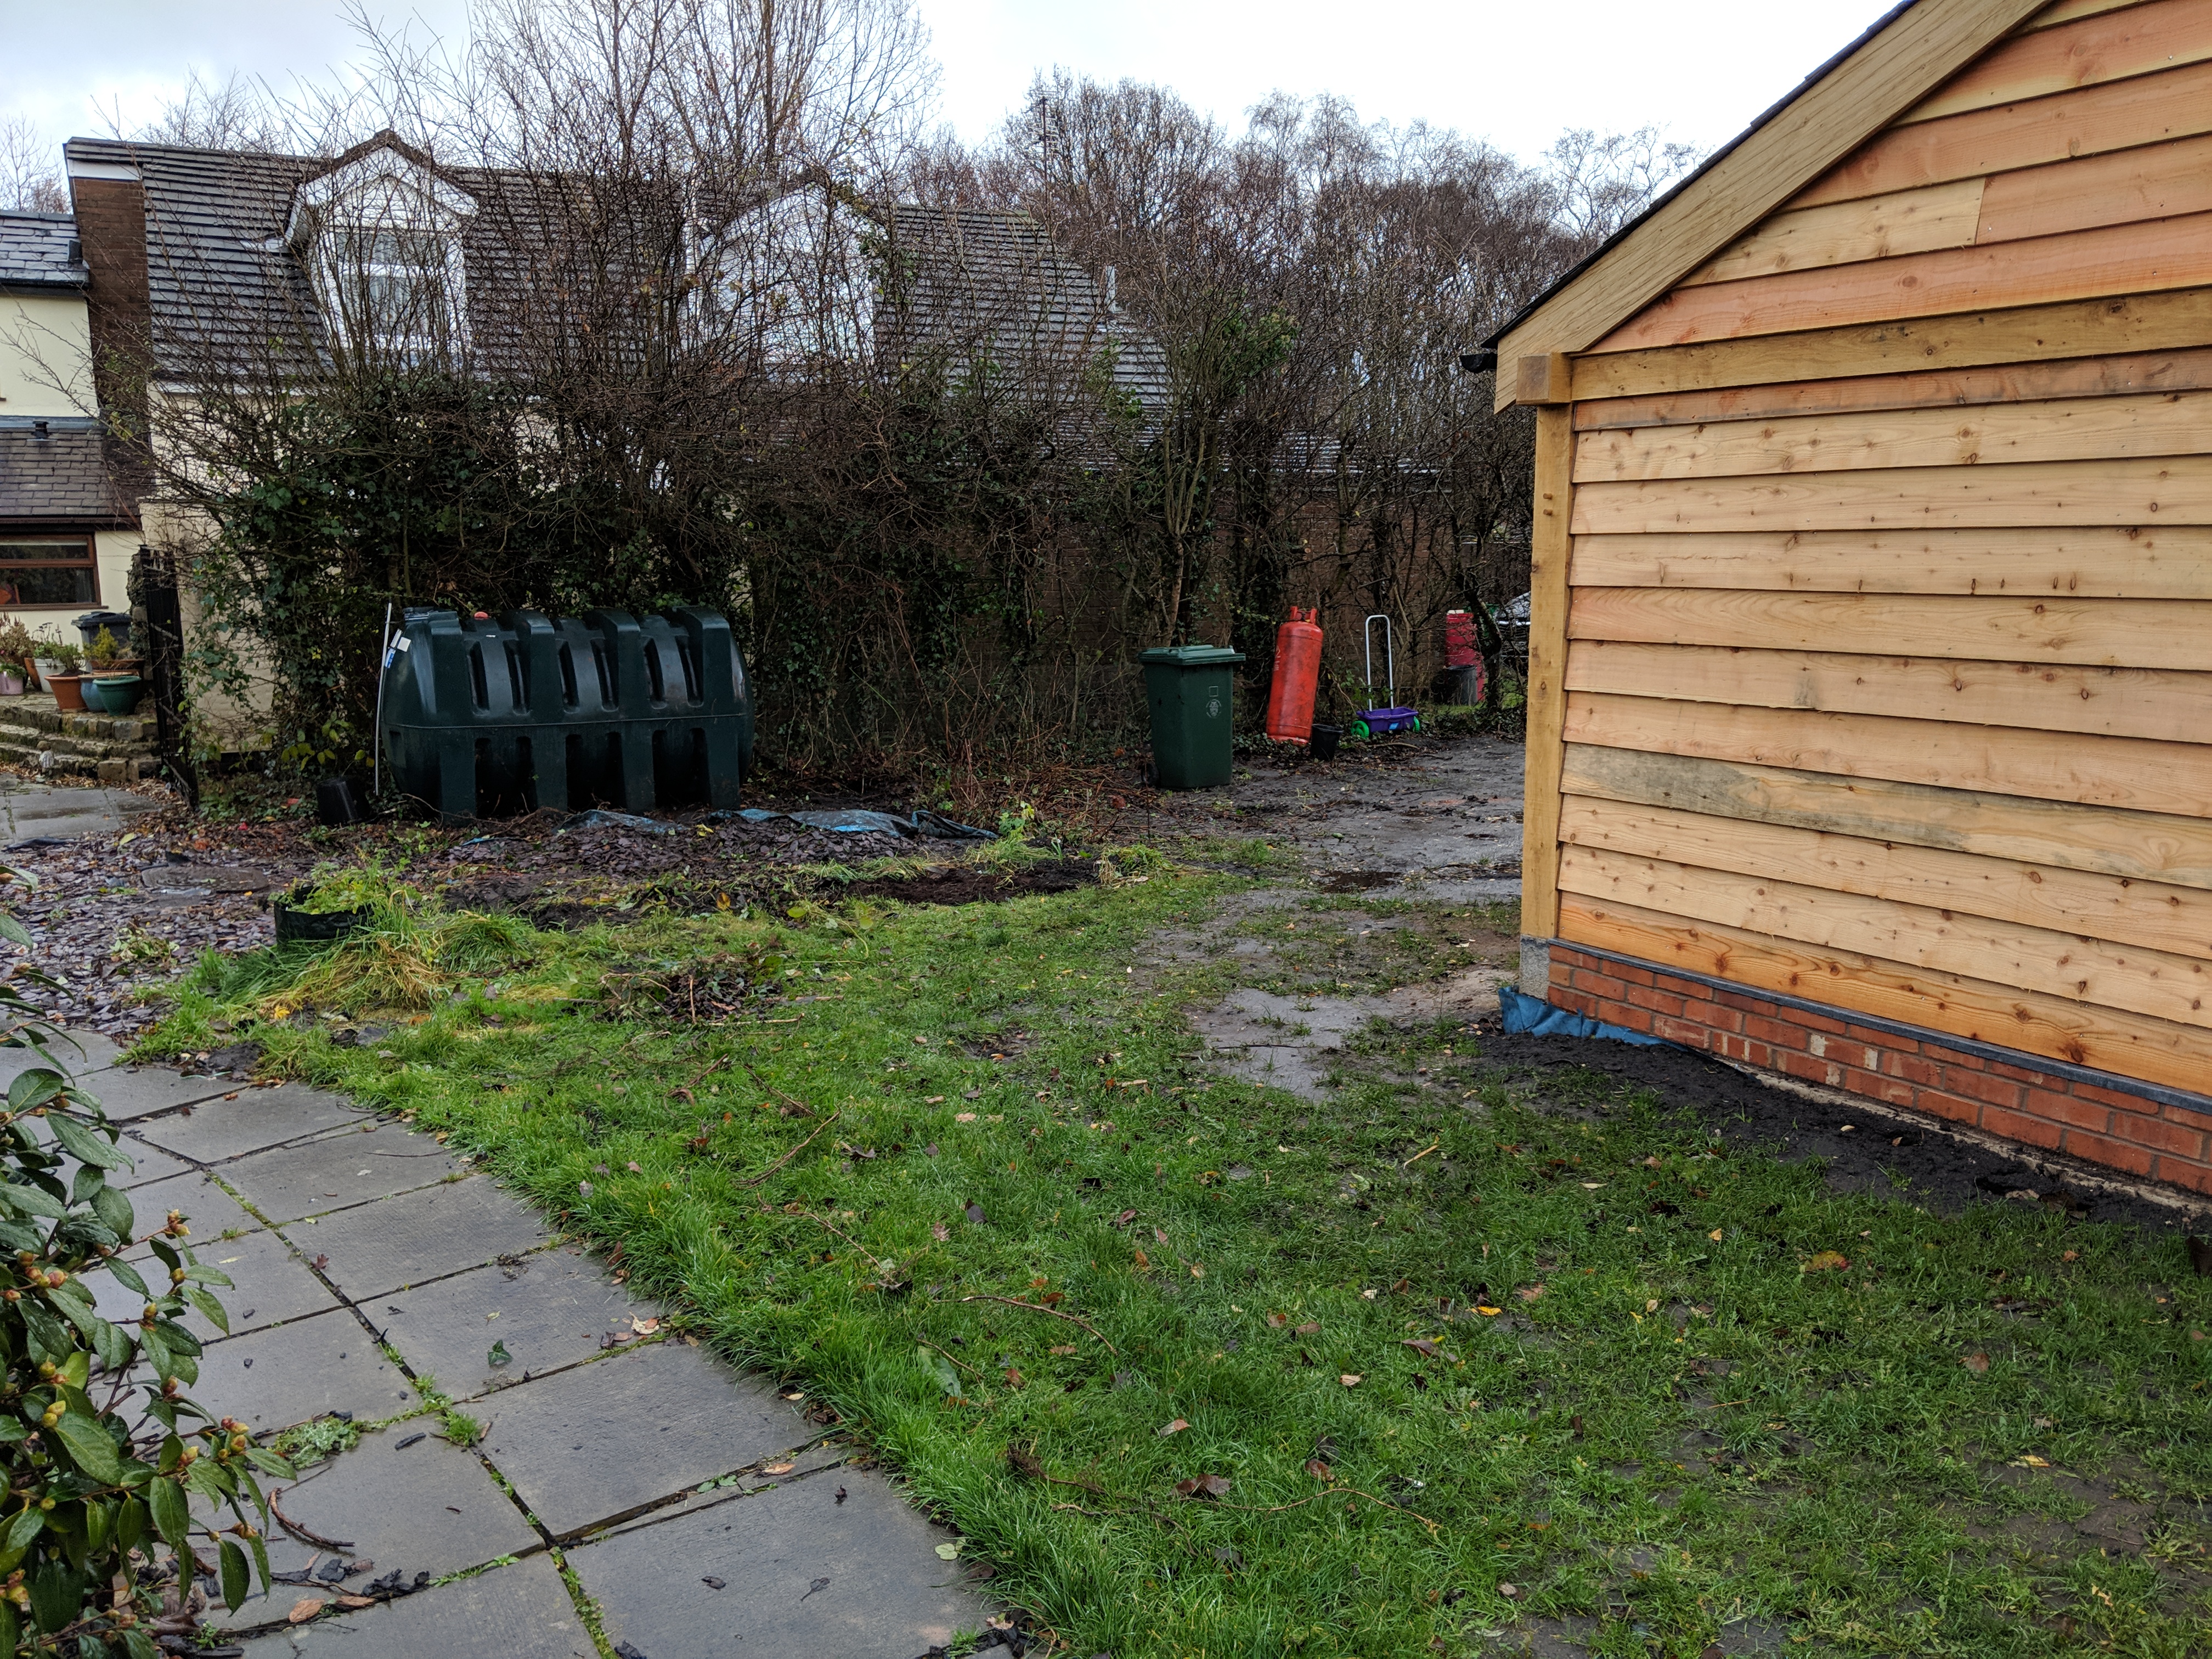
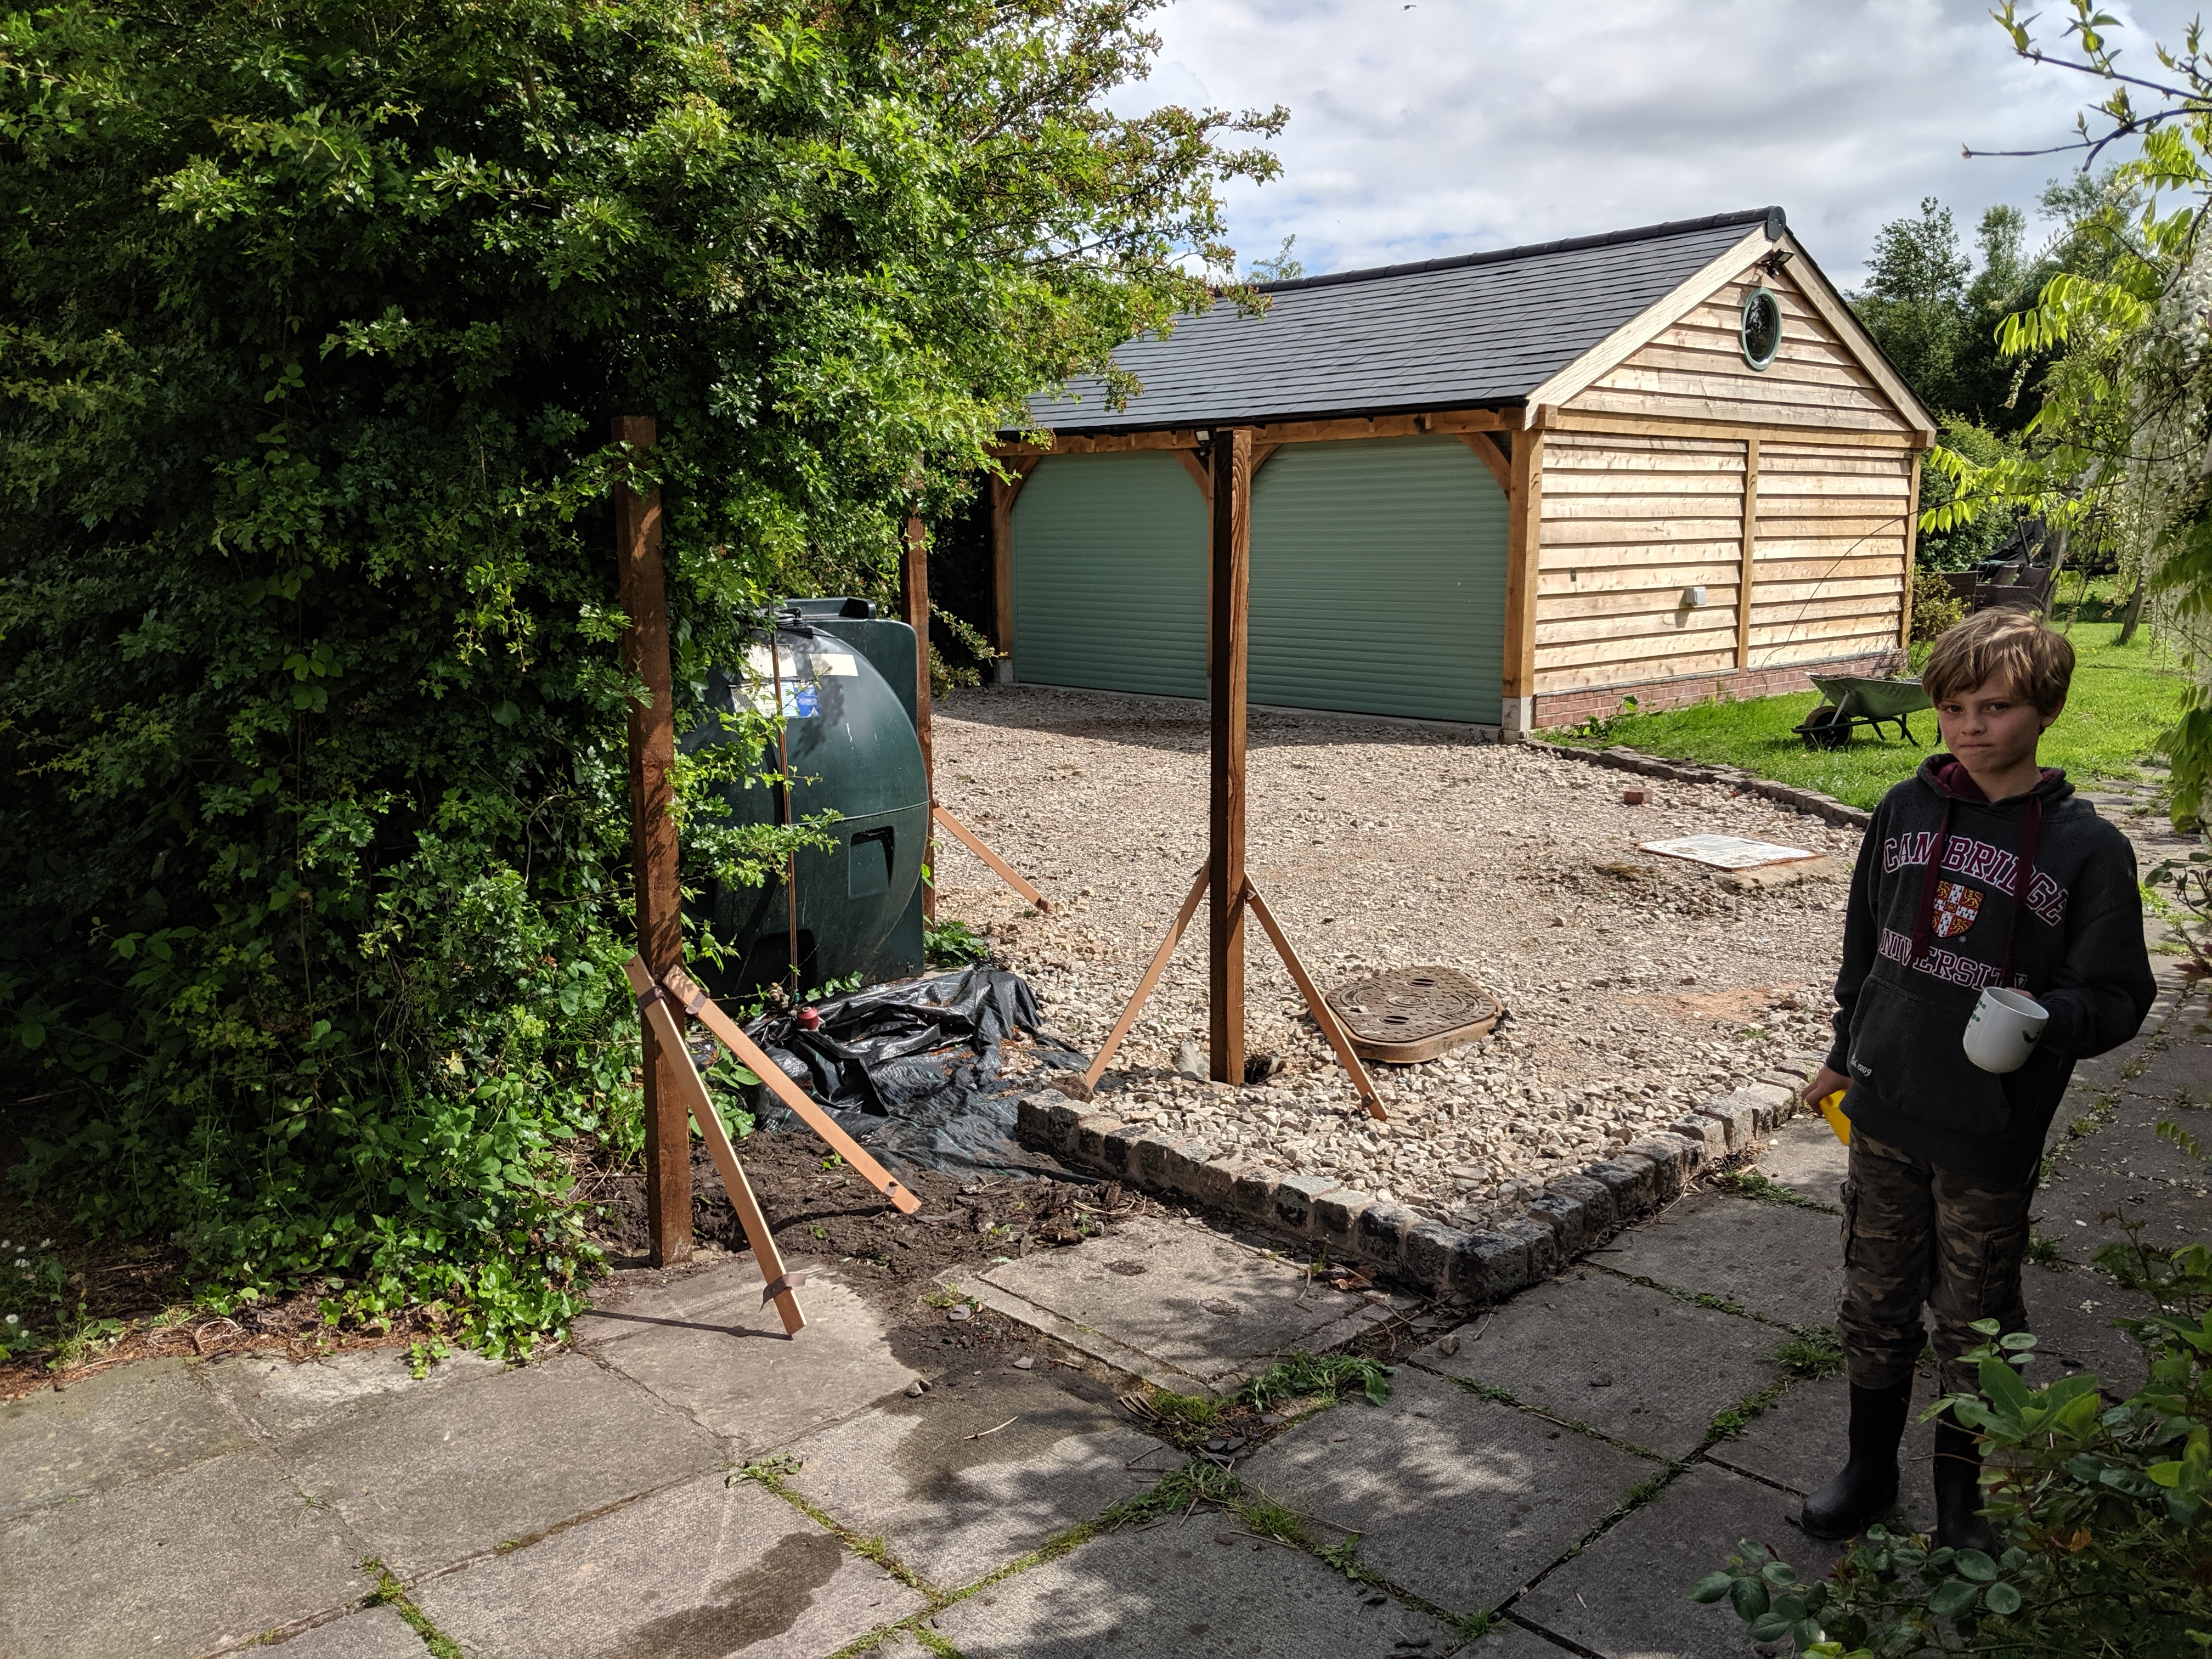
Now that the greenhouse has gone it highlights the ugliness of the Kerosene tank. I’ll have to do something about that
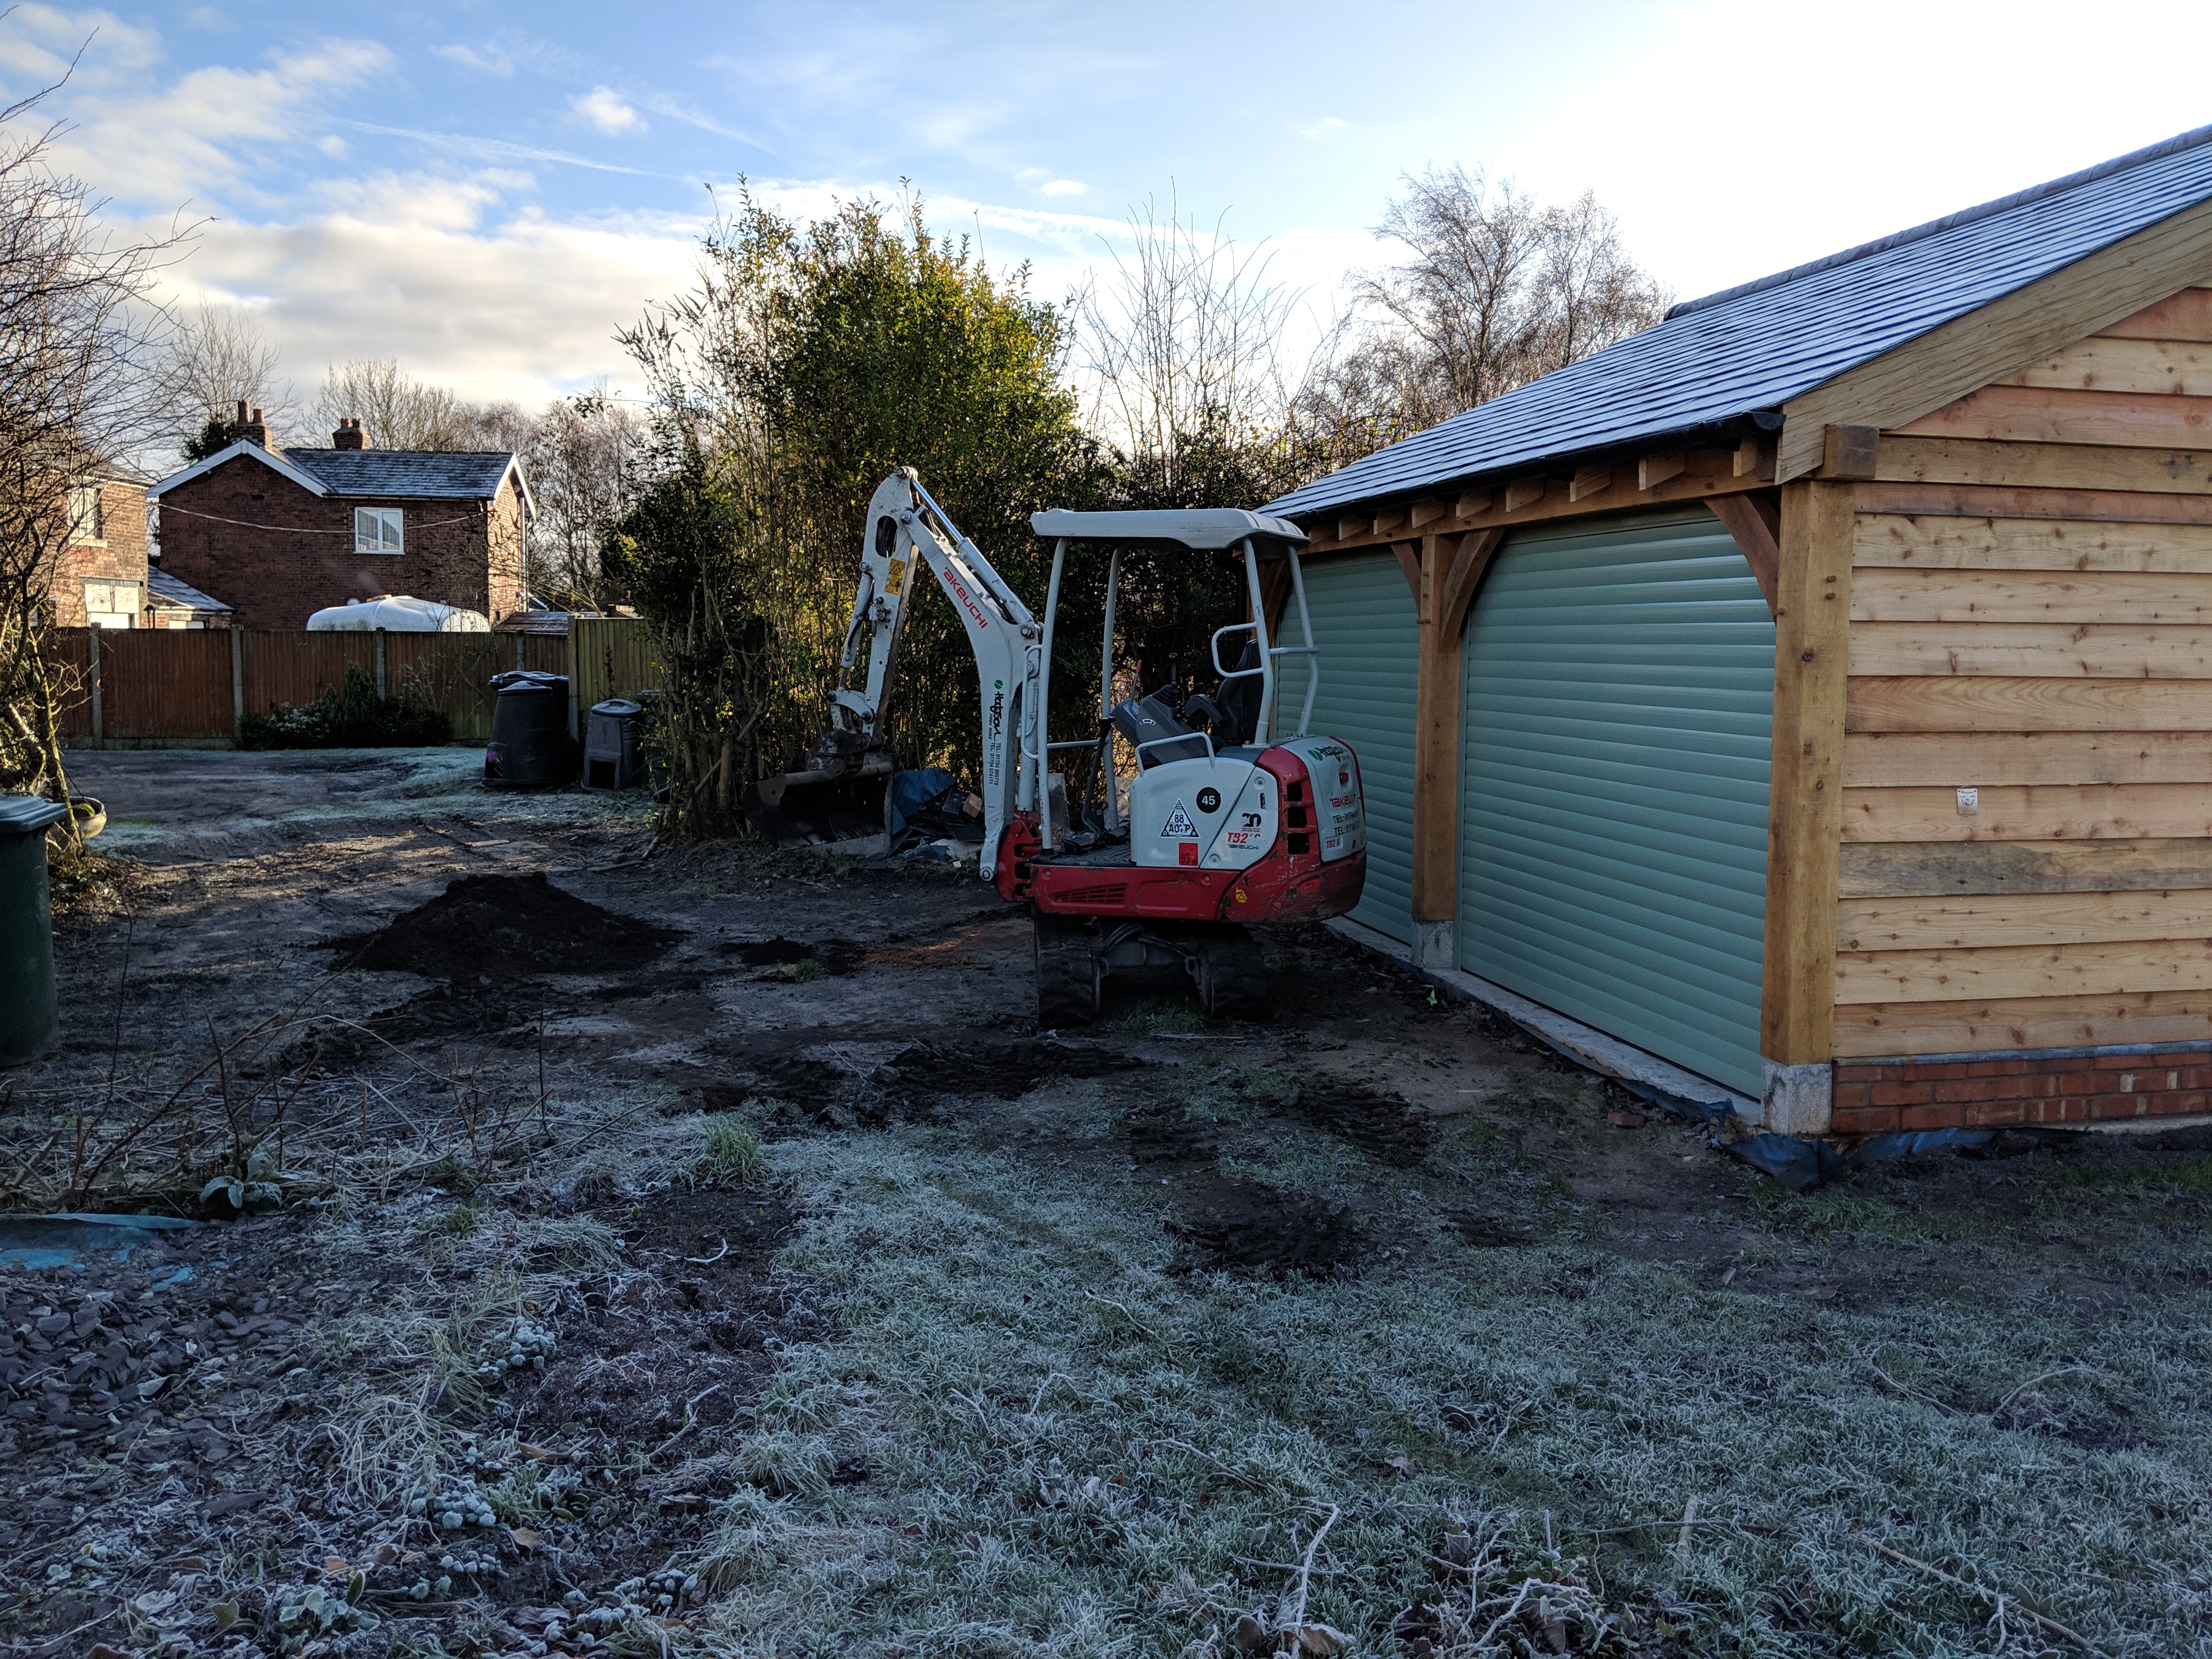
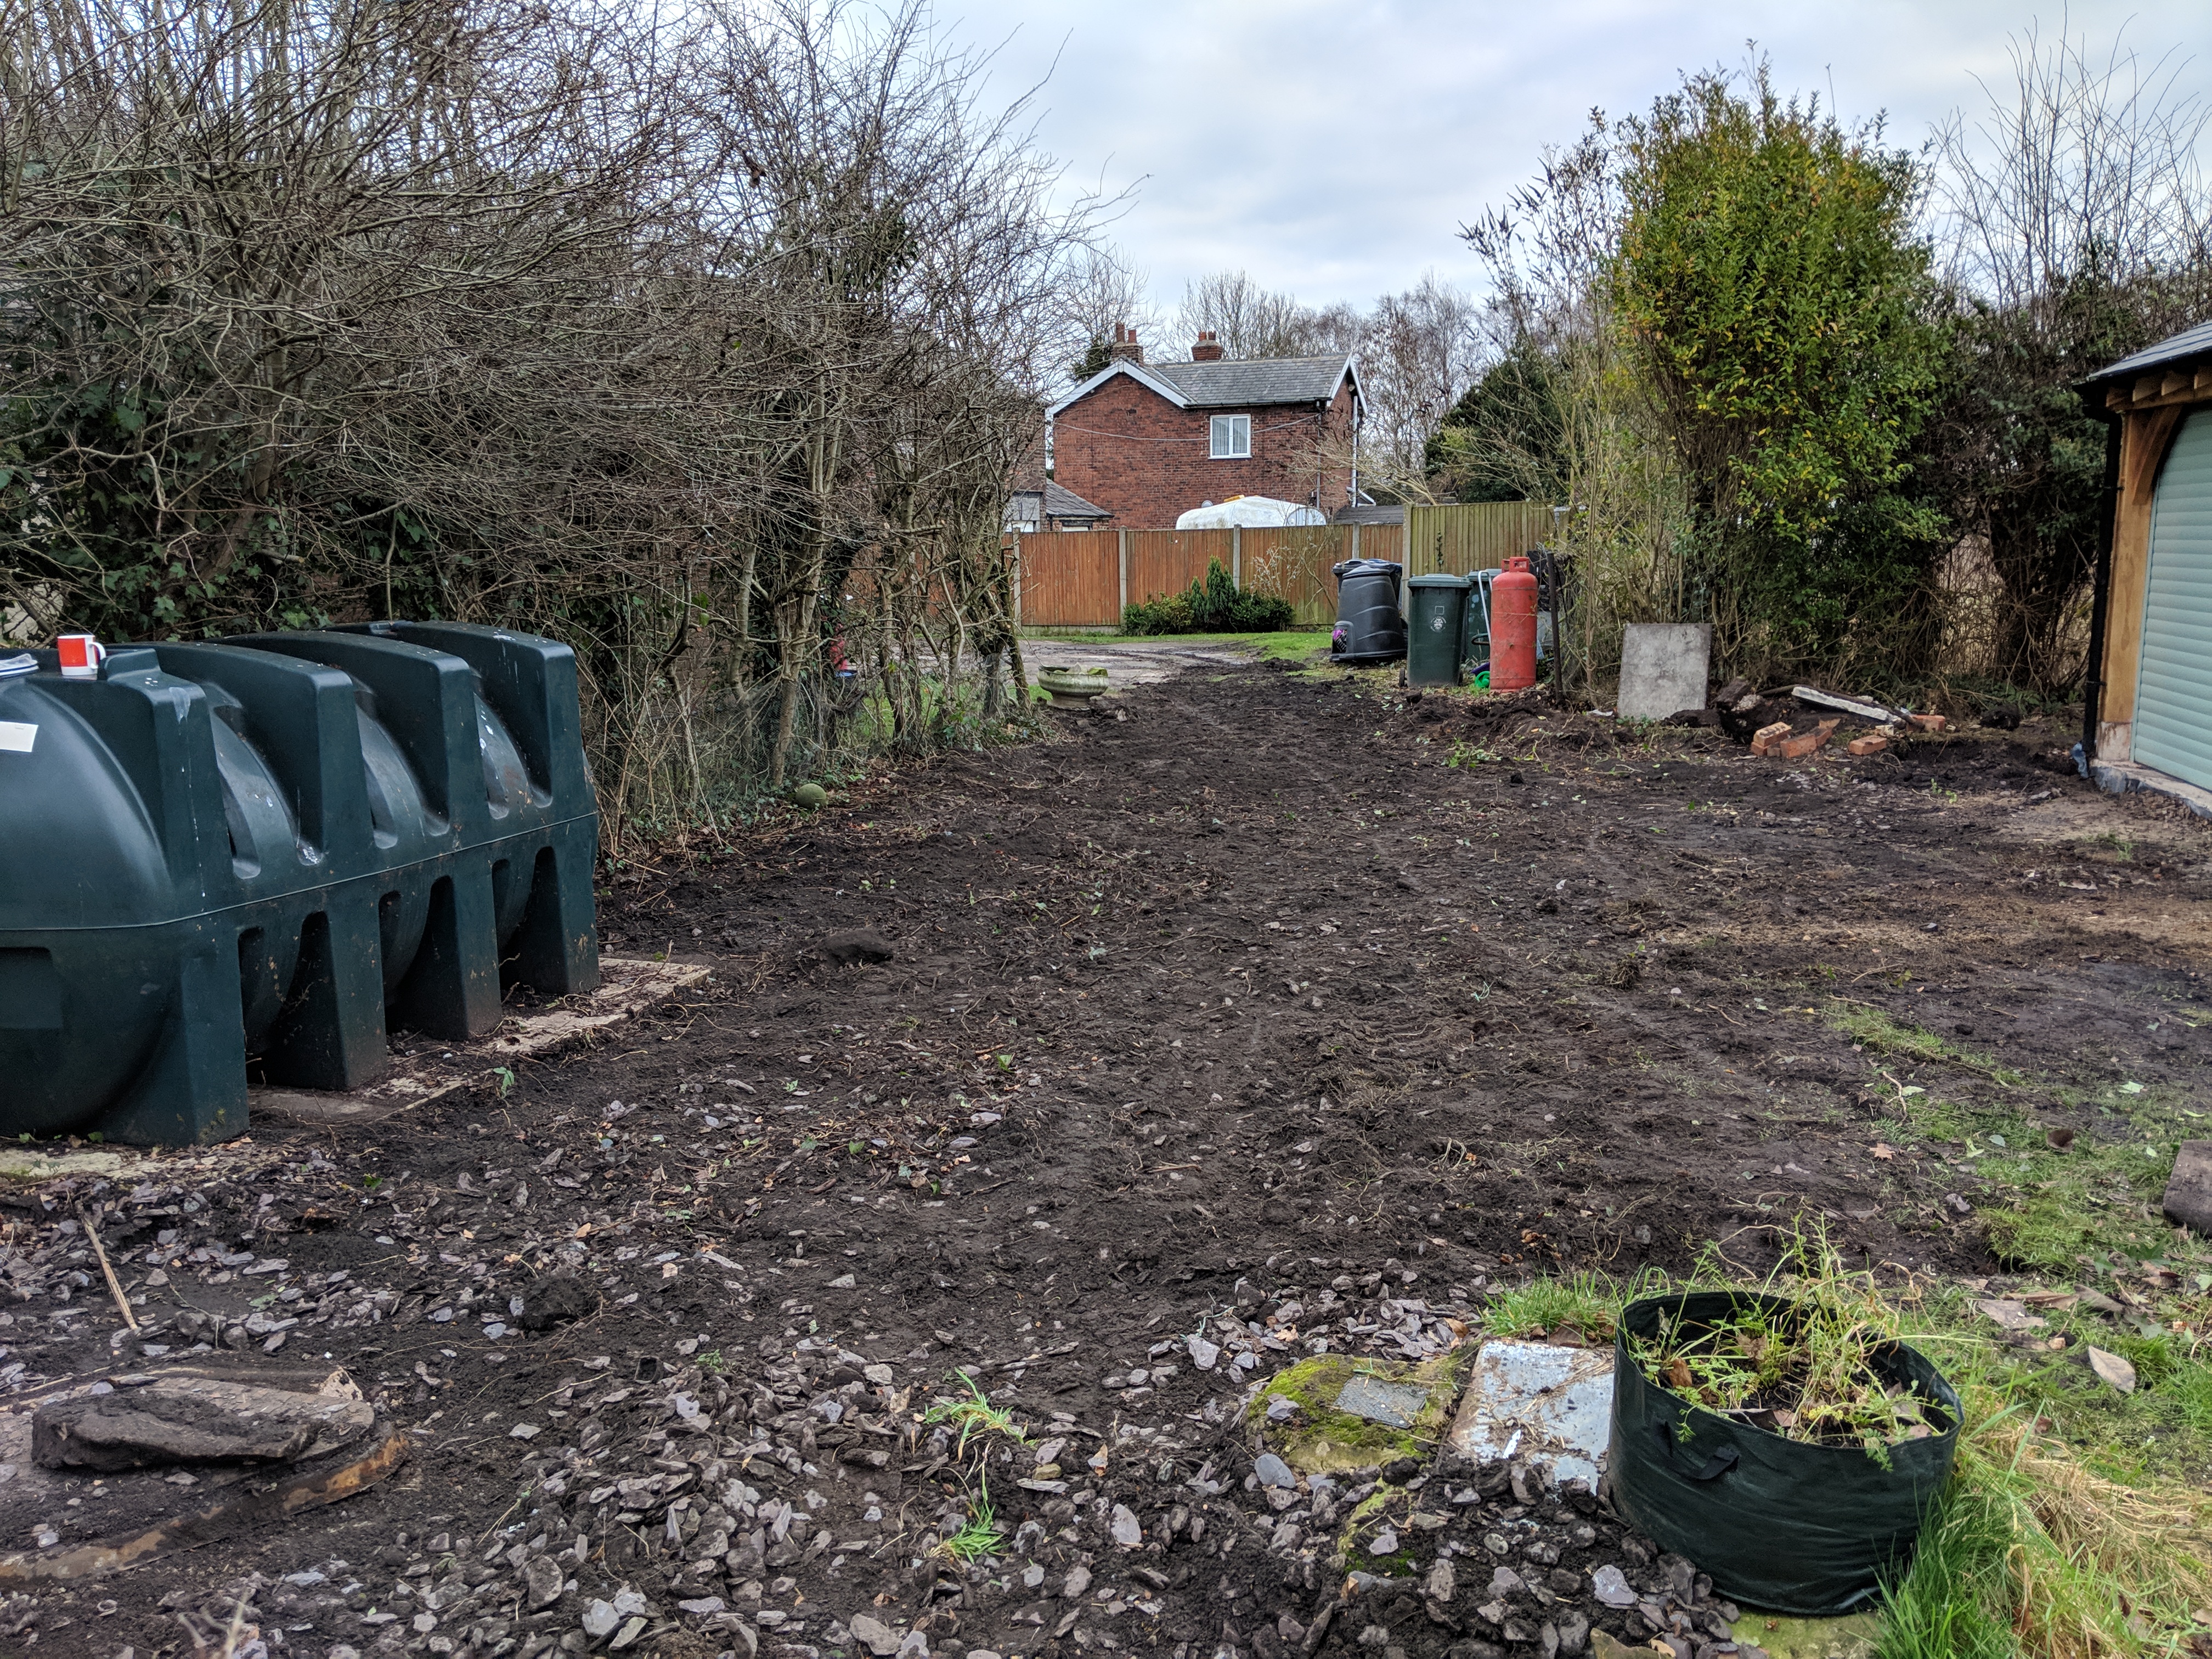
This is the bit where I get involved. The ground outside the garage is all a bit of a mess. So I felt the need to hire a mini digger.
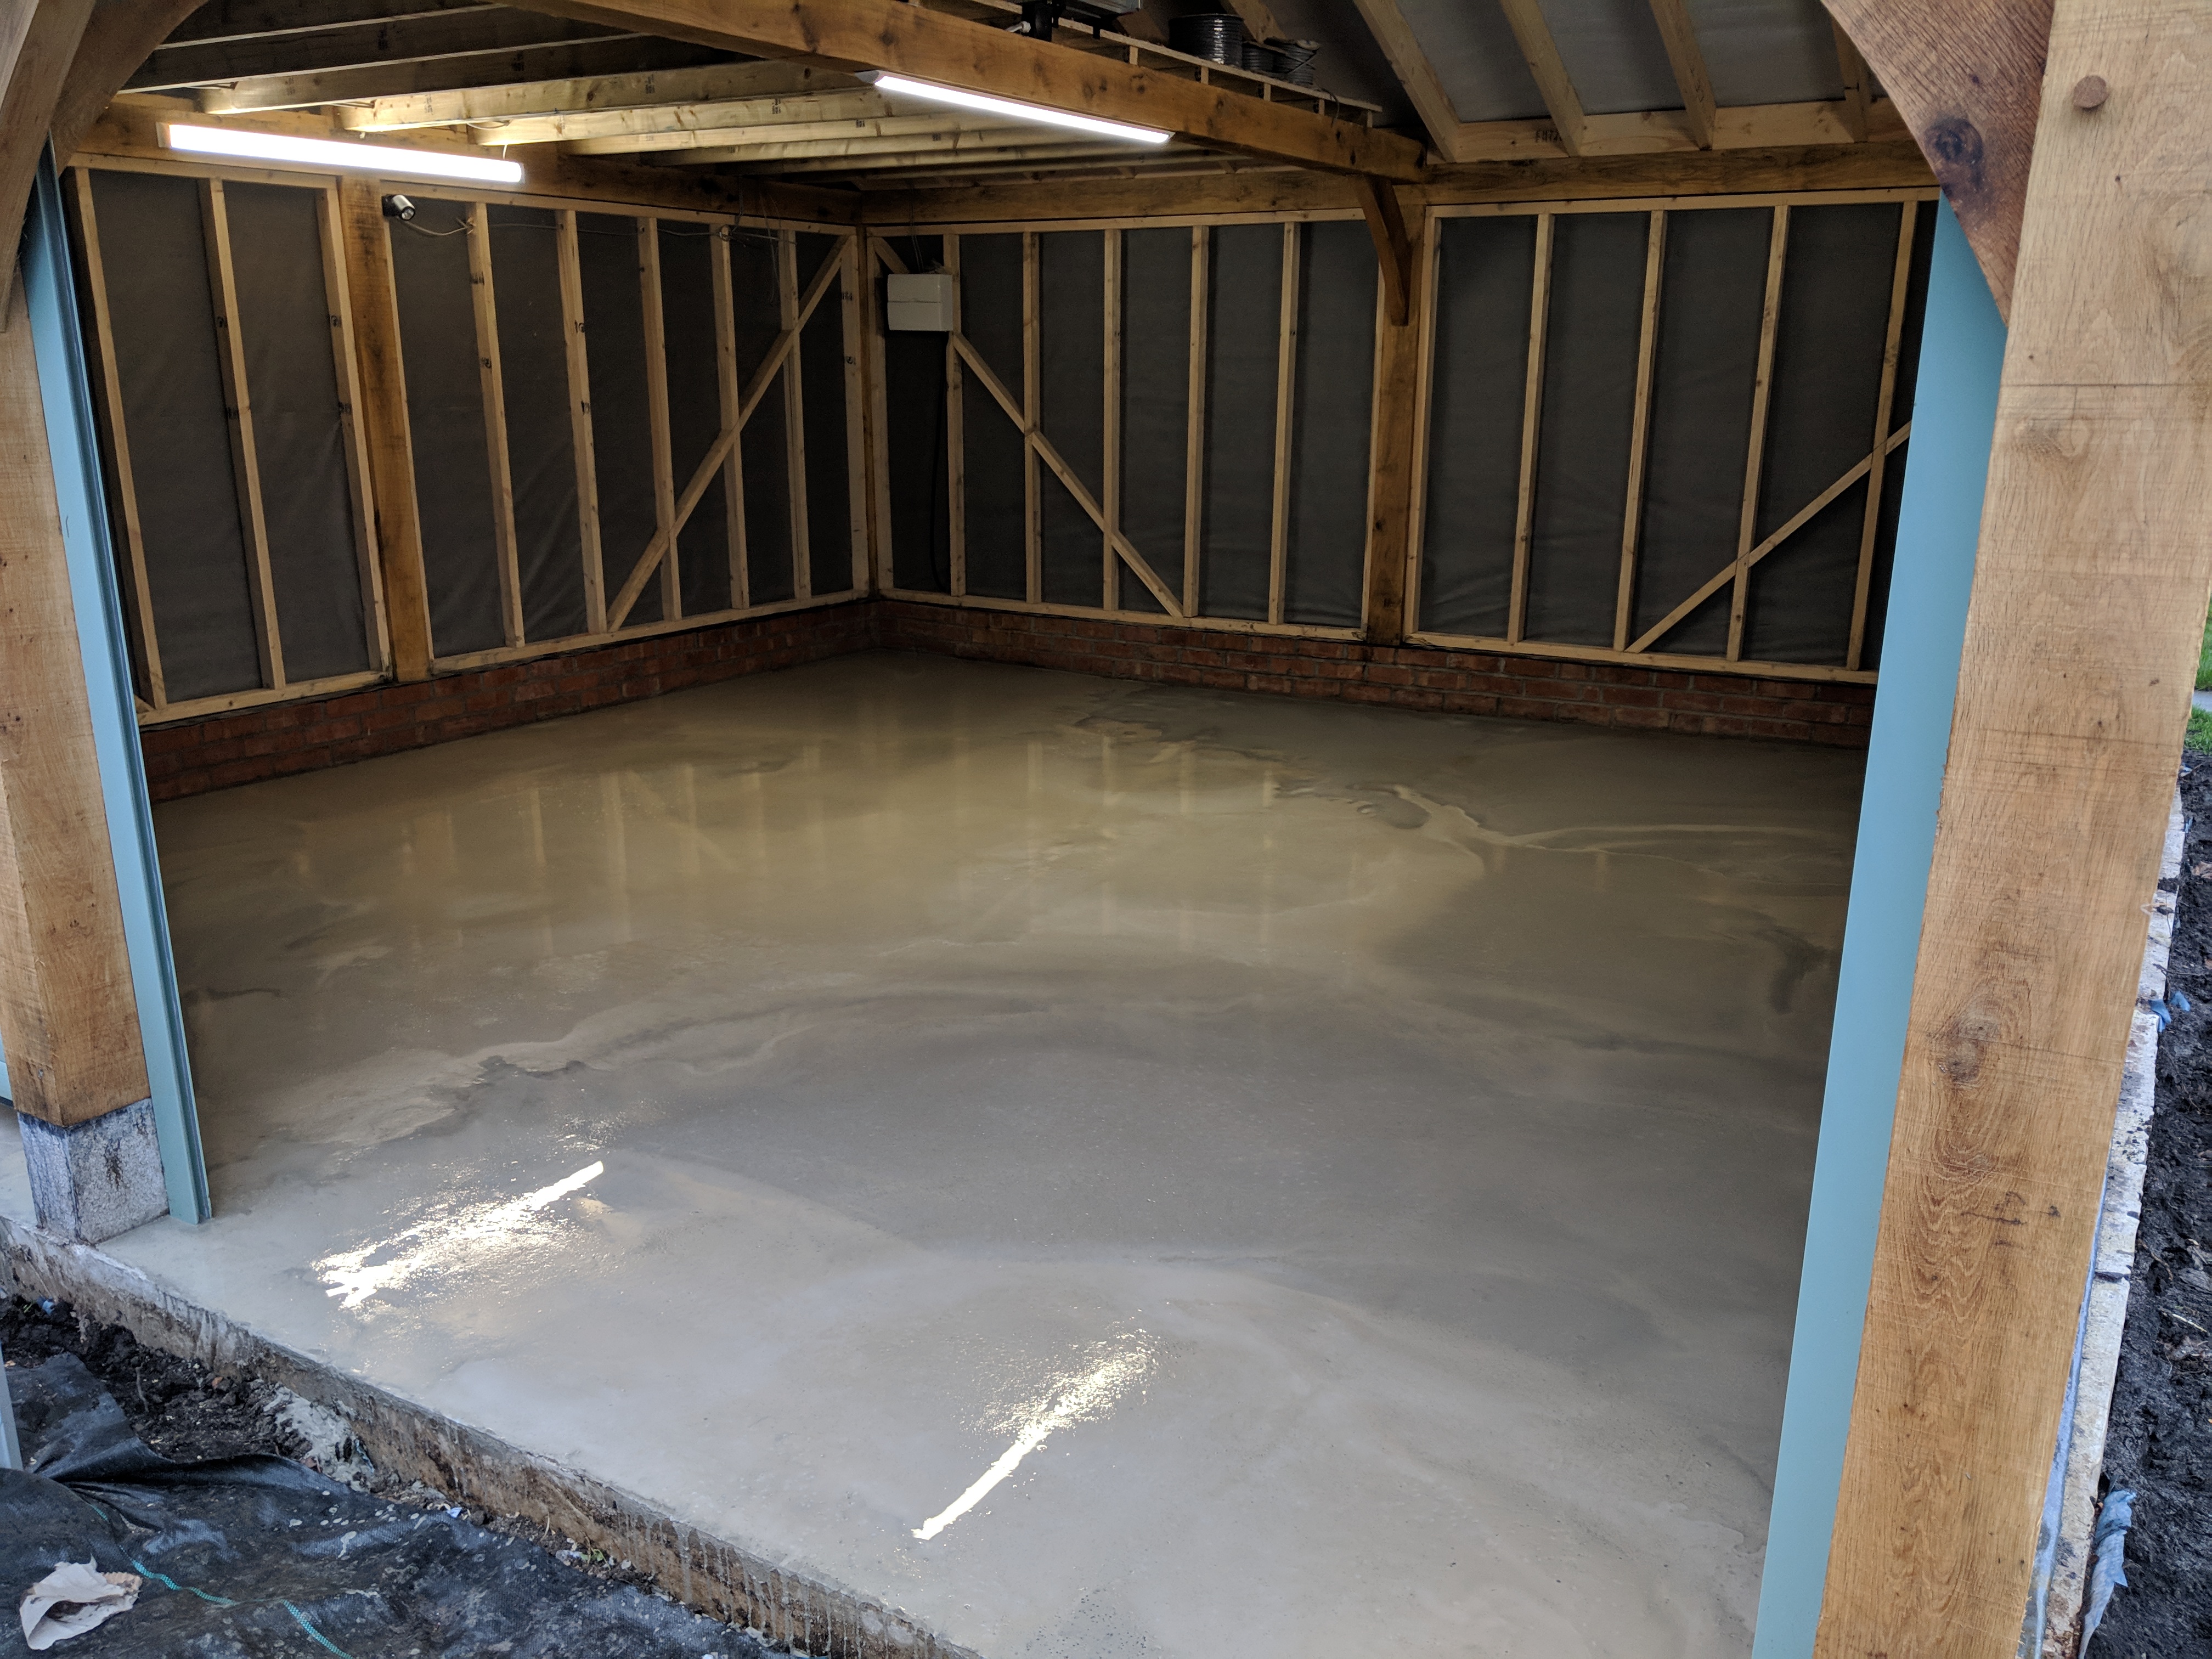
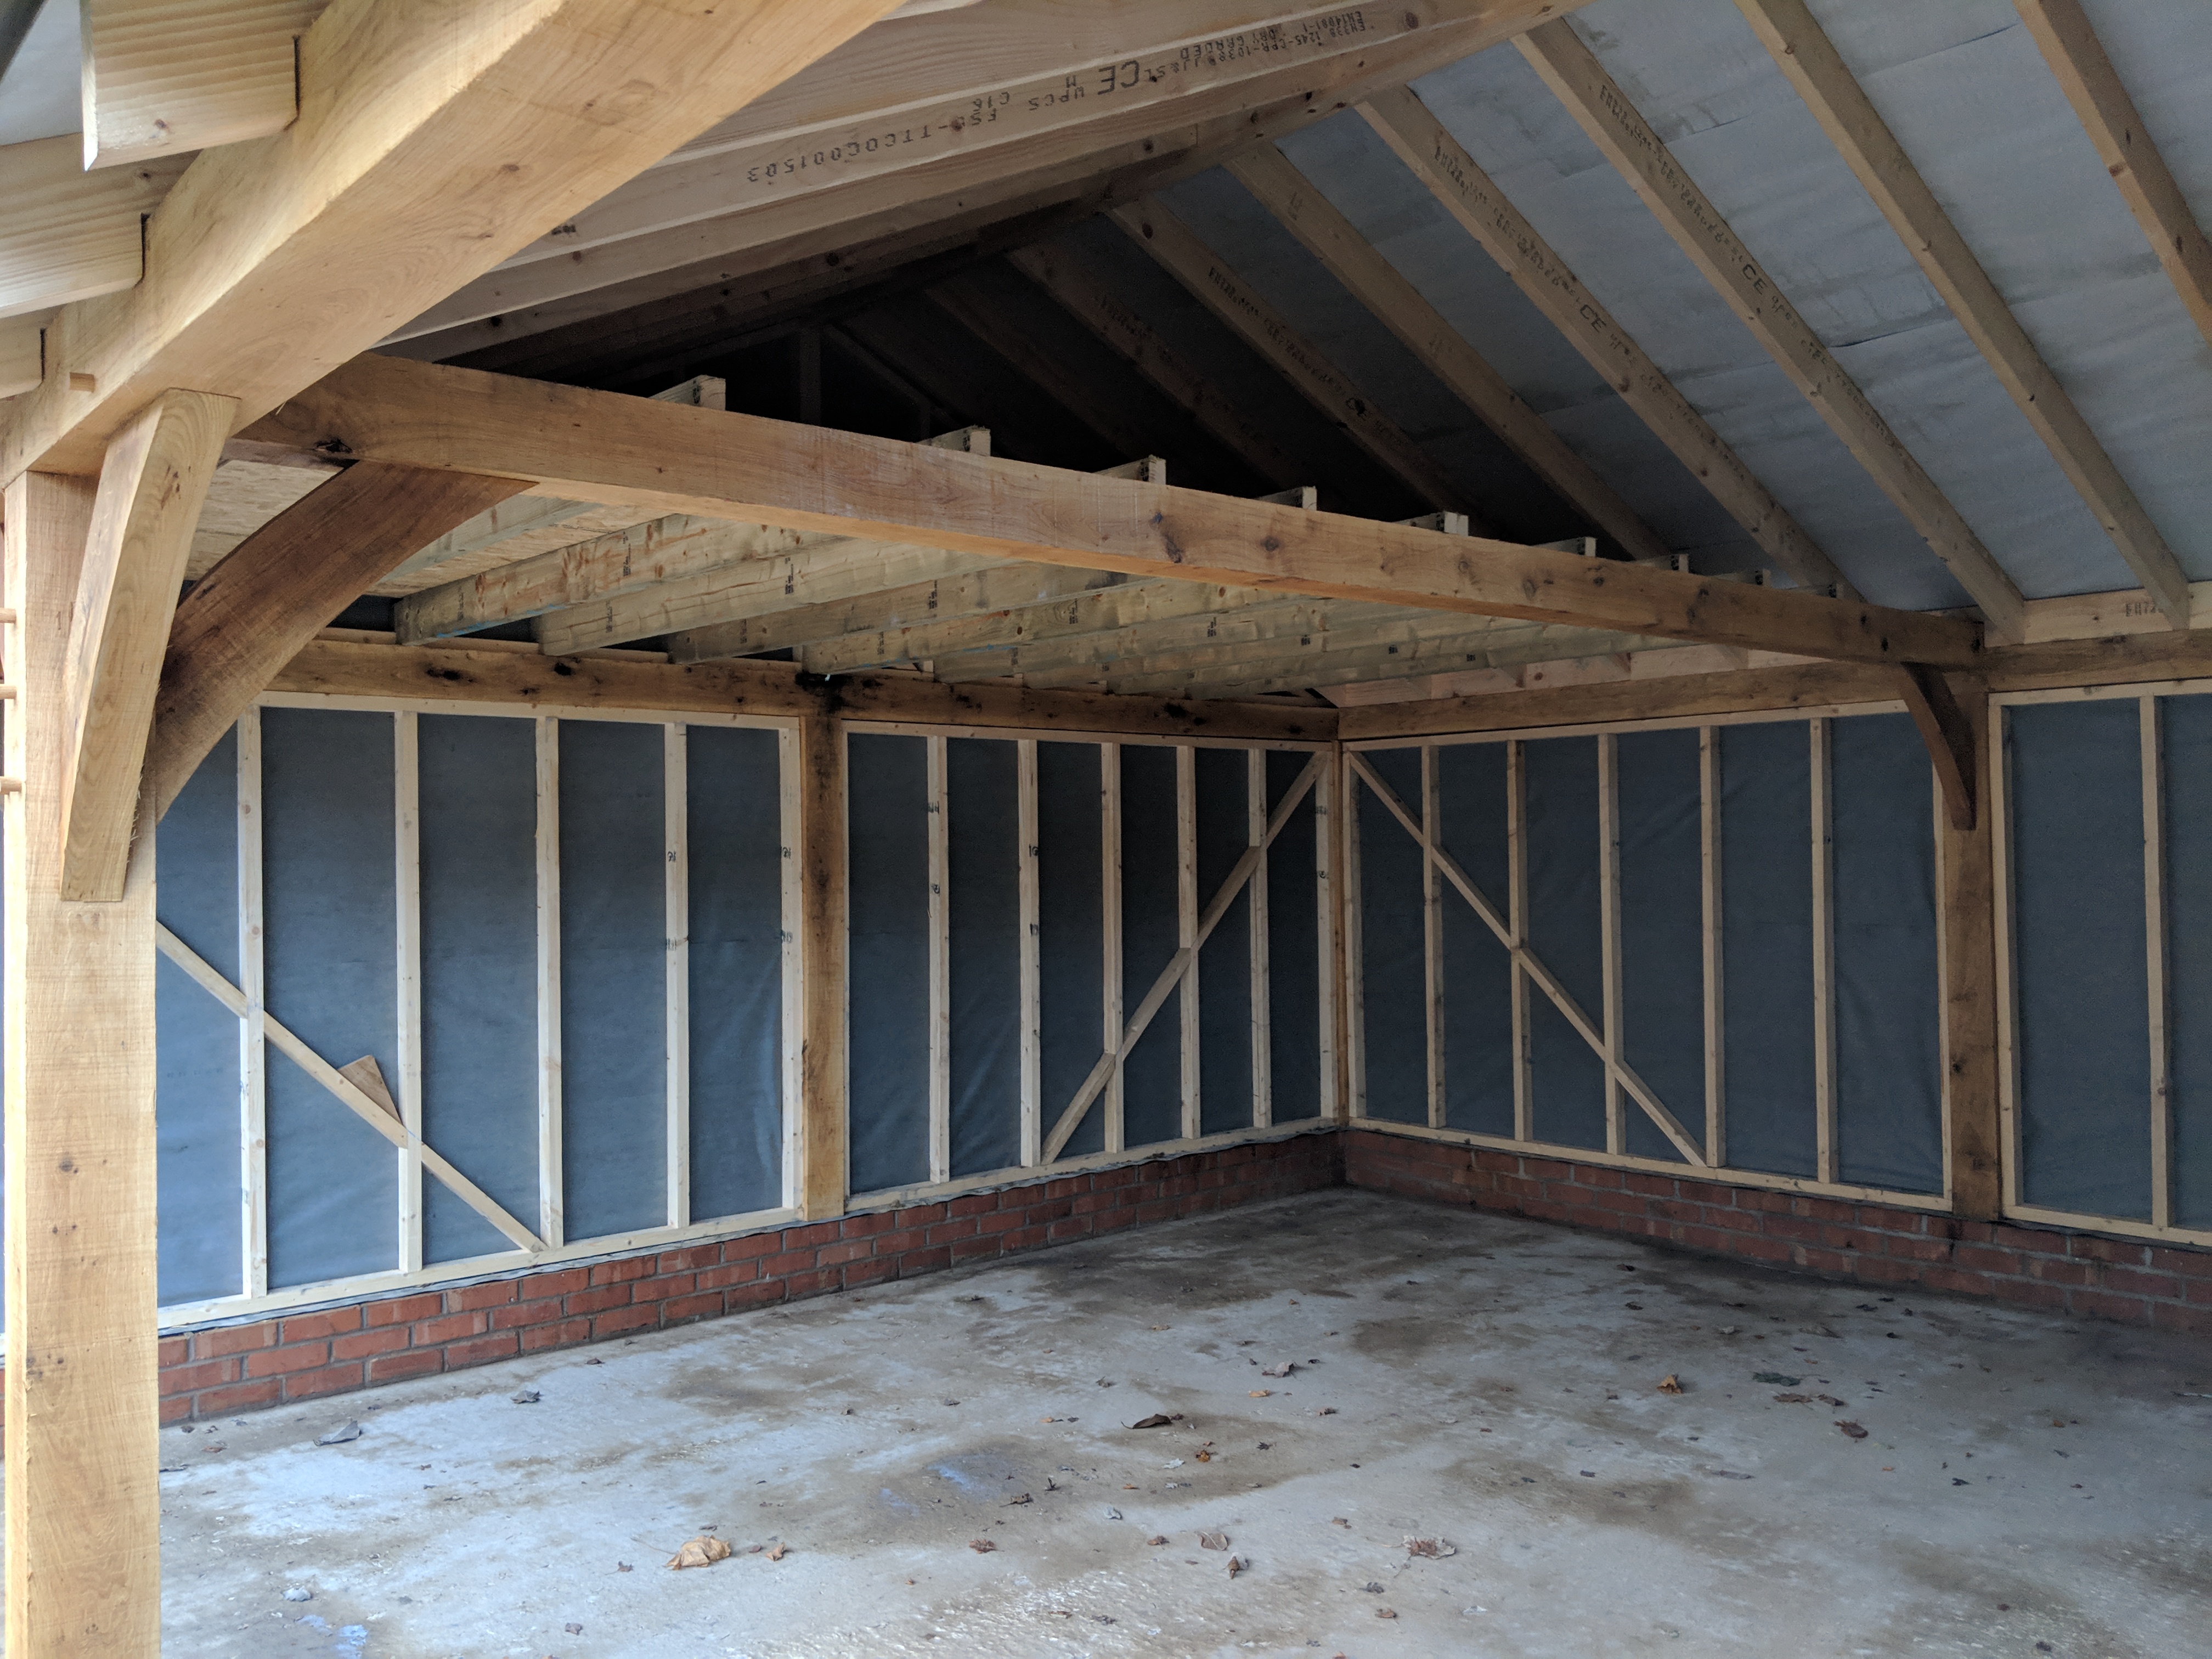
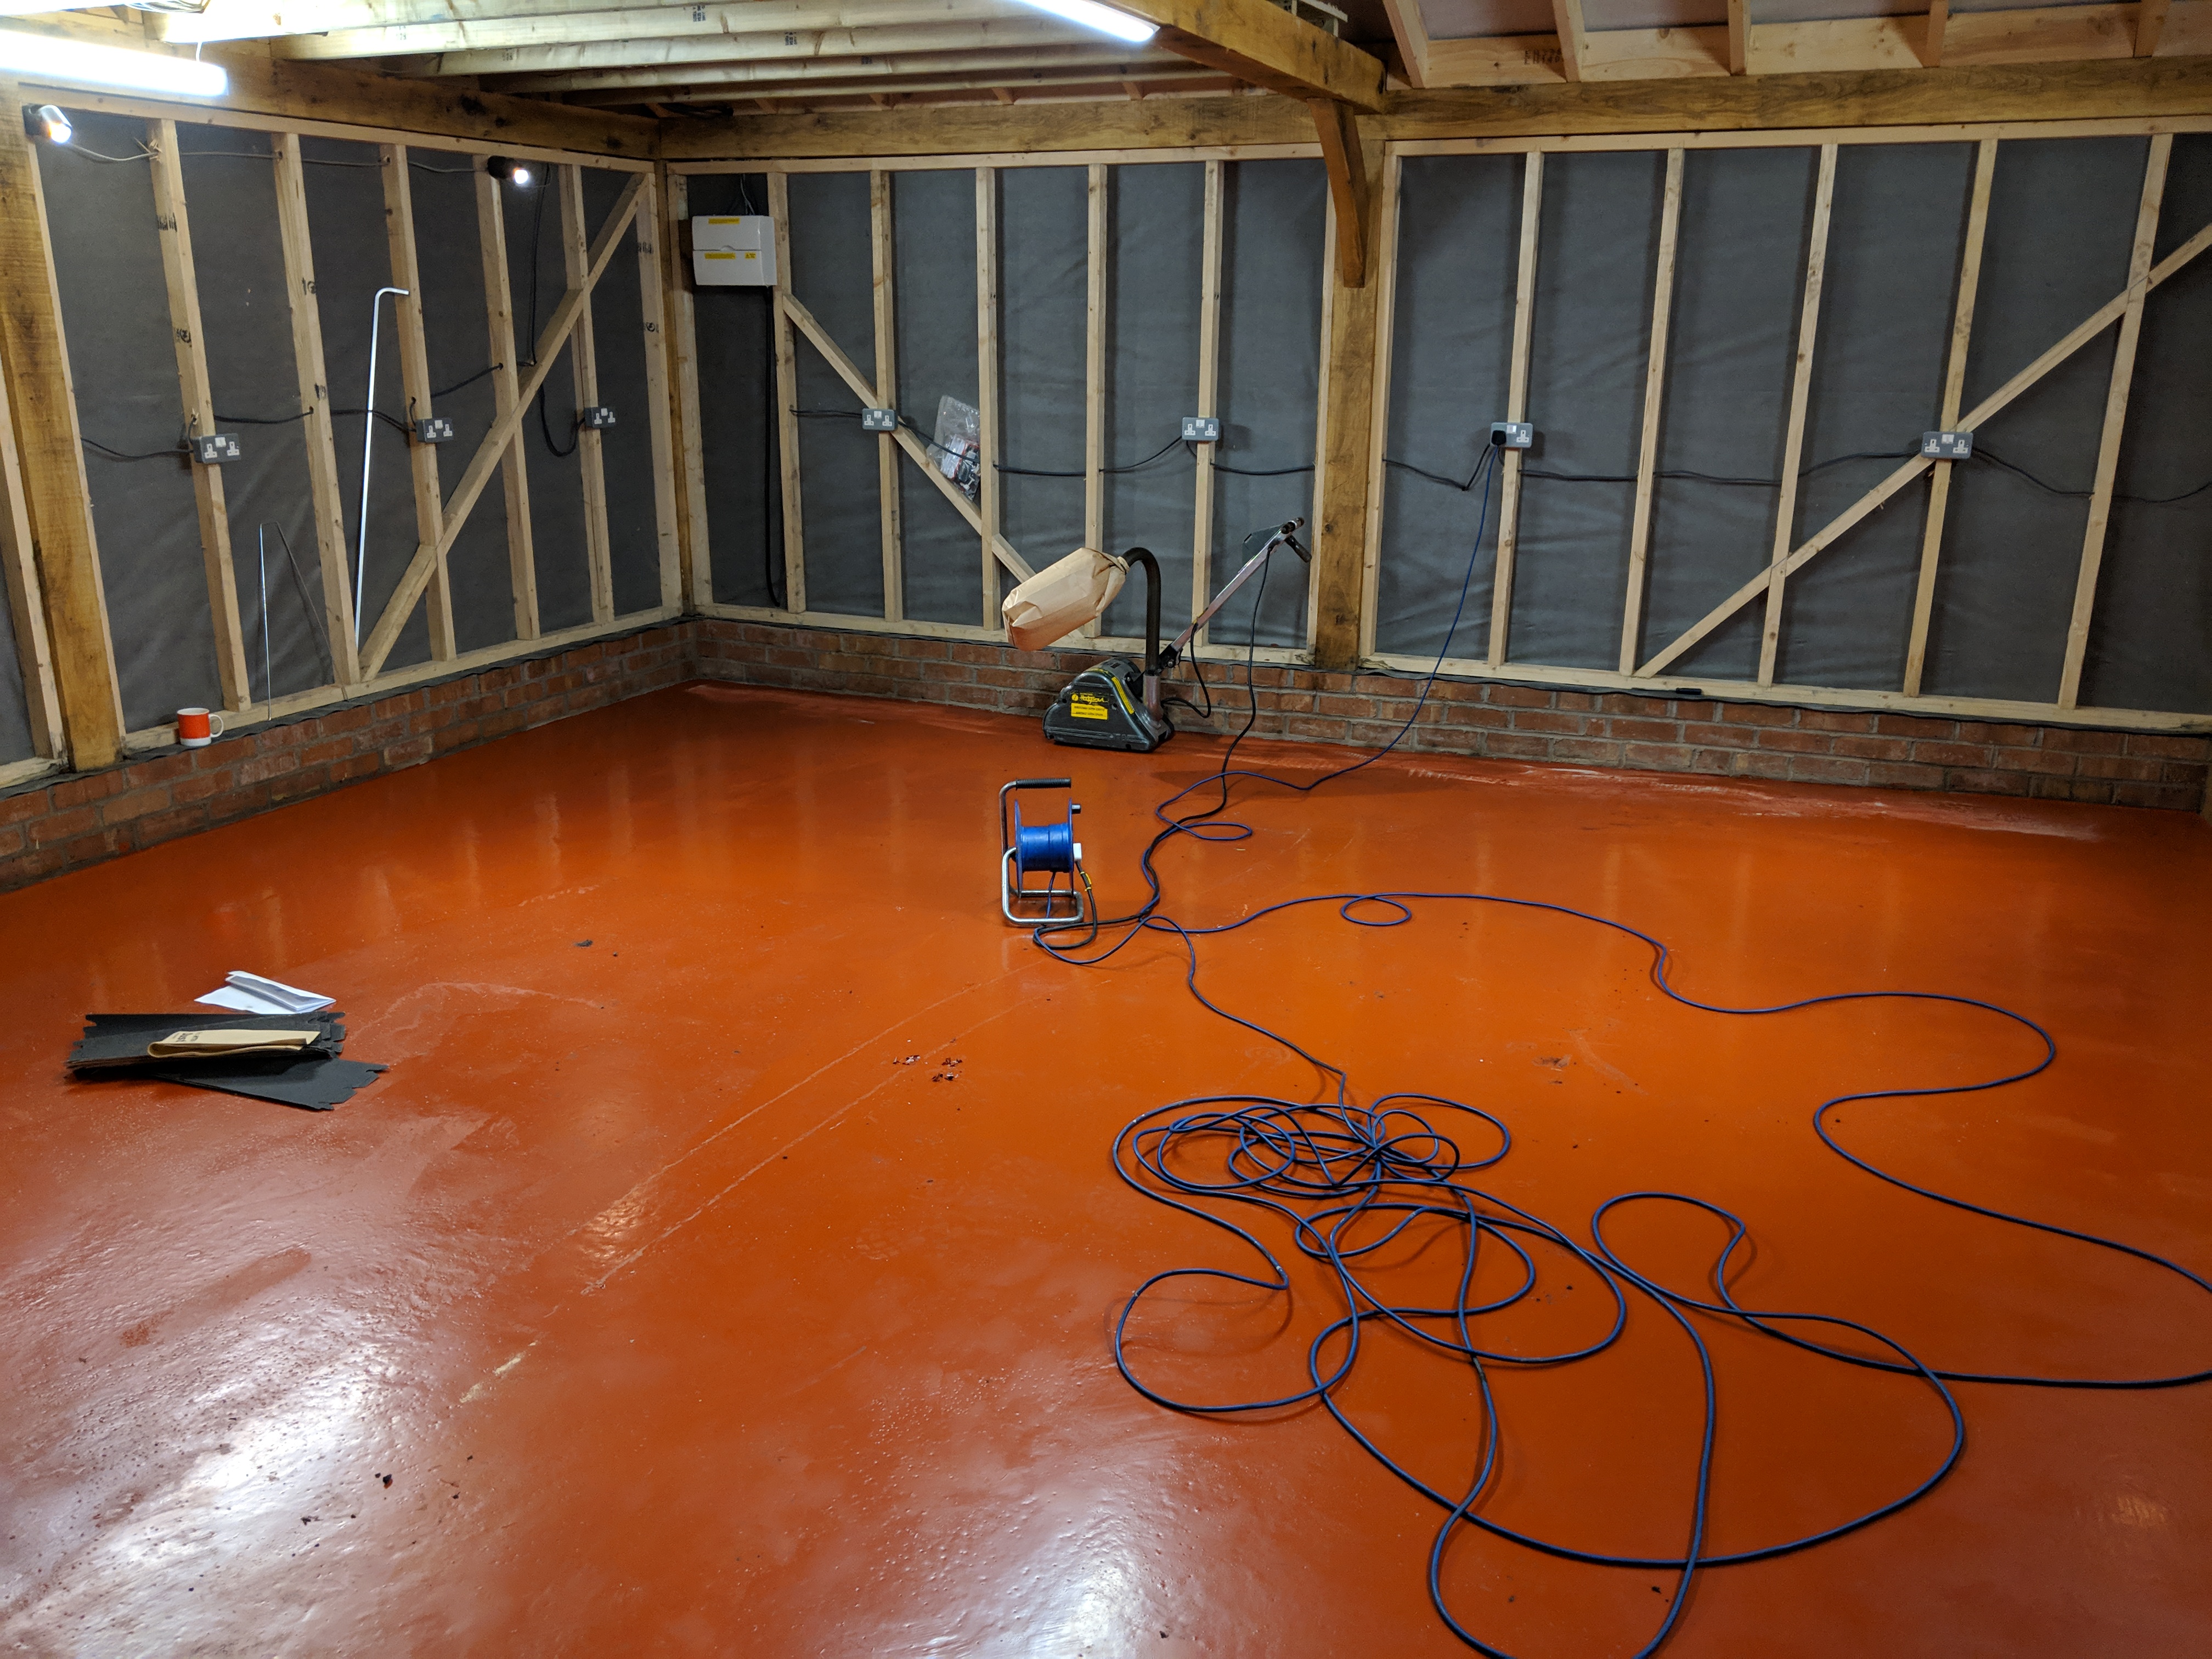
From this photo the floor looks perfectly smooth. Unfortunately it has loads of tiny air bubbles in it. They’re going to come back to bite me soon.
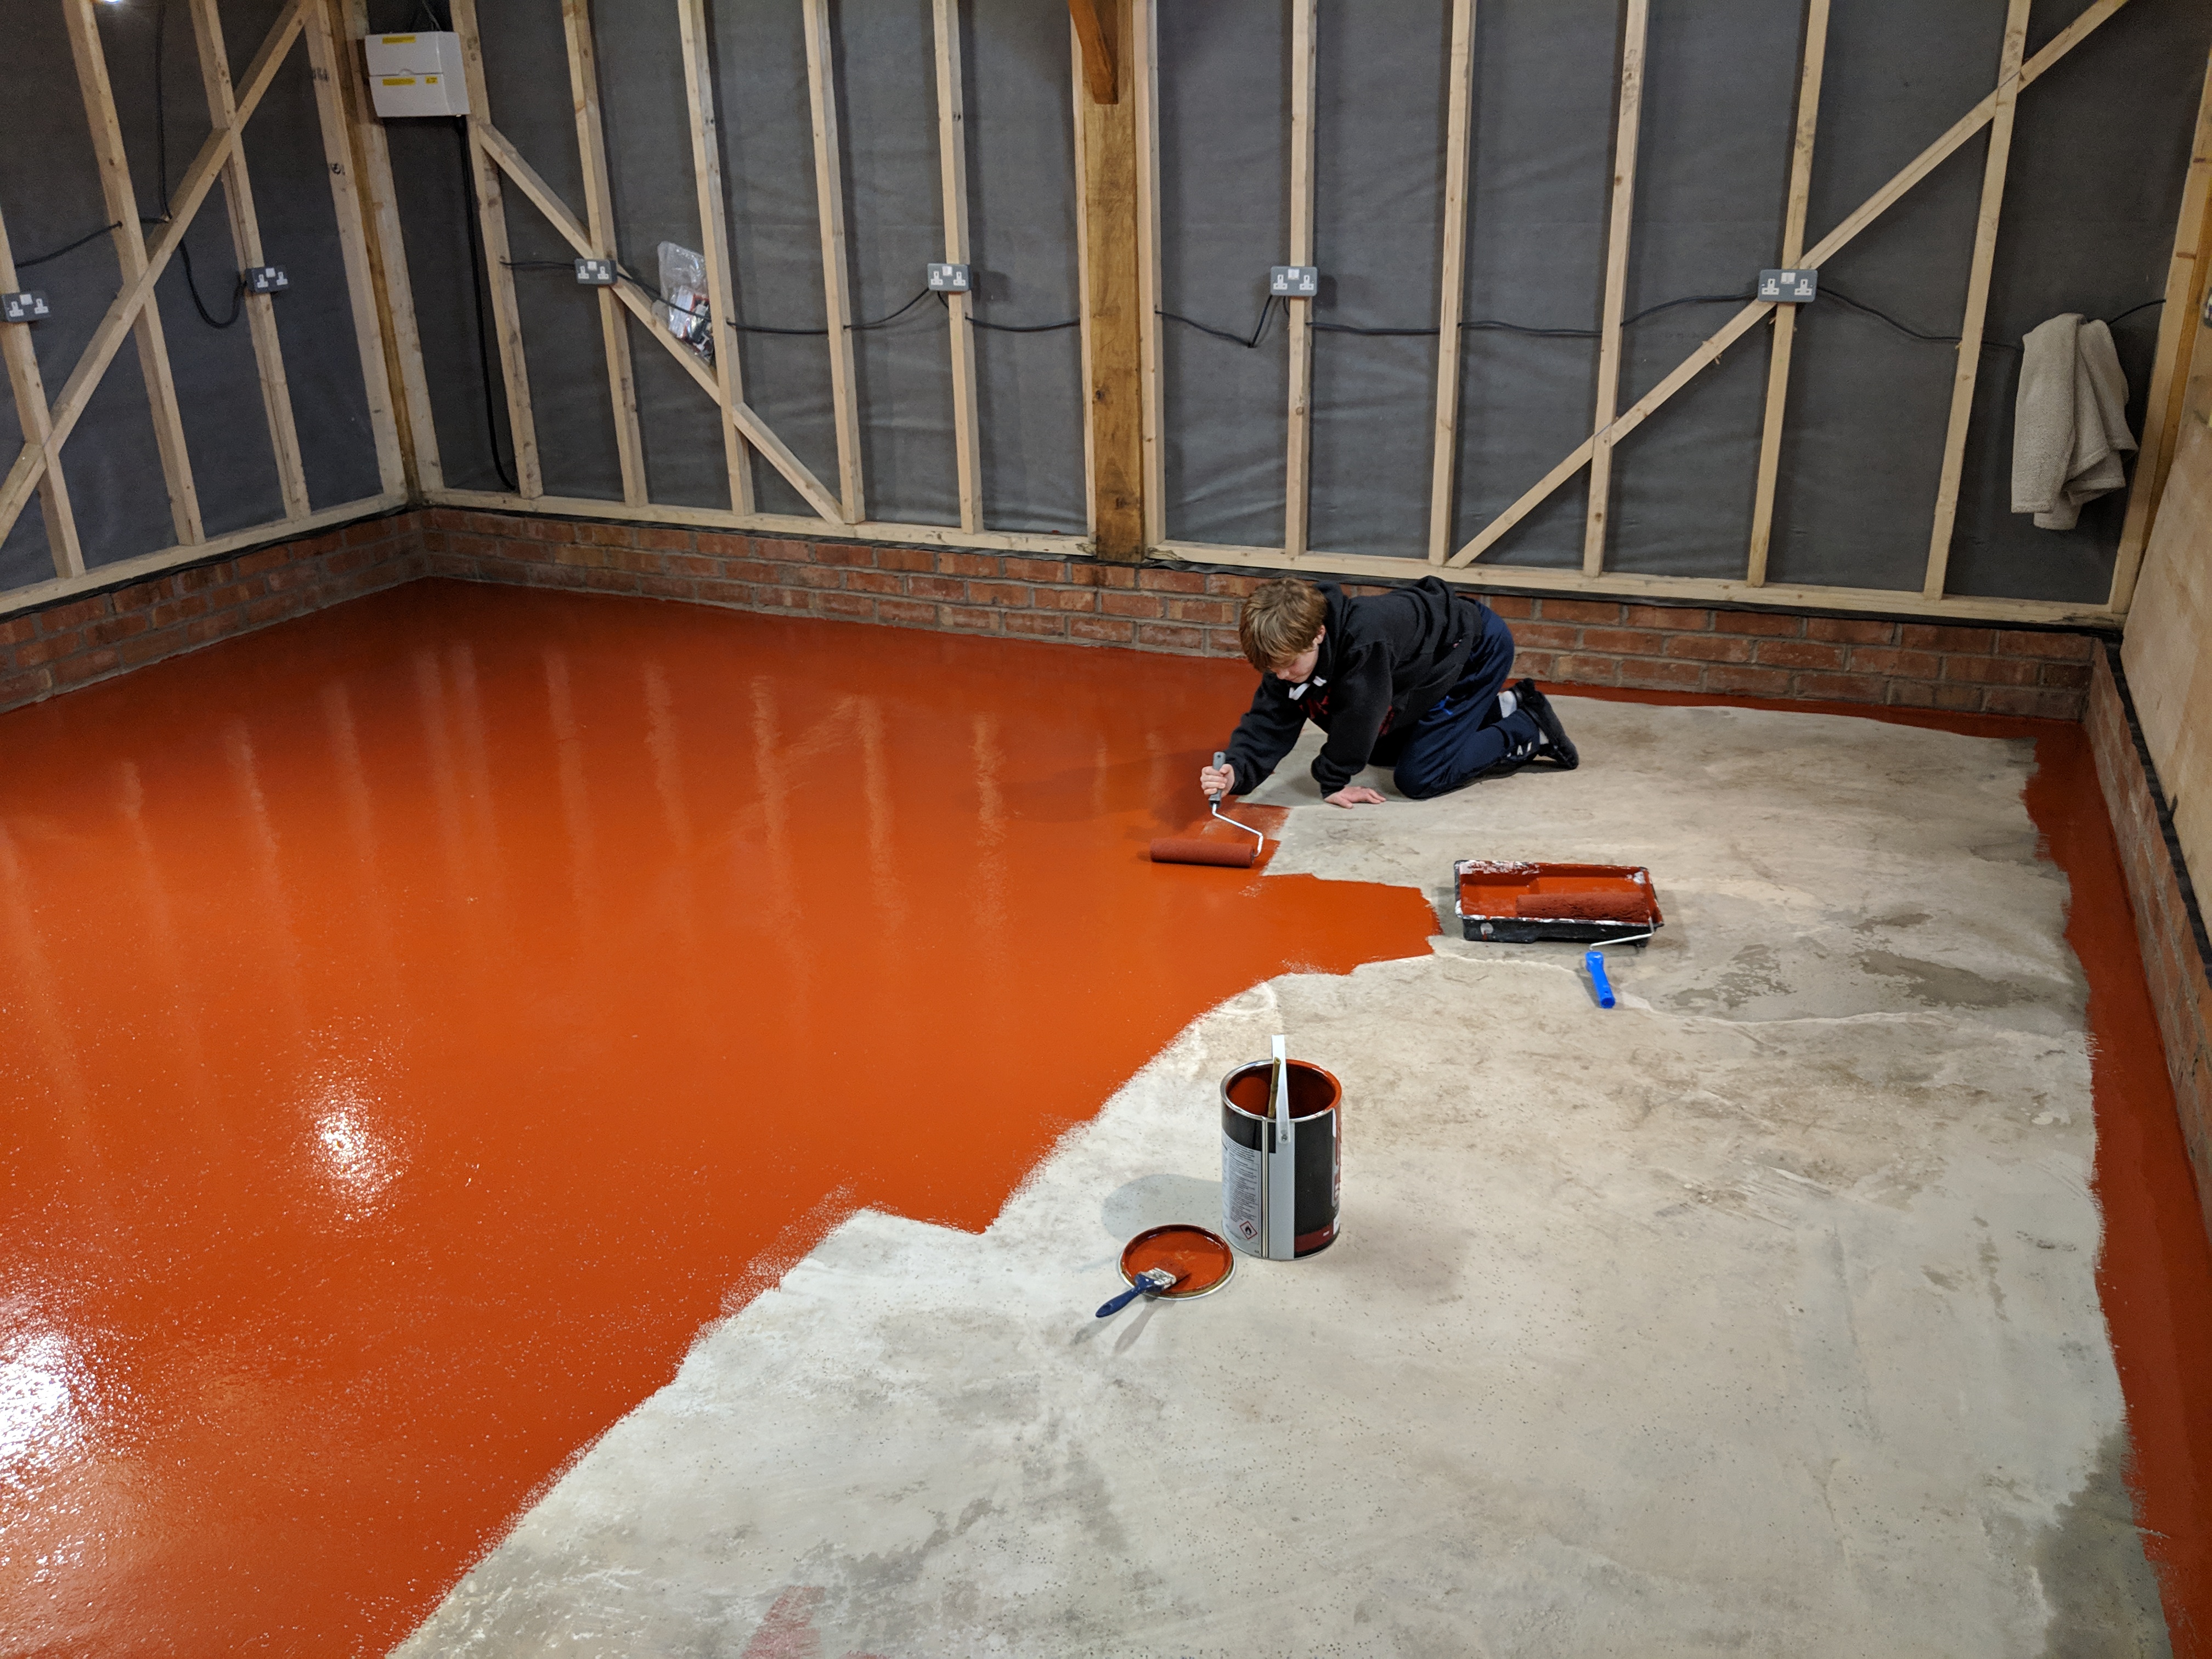
Oli and I got some floor paint and set to work. In the photo above you can see the dimple effect that was caused by the floor screed. For some thoroughly mental reason I decided I wanted a perfectly smooth floor. So after the first coat of paint went on and didn’t fill all the holes in I put a second coat down…which also didn’t fill the holes in. I finally put down a third coat and decided enough was enough. I realised it was just a garage floor and that I was being irrational. However, the damage had been done. It was cold and I didn’t leave enough time between coats so the paint never dried properly. Two weeks after the final coat I was in the garage in my boots when I turned on my heel and ripped a big hole in my soggy paint mess. It would have to go…
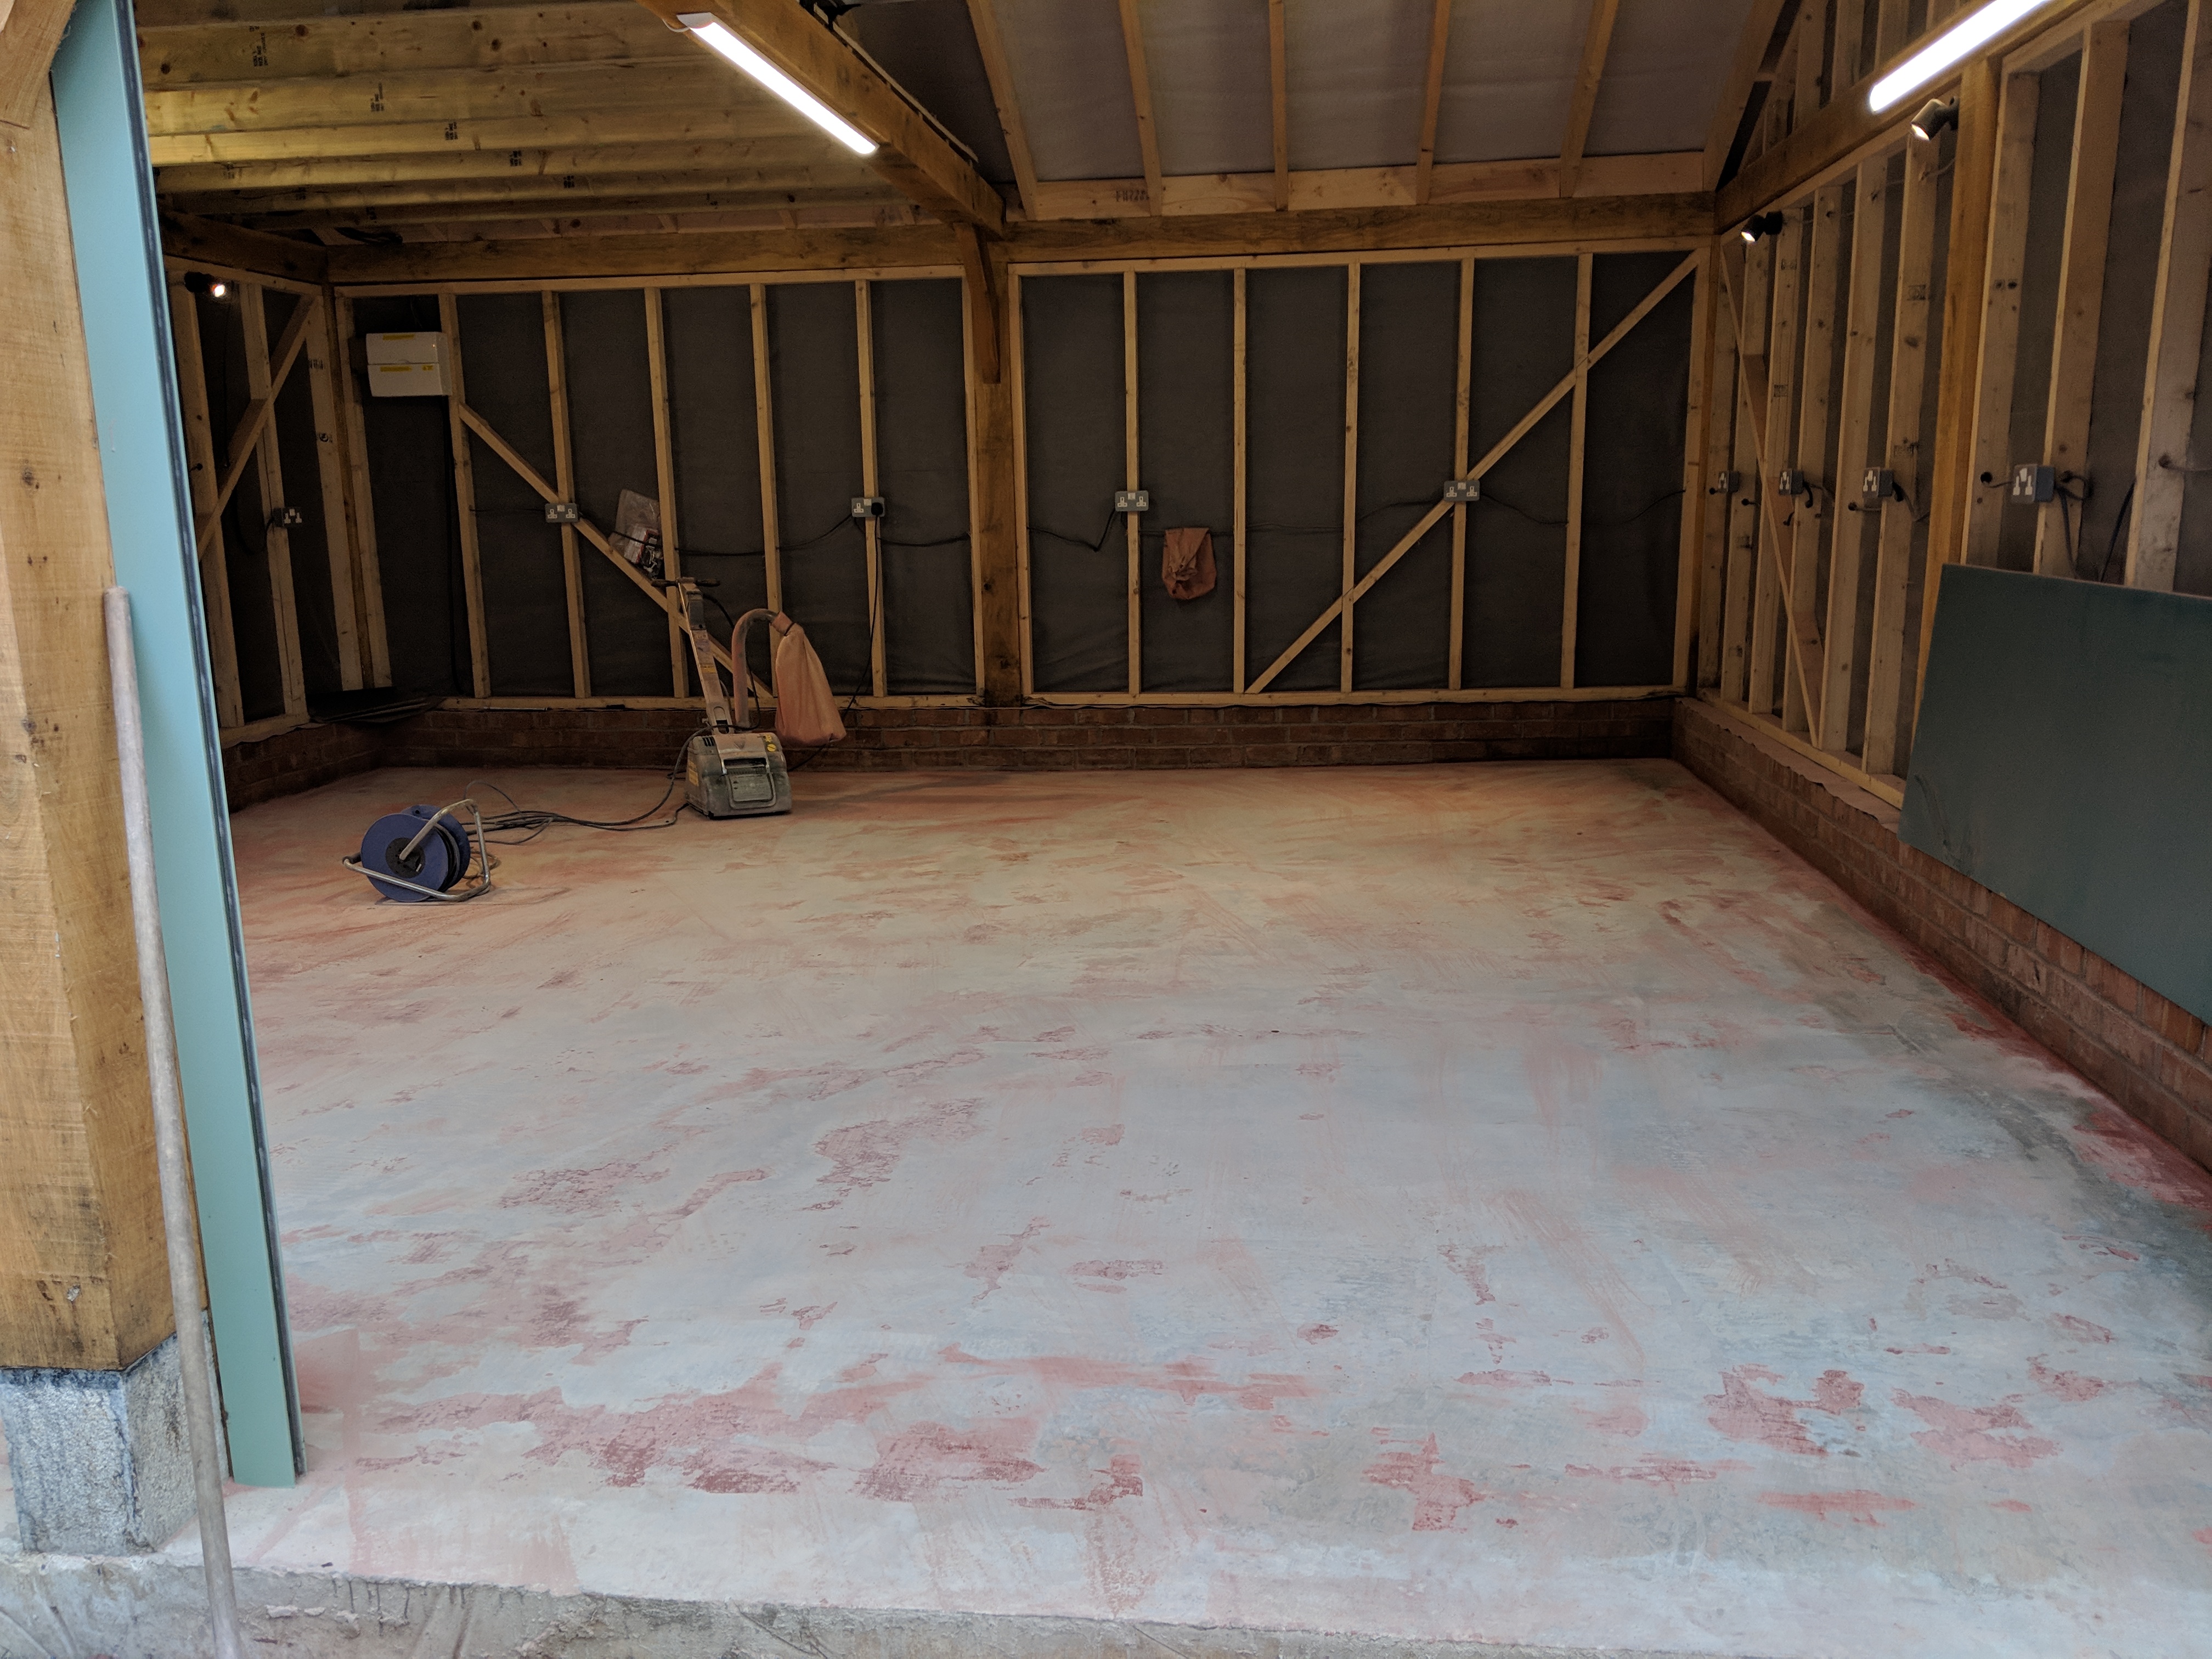
After sanding all the dimples disappeared! So I gave it one last coat and called it a day.
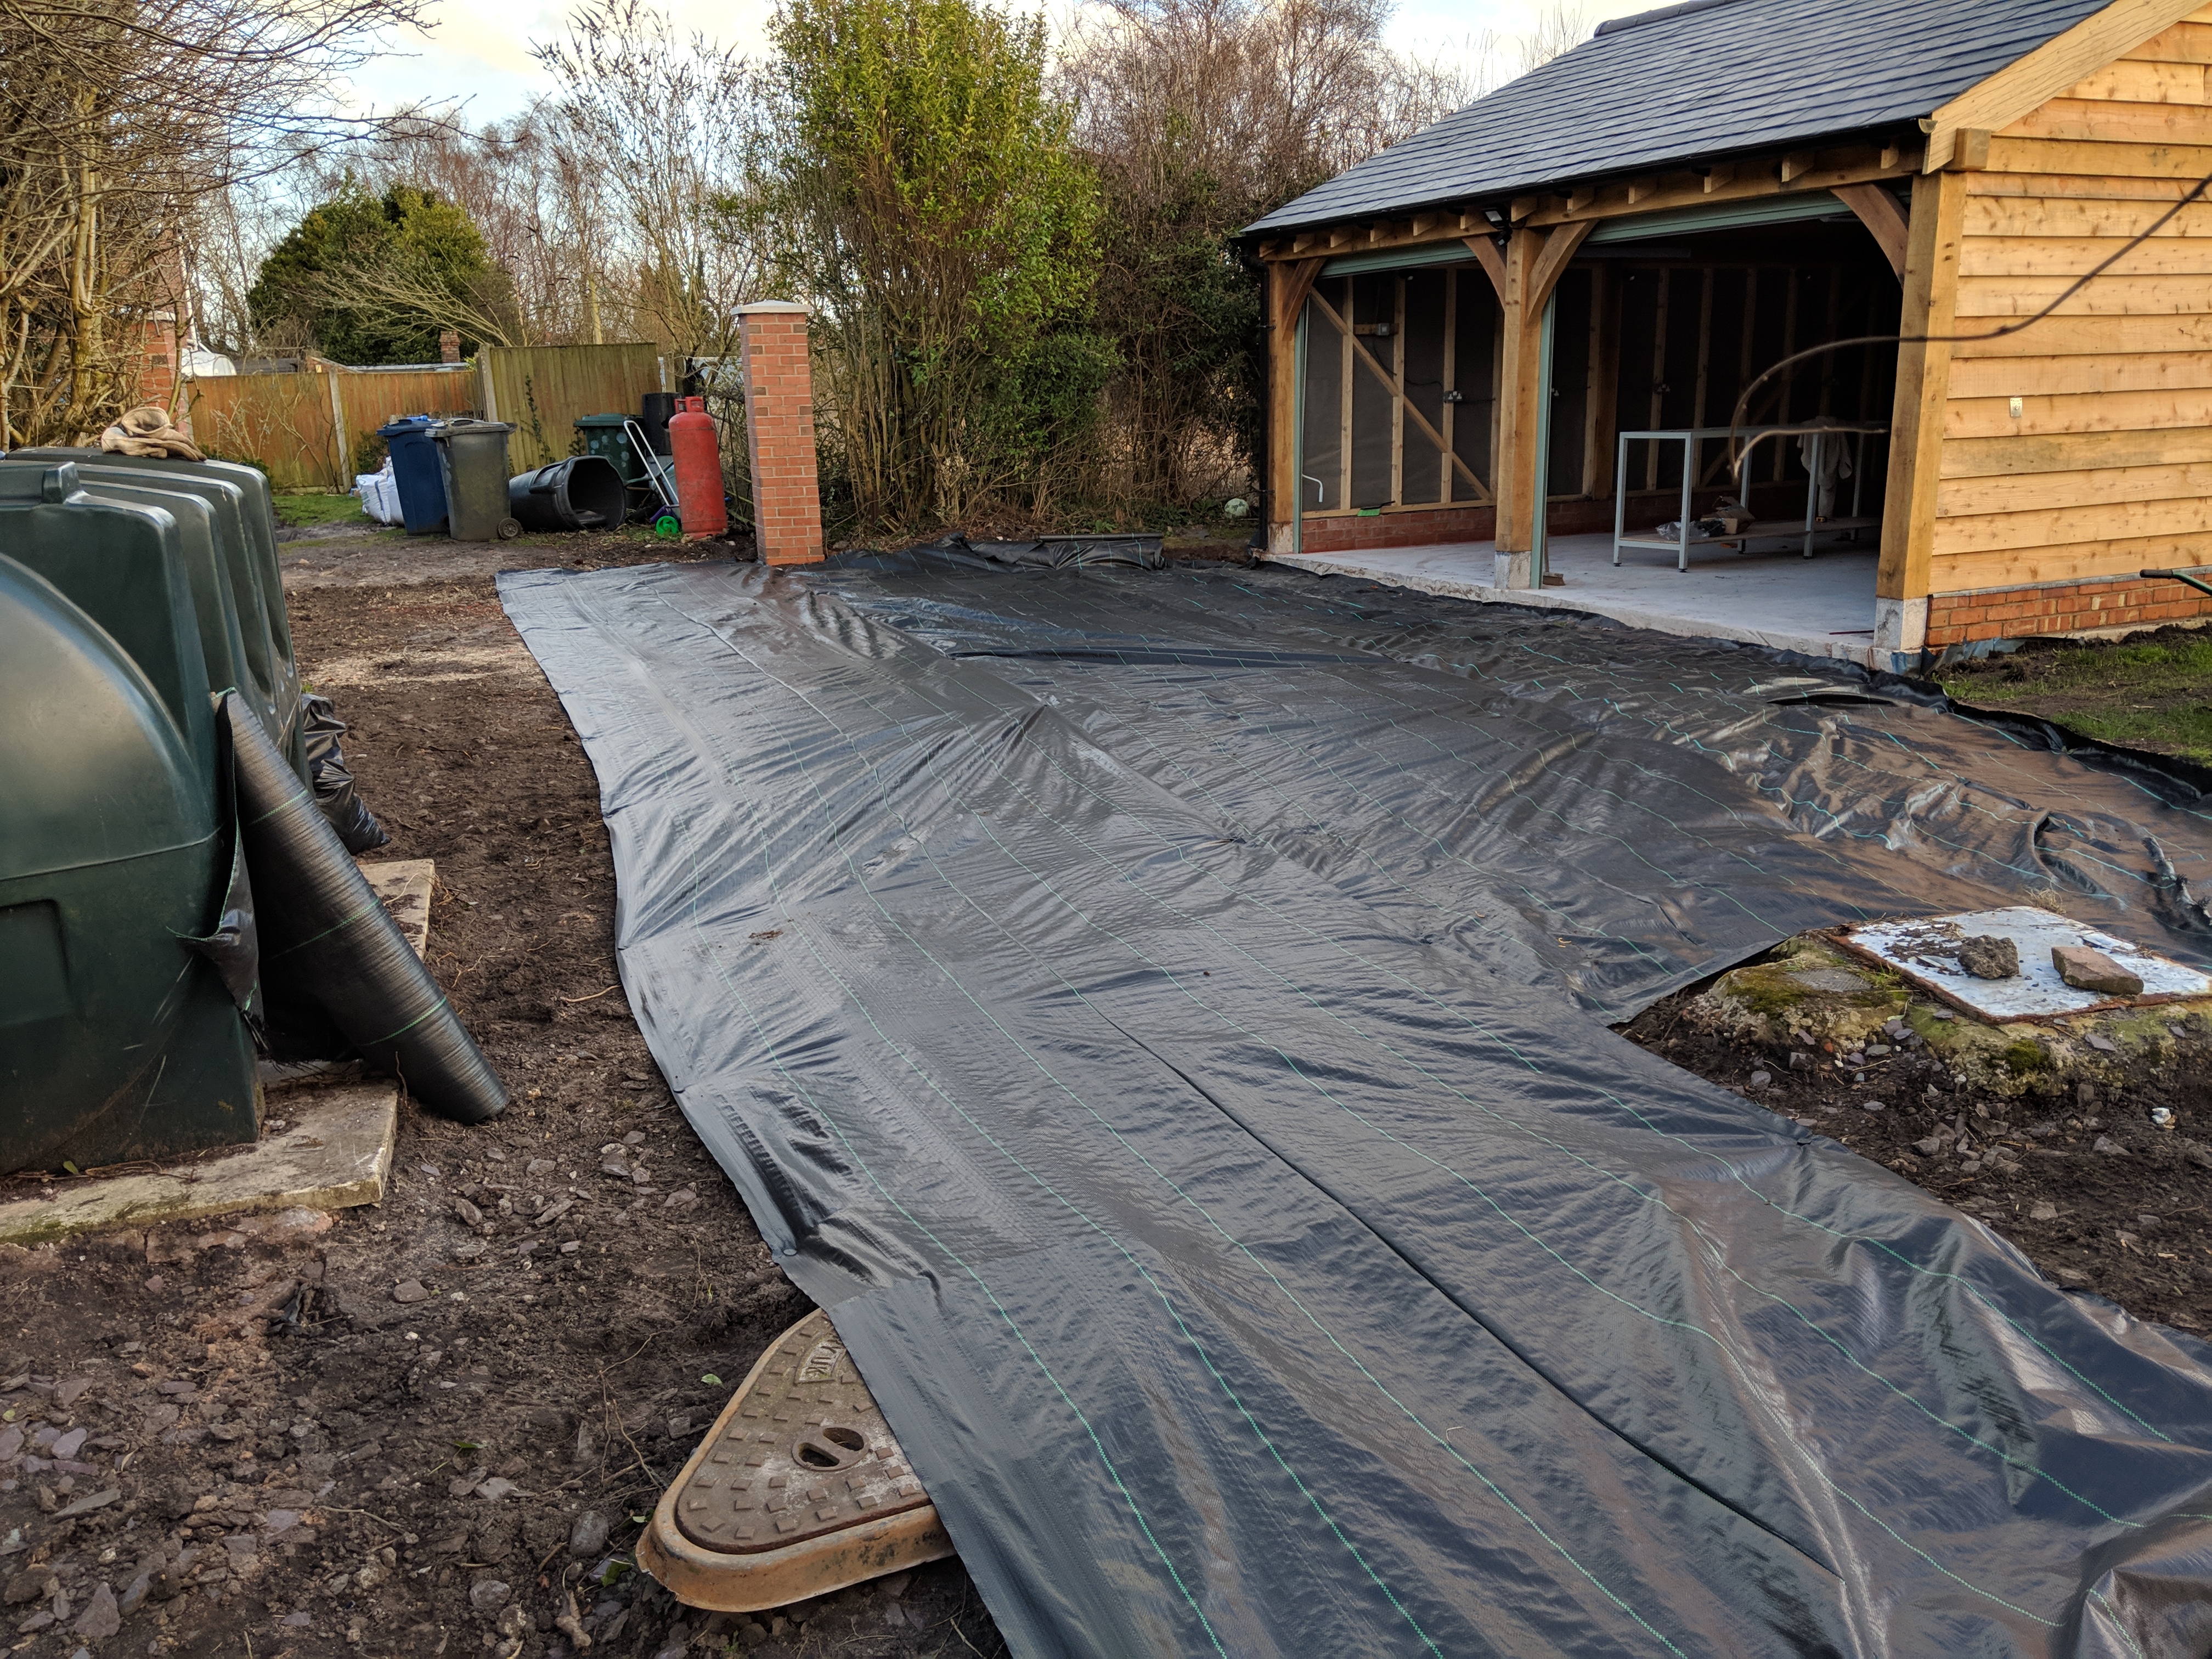
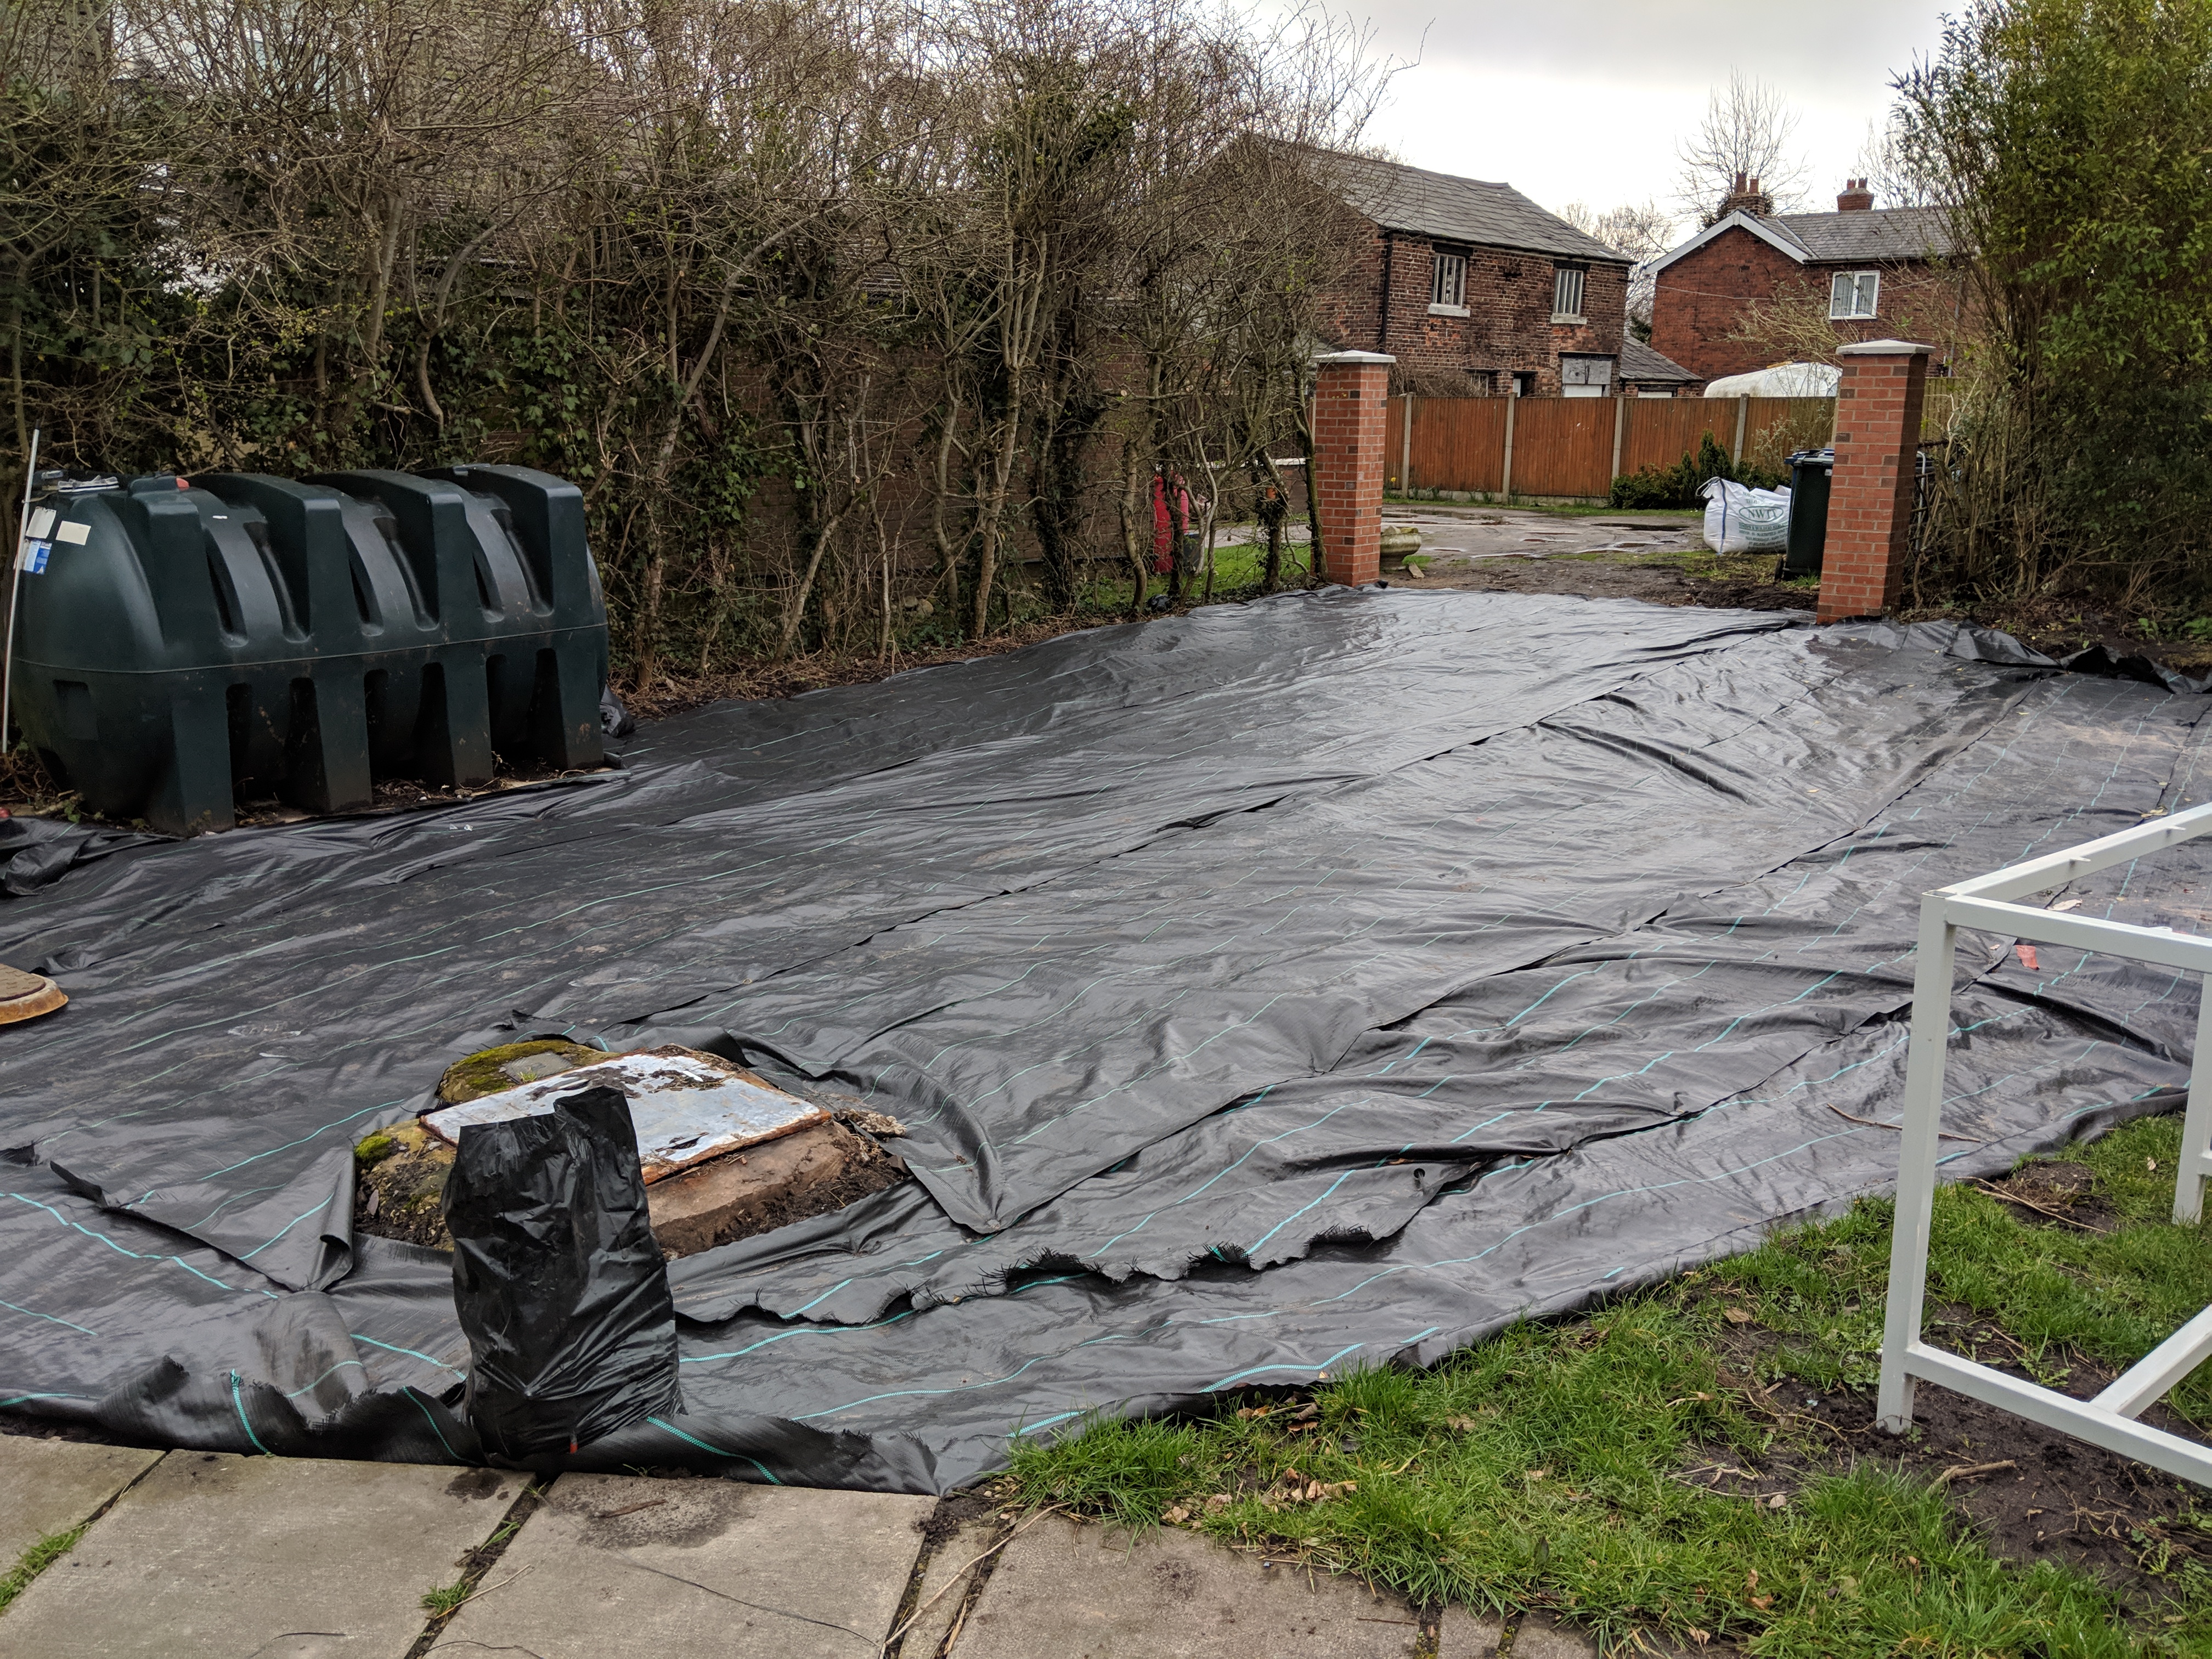
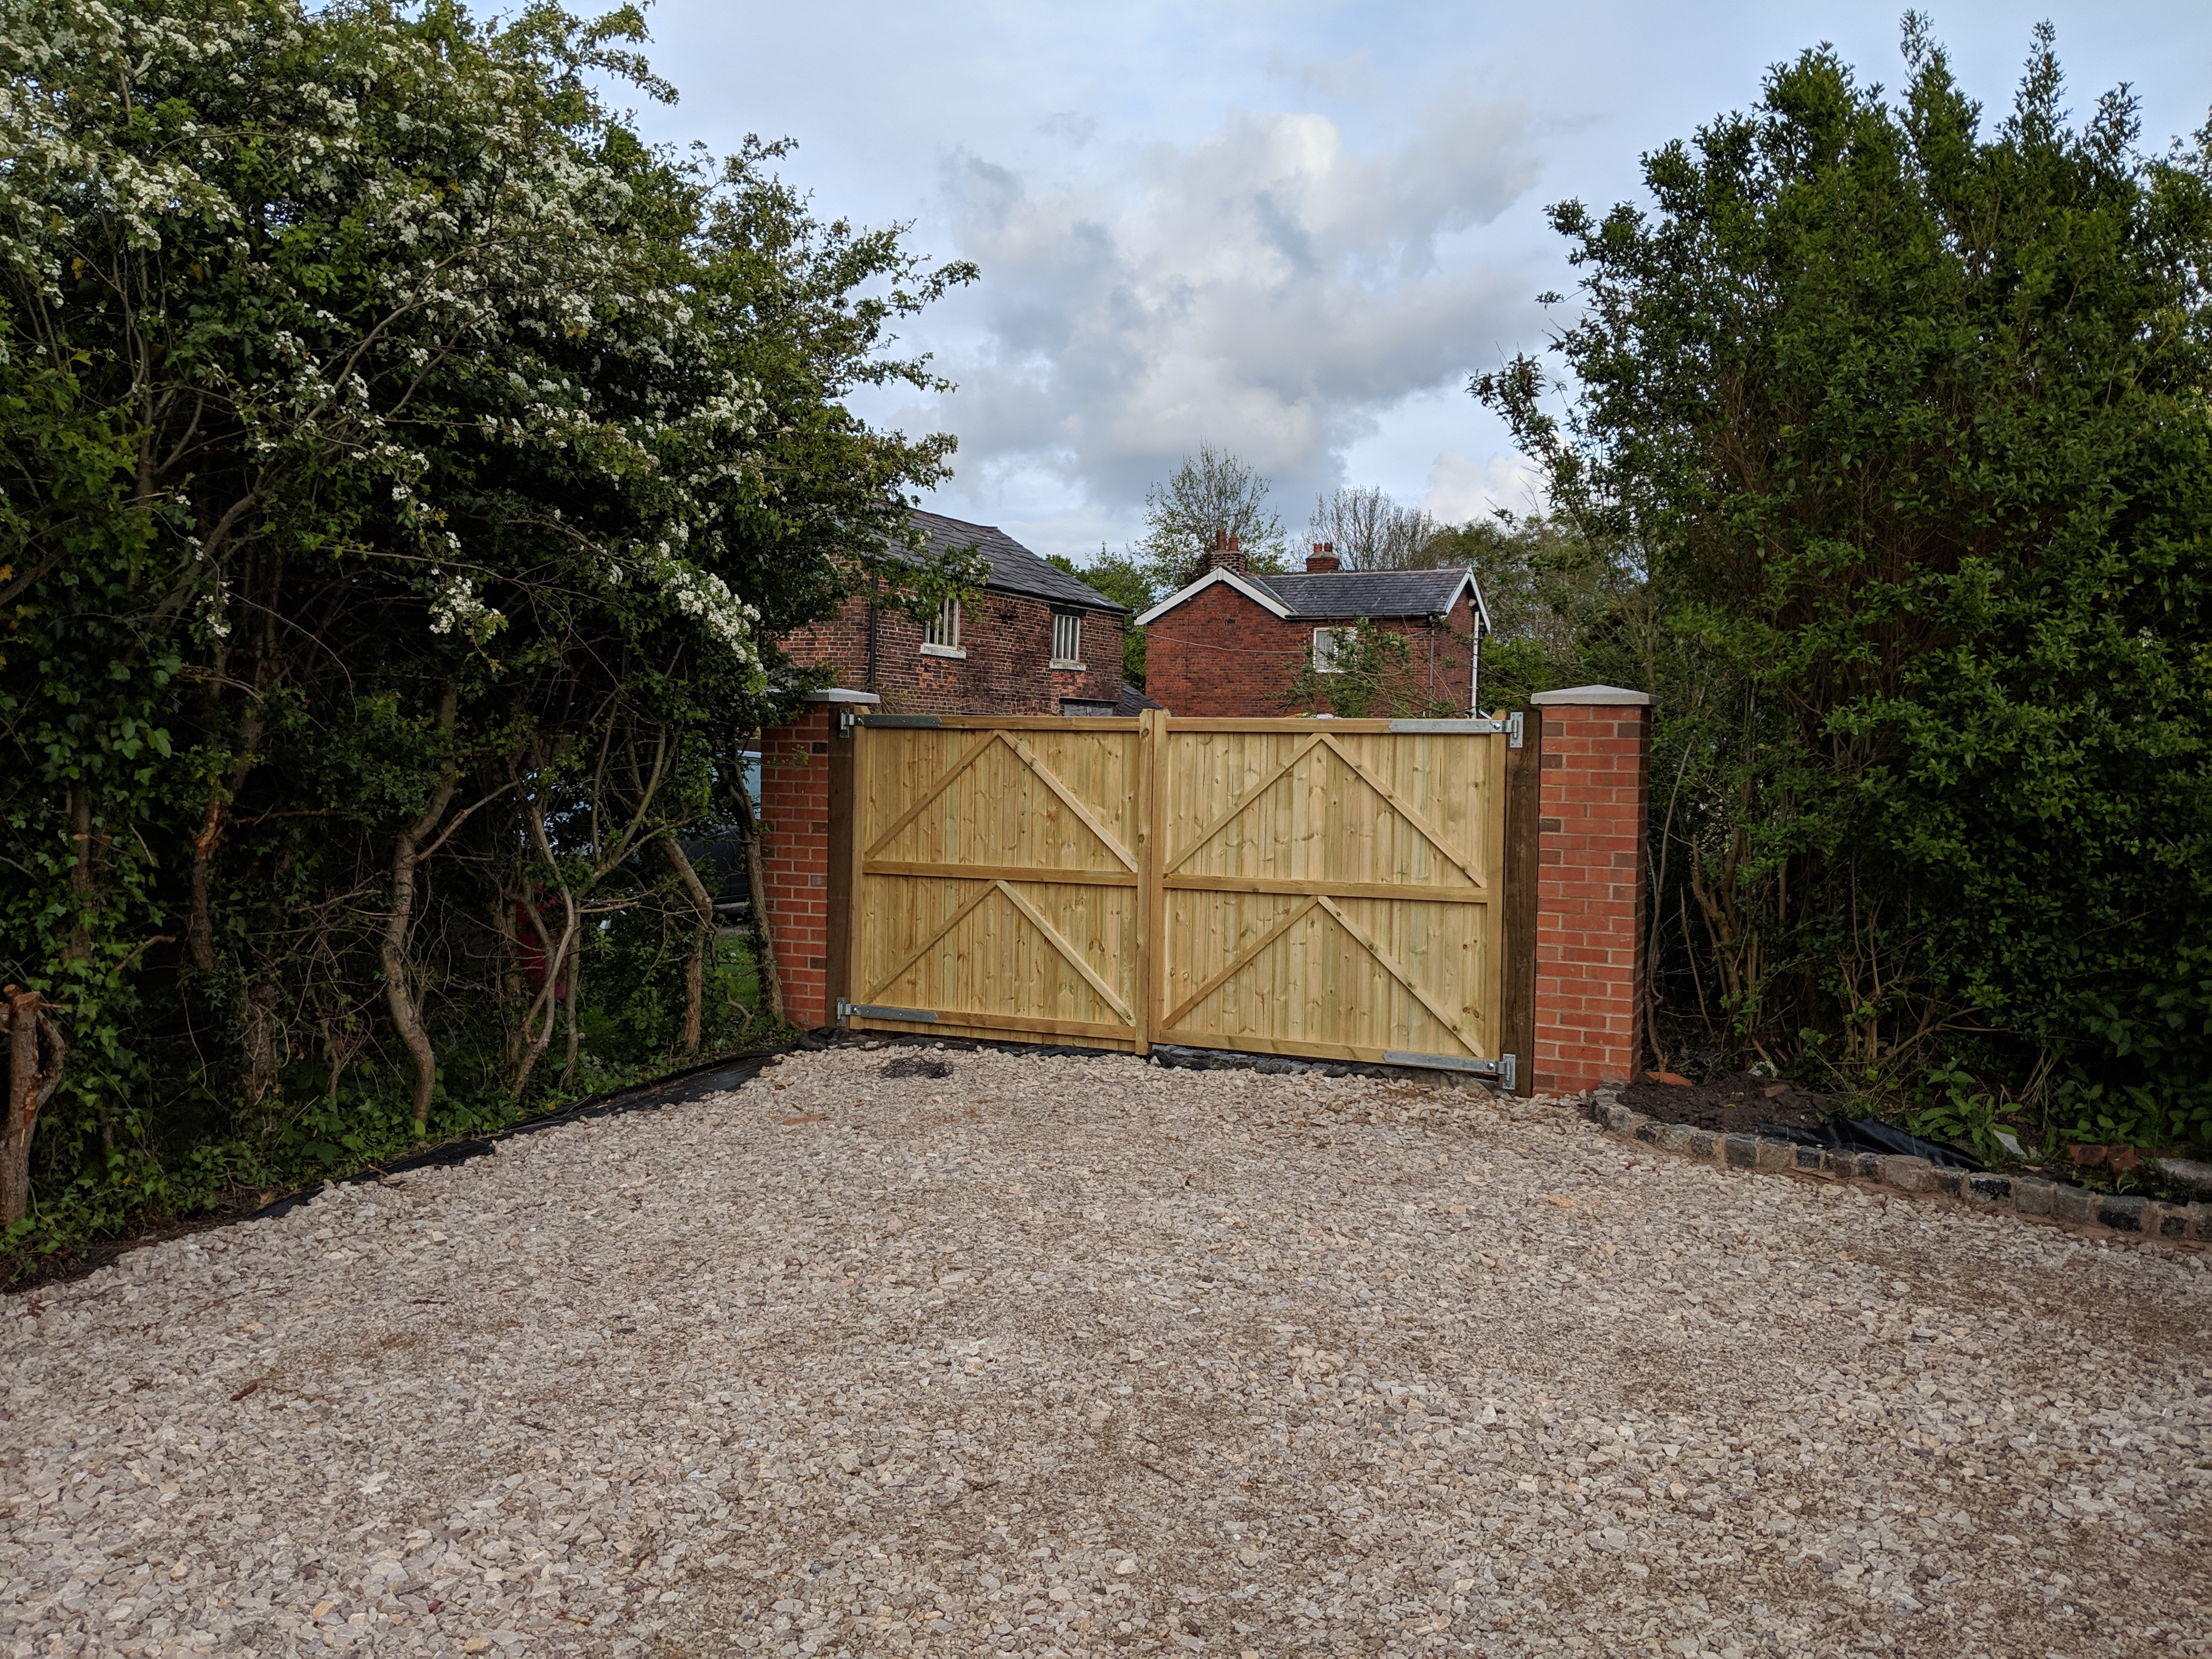
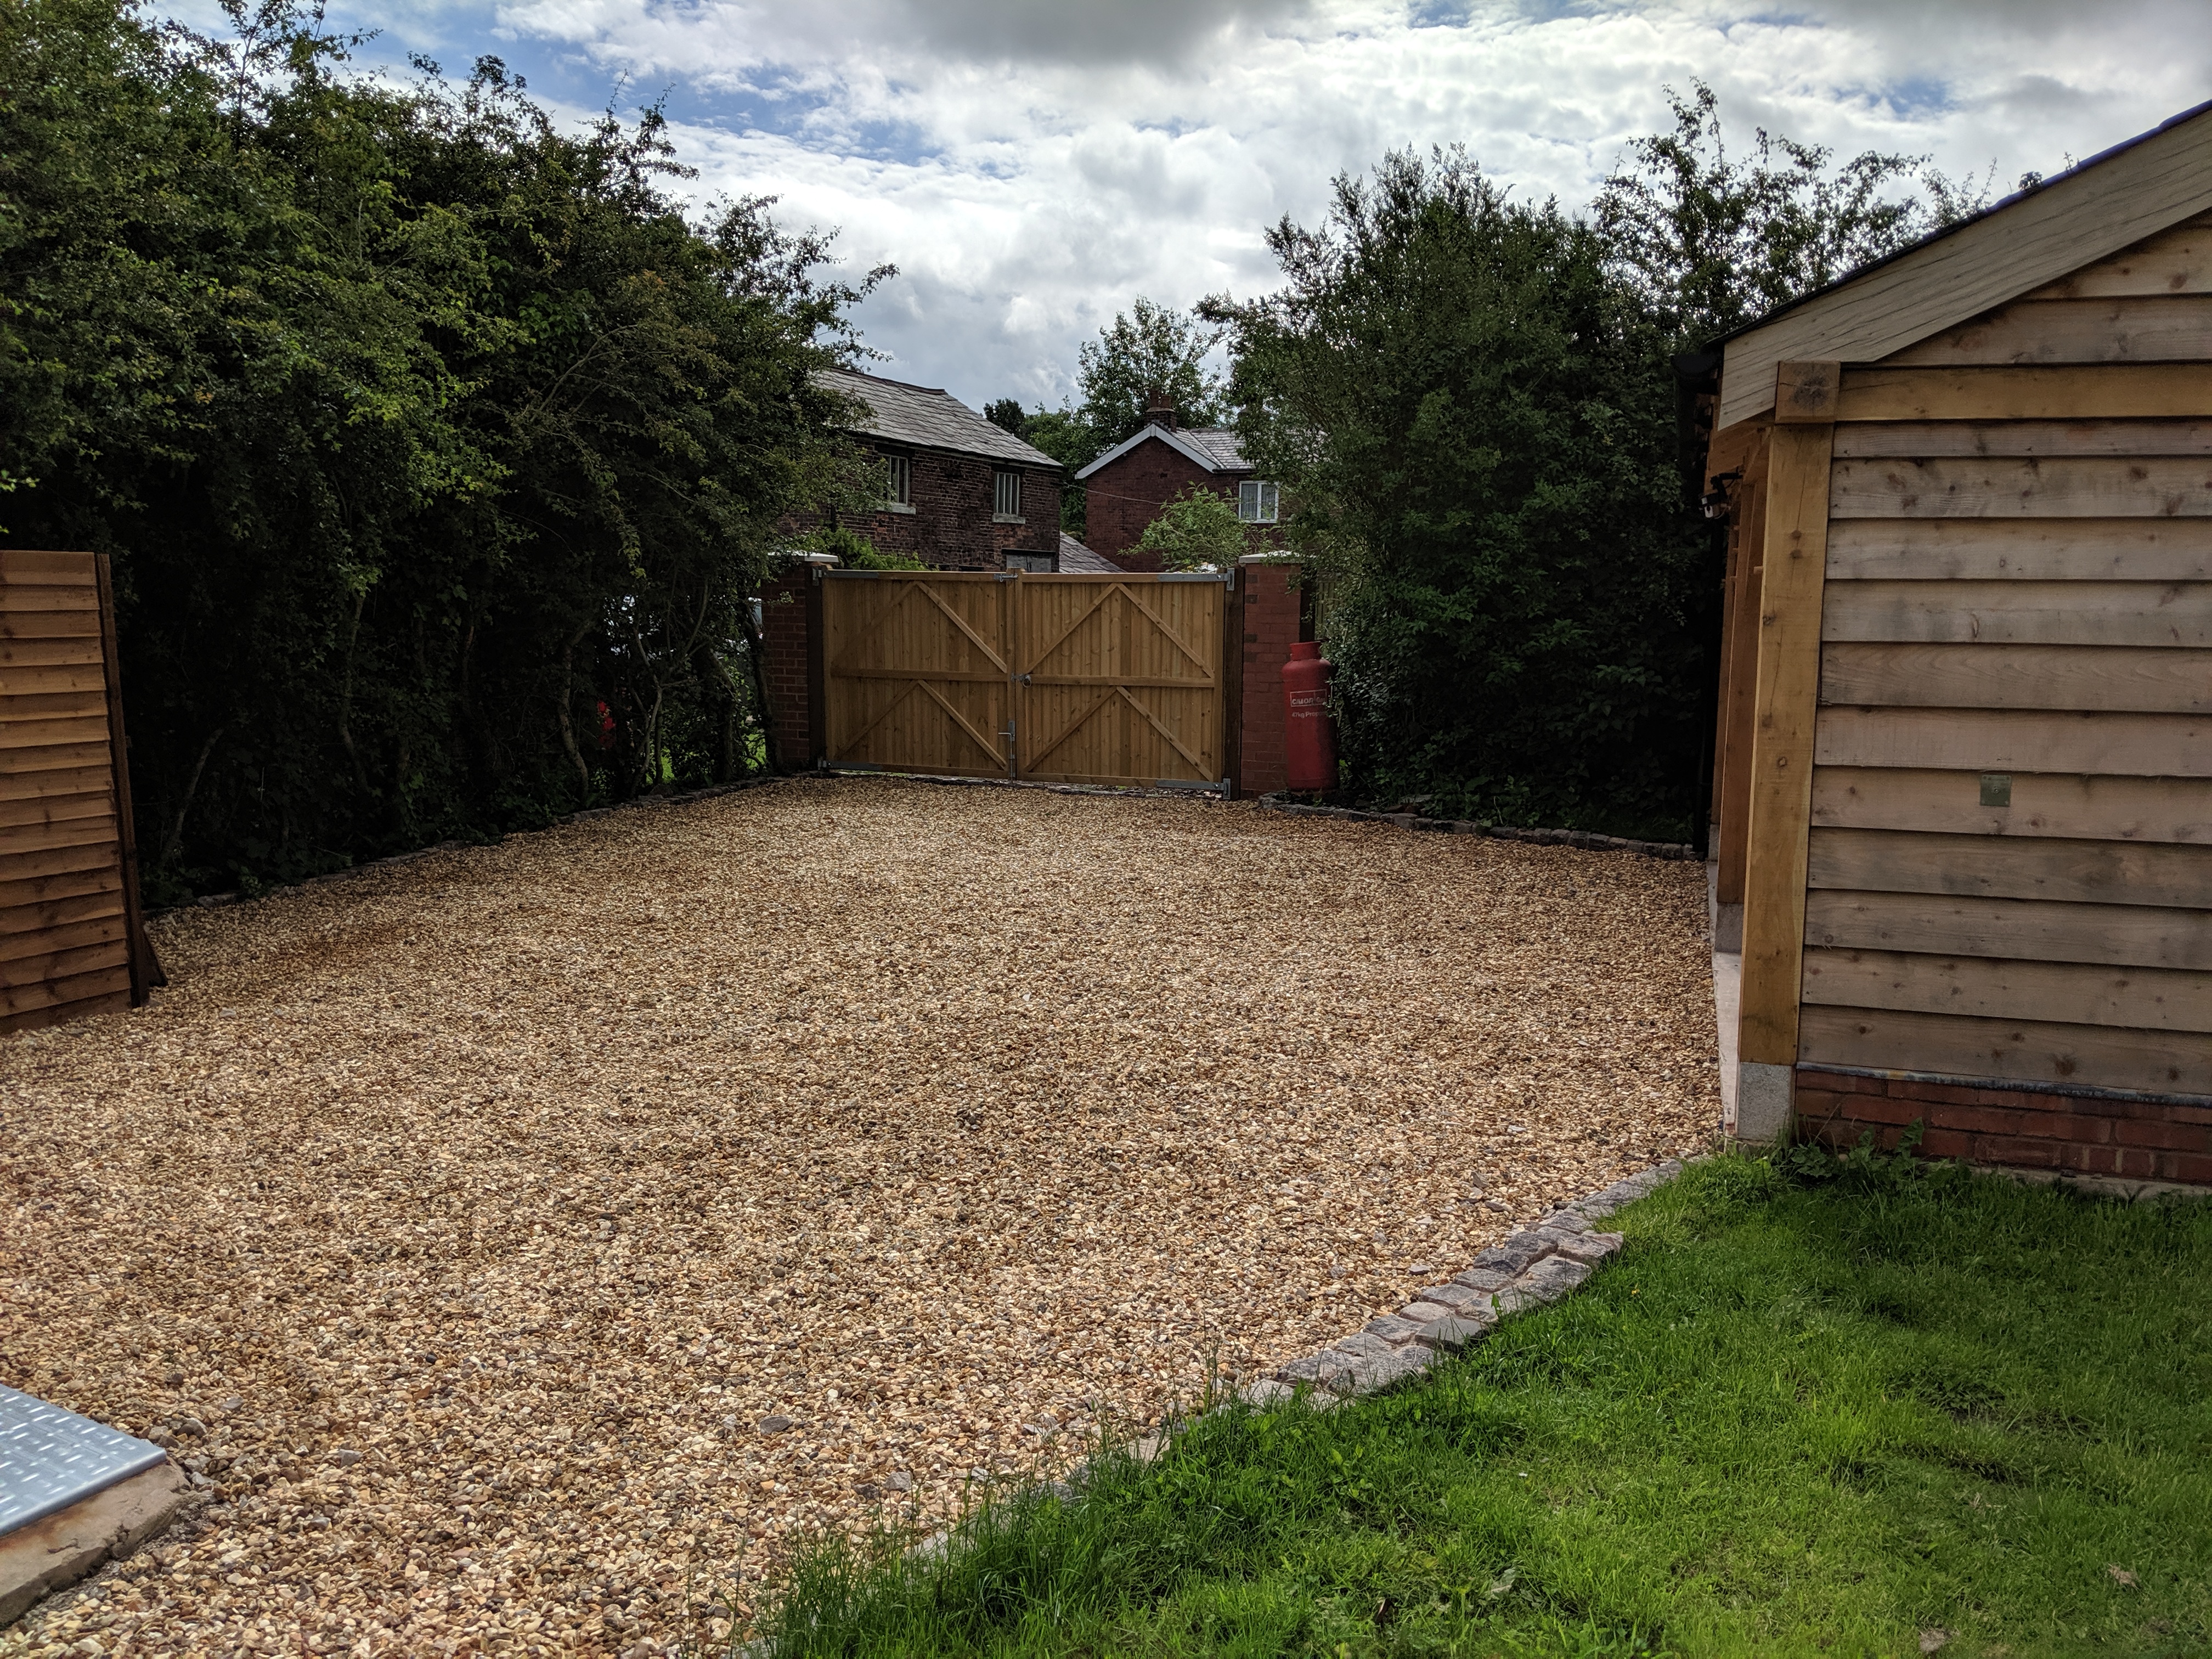
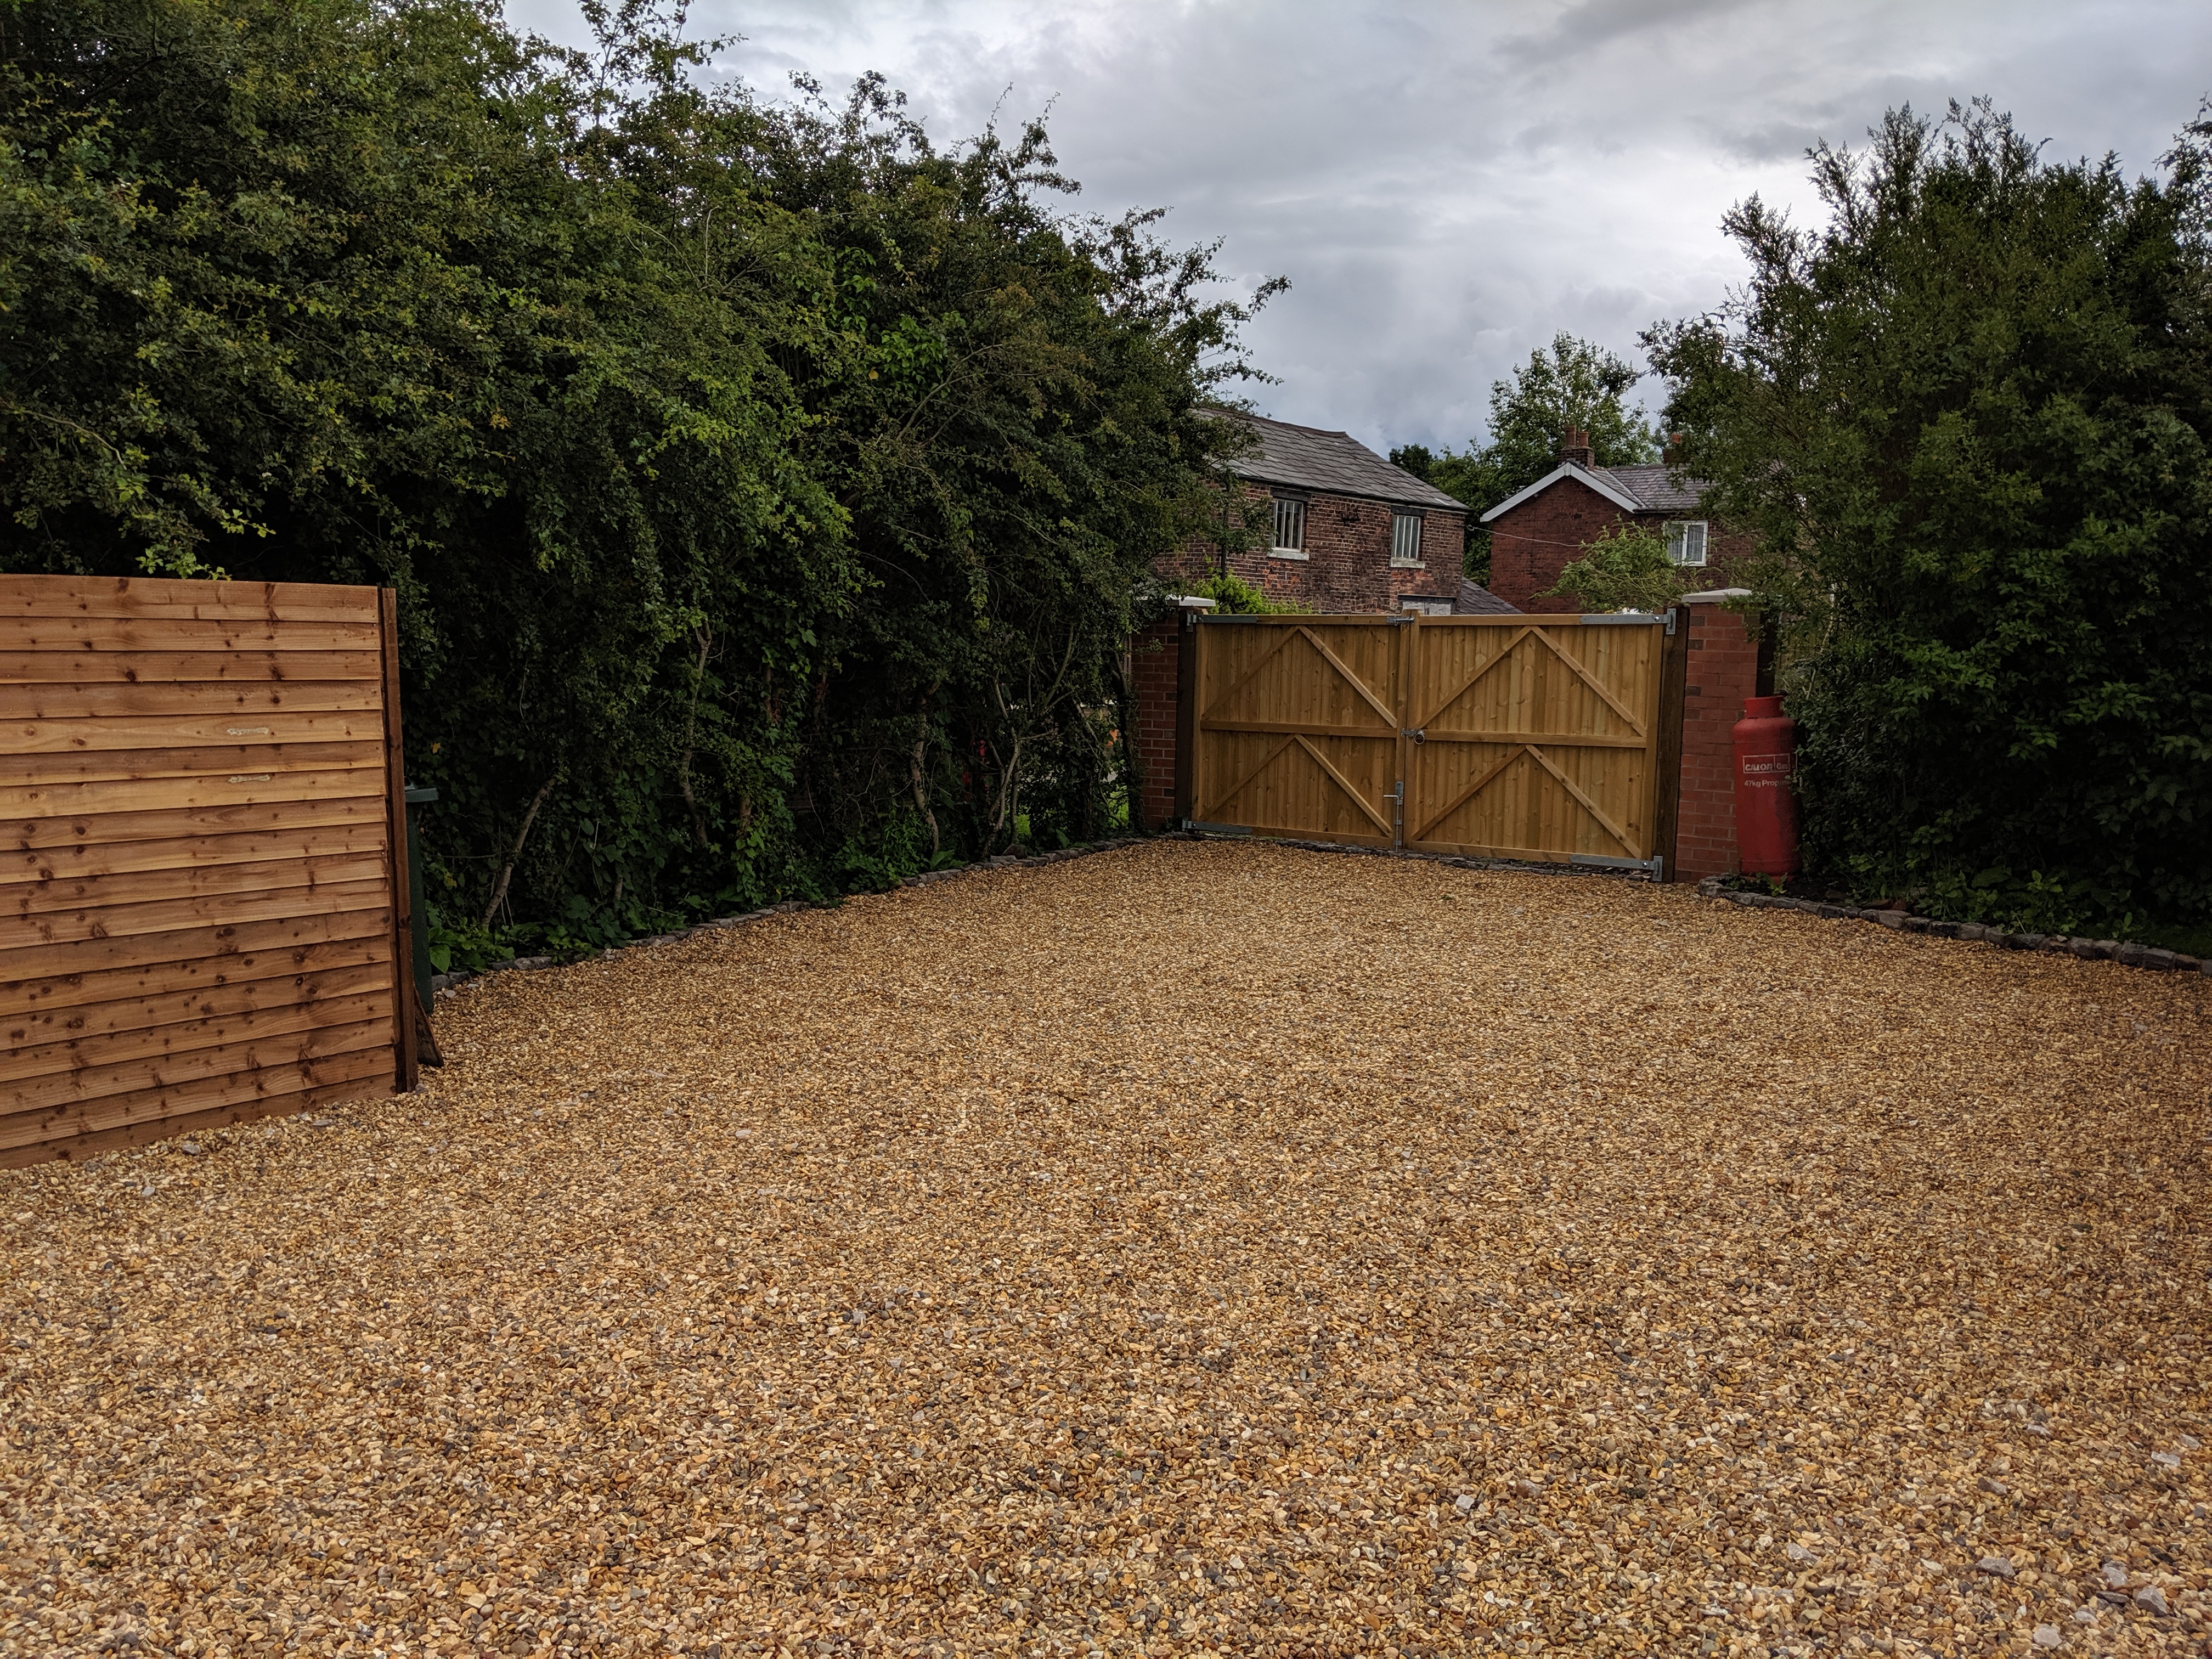
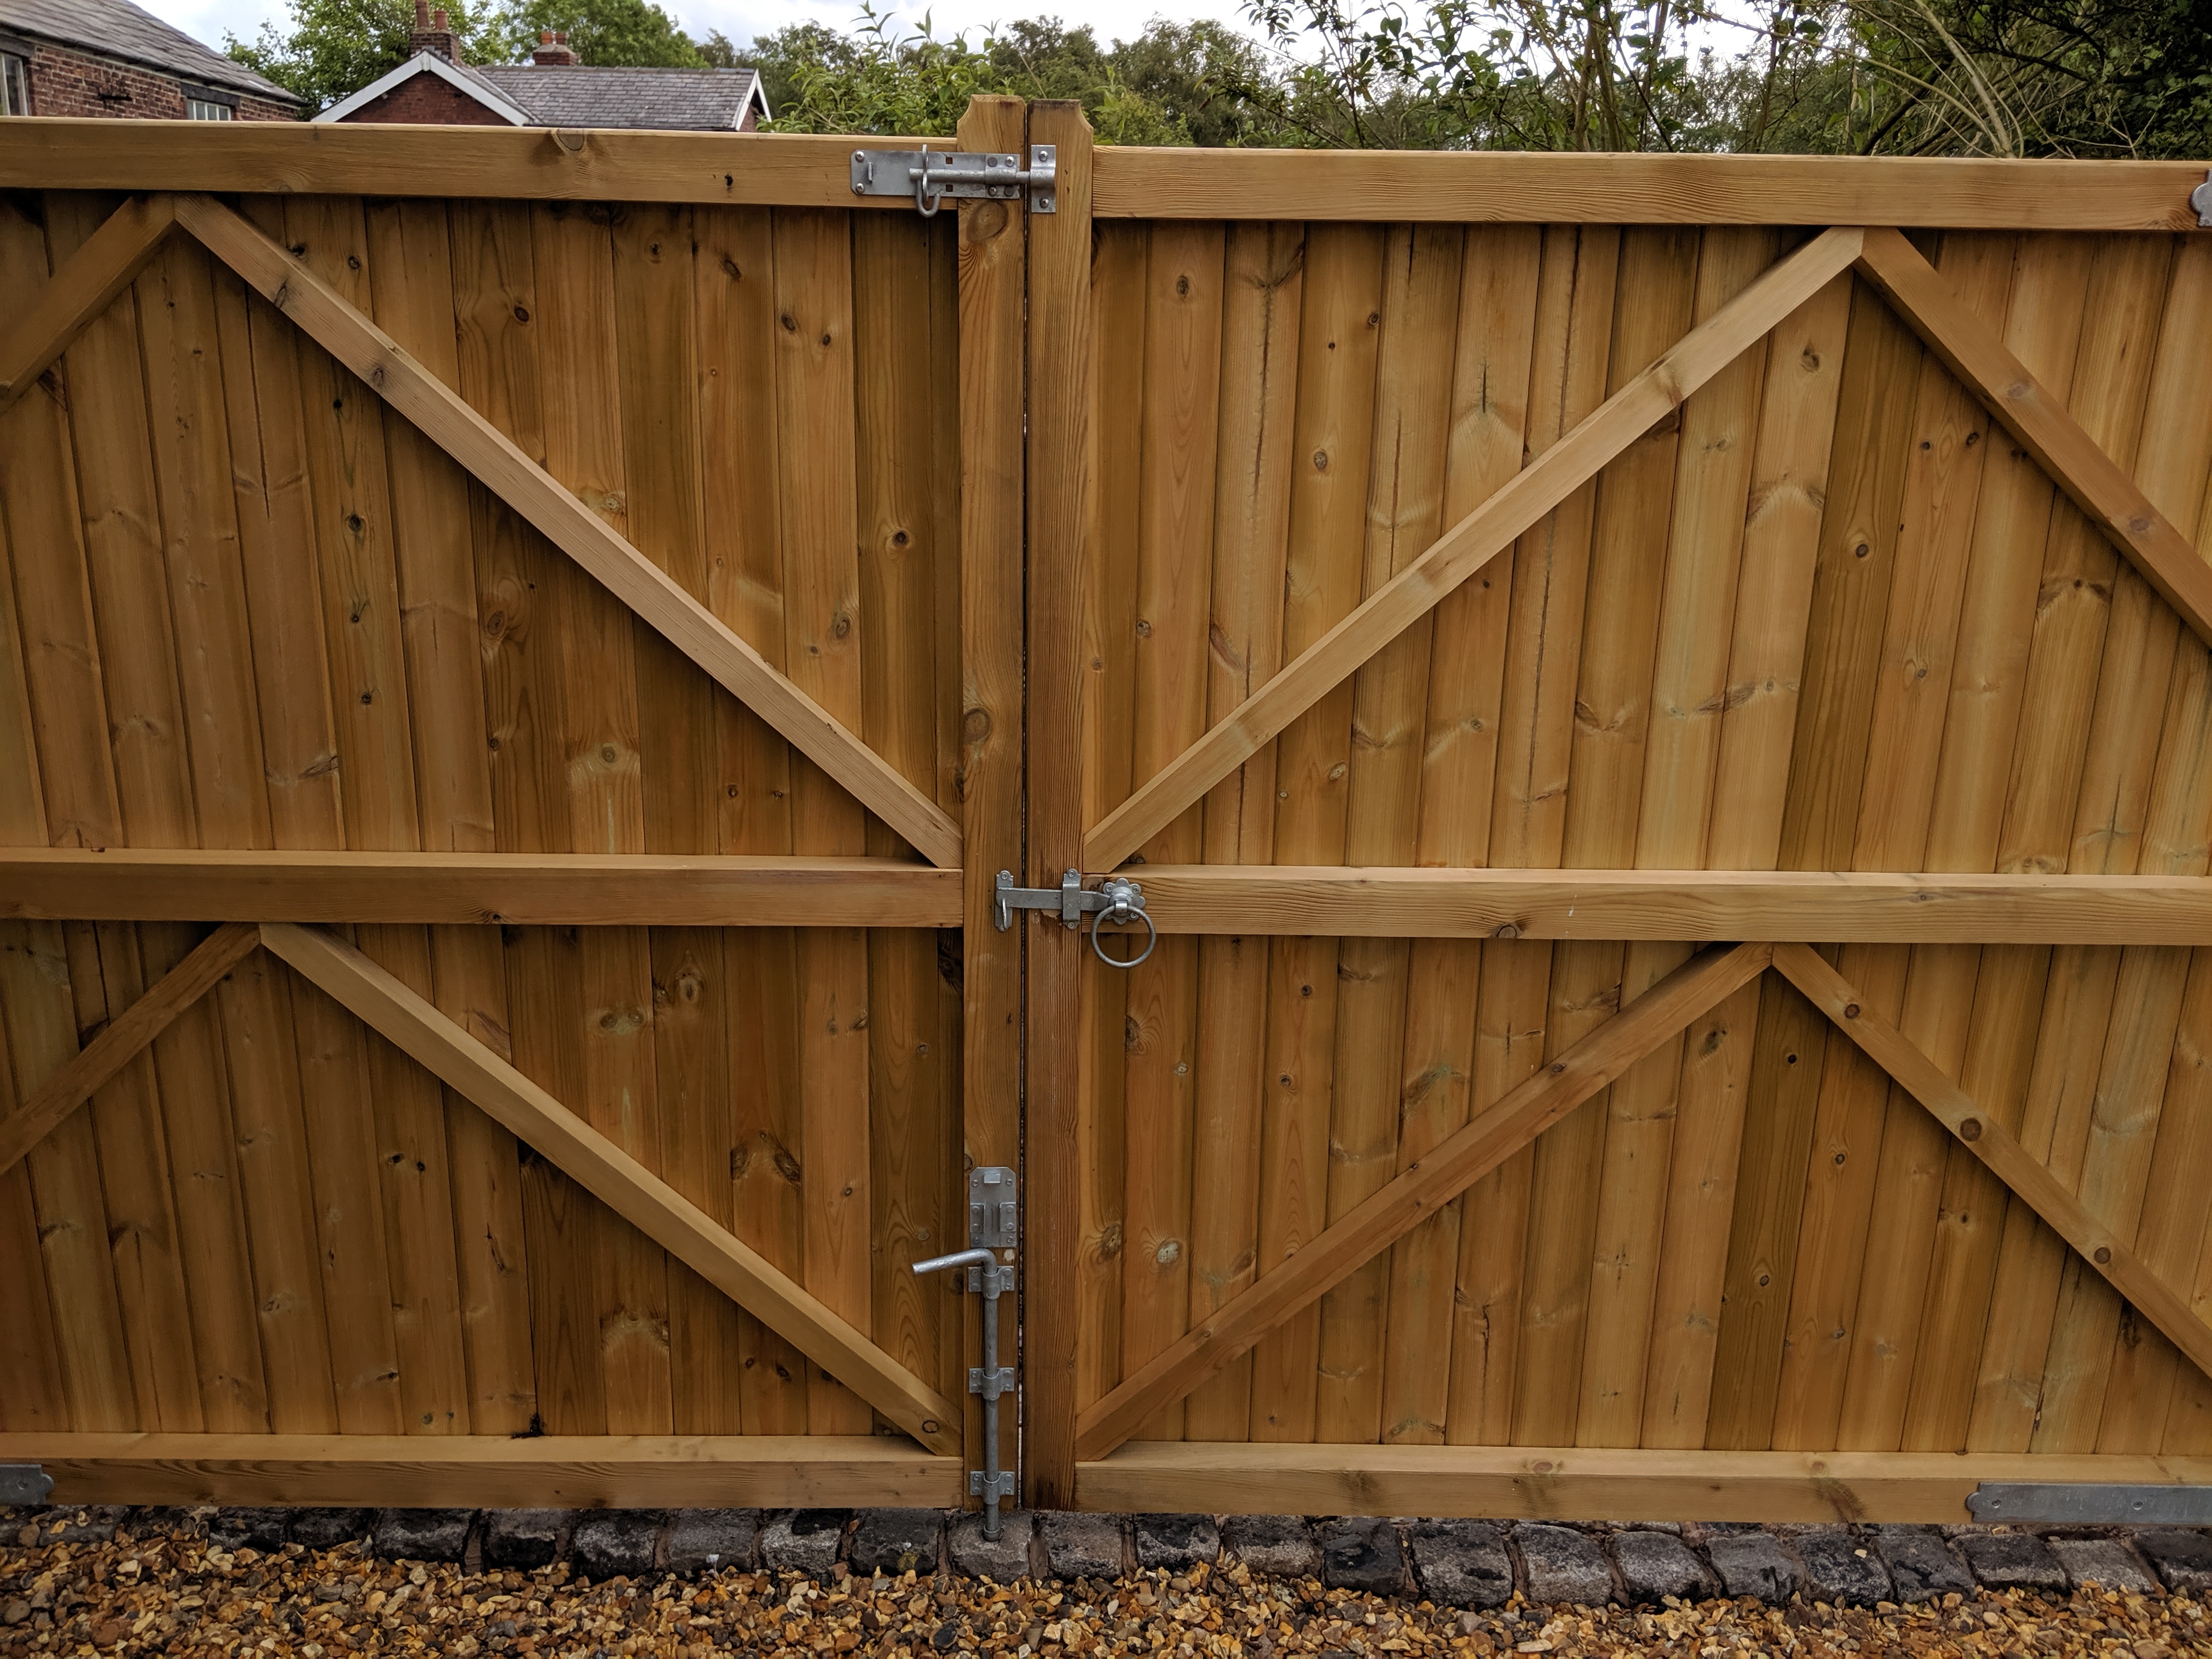
The eagle eyed amongst you will have noticed two brick gate posts in the background. Tony, an old workmate of my fathers, came and built them for me. I did consider building them myself but they wouldn’t have looked nearly so good if I’d done it. As an aside I also considered making the gates myself – but that would just have been foolishness.
Now that all the weed membrane is down it’s time to organise 10 bulk bags of MOT Type 2 hardcore.
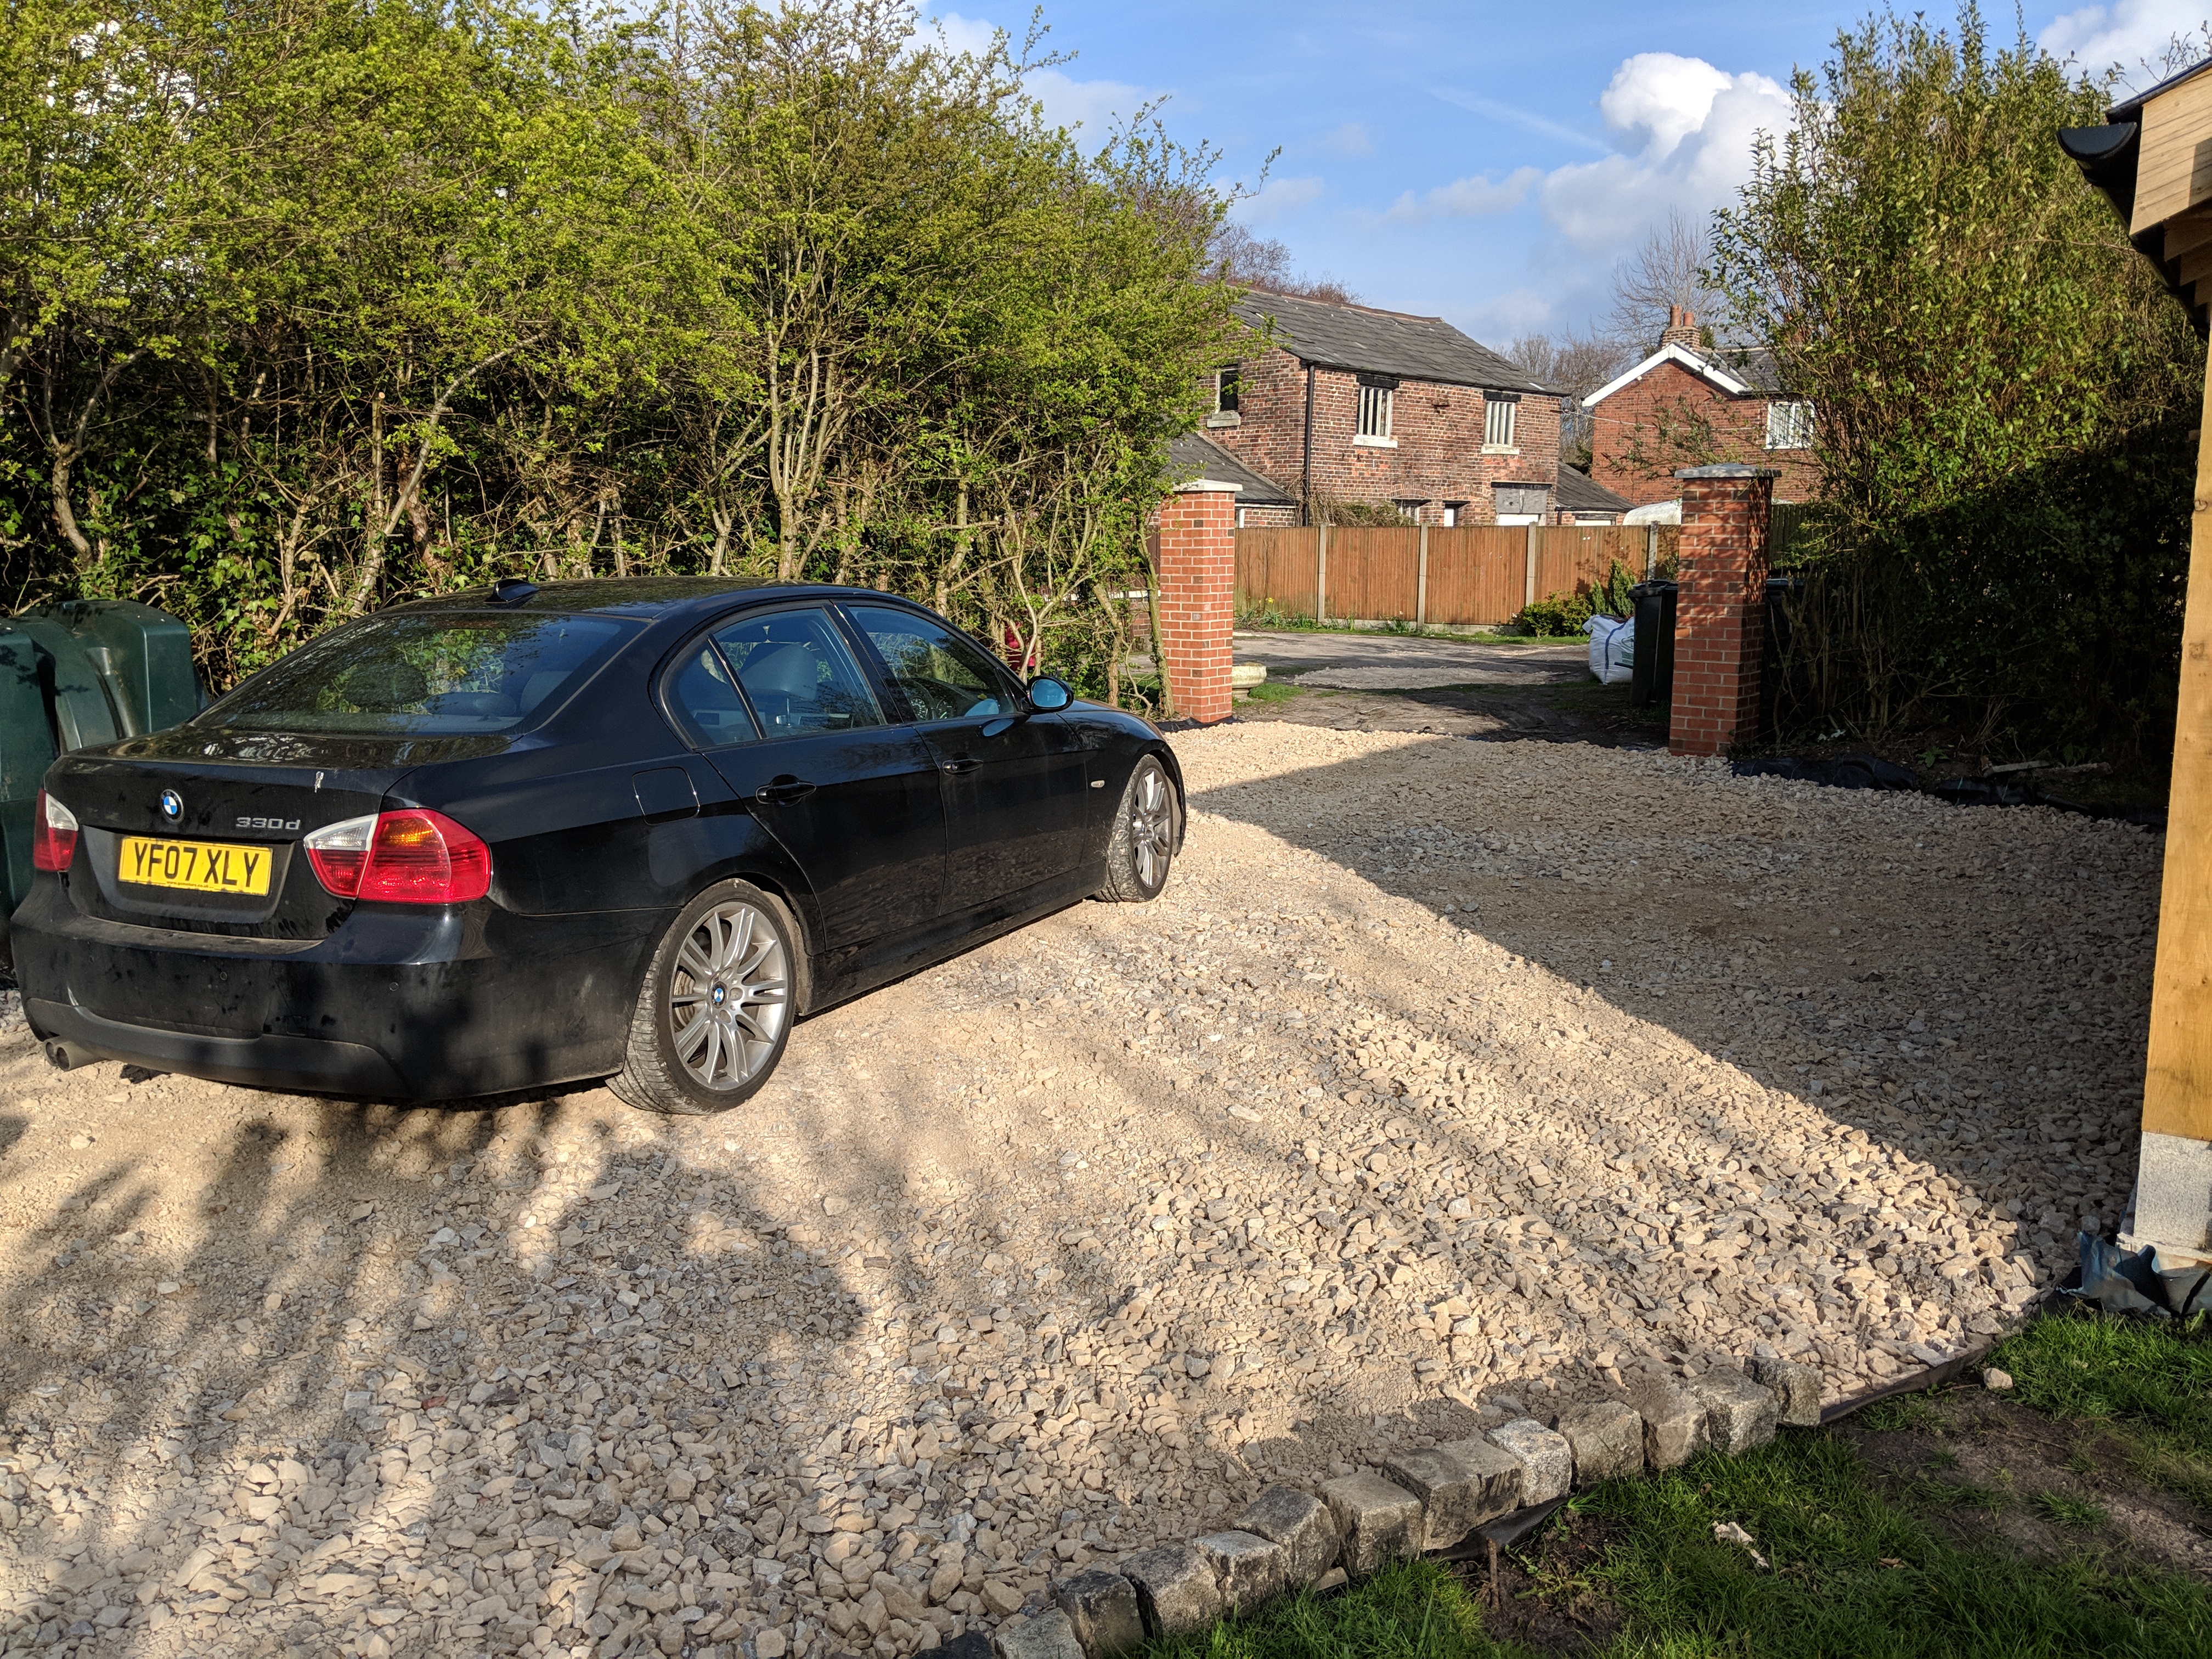
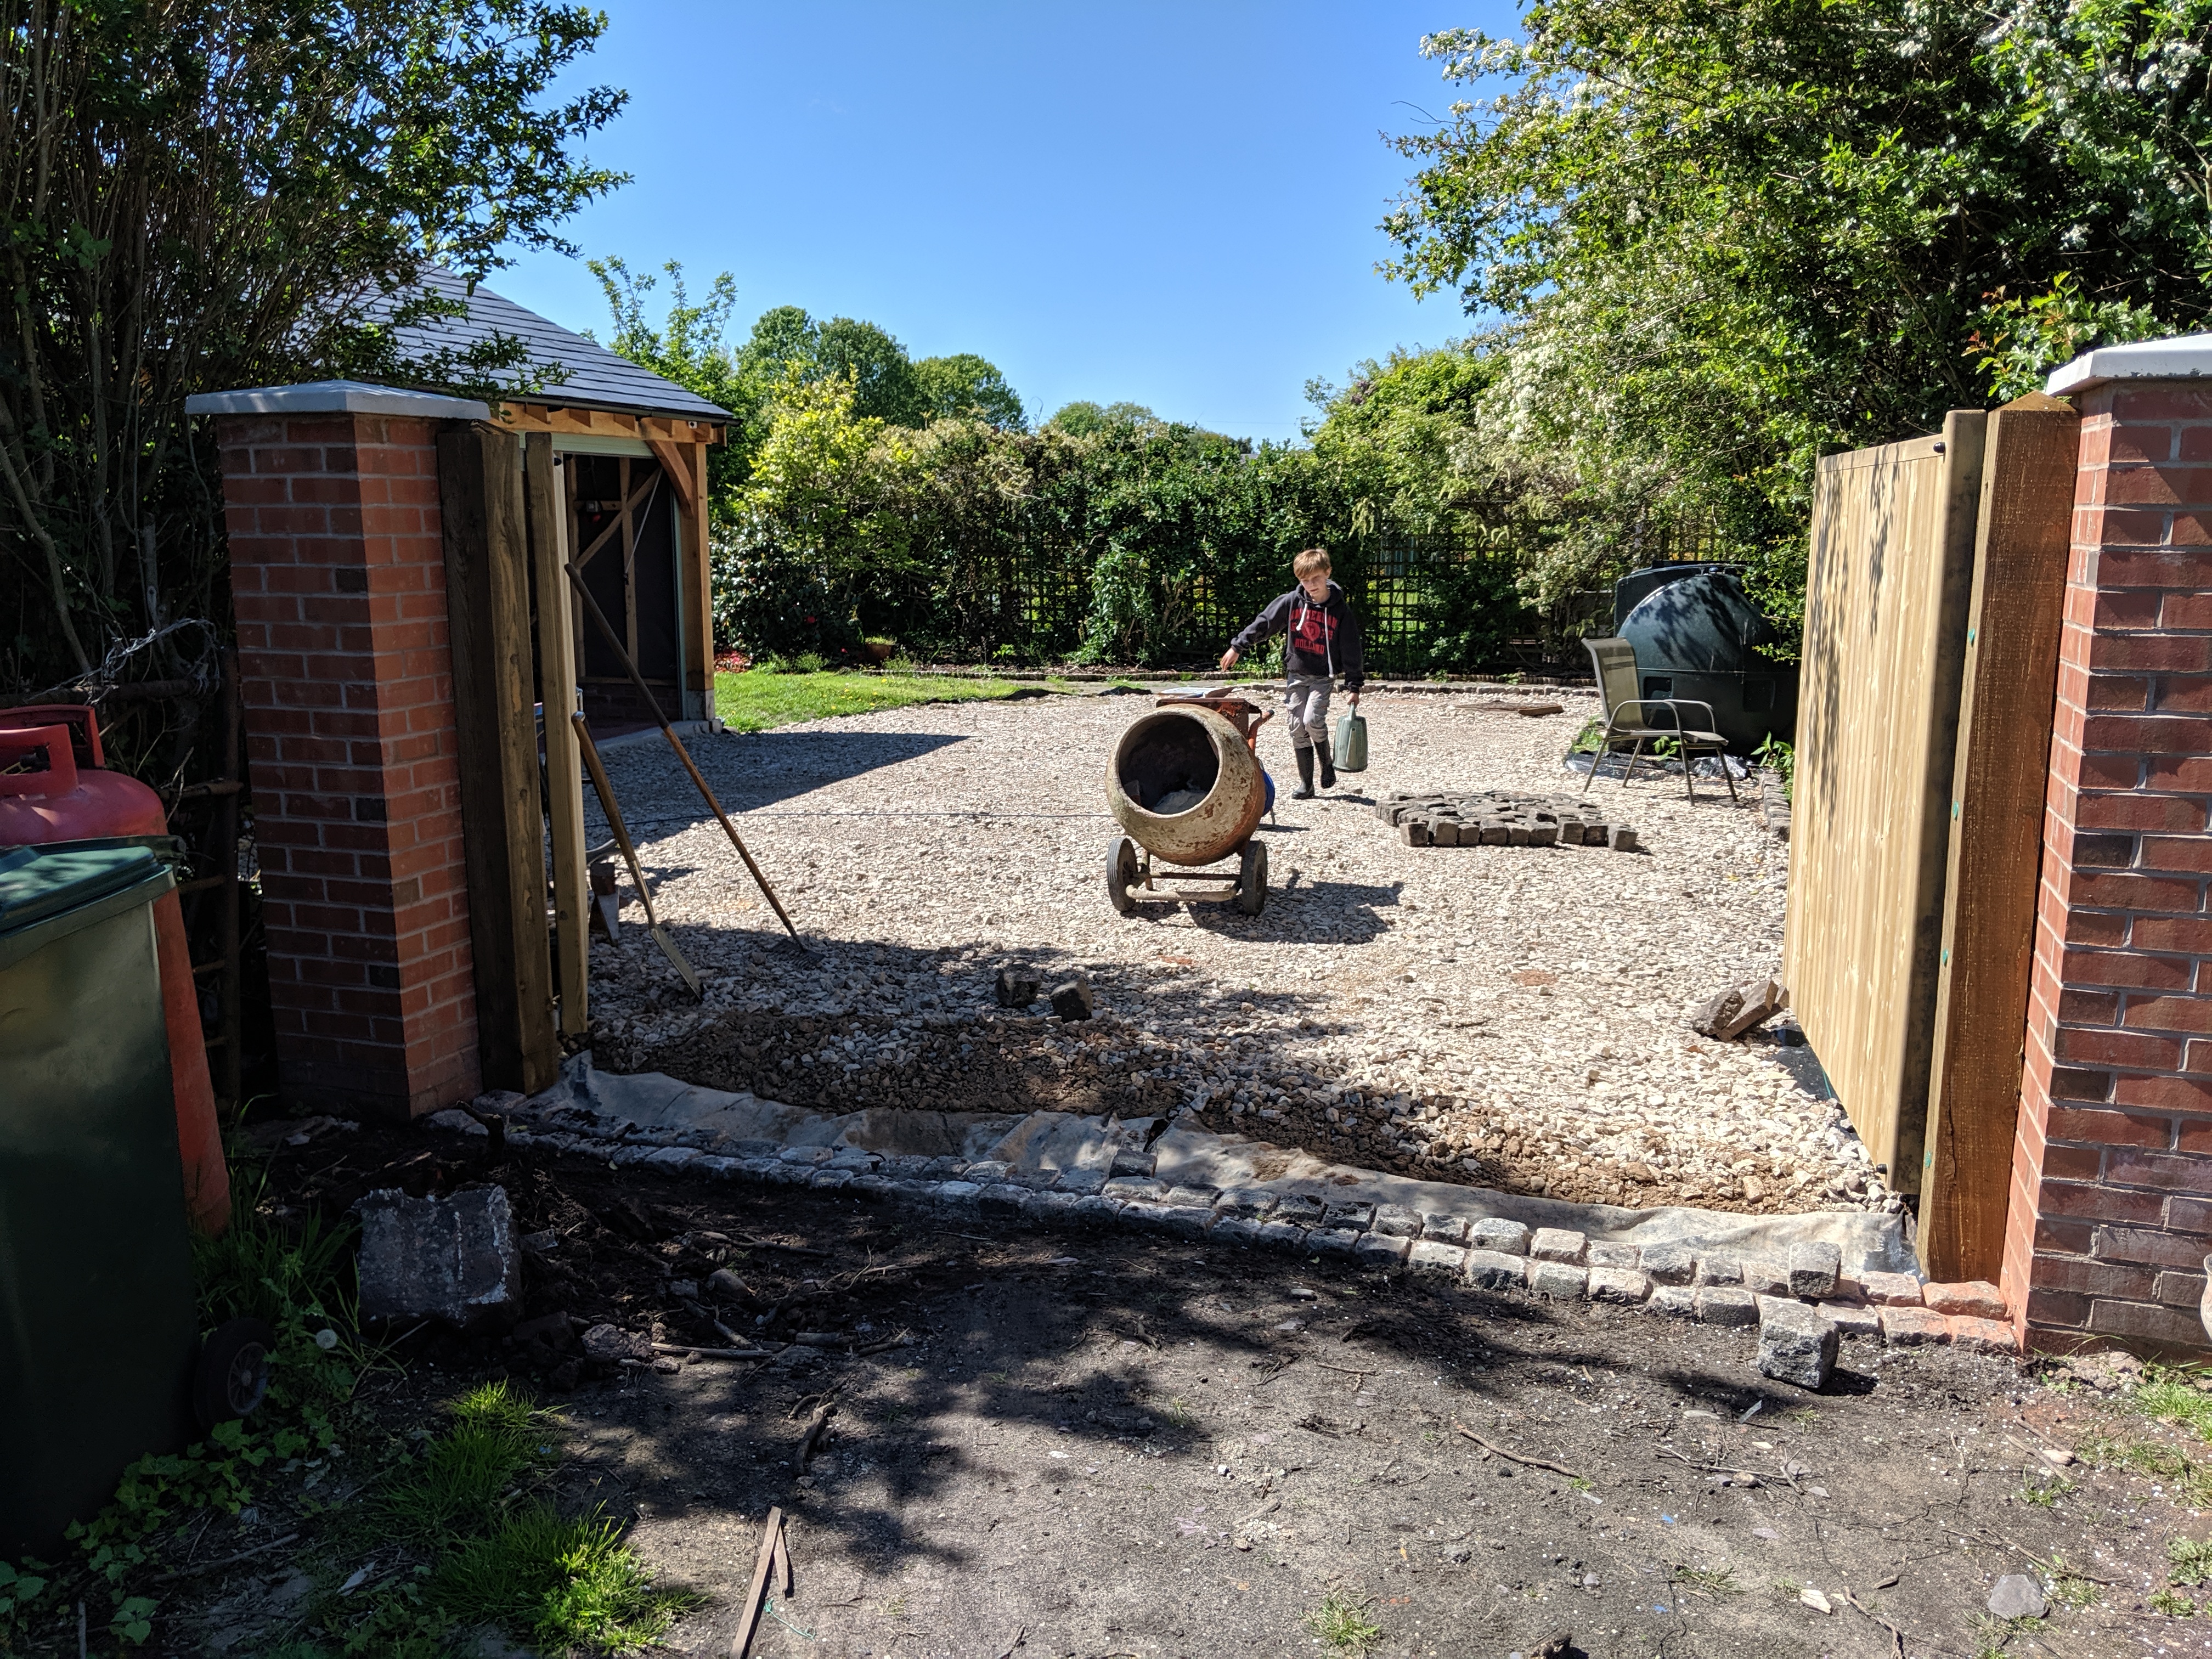
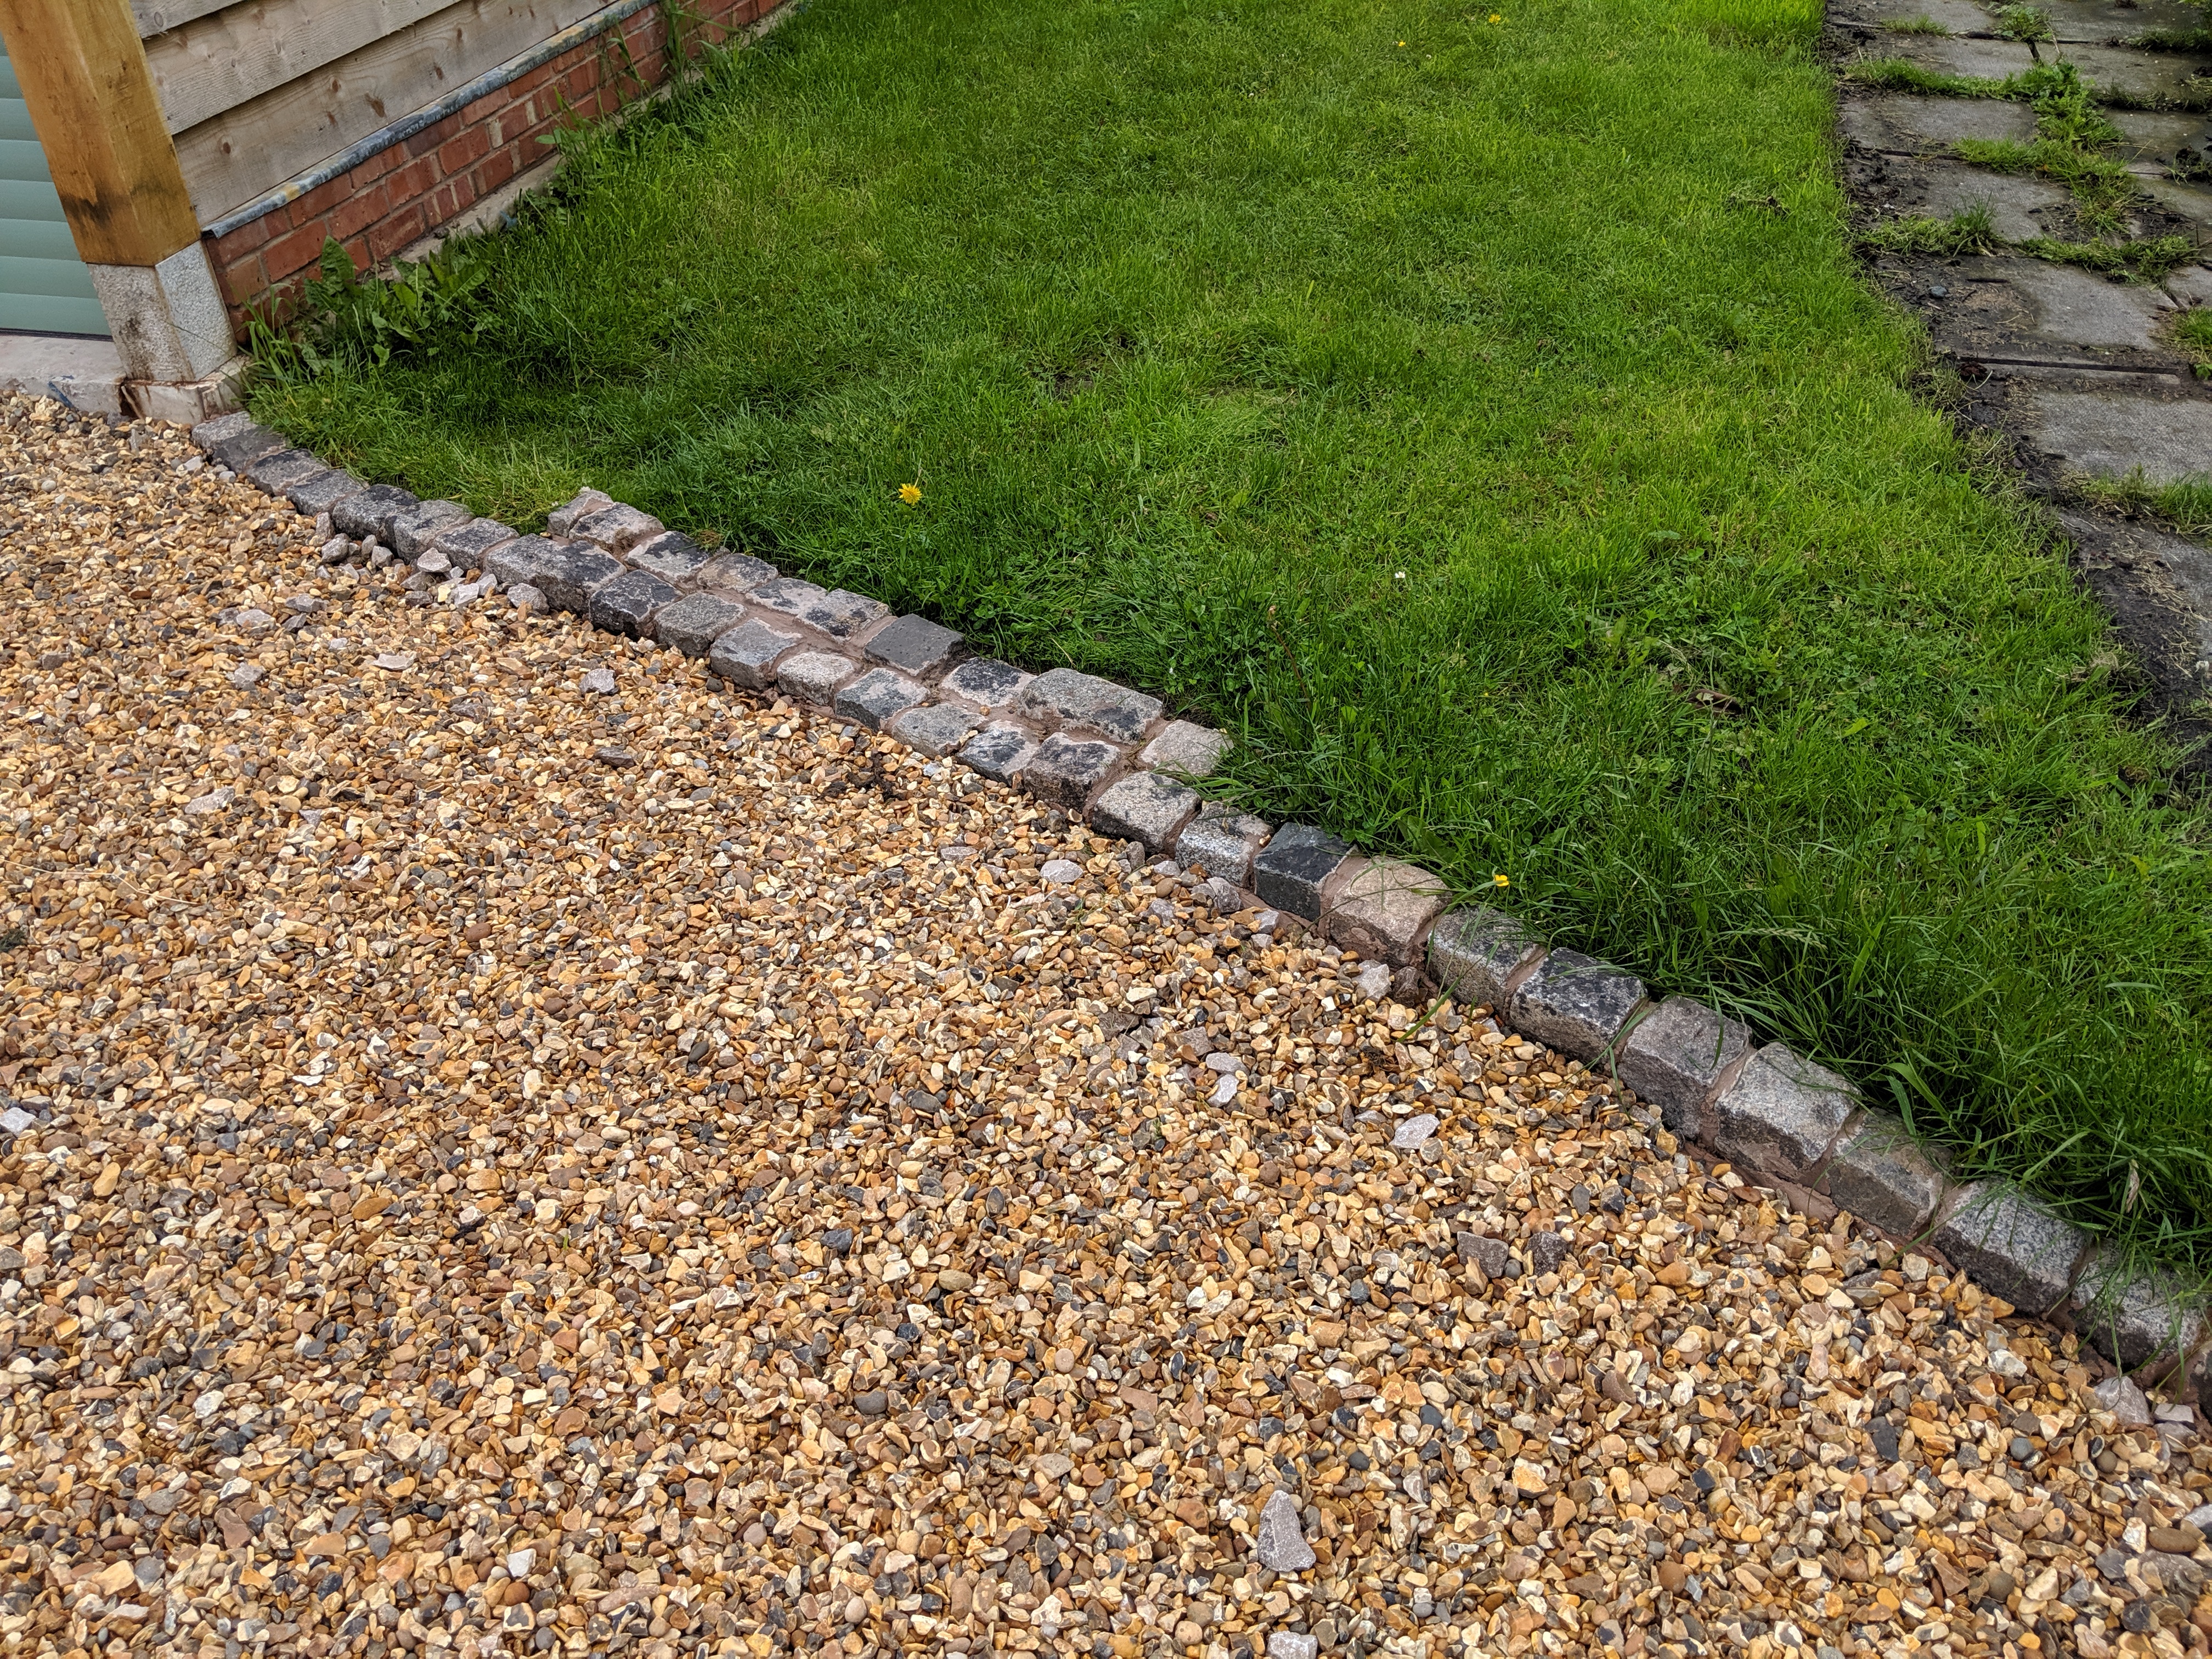
The photo above hides a LOT of work that went into this. It’s really really really hard moving about 10 tonnes of hardcore around so that it’s roughly level. I also took some of the leftover stone and grit-sand from the gateposts and spread it within the hardcore to form a much stronger and stable surface. The cobbles you can see at the edge came from a crazy fella up in Leyland who had a big pile of them for sale. At a pound a cobble it ended up being quite expensive.

I wanted to get my base layer smooth and compact so I hired one of these for the day. I also took the opportunity of putting six bulk bags of hardcore out at the front of the house to fill in some of the crazy potholes that have appeared there.
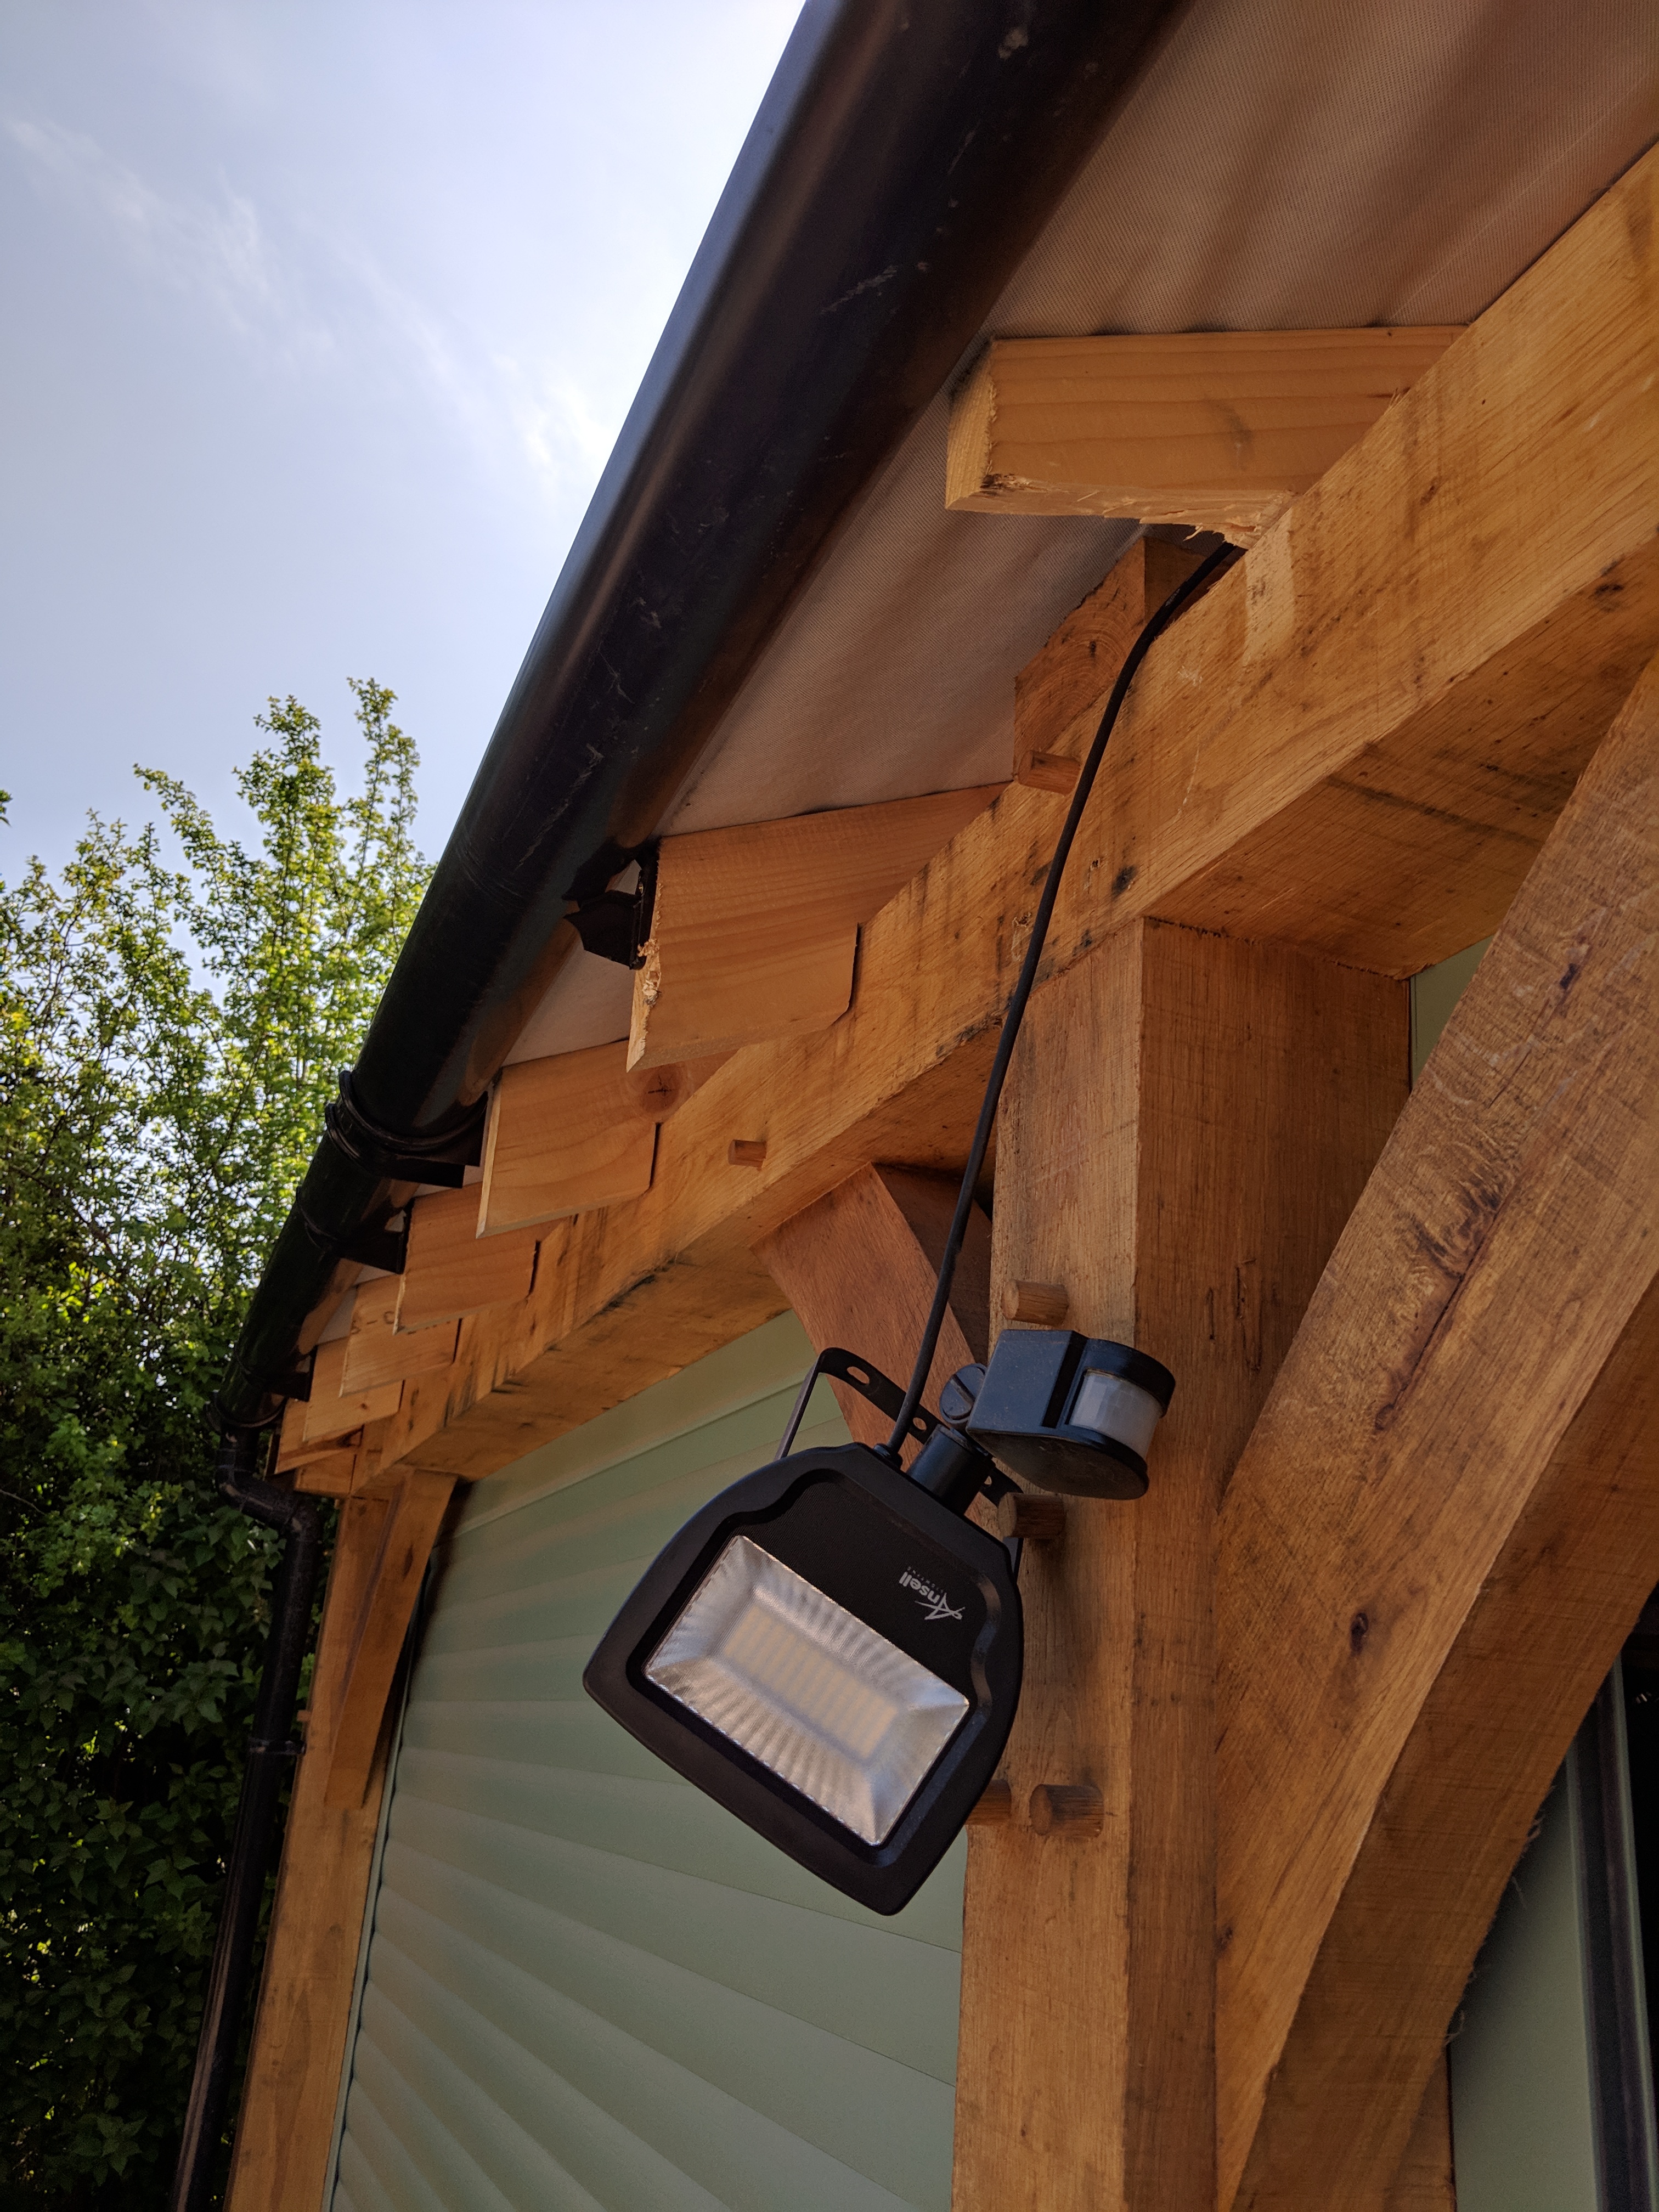
You can’t tell from the picture of the ummm steamroller thing above but it actually had a kind of roll bar that can be up above your head. When I hired it the roll bar was in the up position. I didn’t think anything of it as I was keeping my focus intently on the ground outside the garage making sure I didn’t damage the concrete with the whacker plate. I heard some crunching and scraping noises but couldn’t work out what was happening, until the security light swung down and nearly decapitated me. The crunching noise was the upright snapping a big chunk of the ummmm roof rafter/beam whatever. I’d managed to break my garage before even putting a car in there.
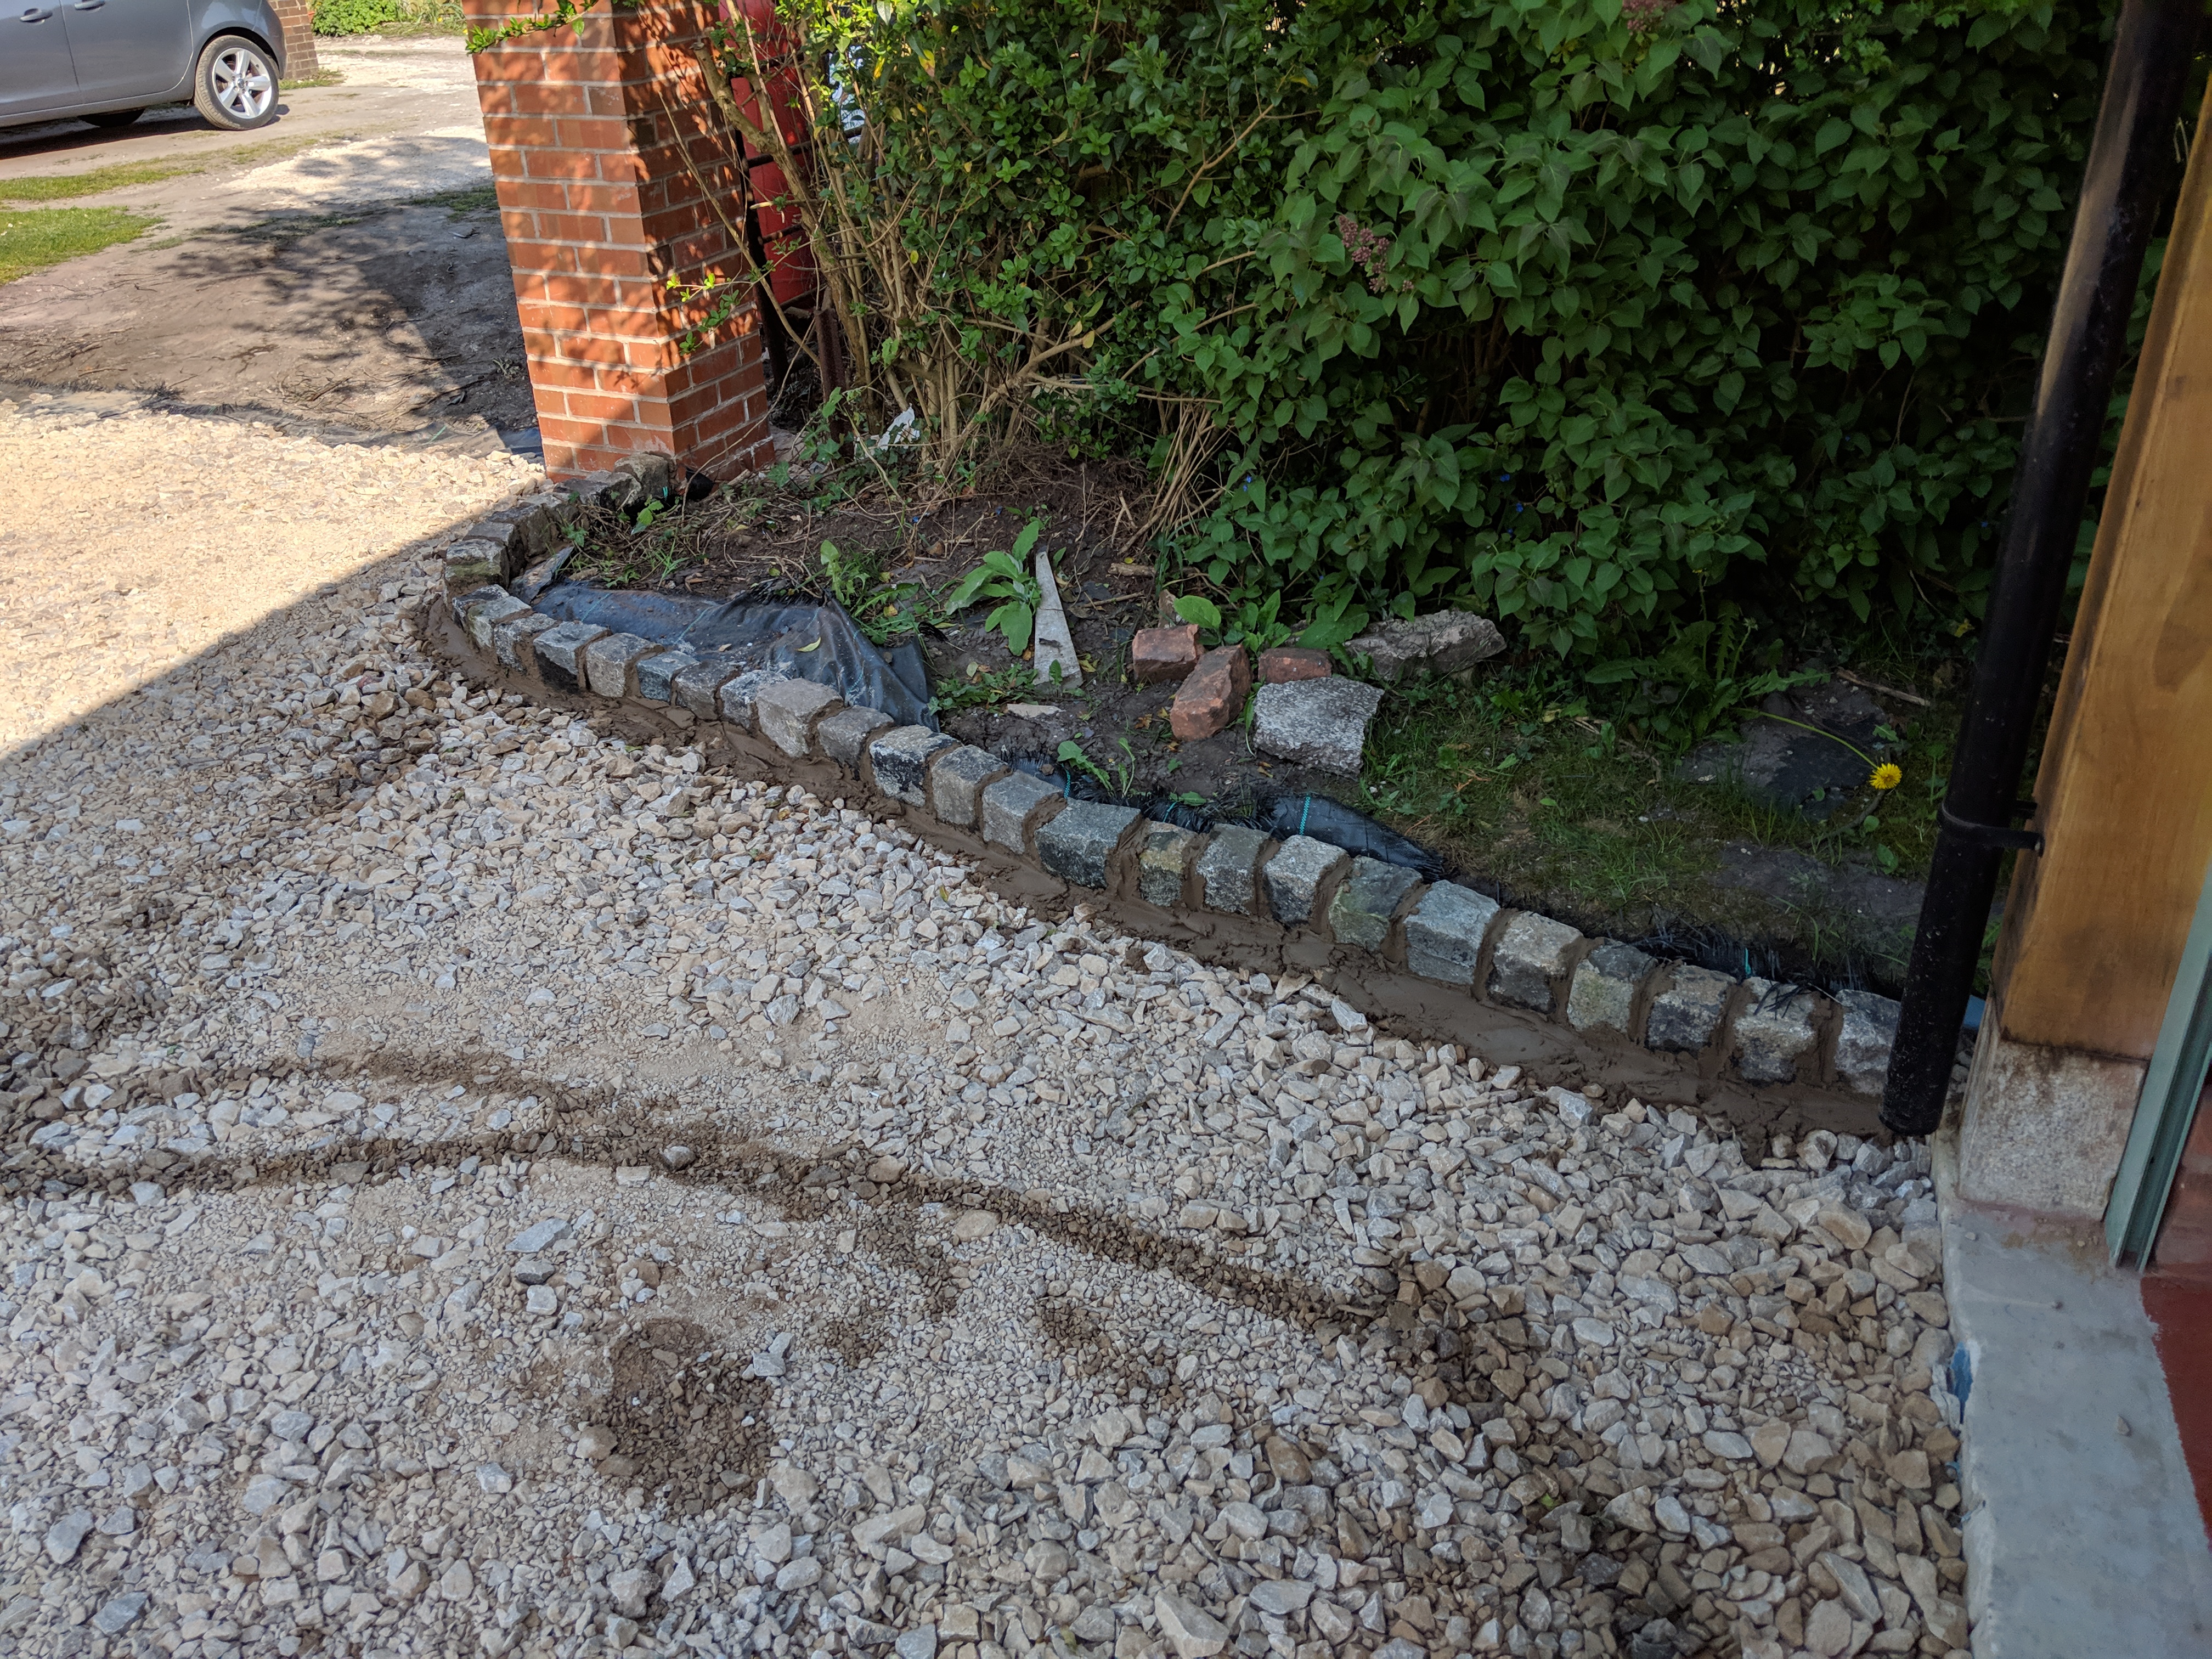
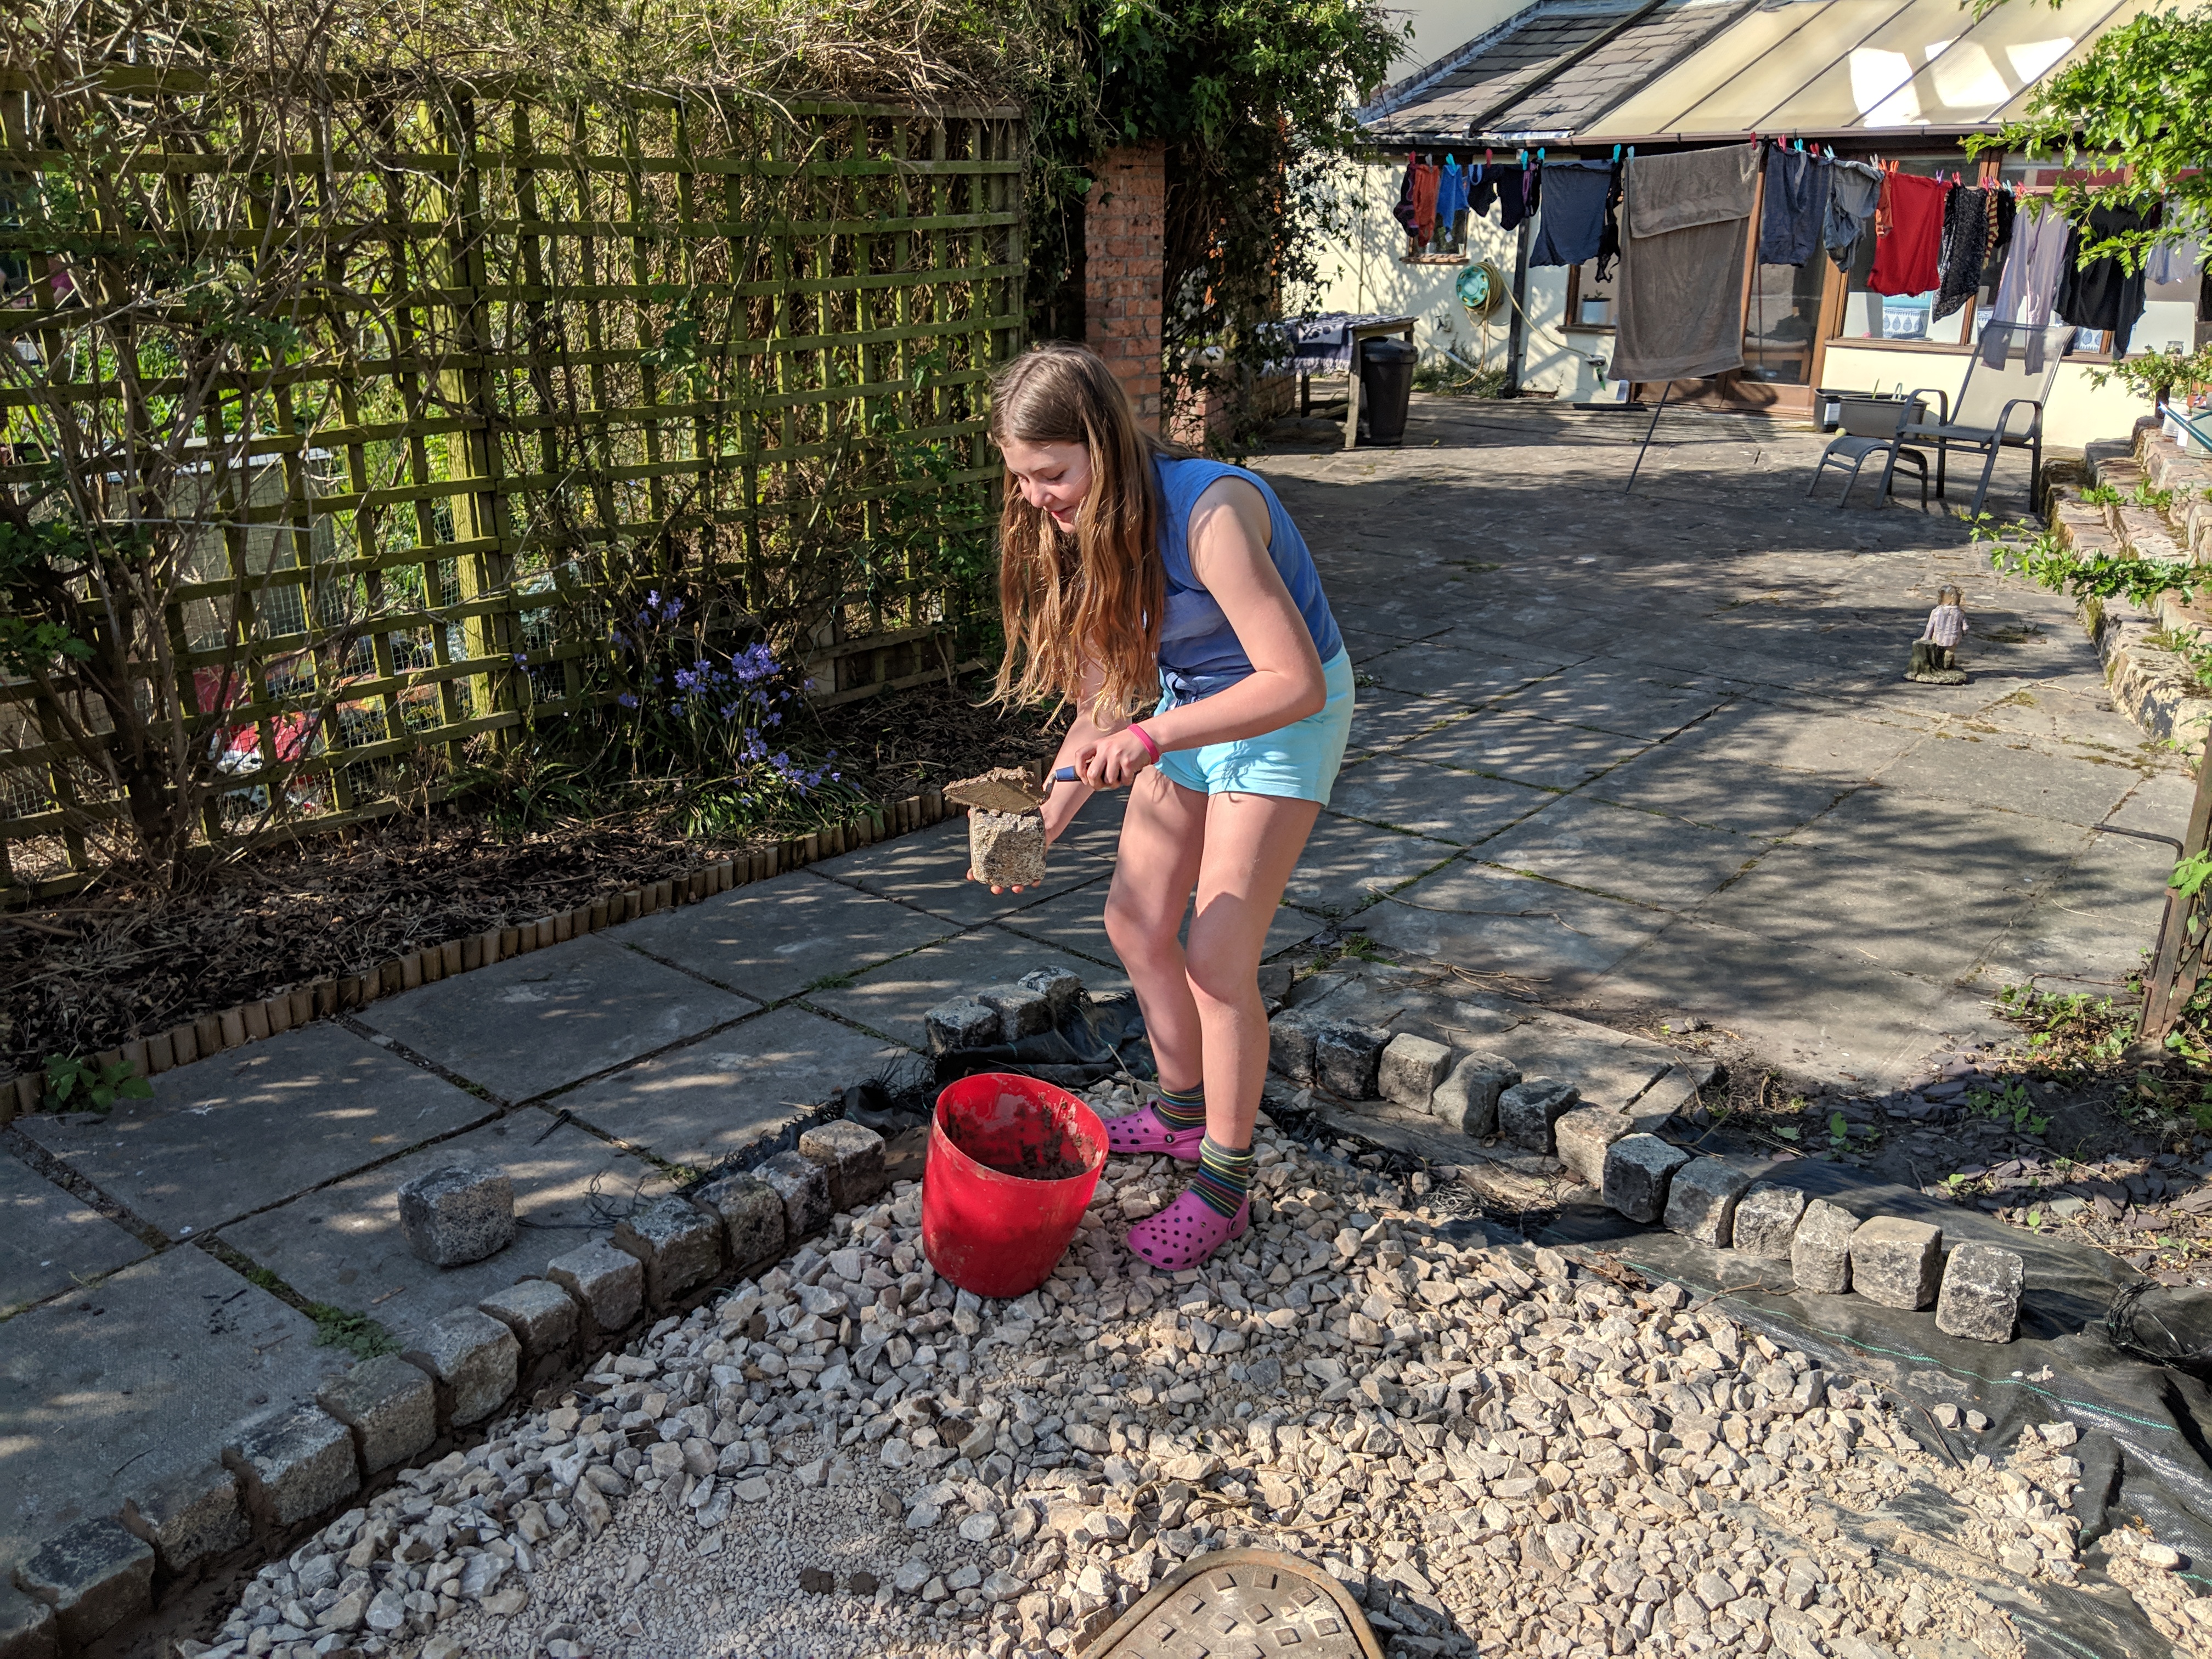
Fortunately our neighbour Dan owns a cement mixer which we borrowed. This turned out incredibly useful. I was going to mix the mortar by hand but given how much we ultimately used I’m so glad we didn’t go down that path. Anyway, back to the cobbles, they may not be level, they may not be straight, they may not even be pointing in the same direction….but I laid them.

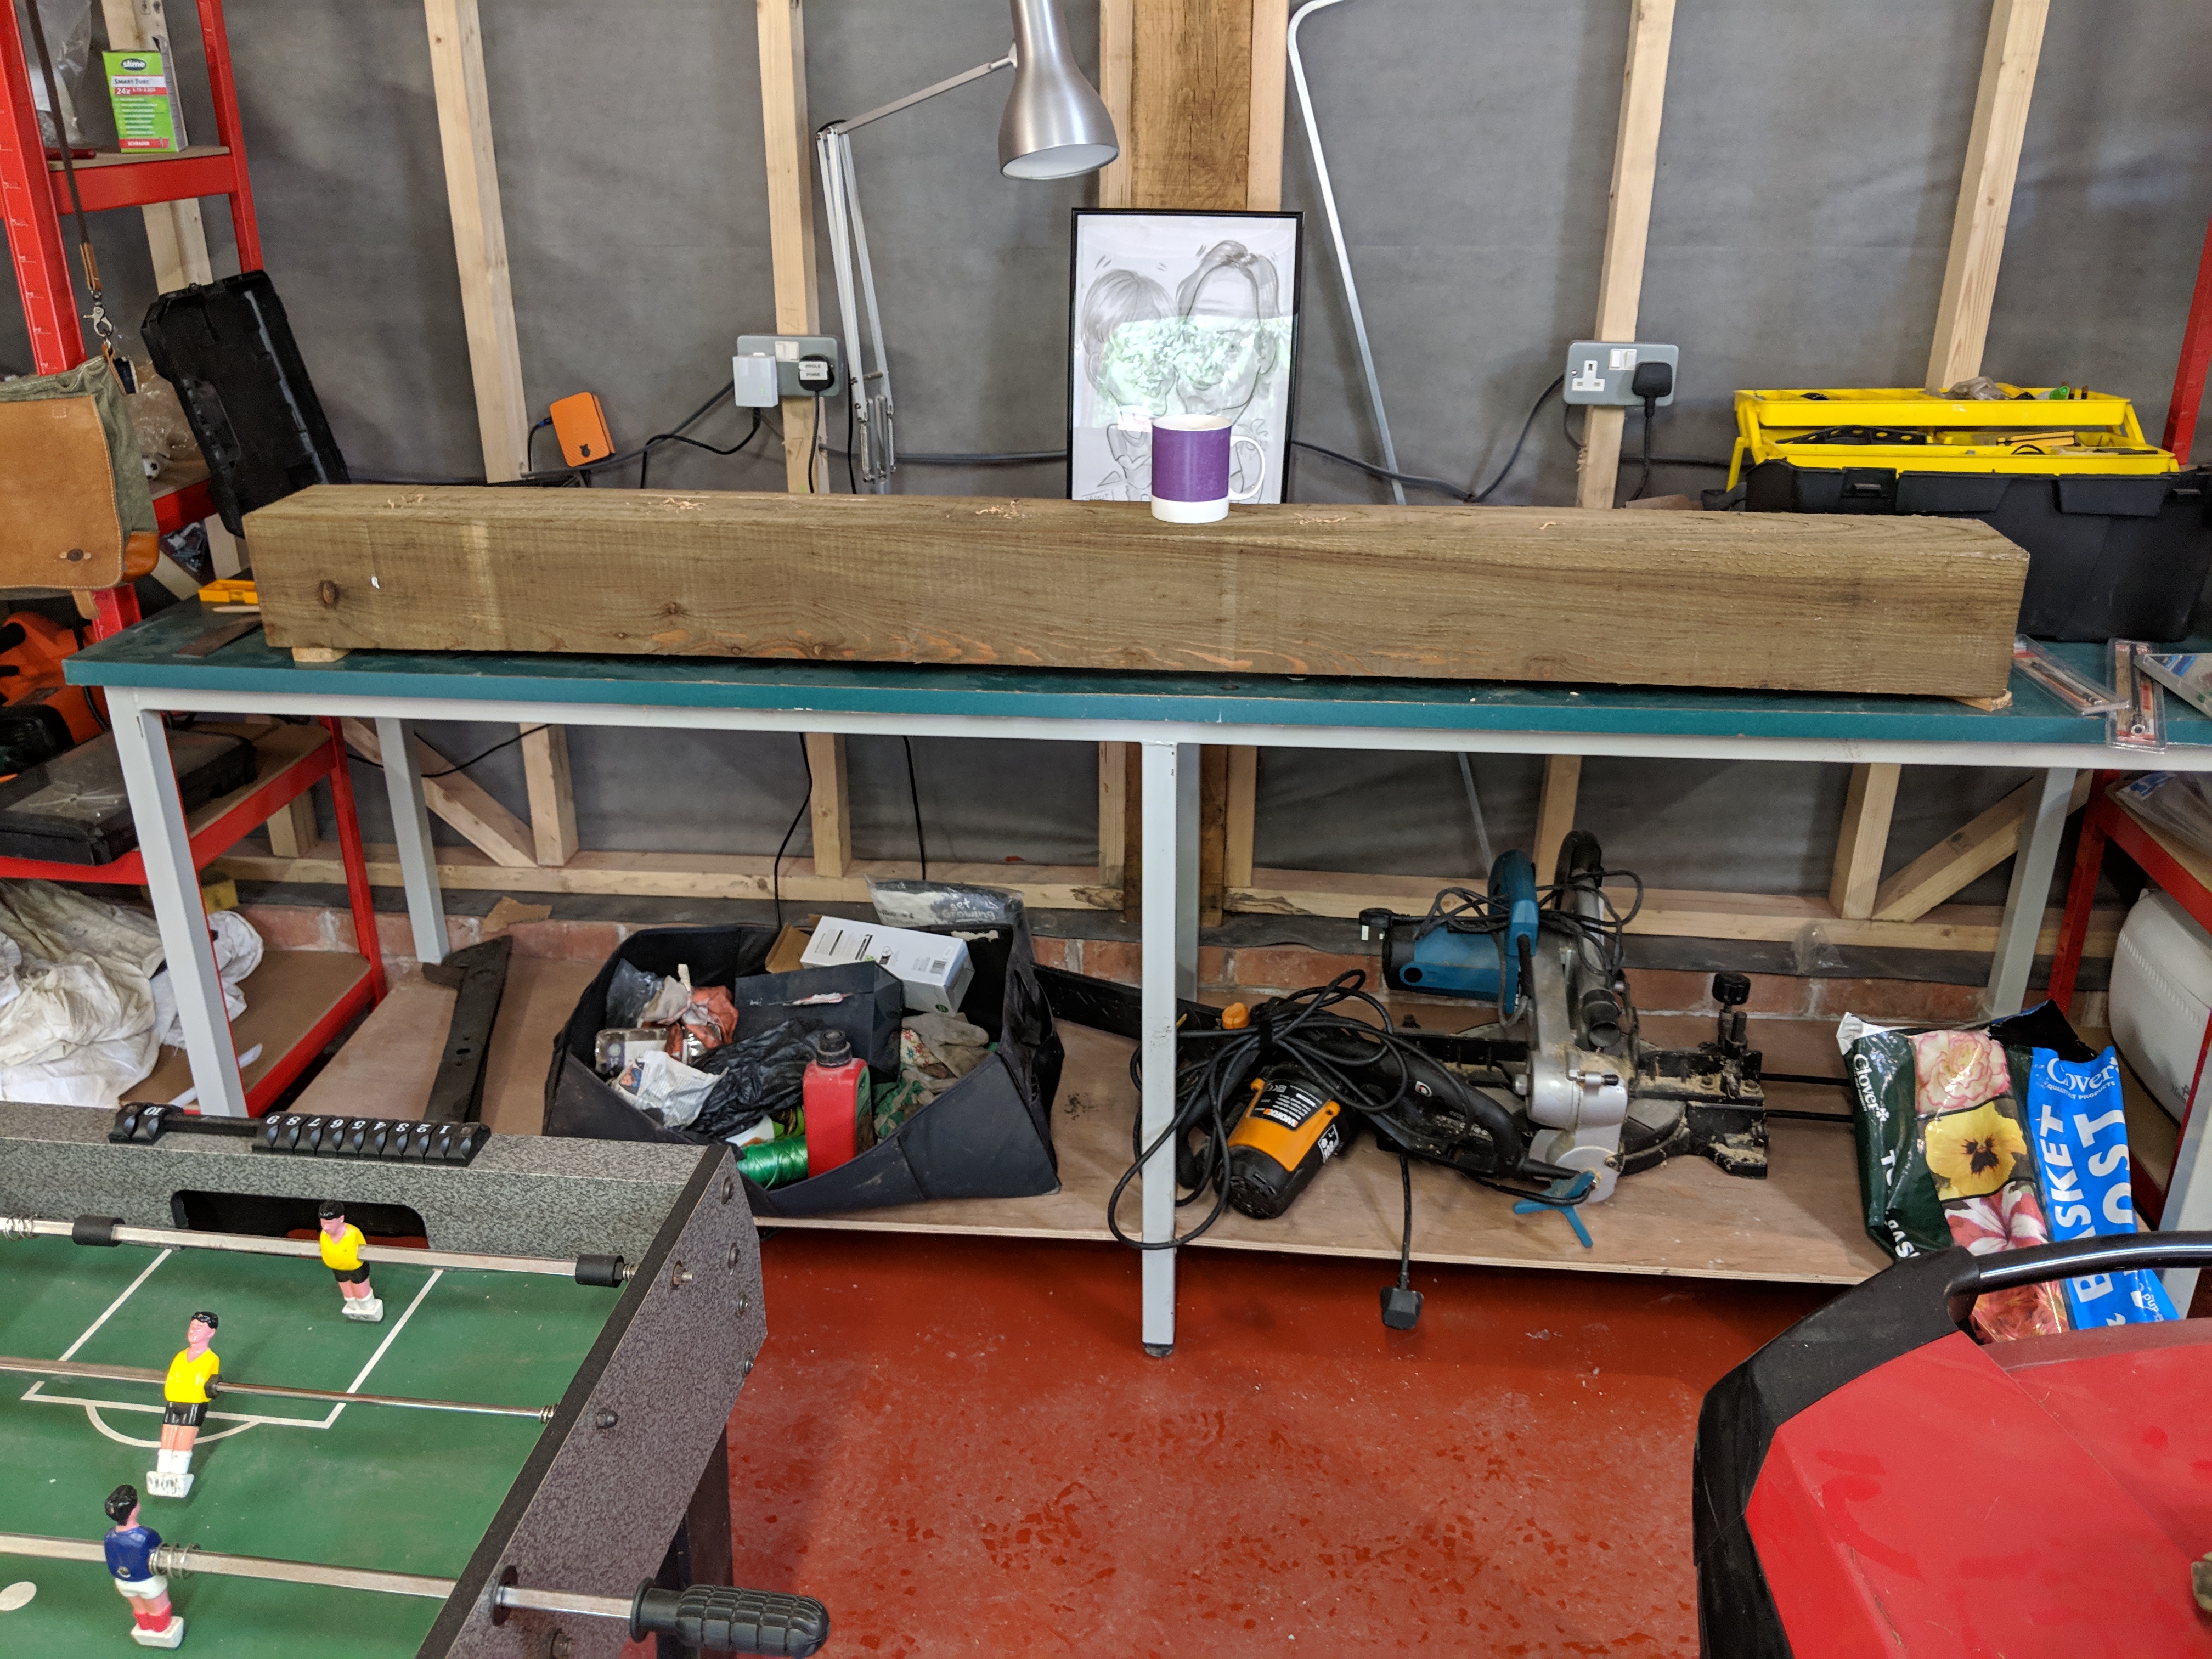
My friend Tony donated the workbench above, it’s a great piece of kit. The caricature is Oli and me when we were over in Thailand a couple of years ago. But the important part of this picture is the block of wood on the workbench. That’s a wooden gatepost that attaches to the brick gatepost and has the gates mounted on it. So I’m drilling holes in it. Big holes, with a new drill bit that I had to buy.
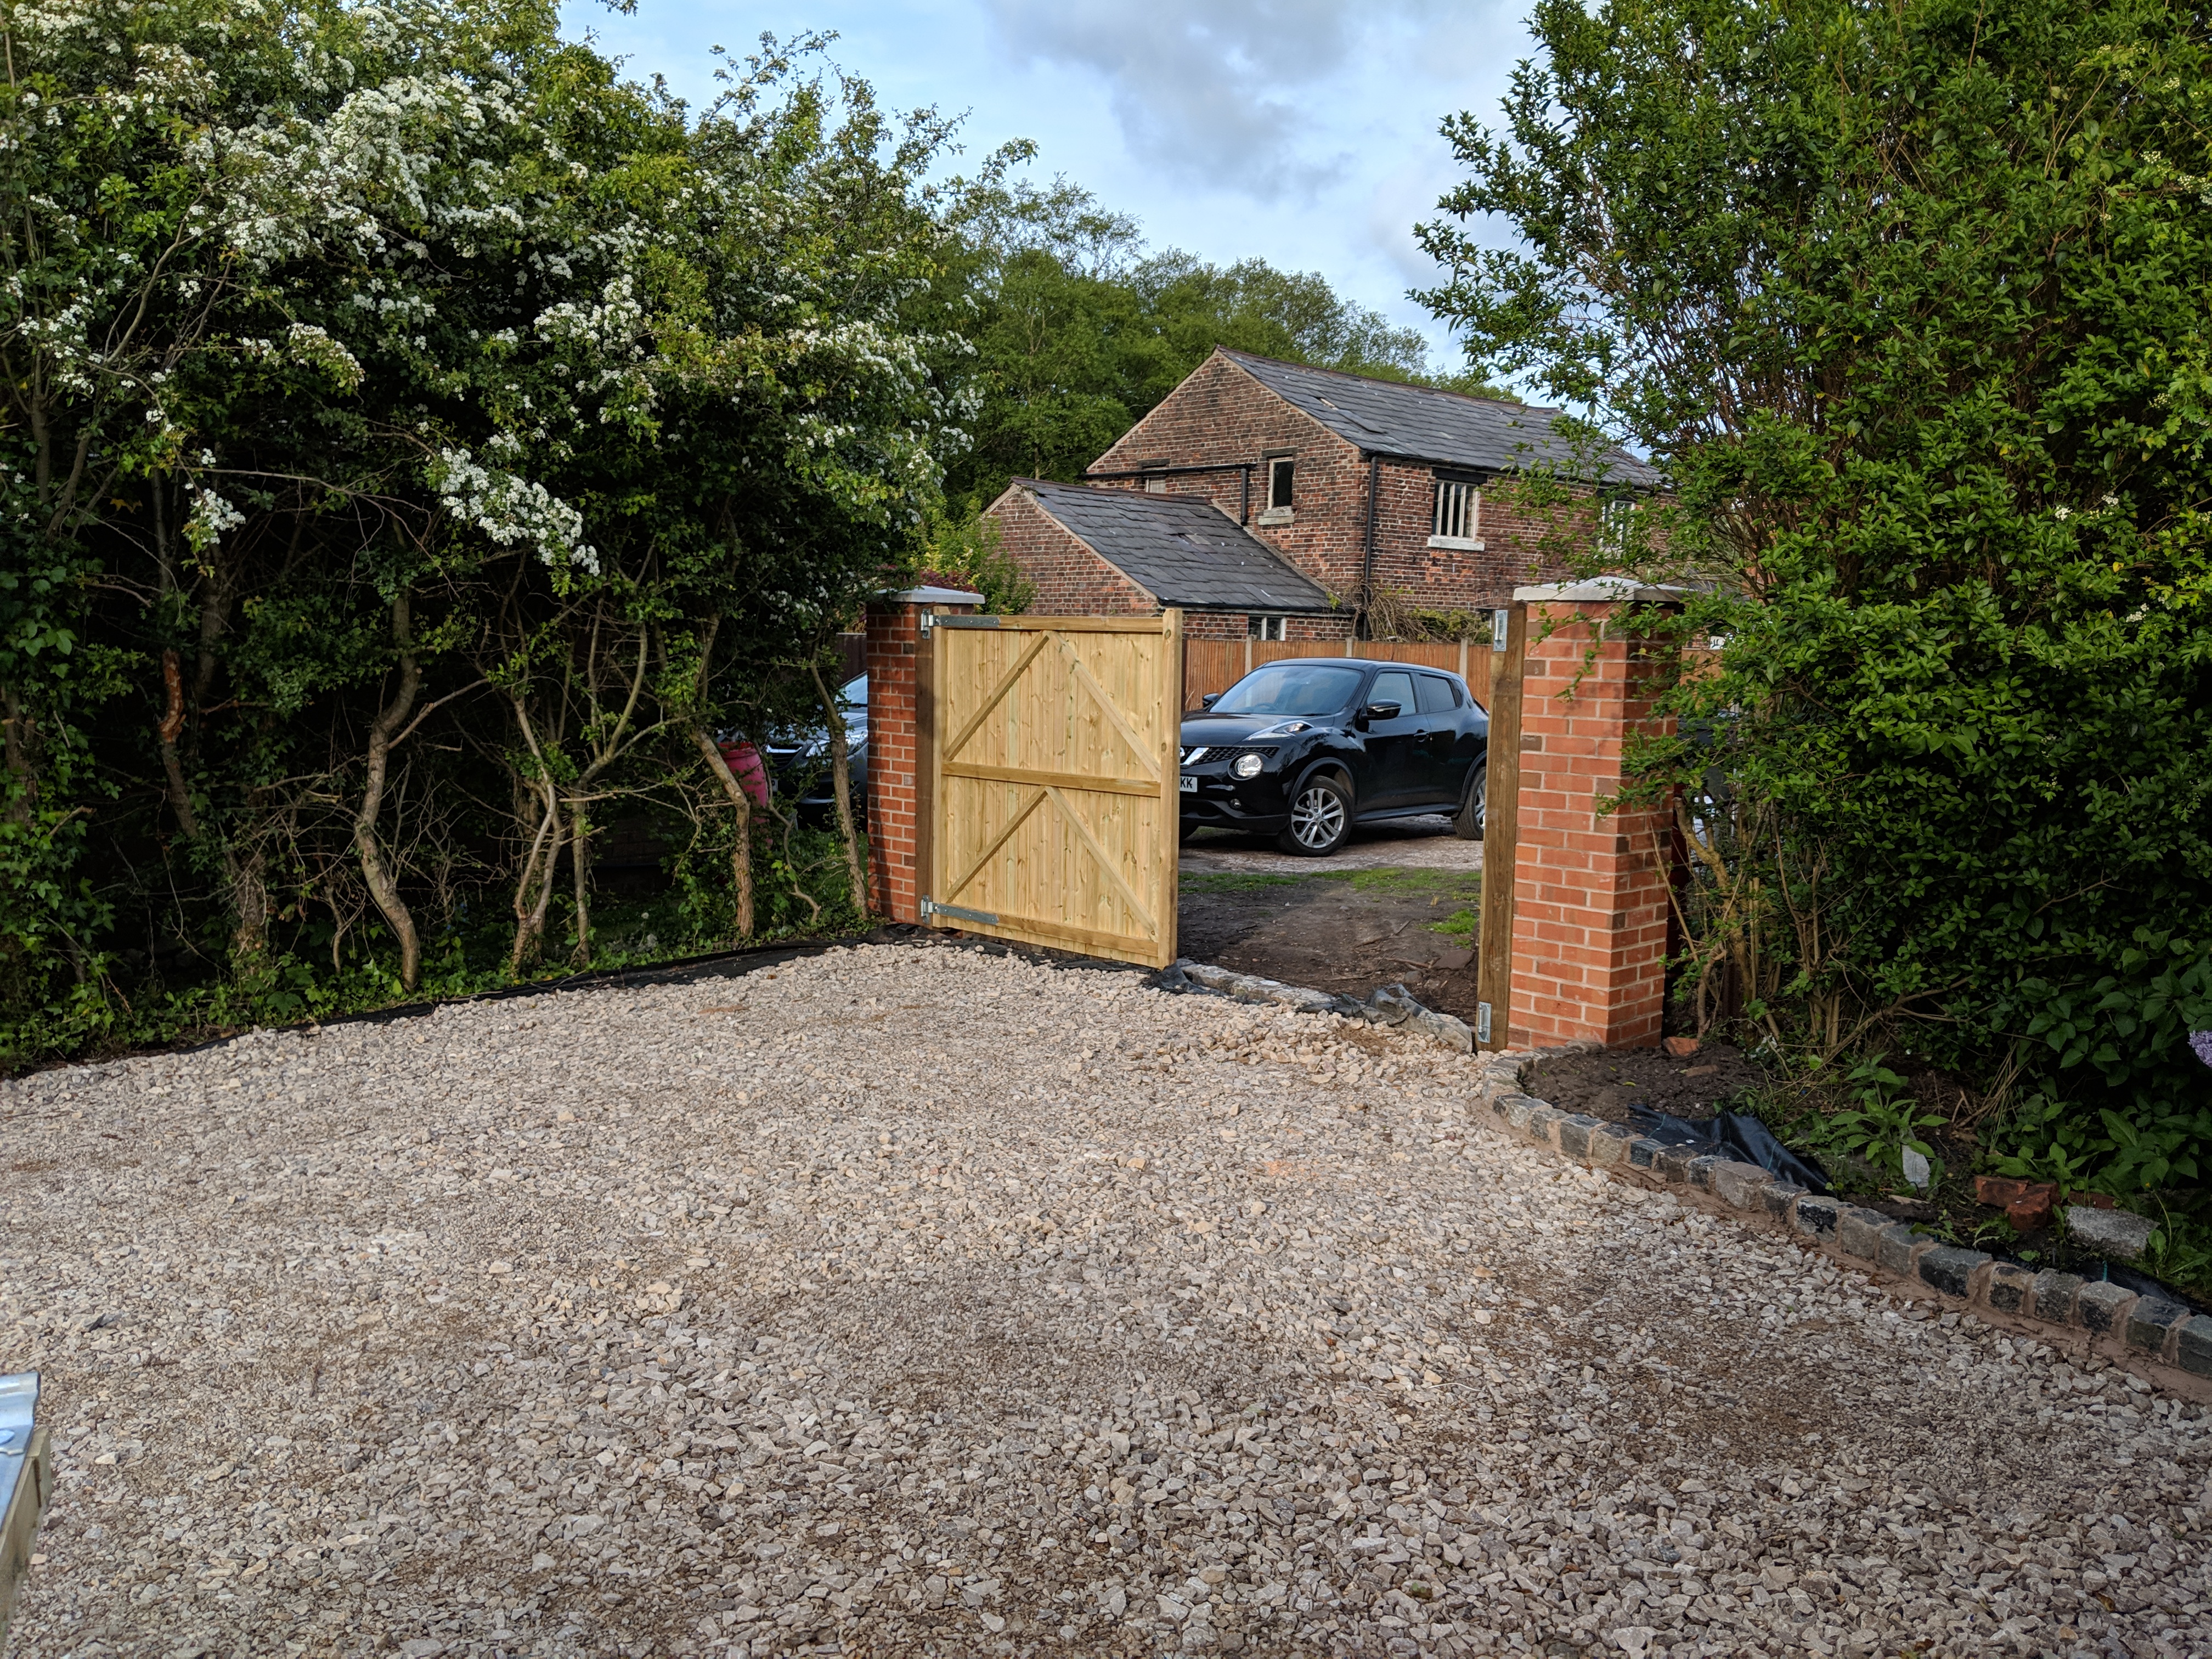
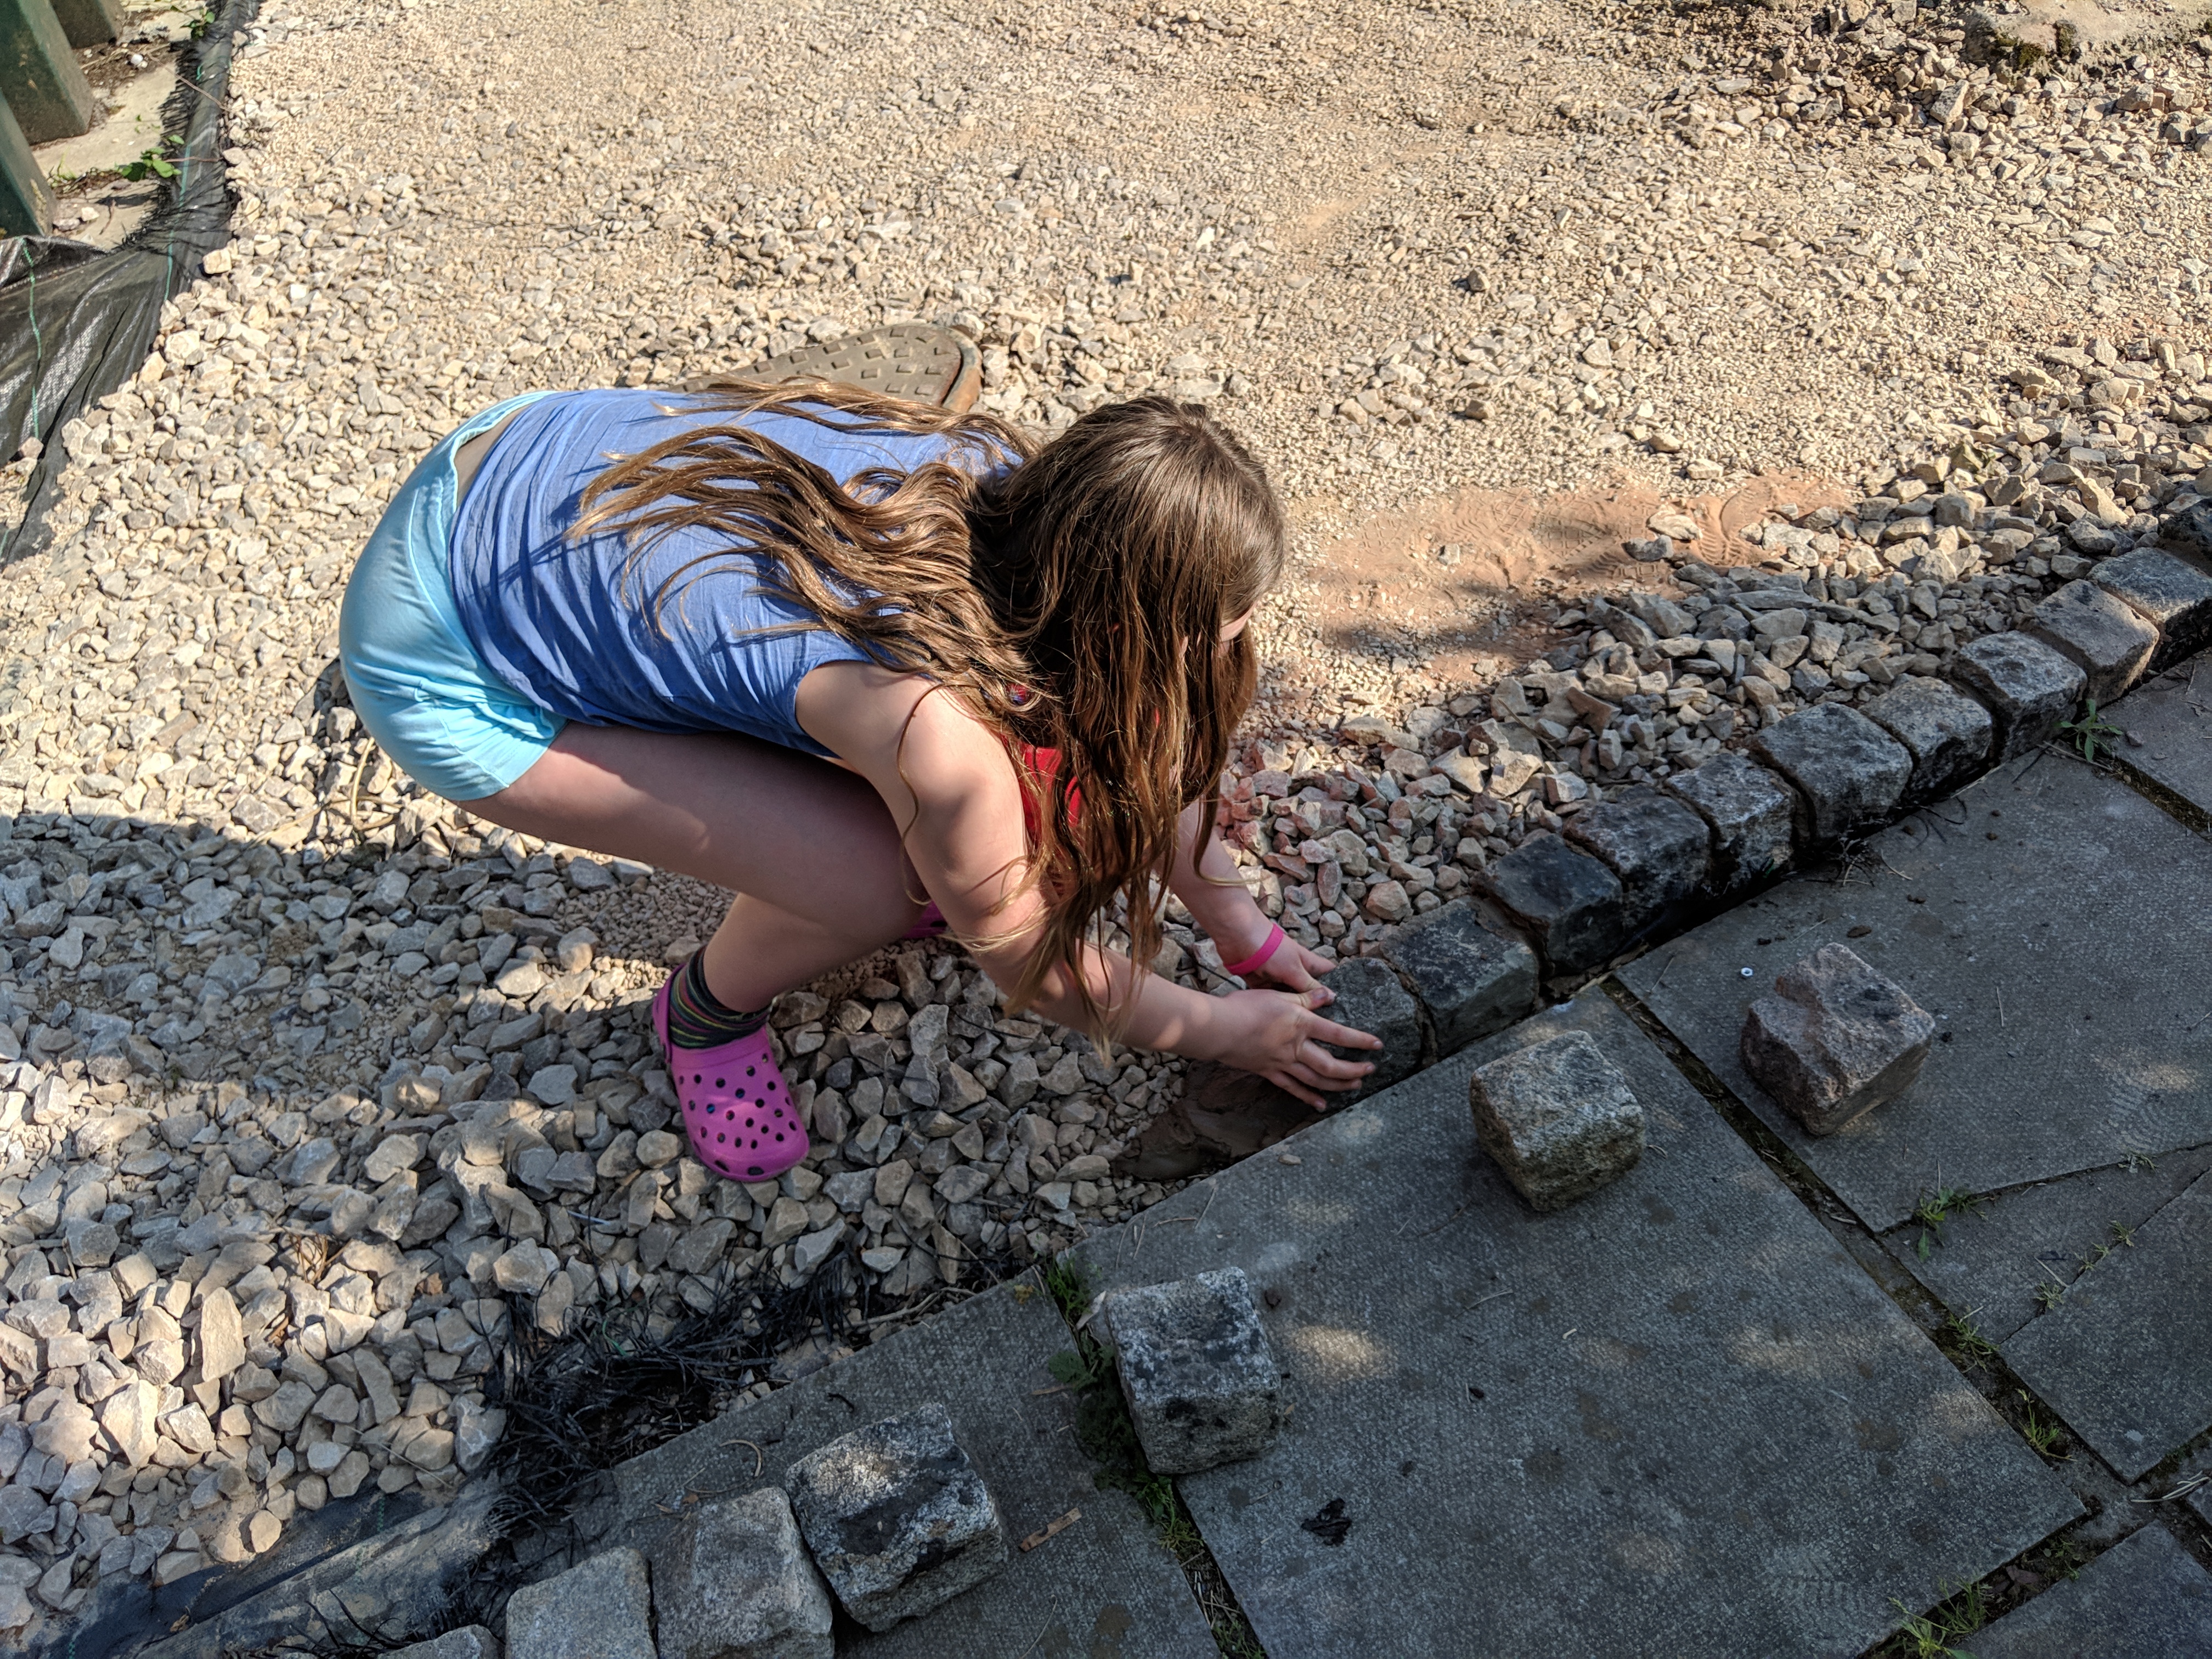
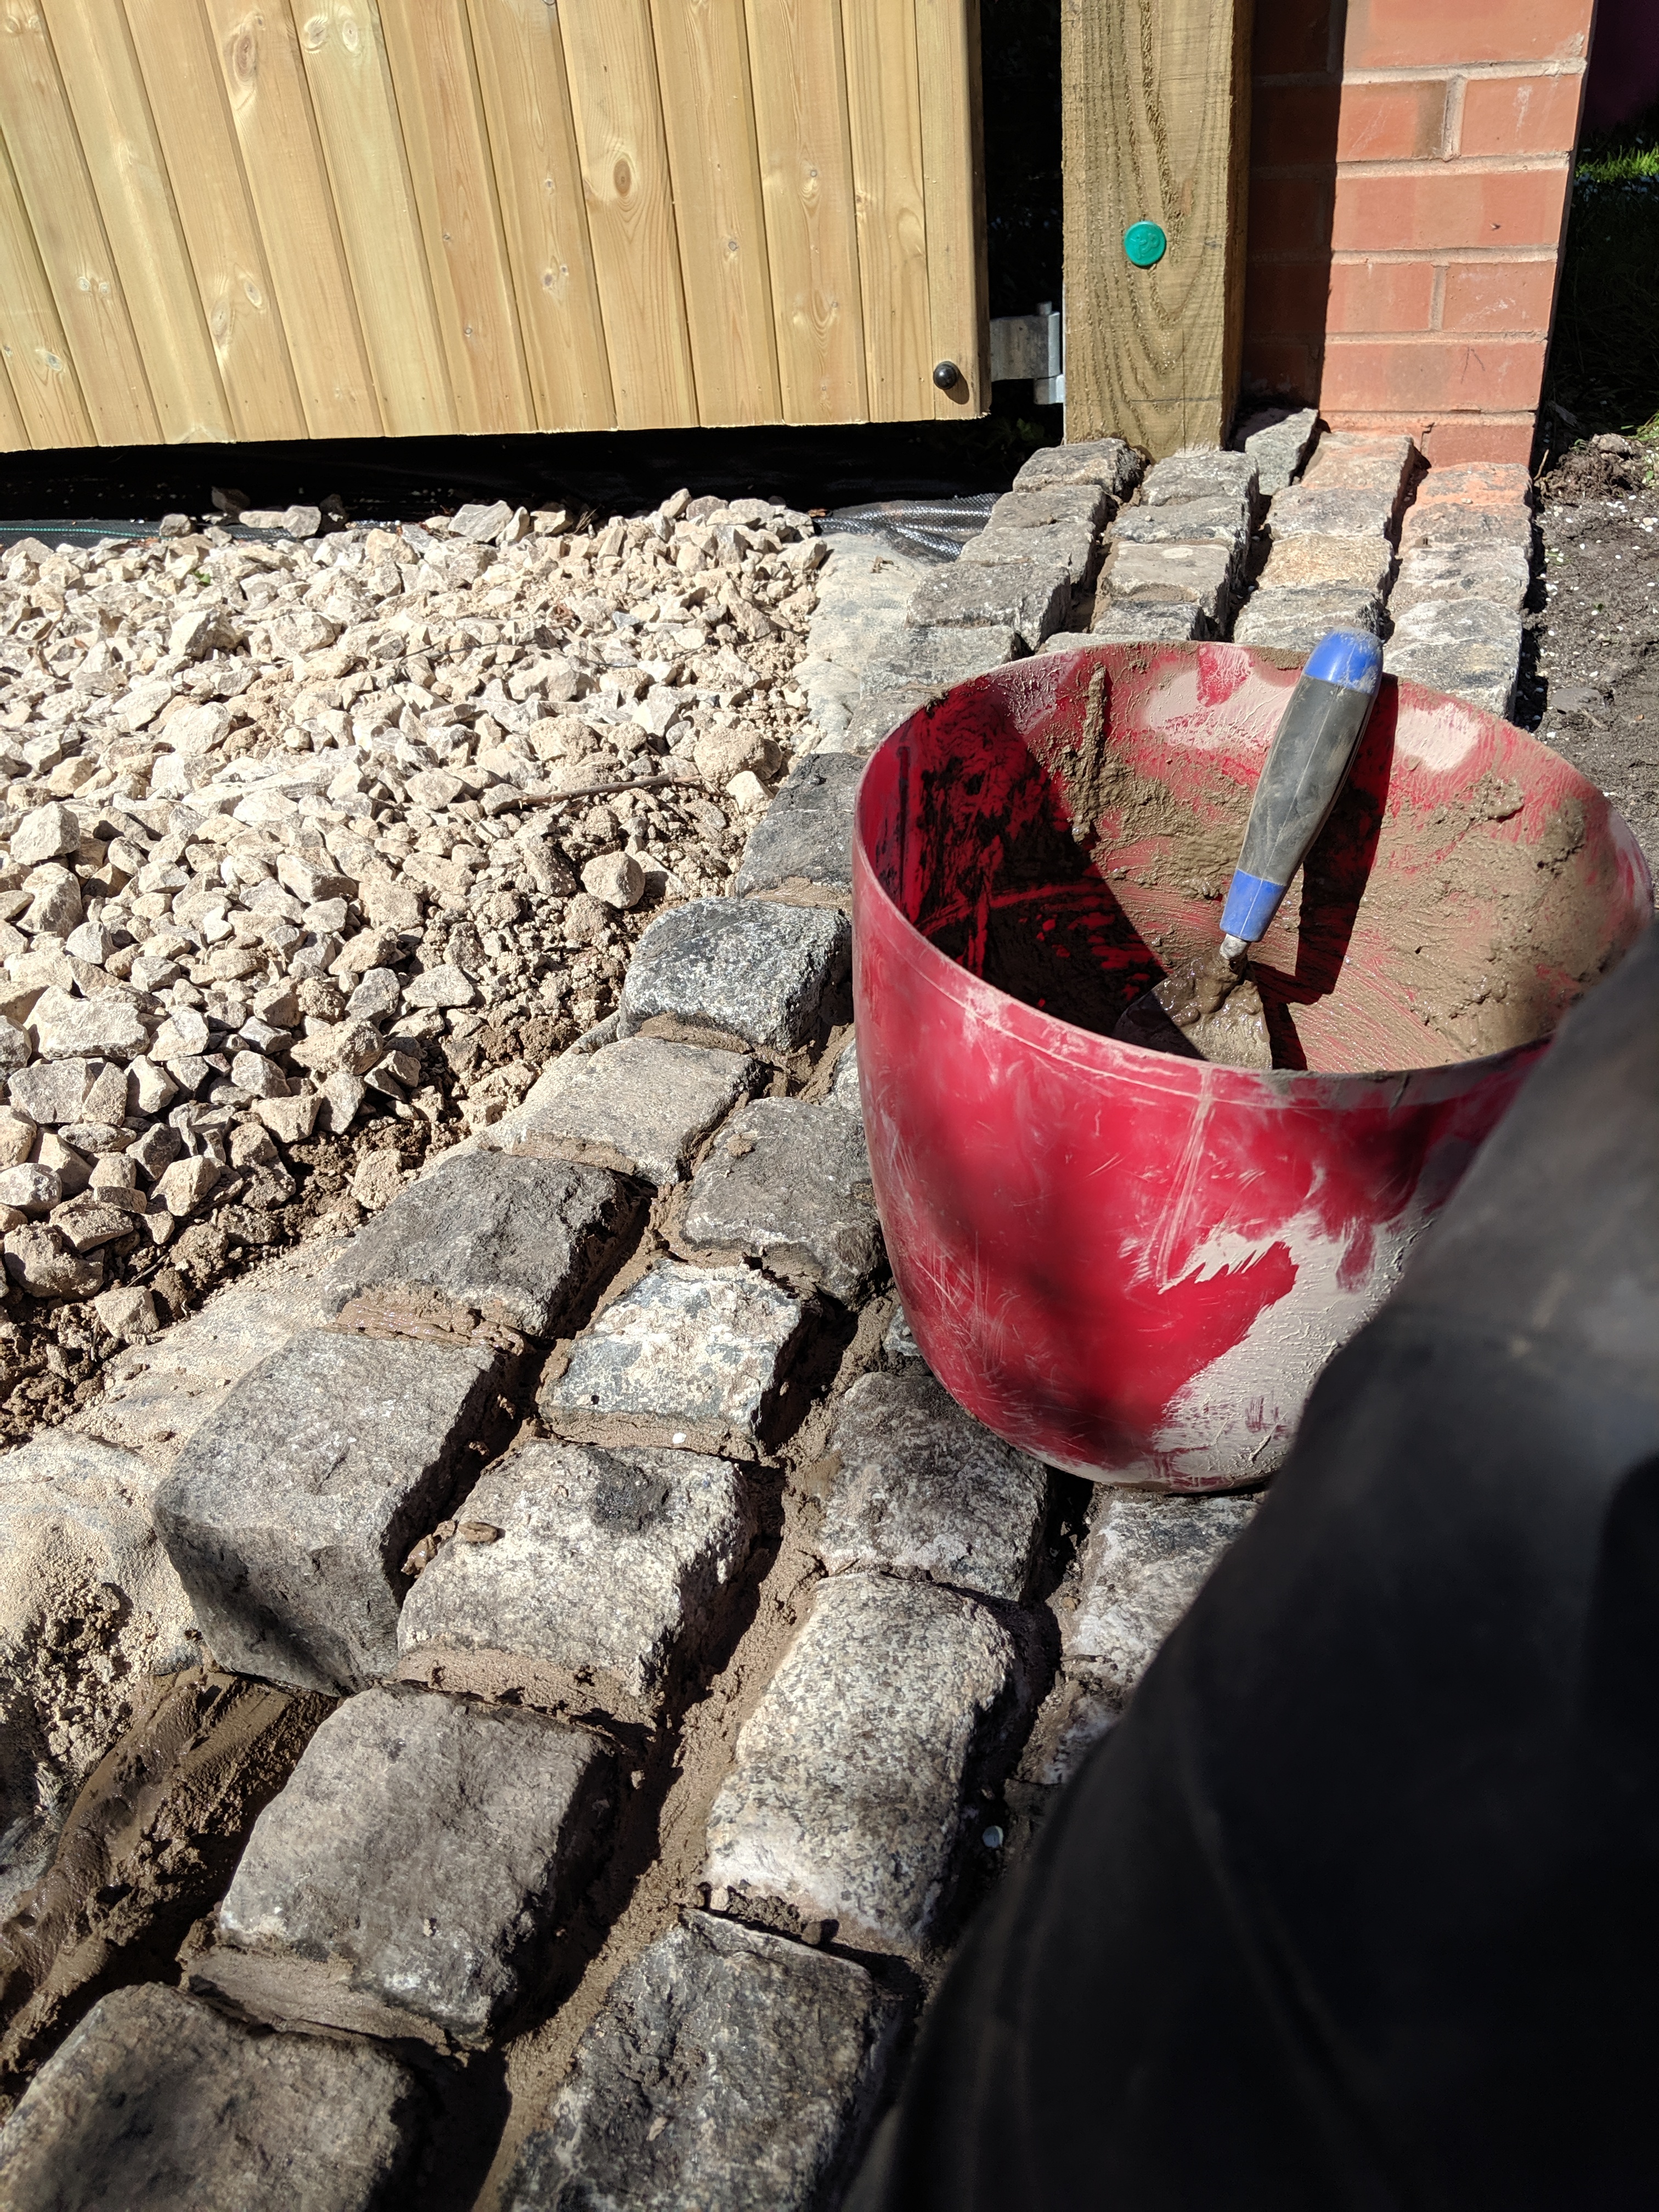
We decided that since we’d laid a few cobbles we were now experts! So it was time to lay a whole bunch of cobbles across the gates. They had to go up slightly to form a ramp so that we could take into account the hardcore and gravel on the other side. It turned out pretty well but I wish I’d taken the time to put a guide line in to try and make them level across the gates. Oli was my labourer on the cement mixer whilst I was laying cobbles.
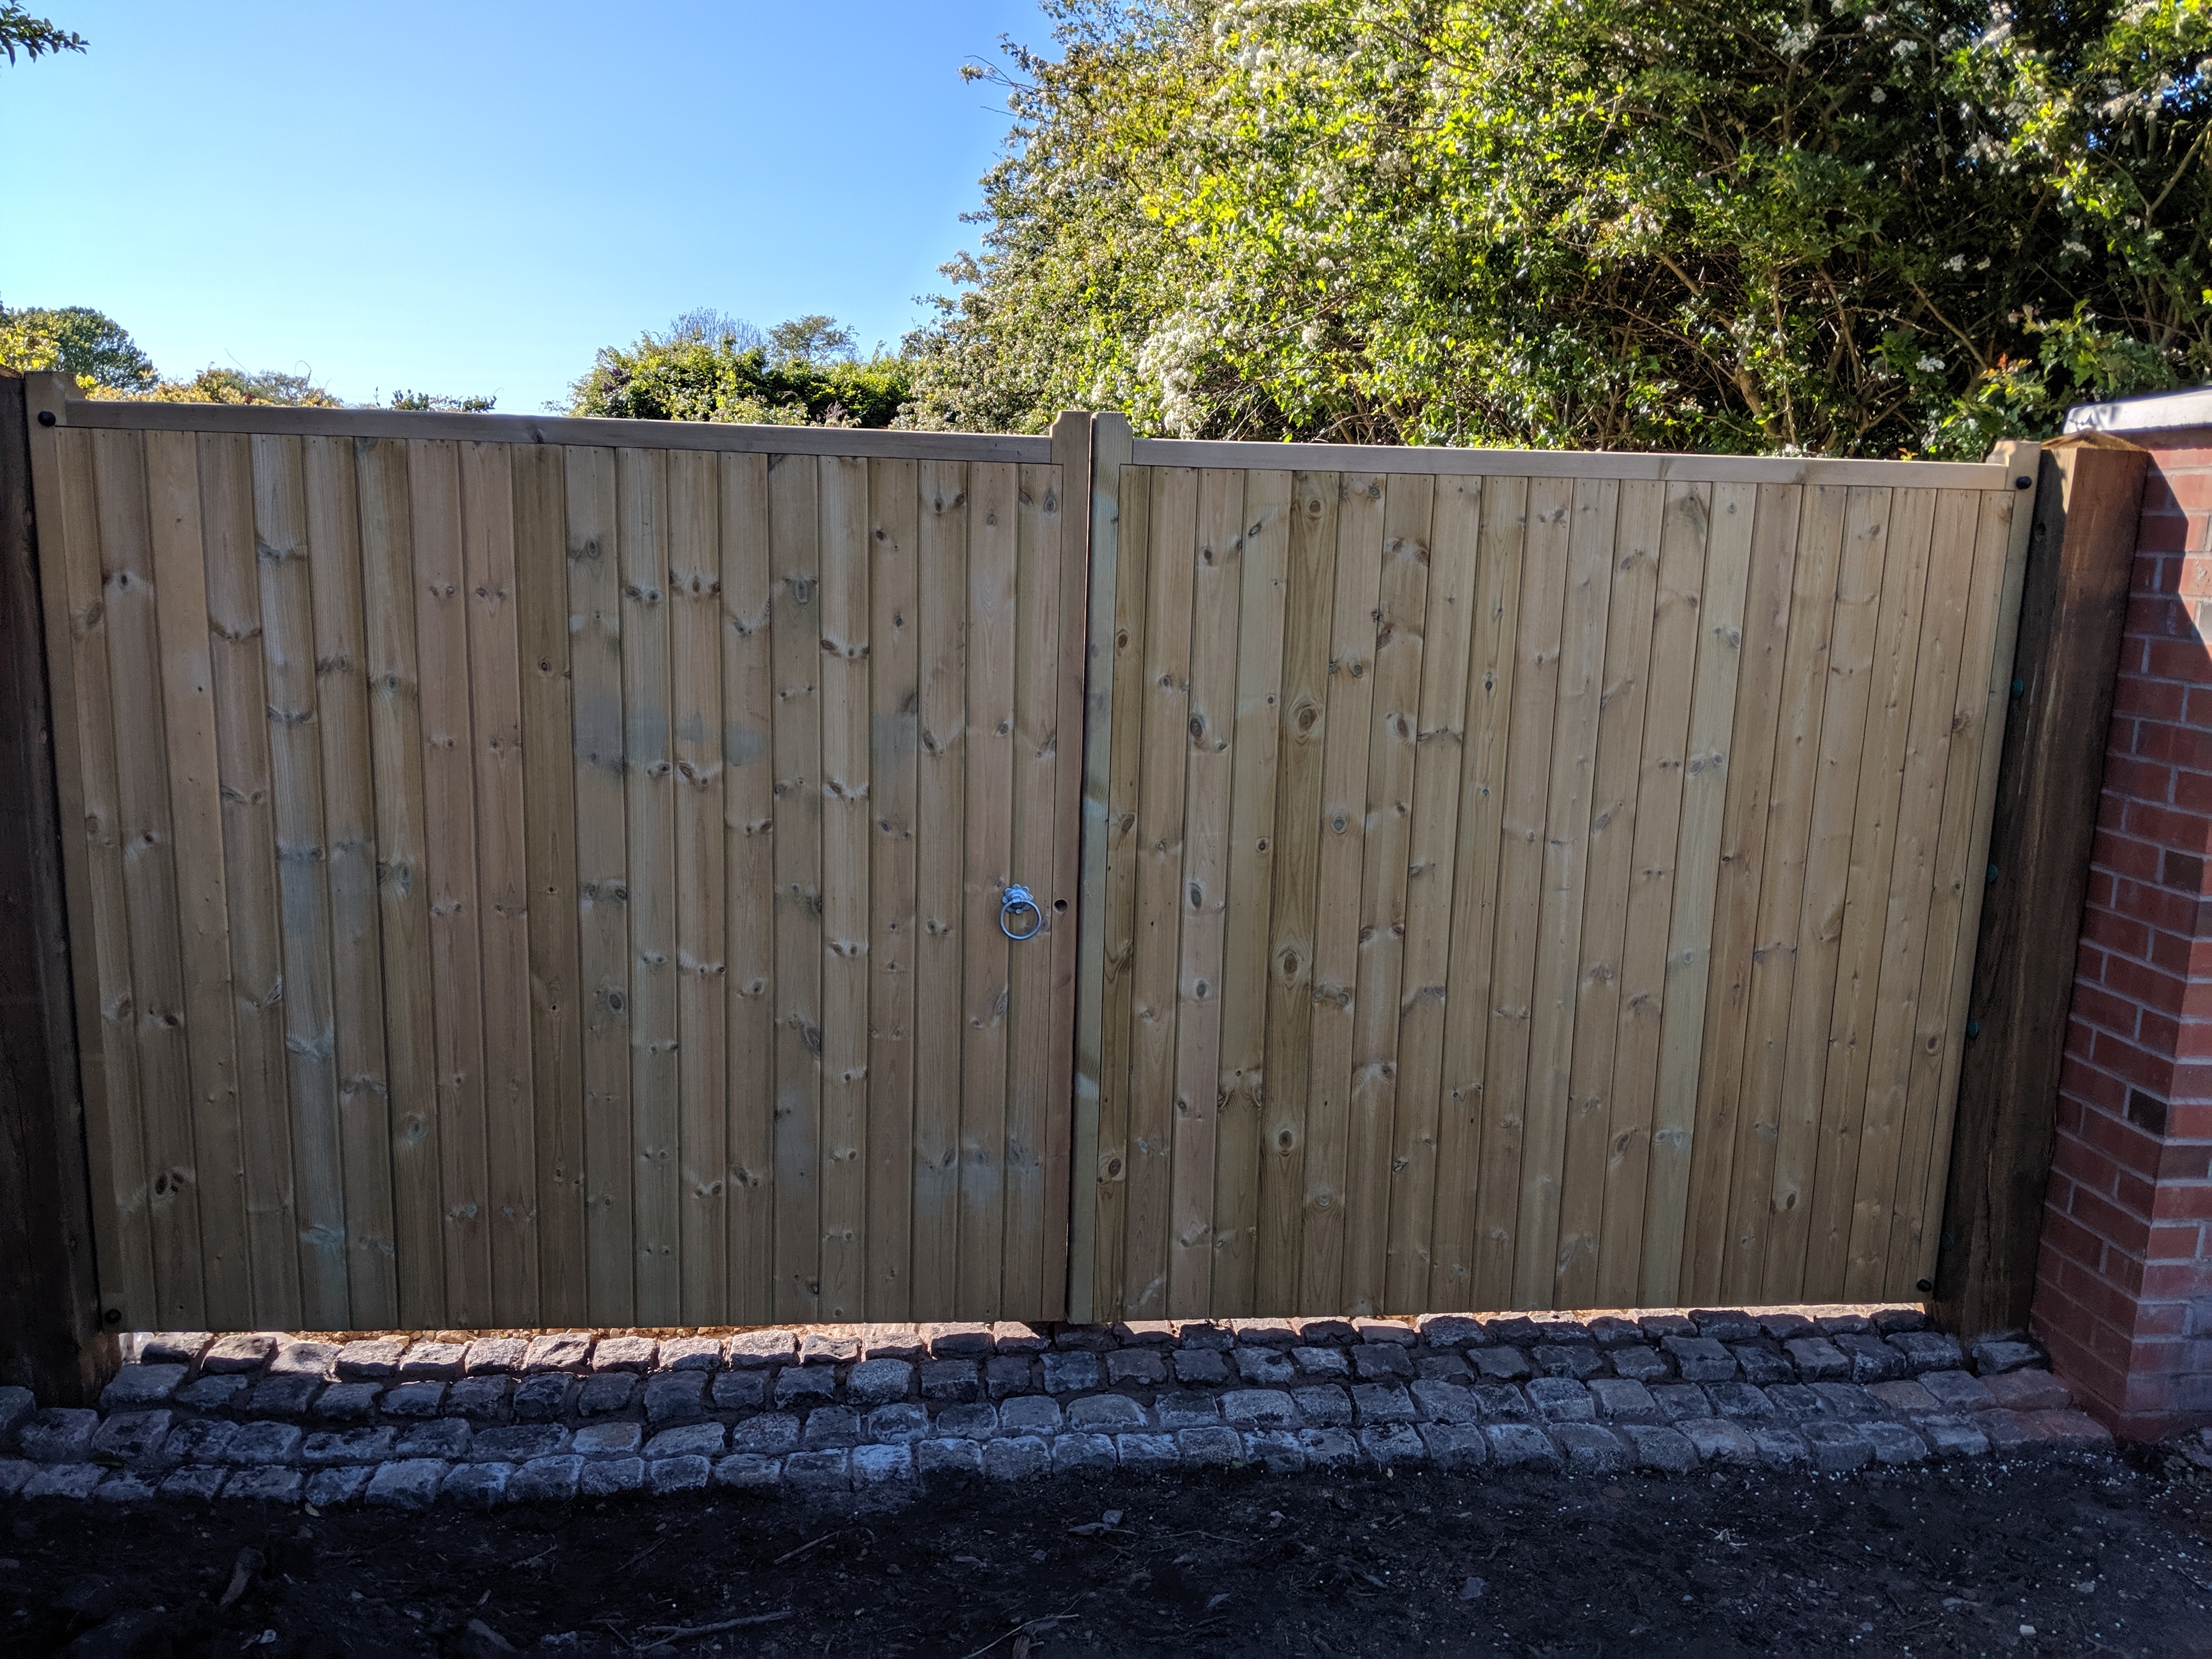
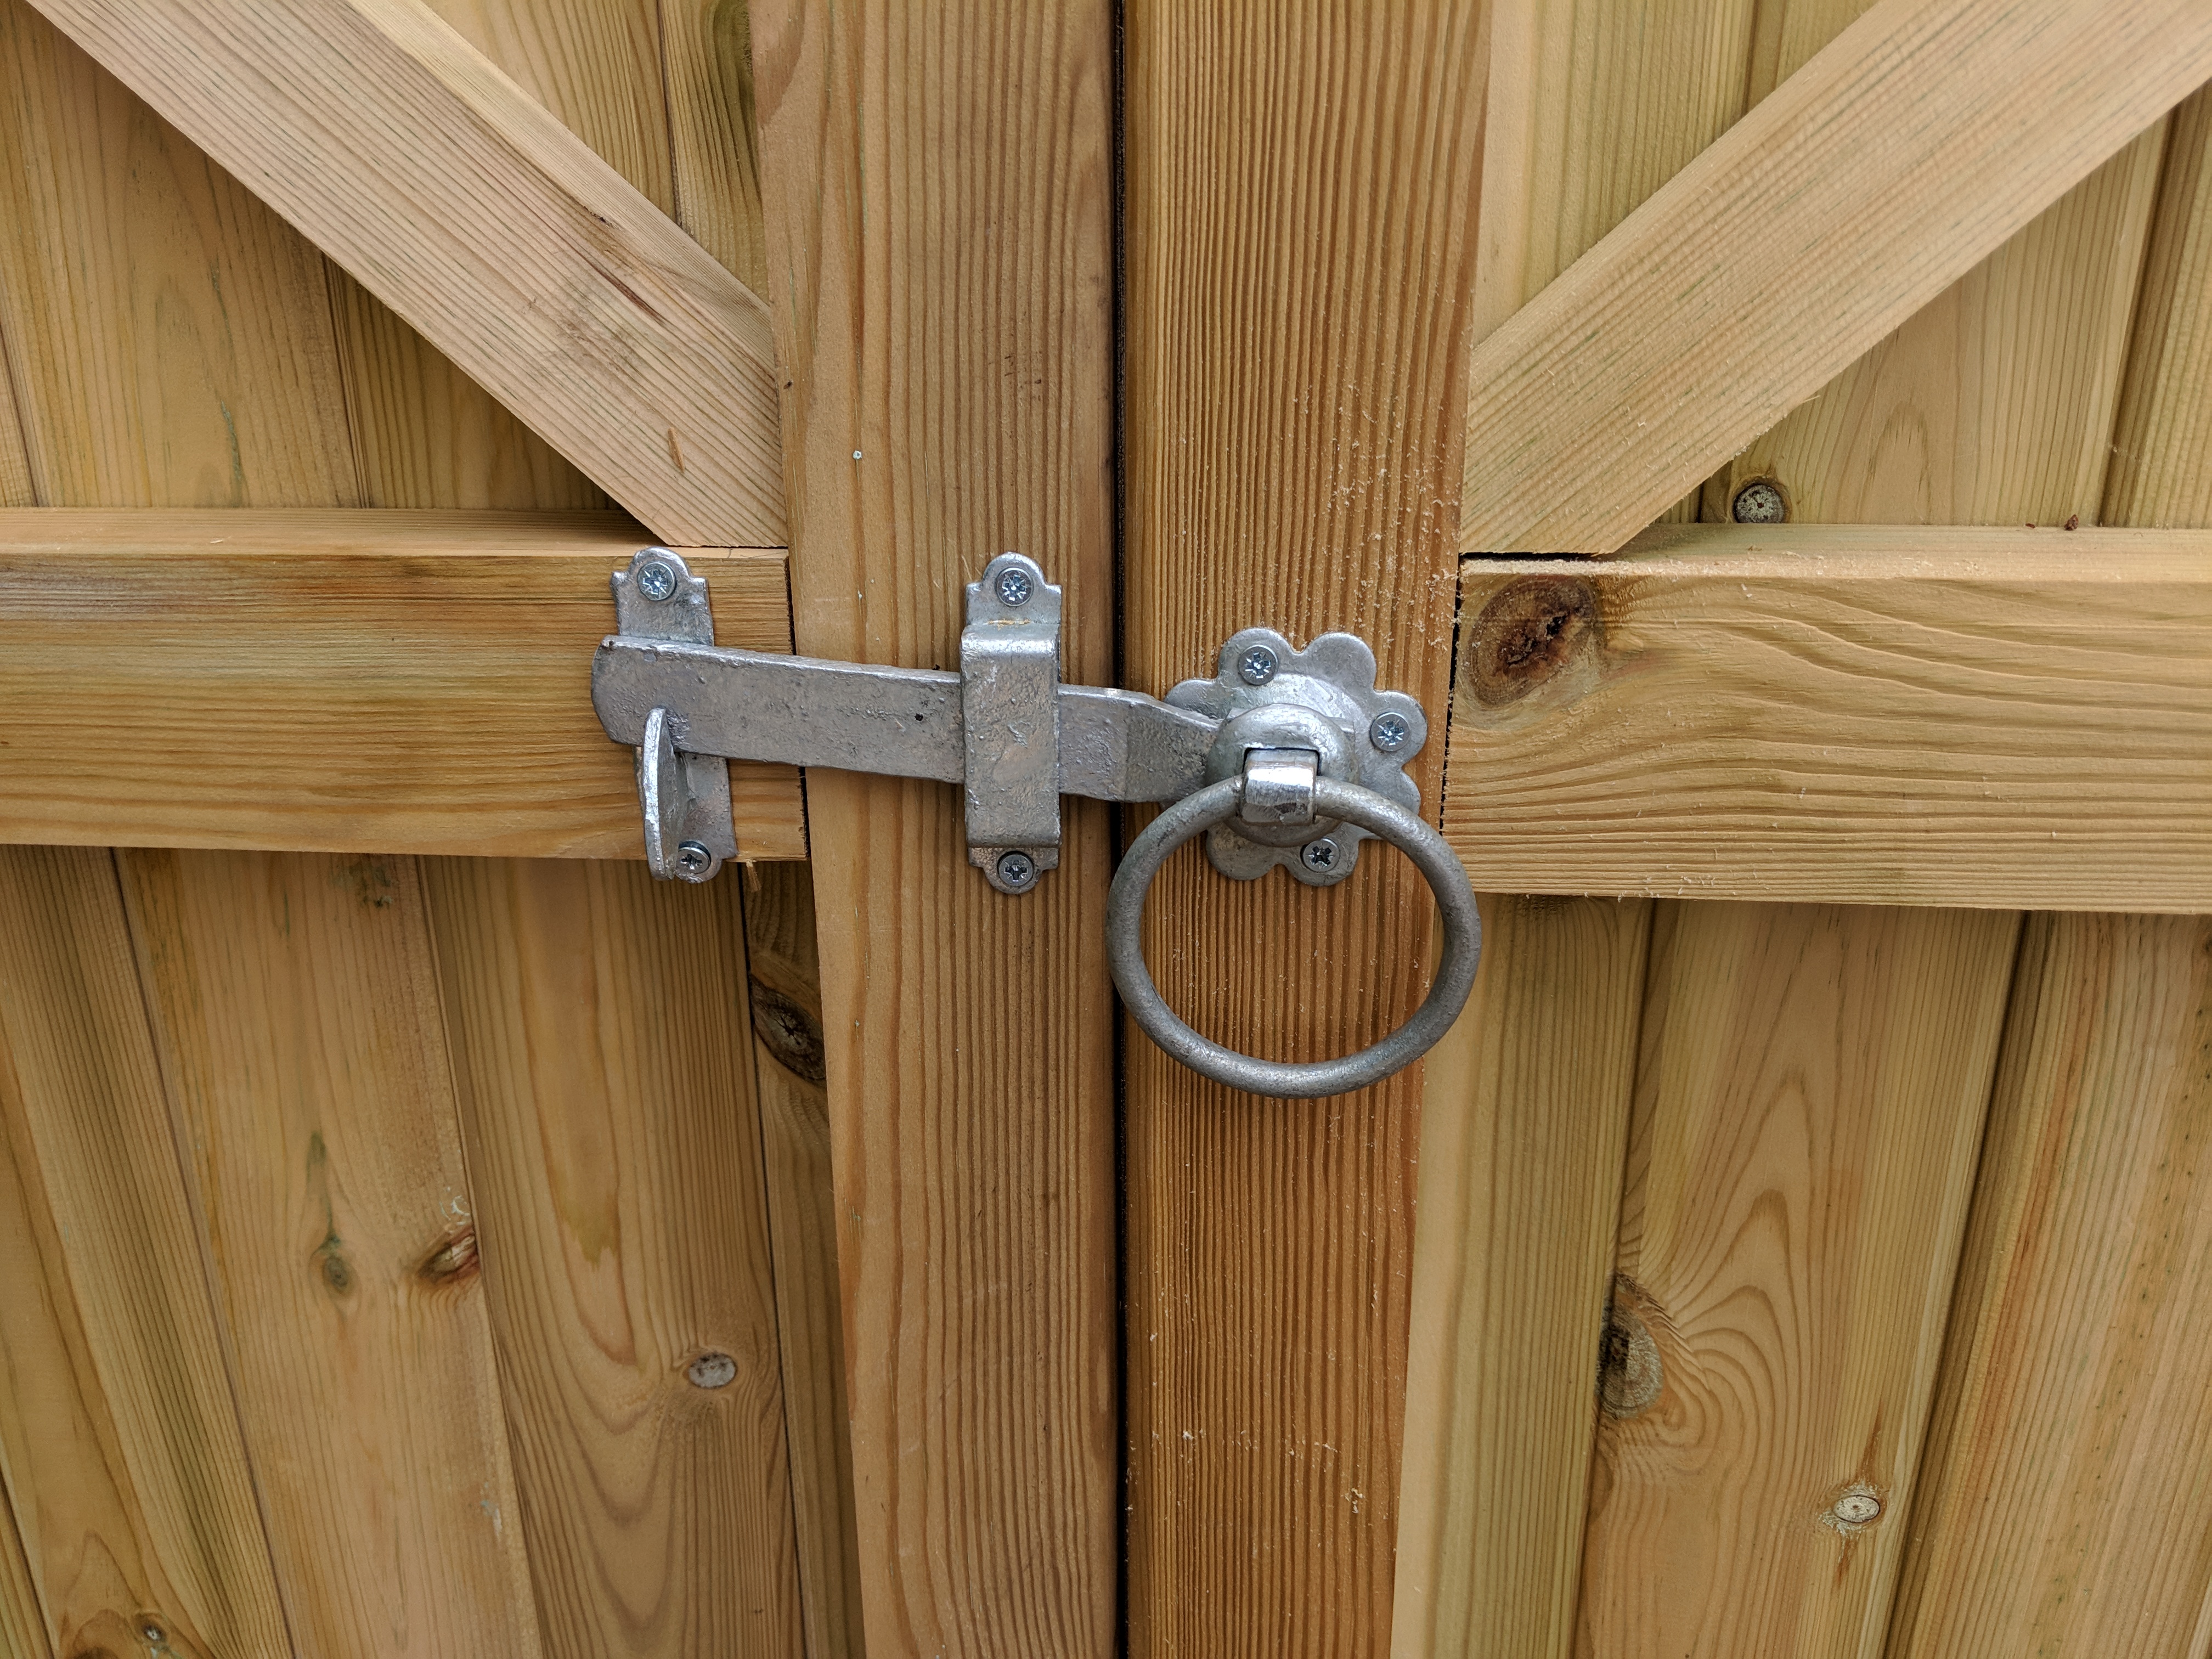
You see the black mark to the right of the gate handle. That was my earlier disastrous gate furniture attempt when I essentially bolted the gates closed.
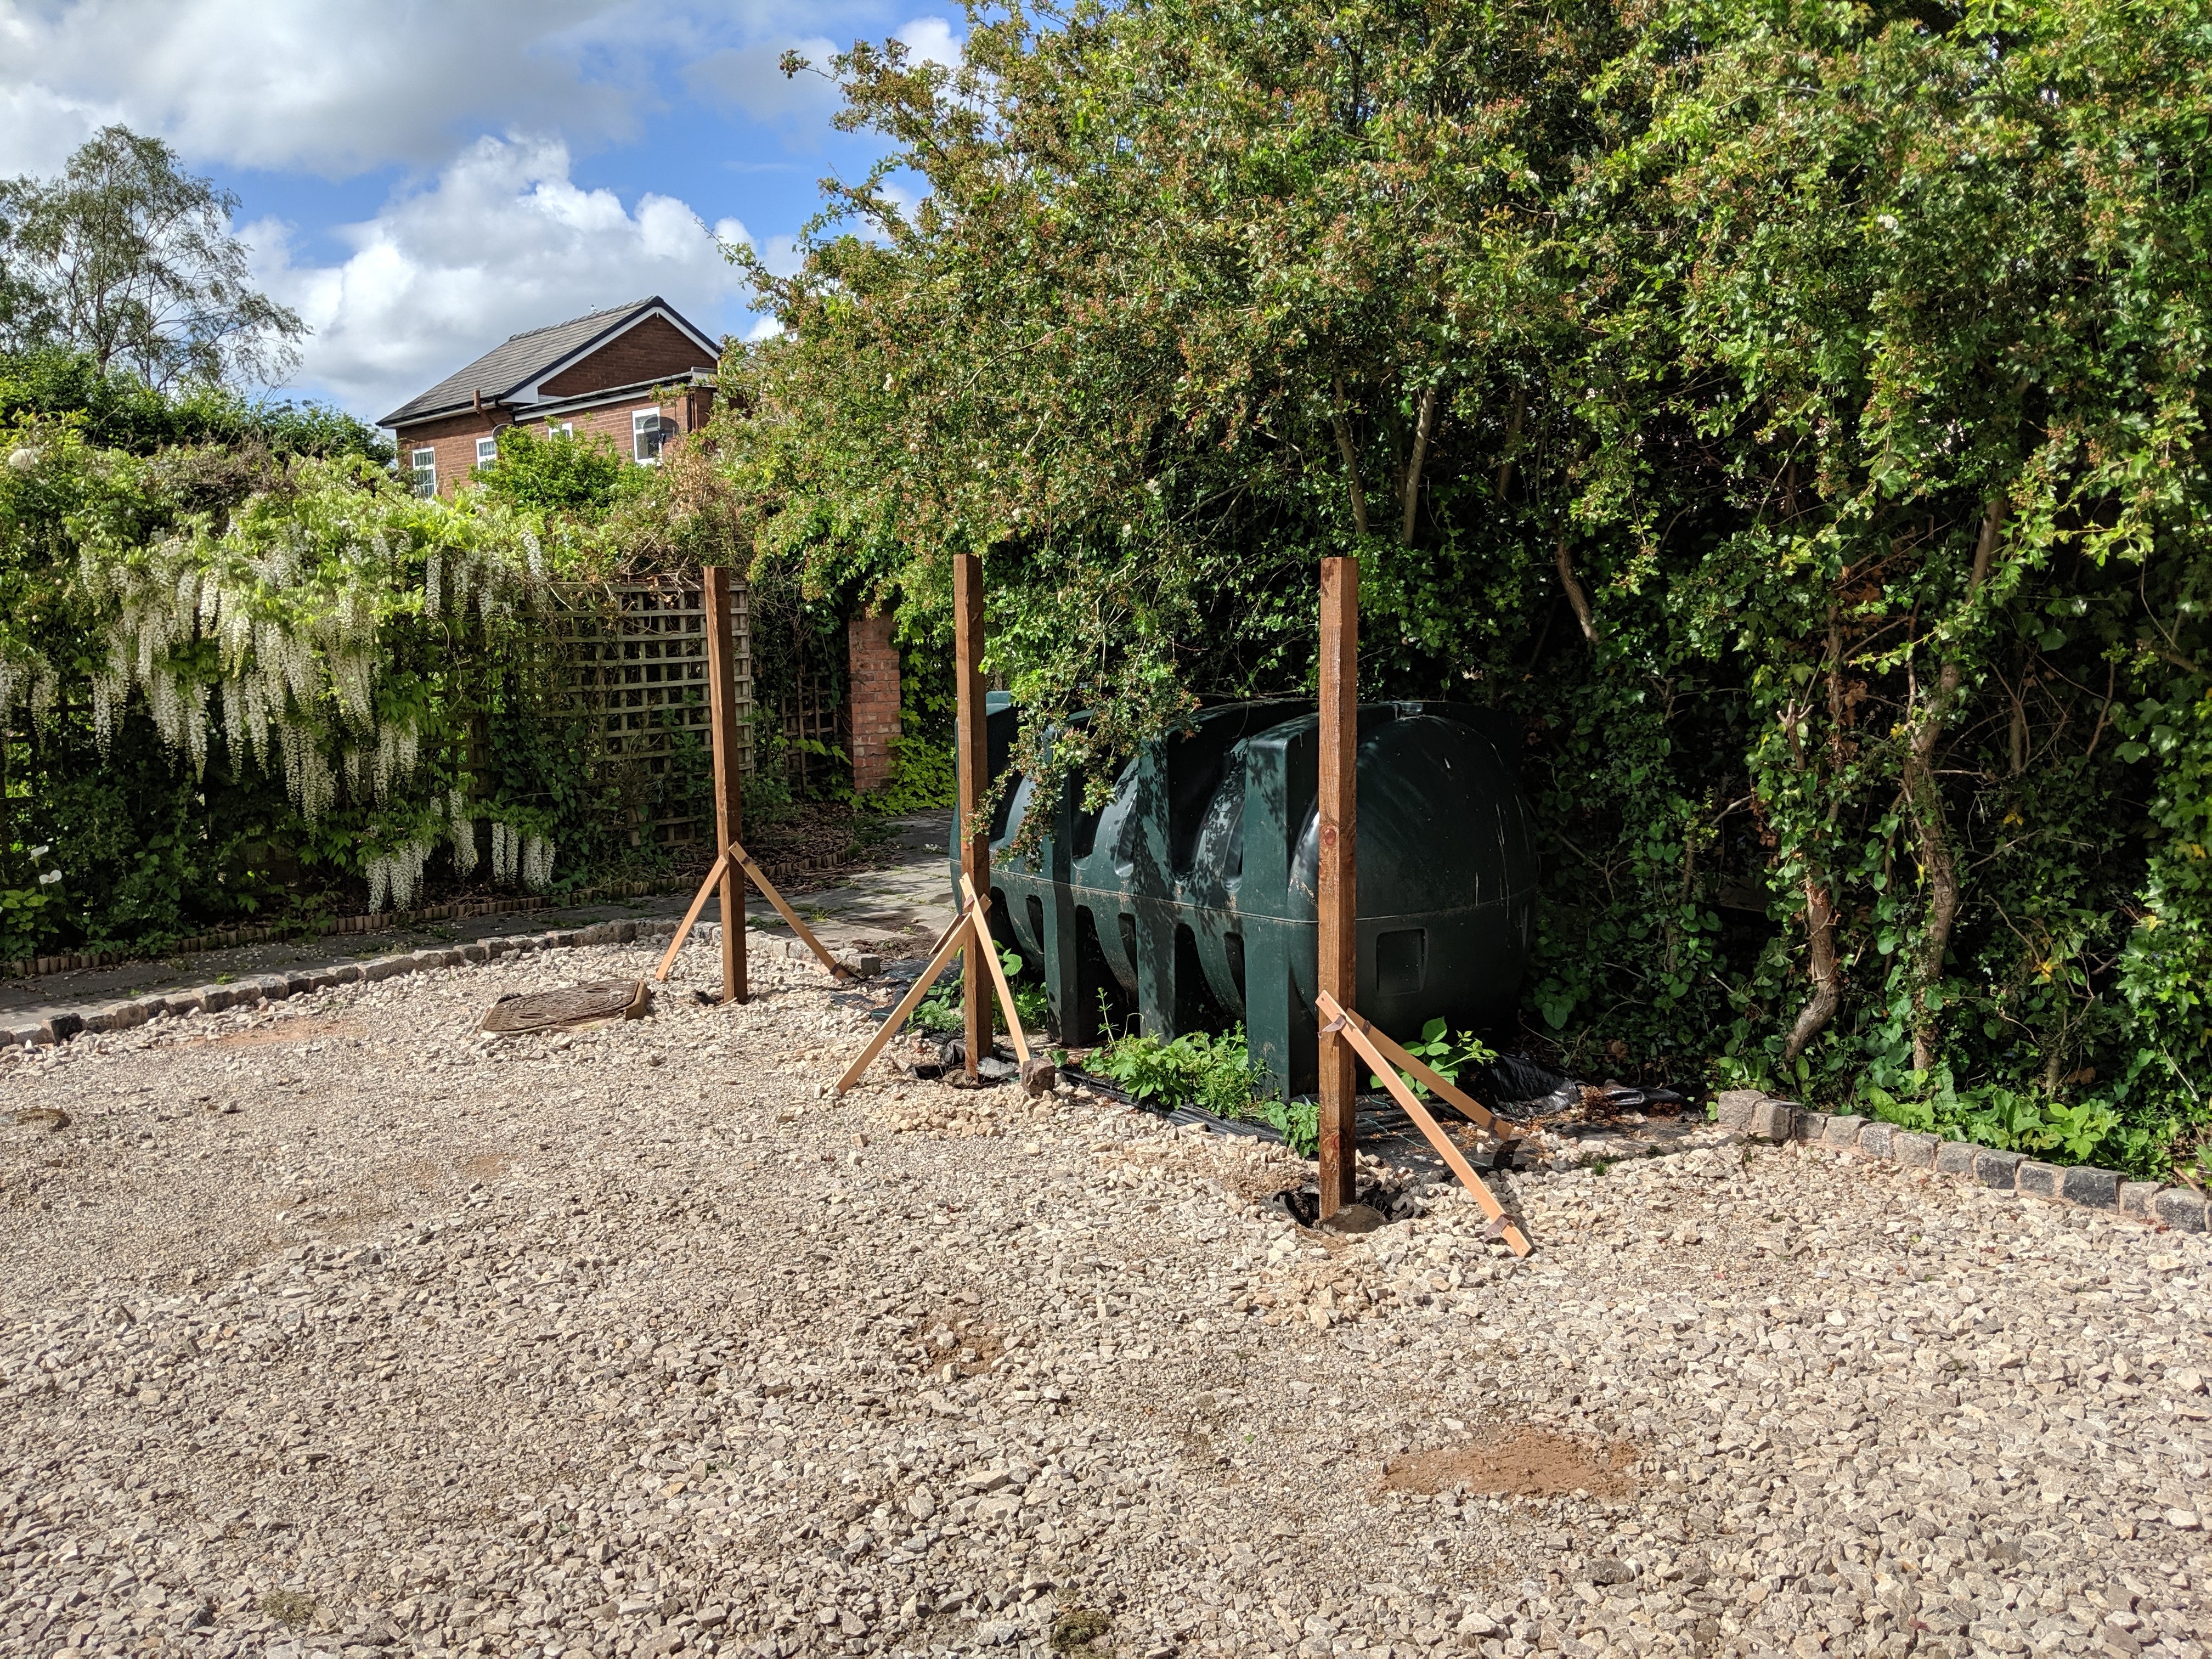
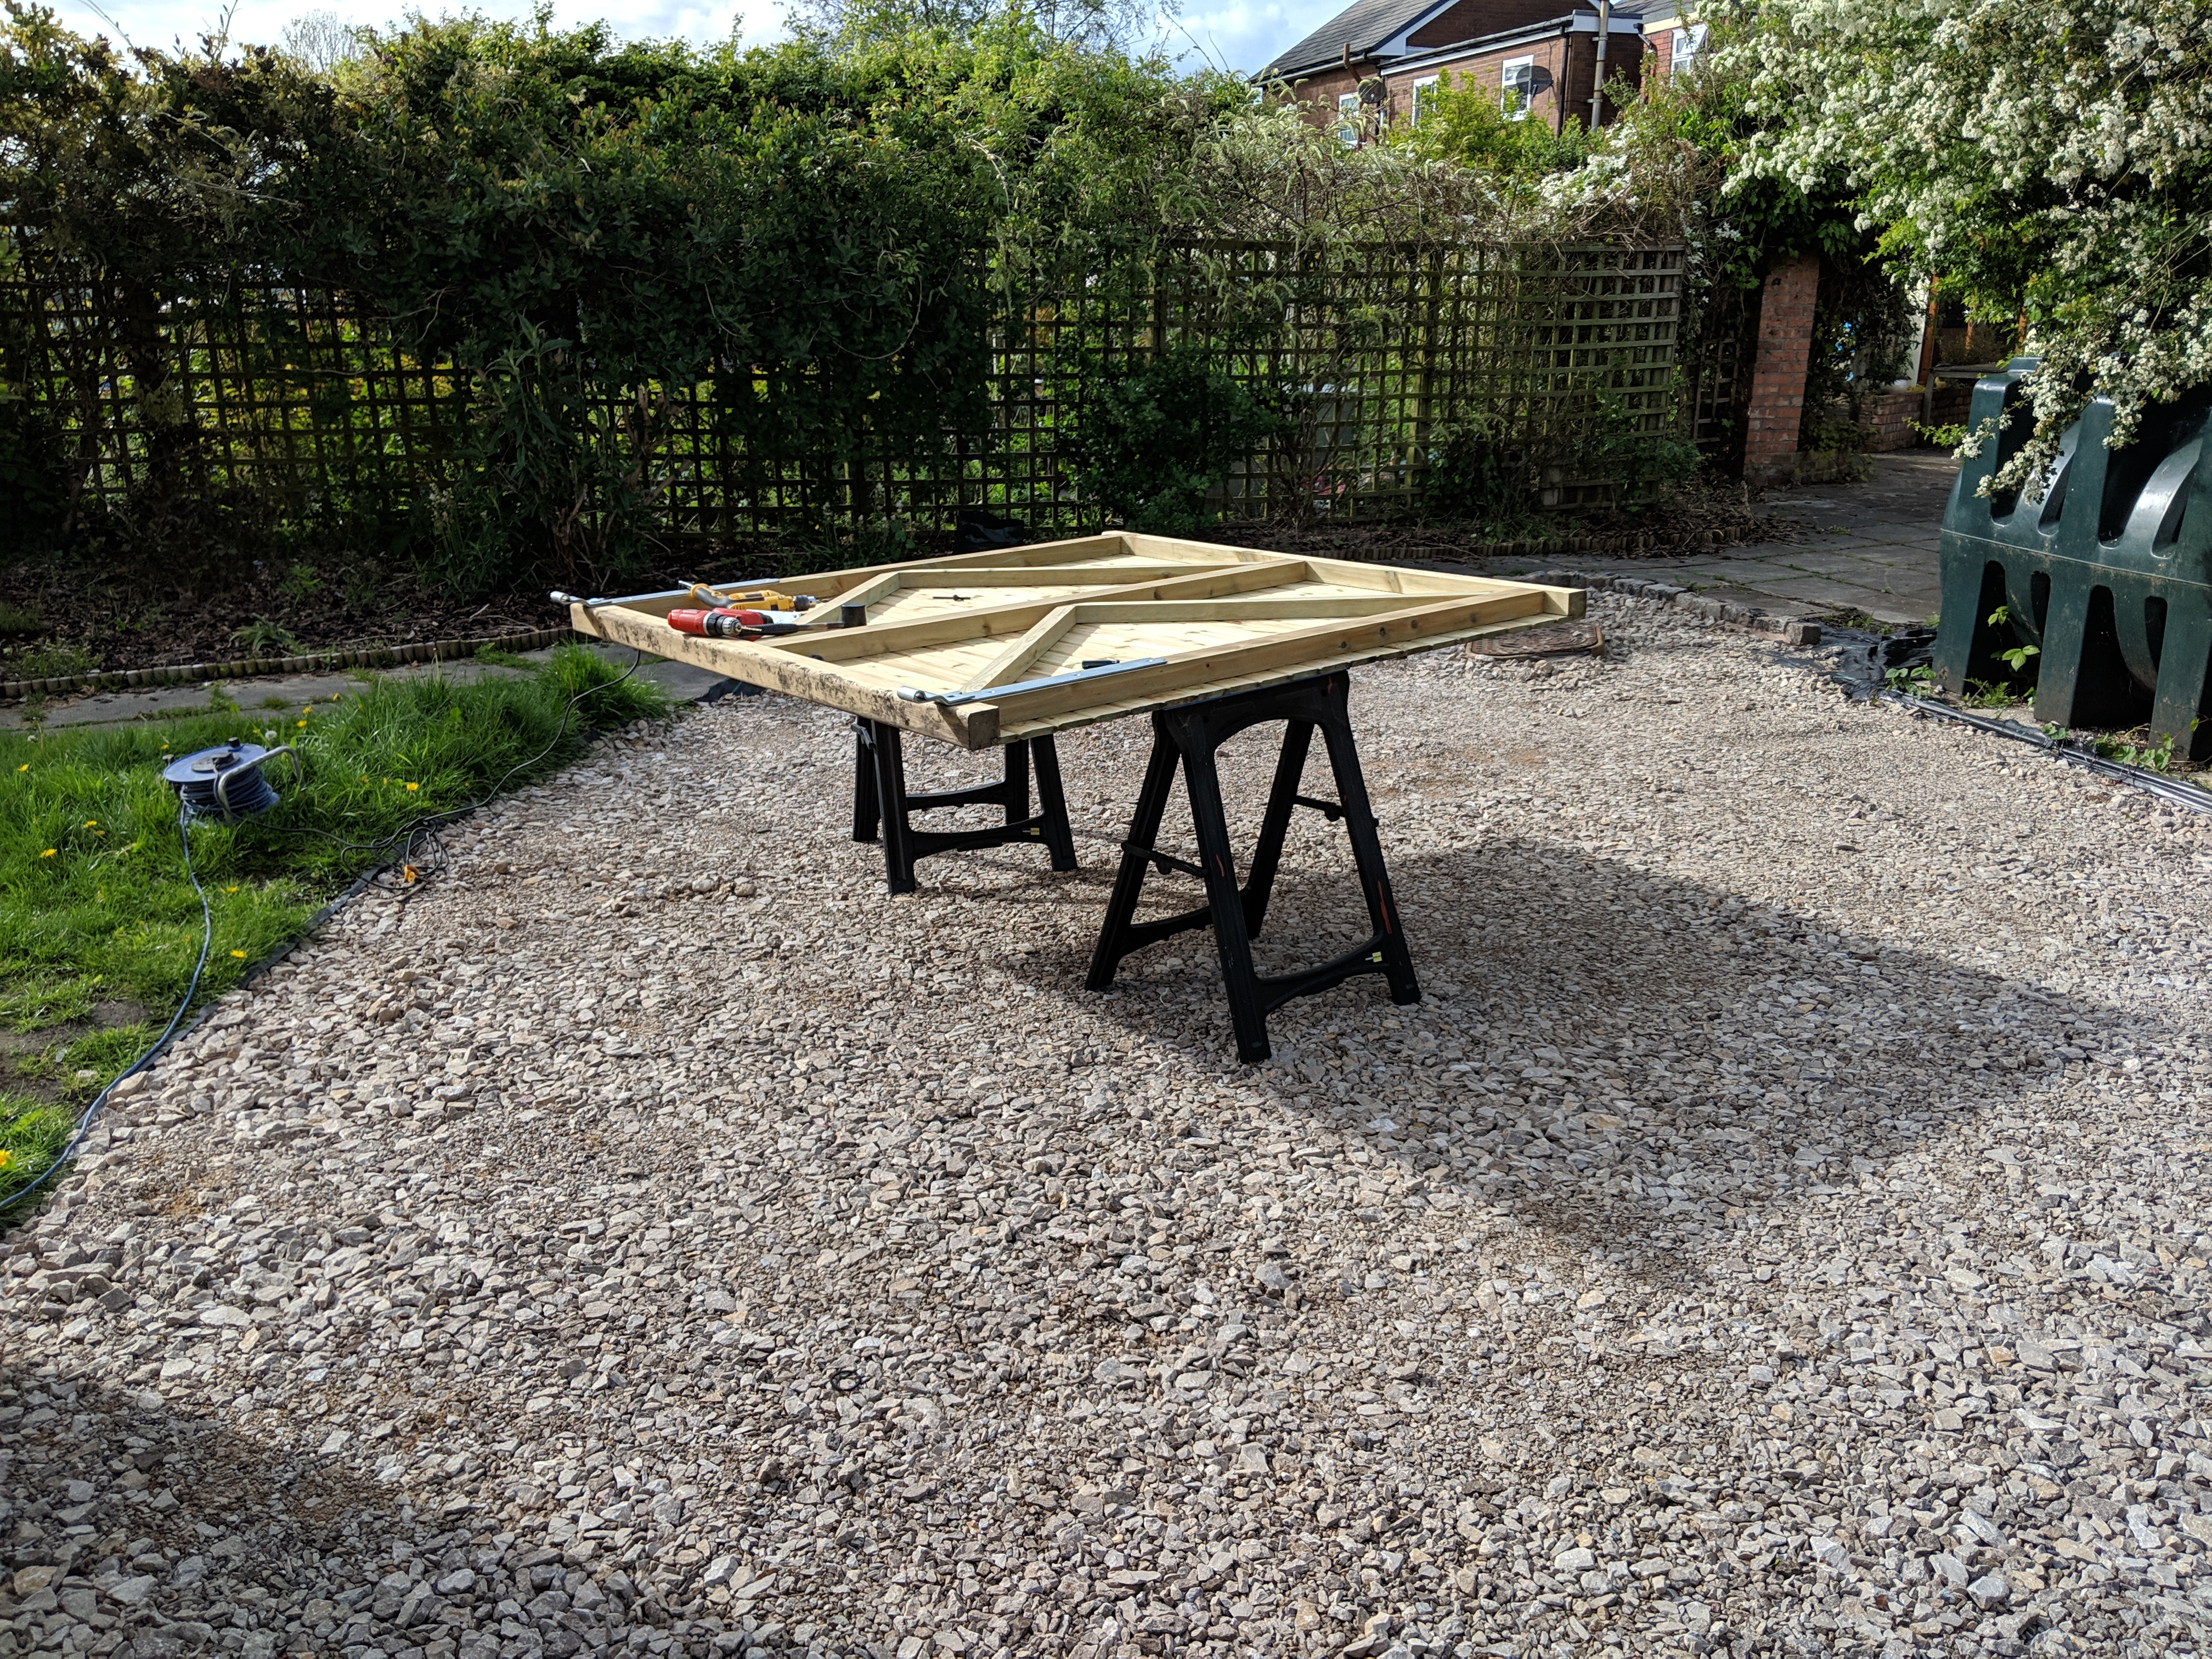
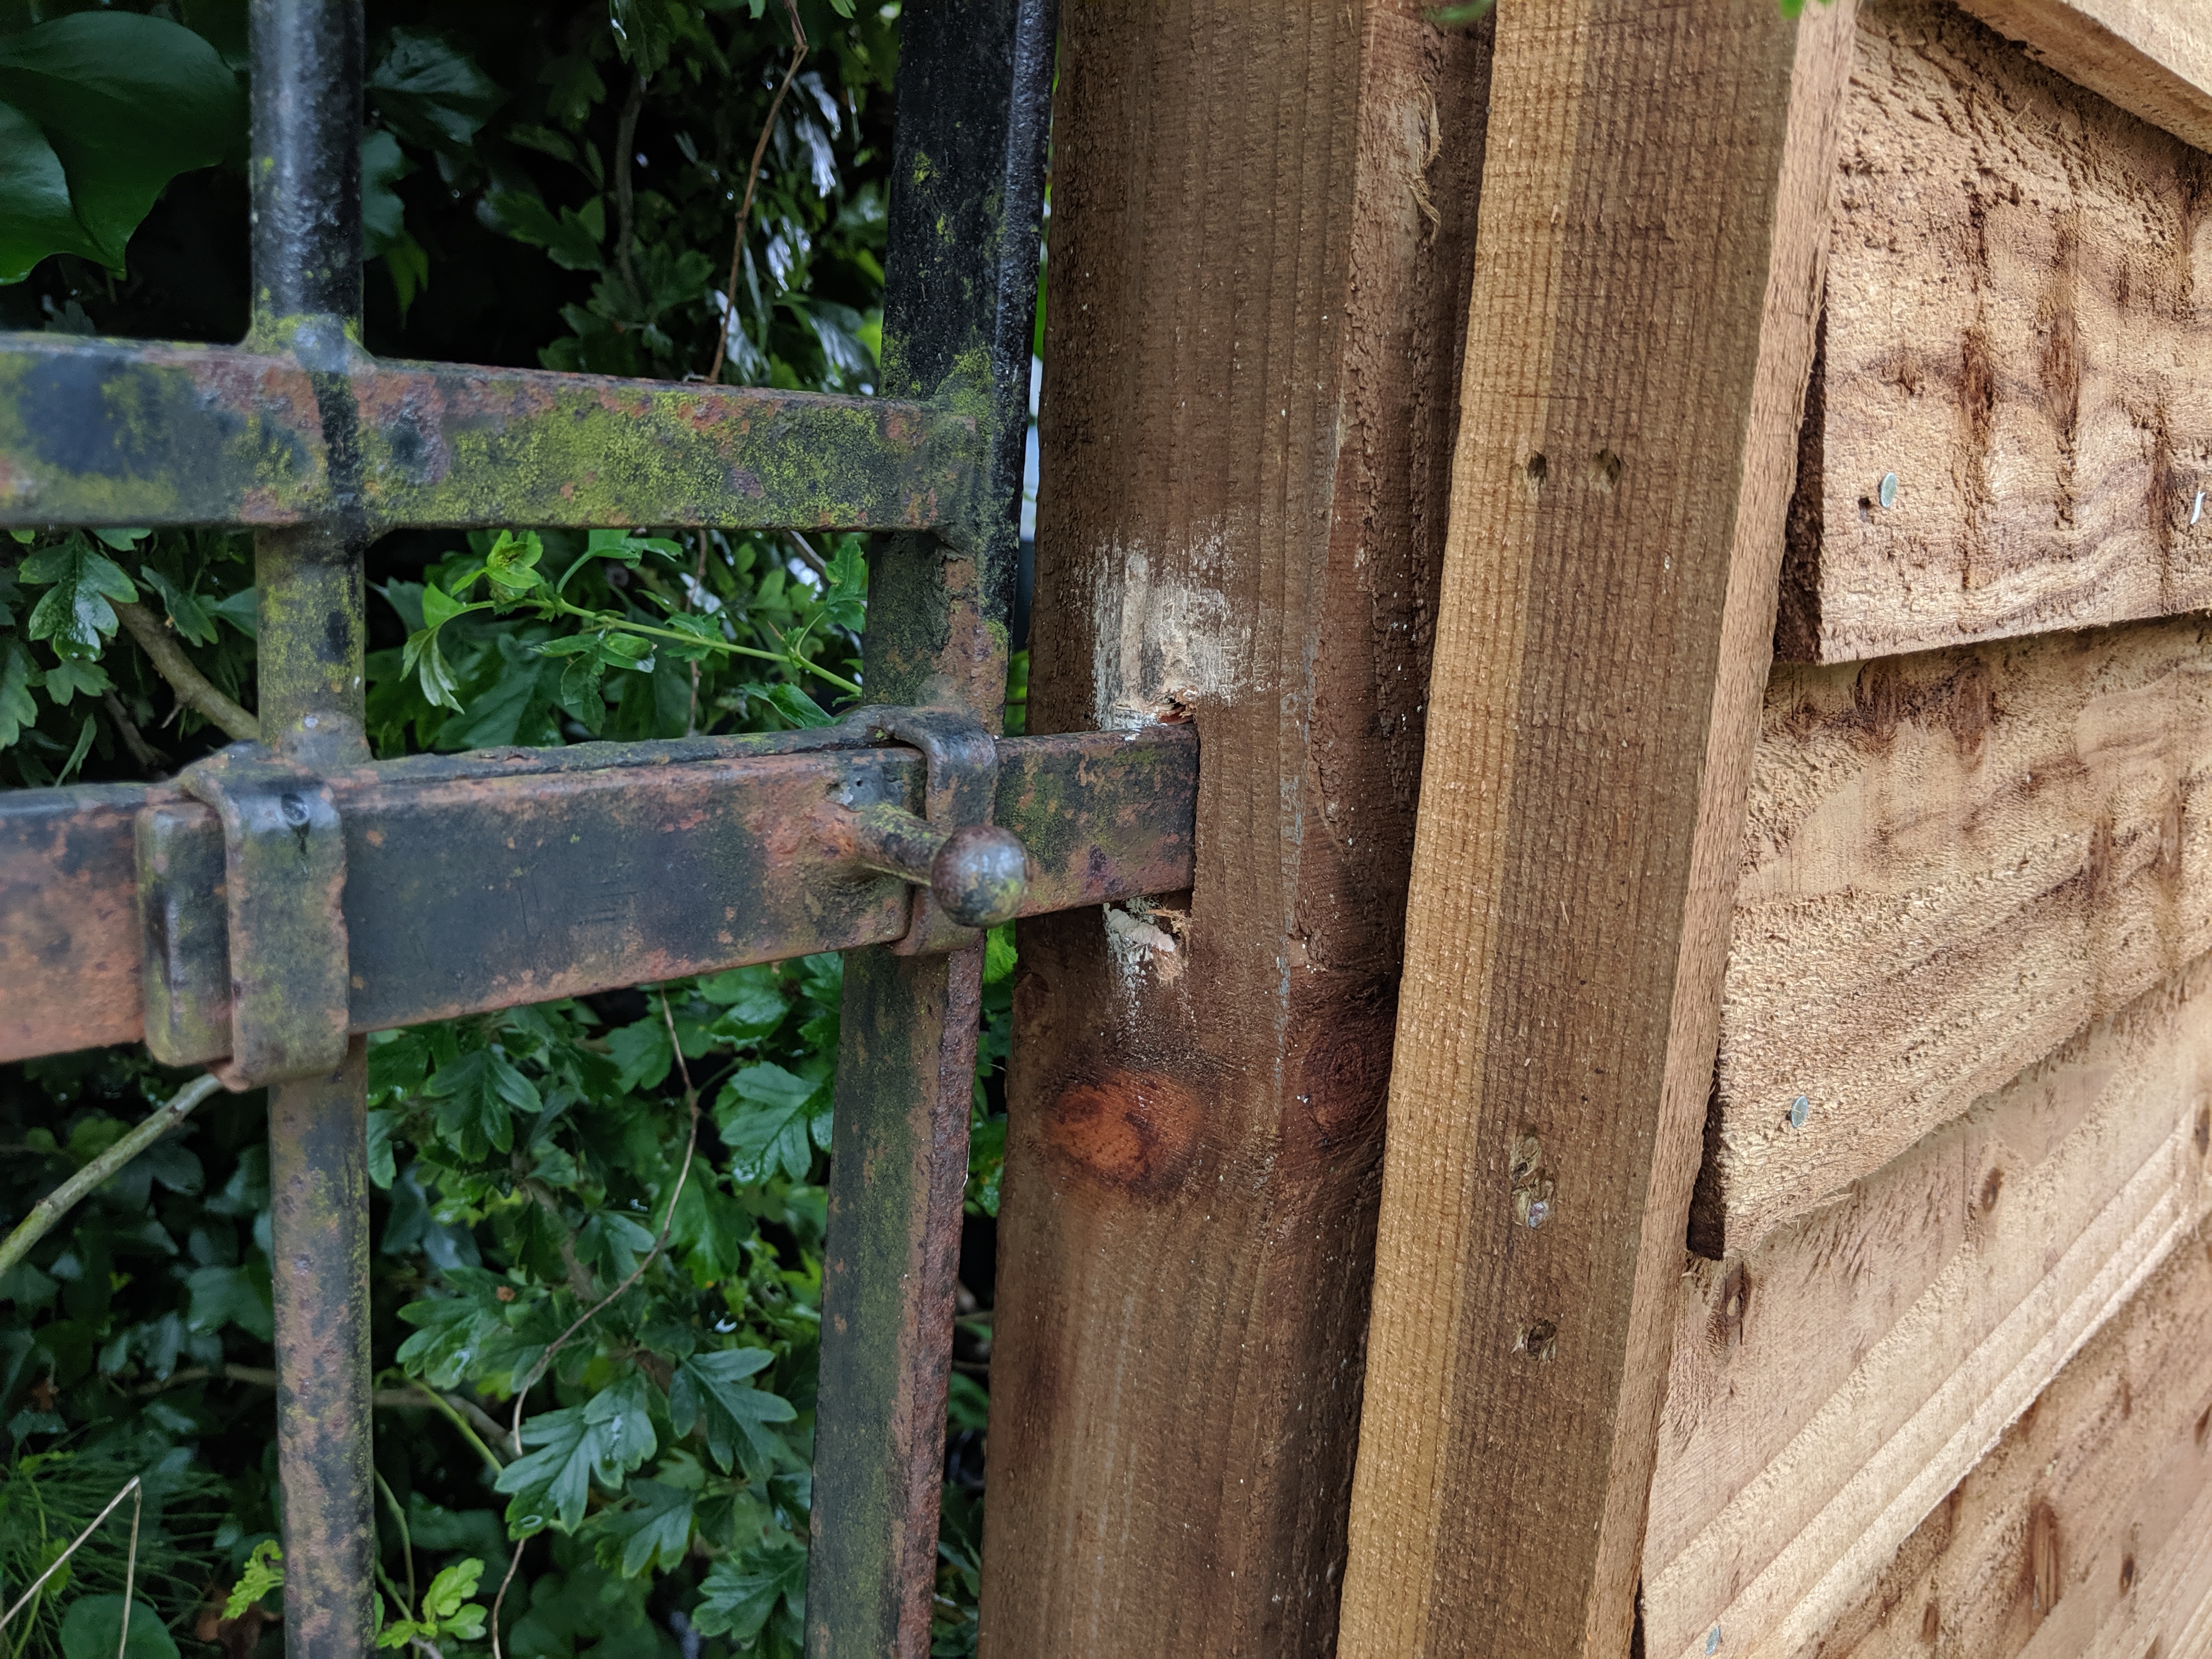
Prior to ordering the gravel for the driveway we had to put a fence around the oil tank and then we could put the gravel up against the edge of the fencing for a beautiful finish.

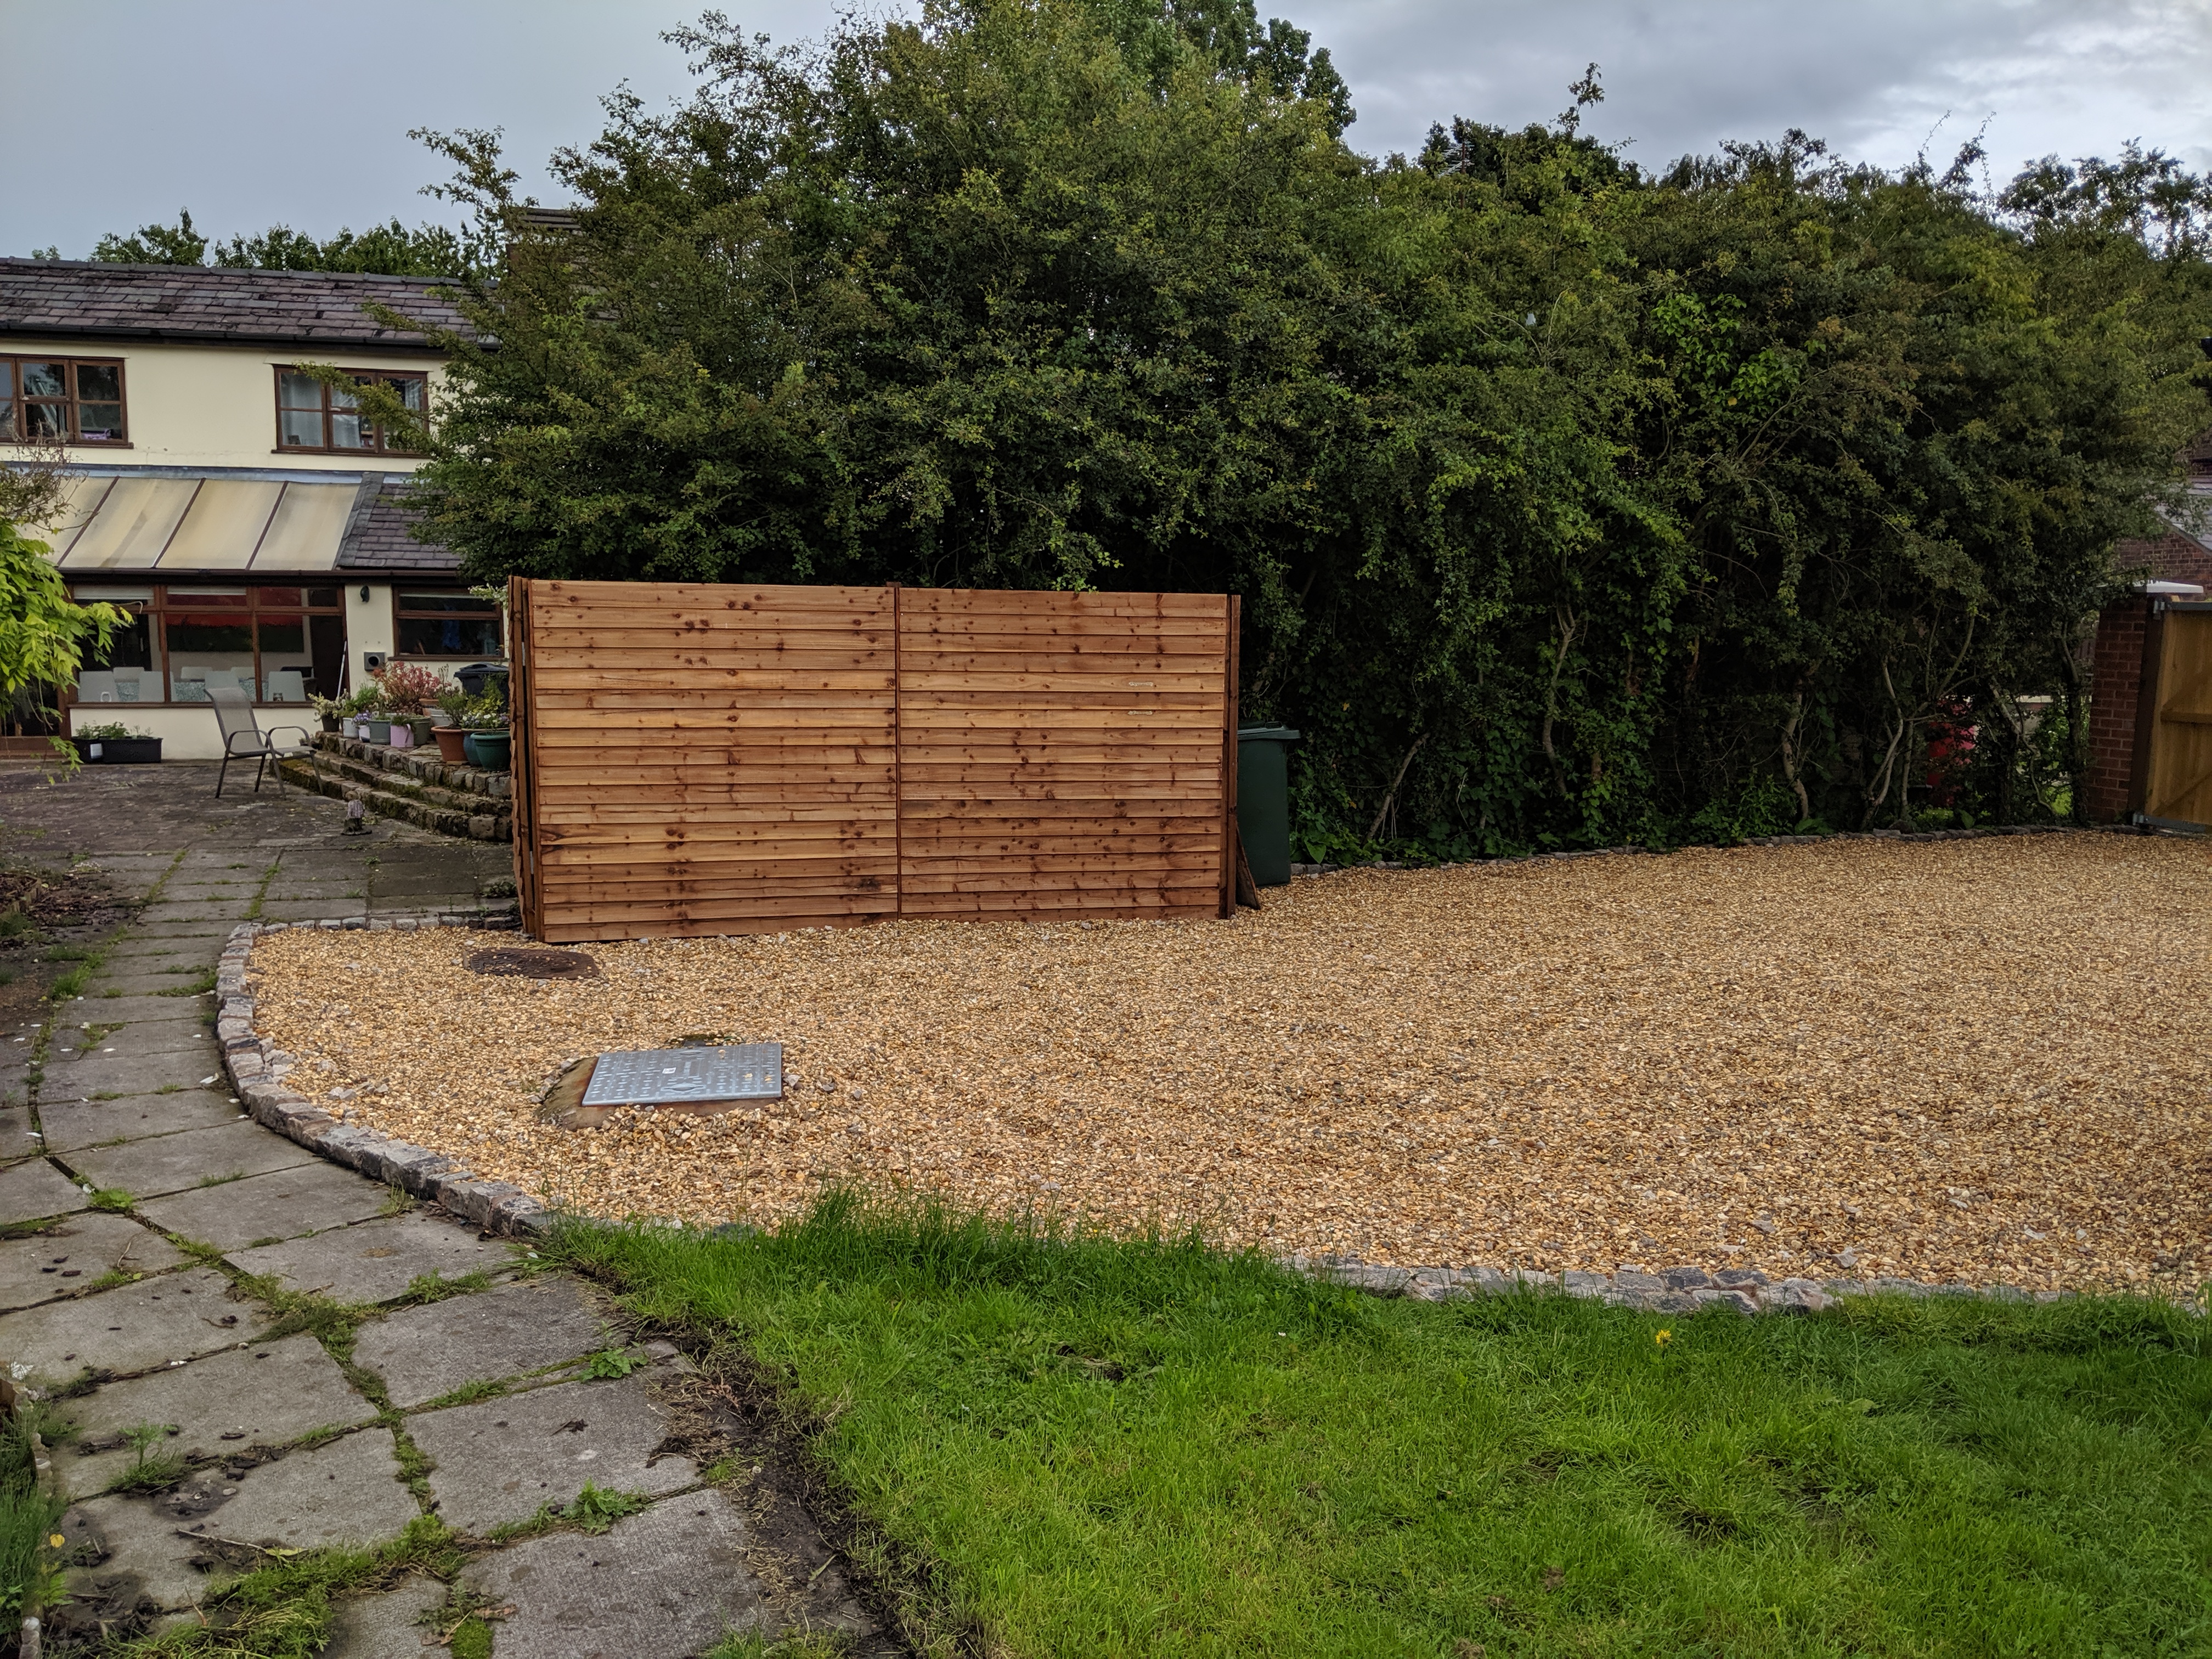

It took a while to work out the best way to achieve this. I wanted a fence around the oil tank but I had to access it sometimes to … you know…add oil to it. I was going to put some finger bolts on to unscrew it, but in the end I decided a hinge and catch would be the best solution.
I got a bit carried away with the router. It probably didn’t help that I’d had a couple of glasses of wine when I was trying to do it.
So it’s done, it’s complete, it’s taken months and months of my life and cost more than I anticipated … and now my nephew and his band have occupied it and it’s now known a recording studio.